Final Project
Written on December 4th, 2022 by Petrina Chan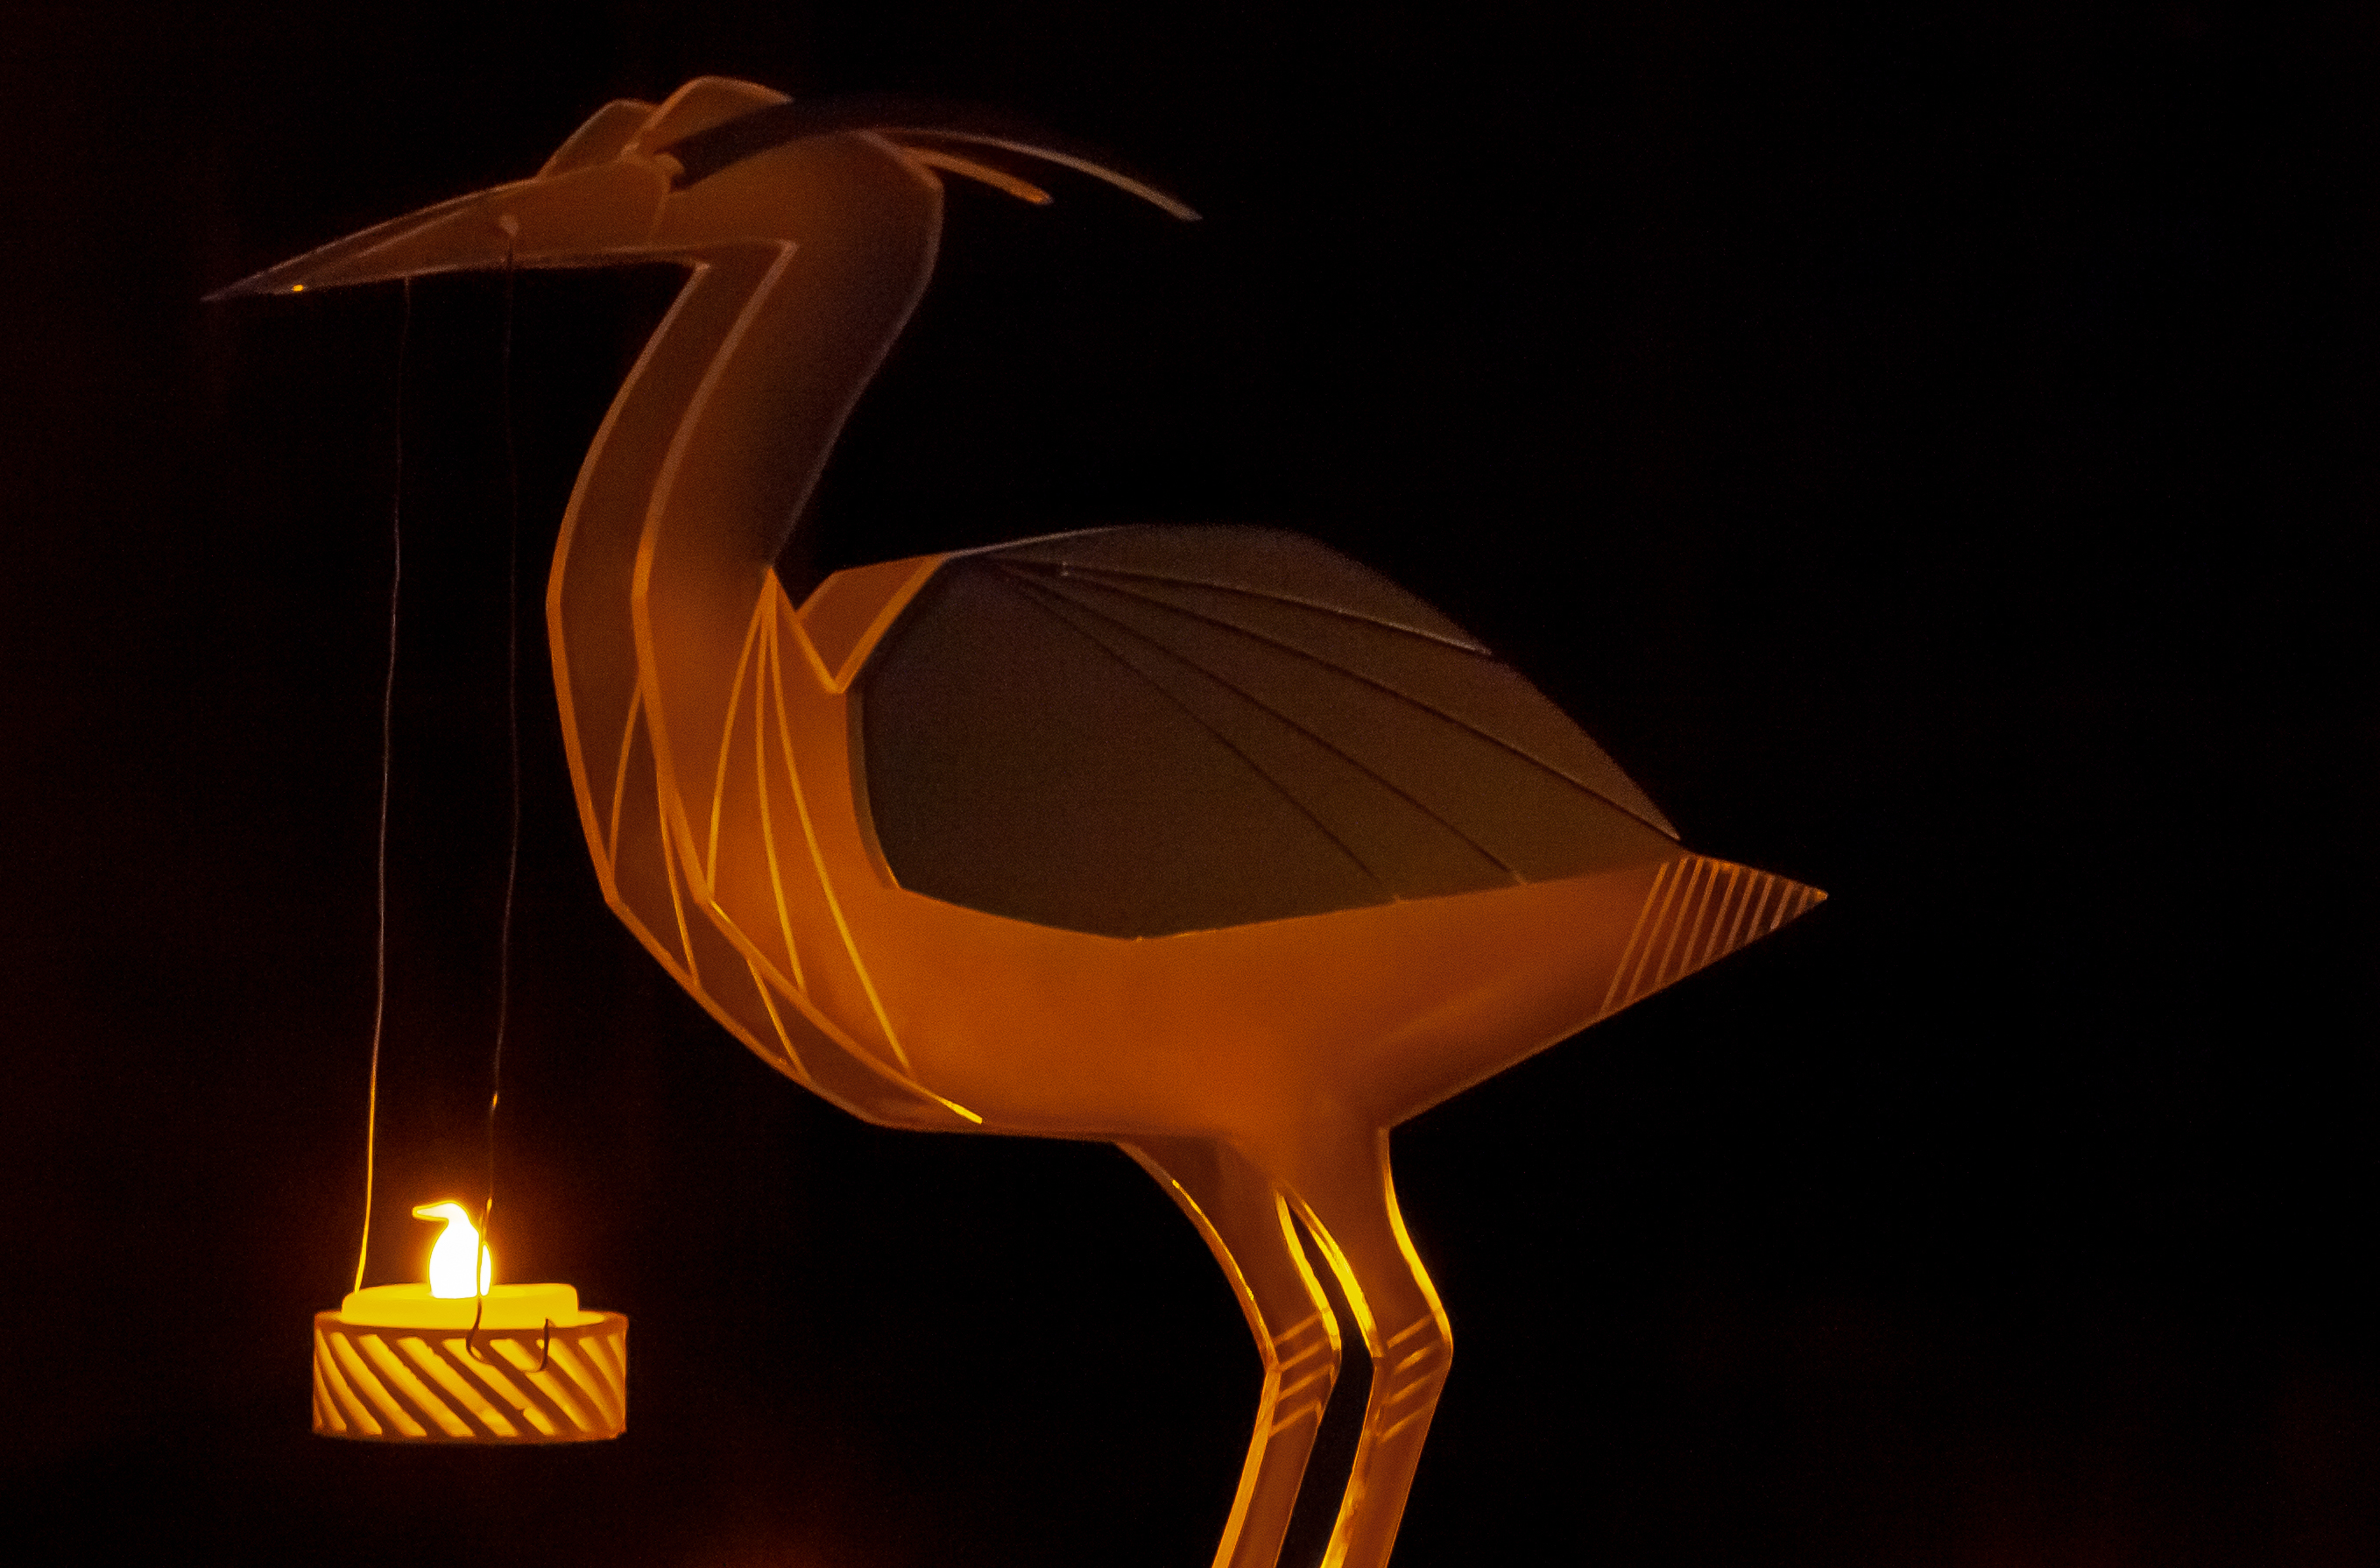
Final Project
Files
Master 3DM file with all 3D parts
Illustrator file for laser cutting (side 1)
Illustrator file for laser cutting (side 2)
Candle holder from Thingiverse
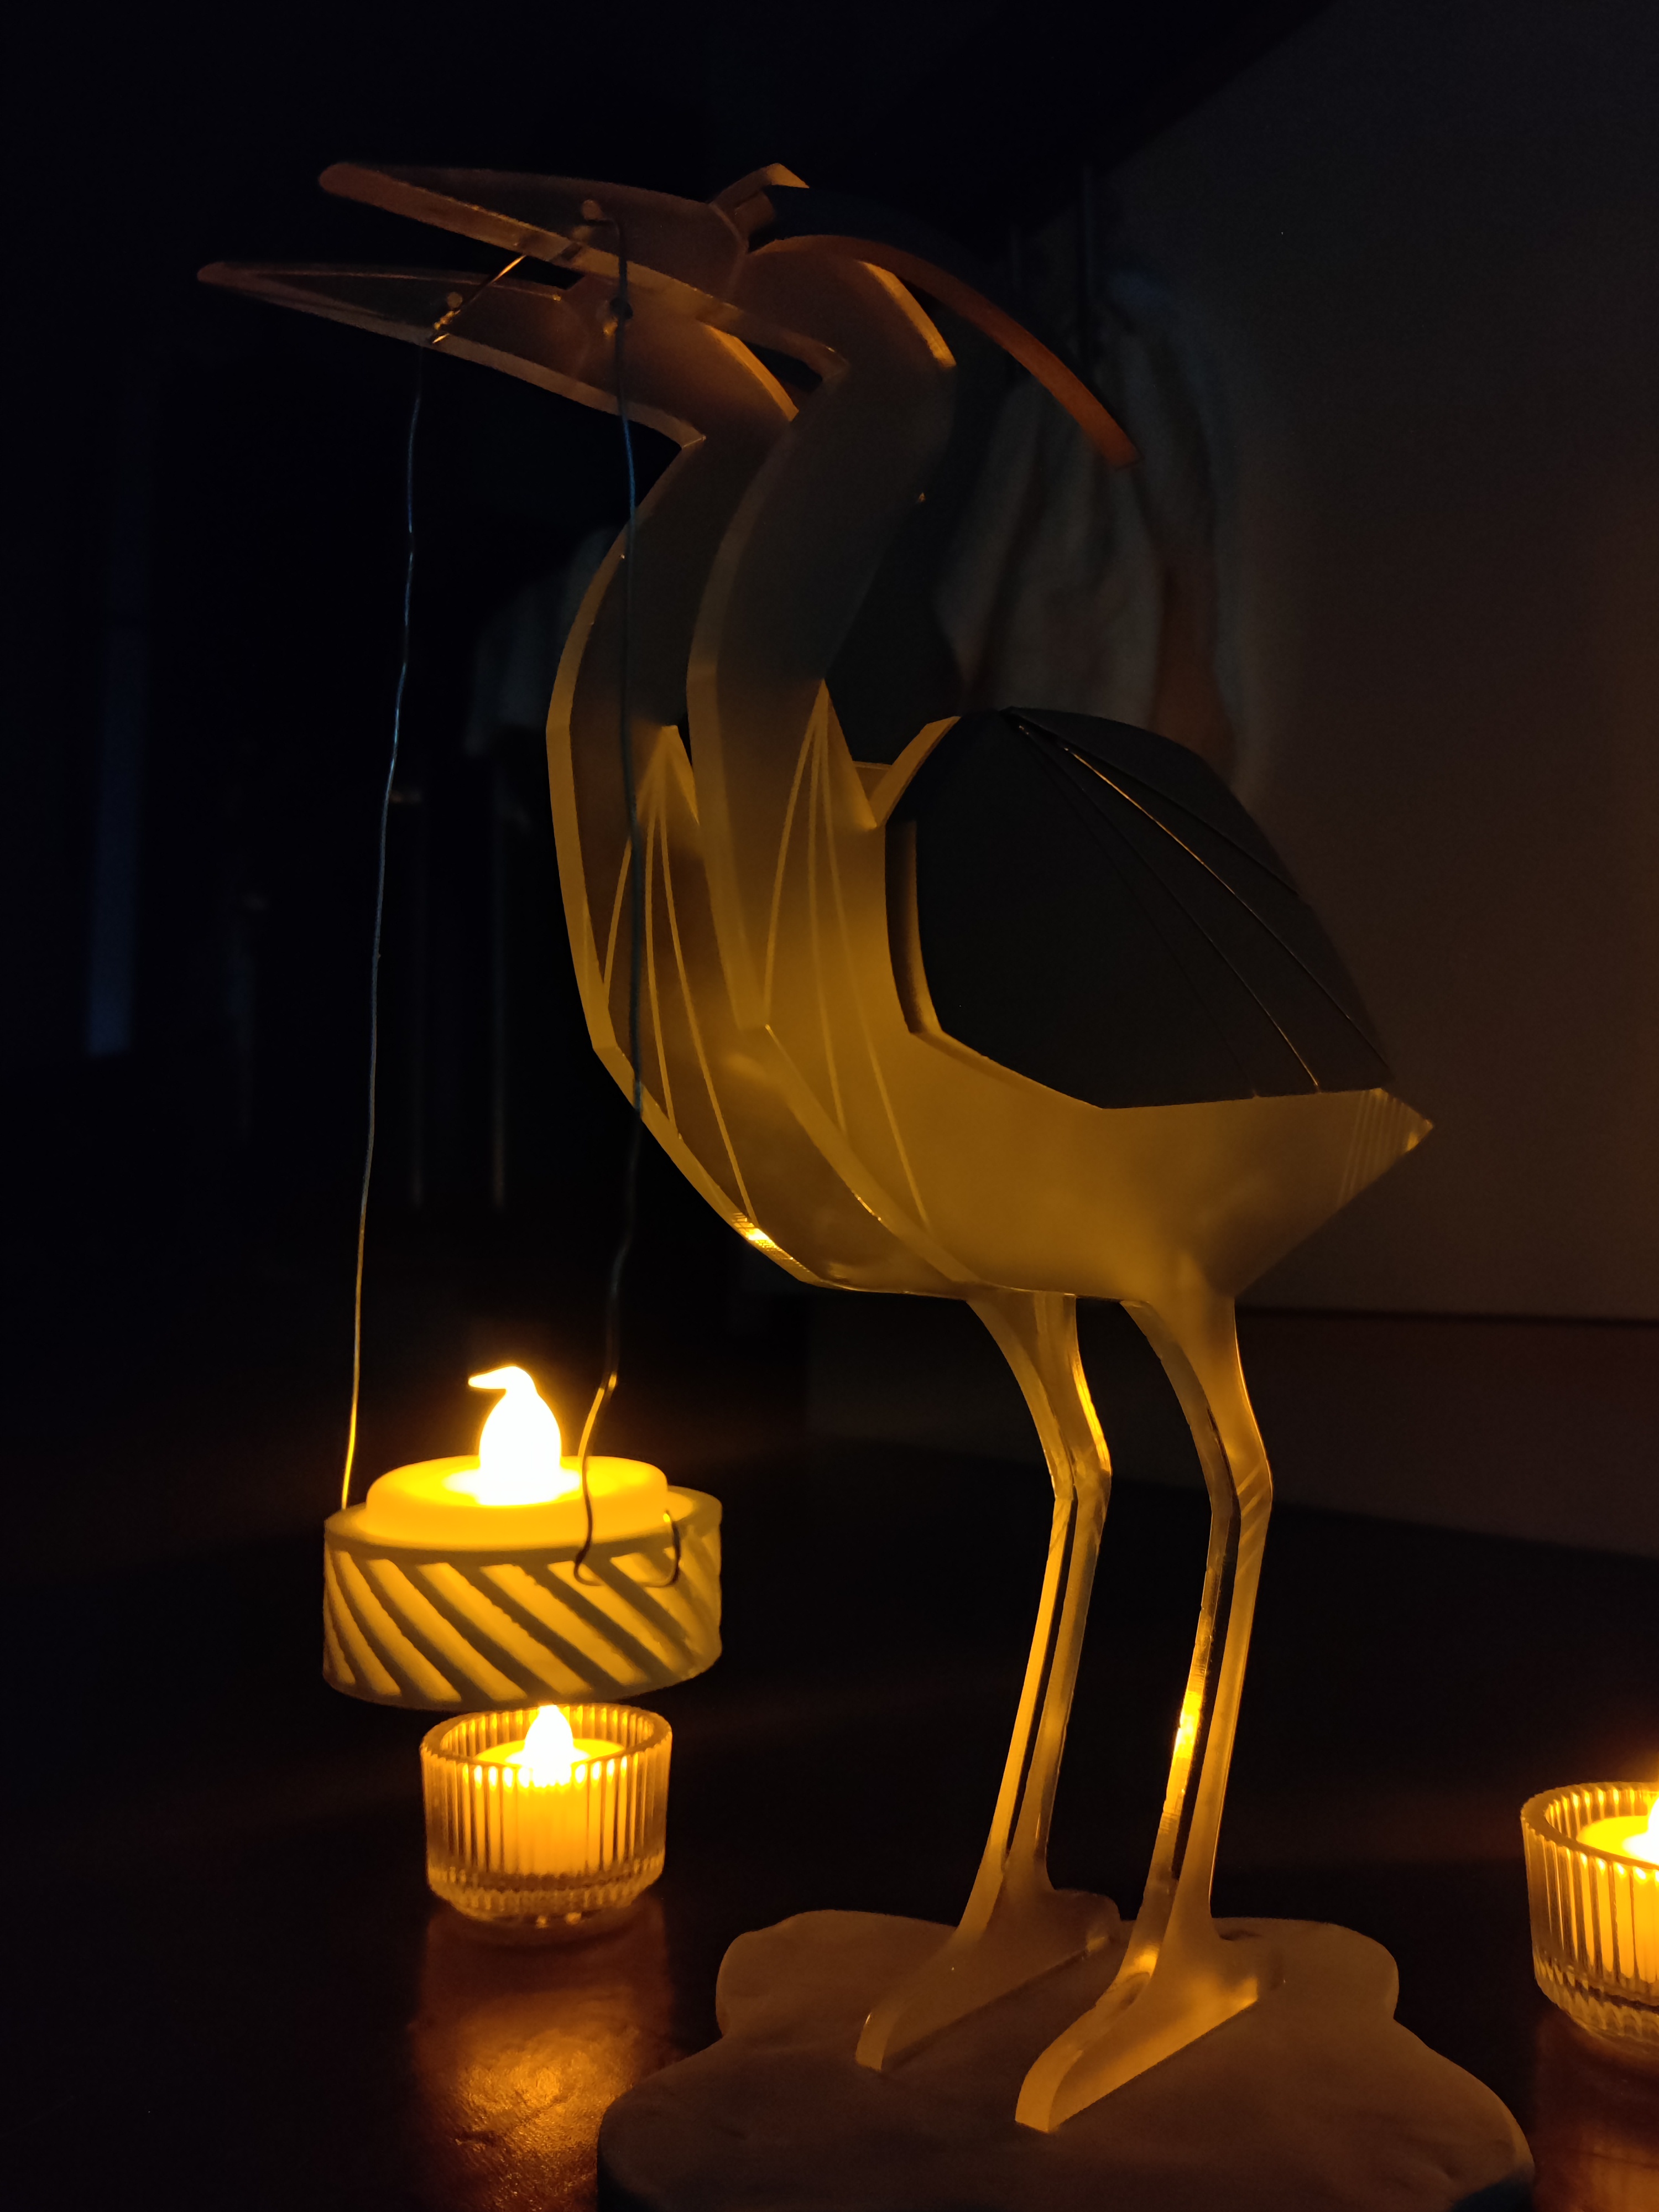
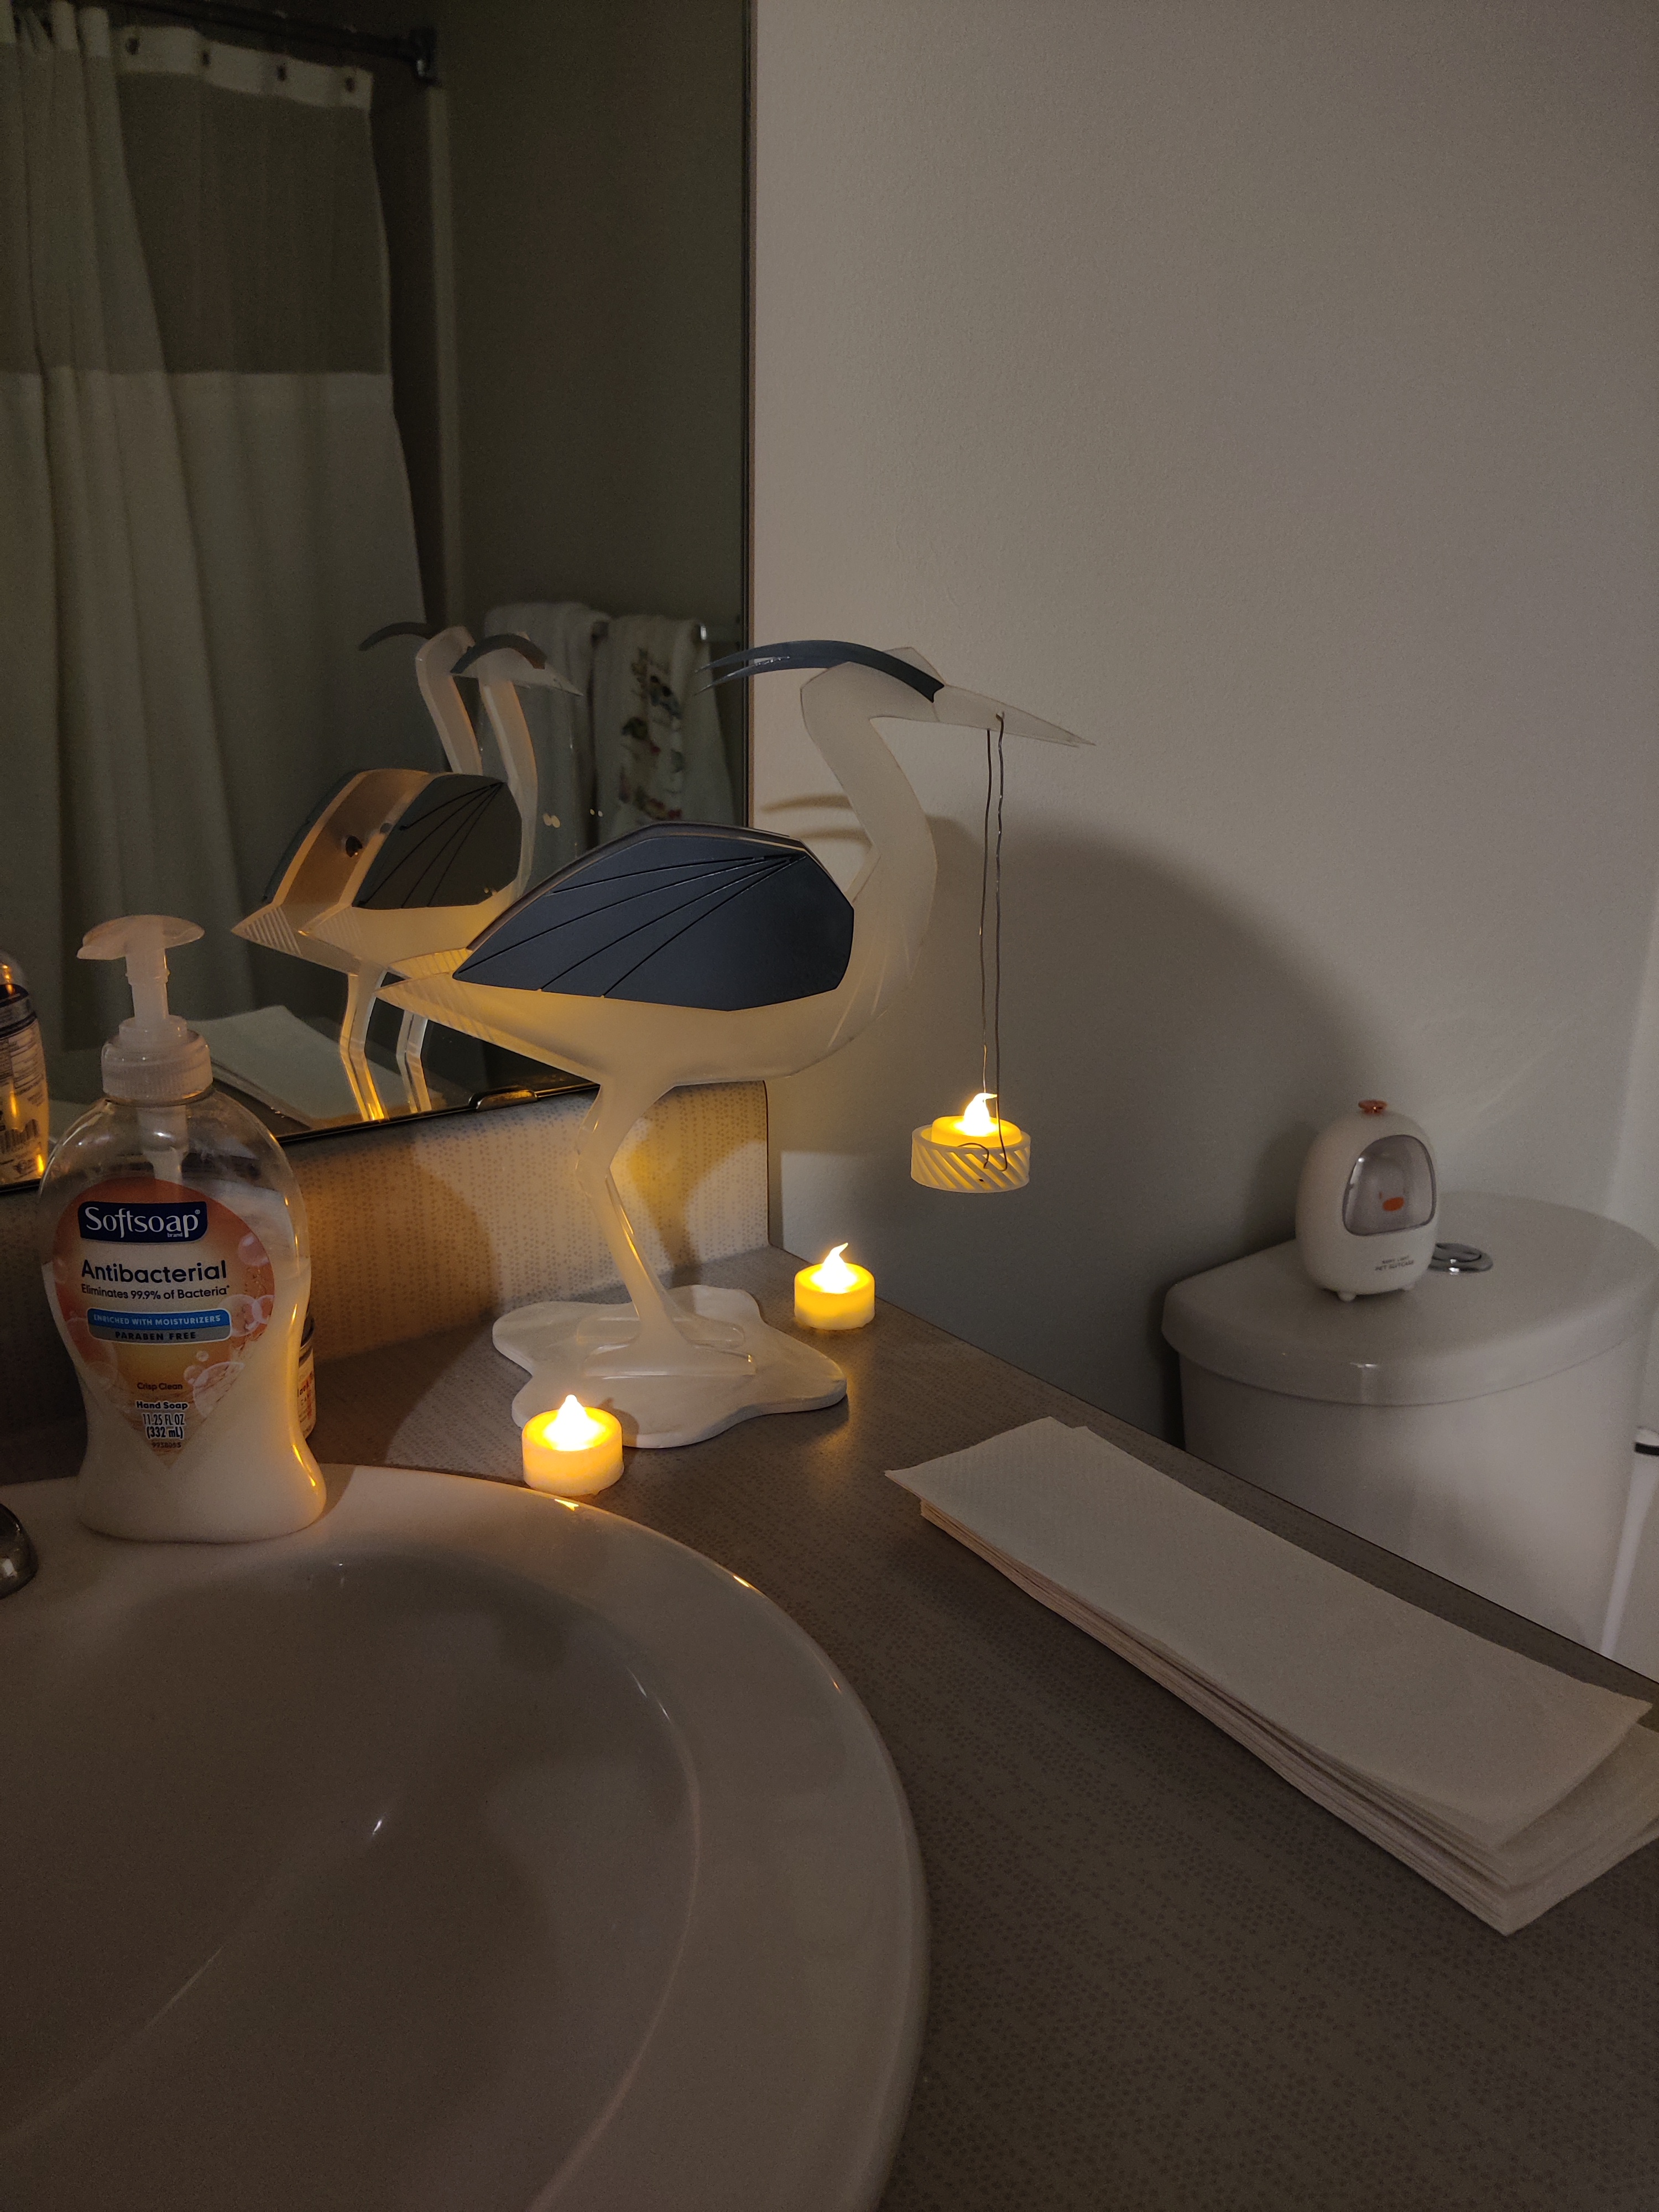
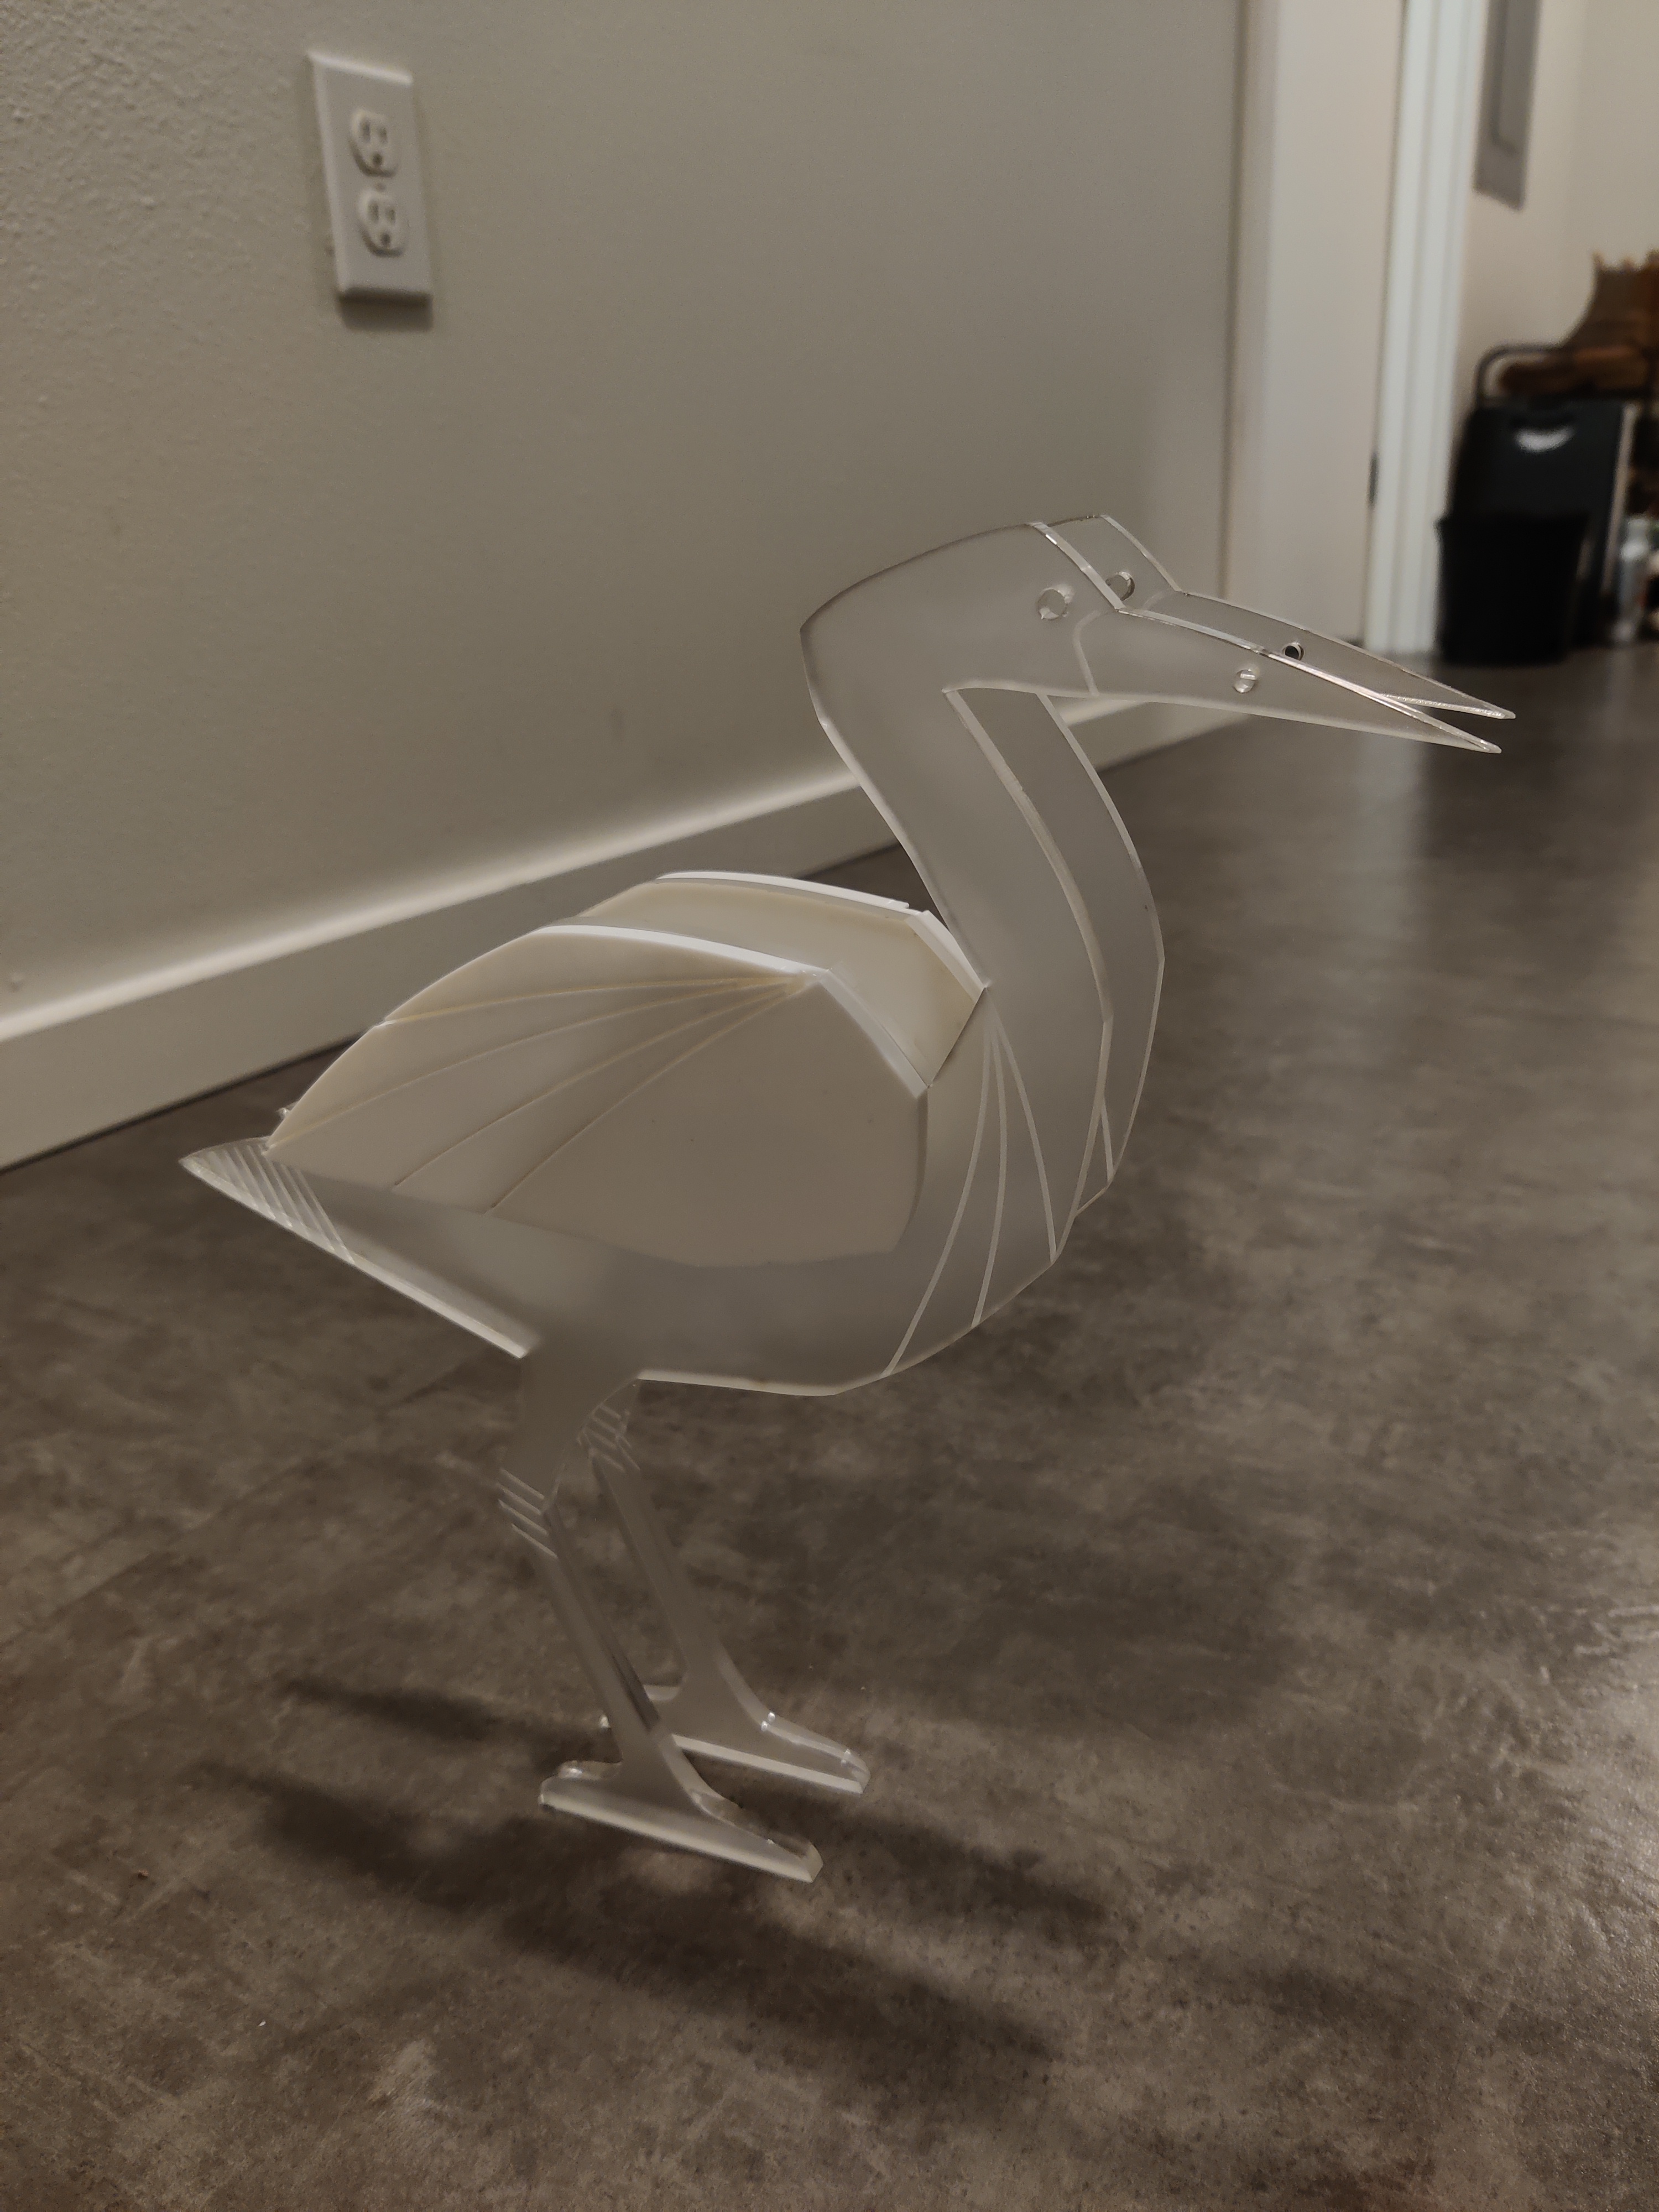
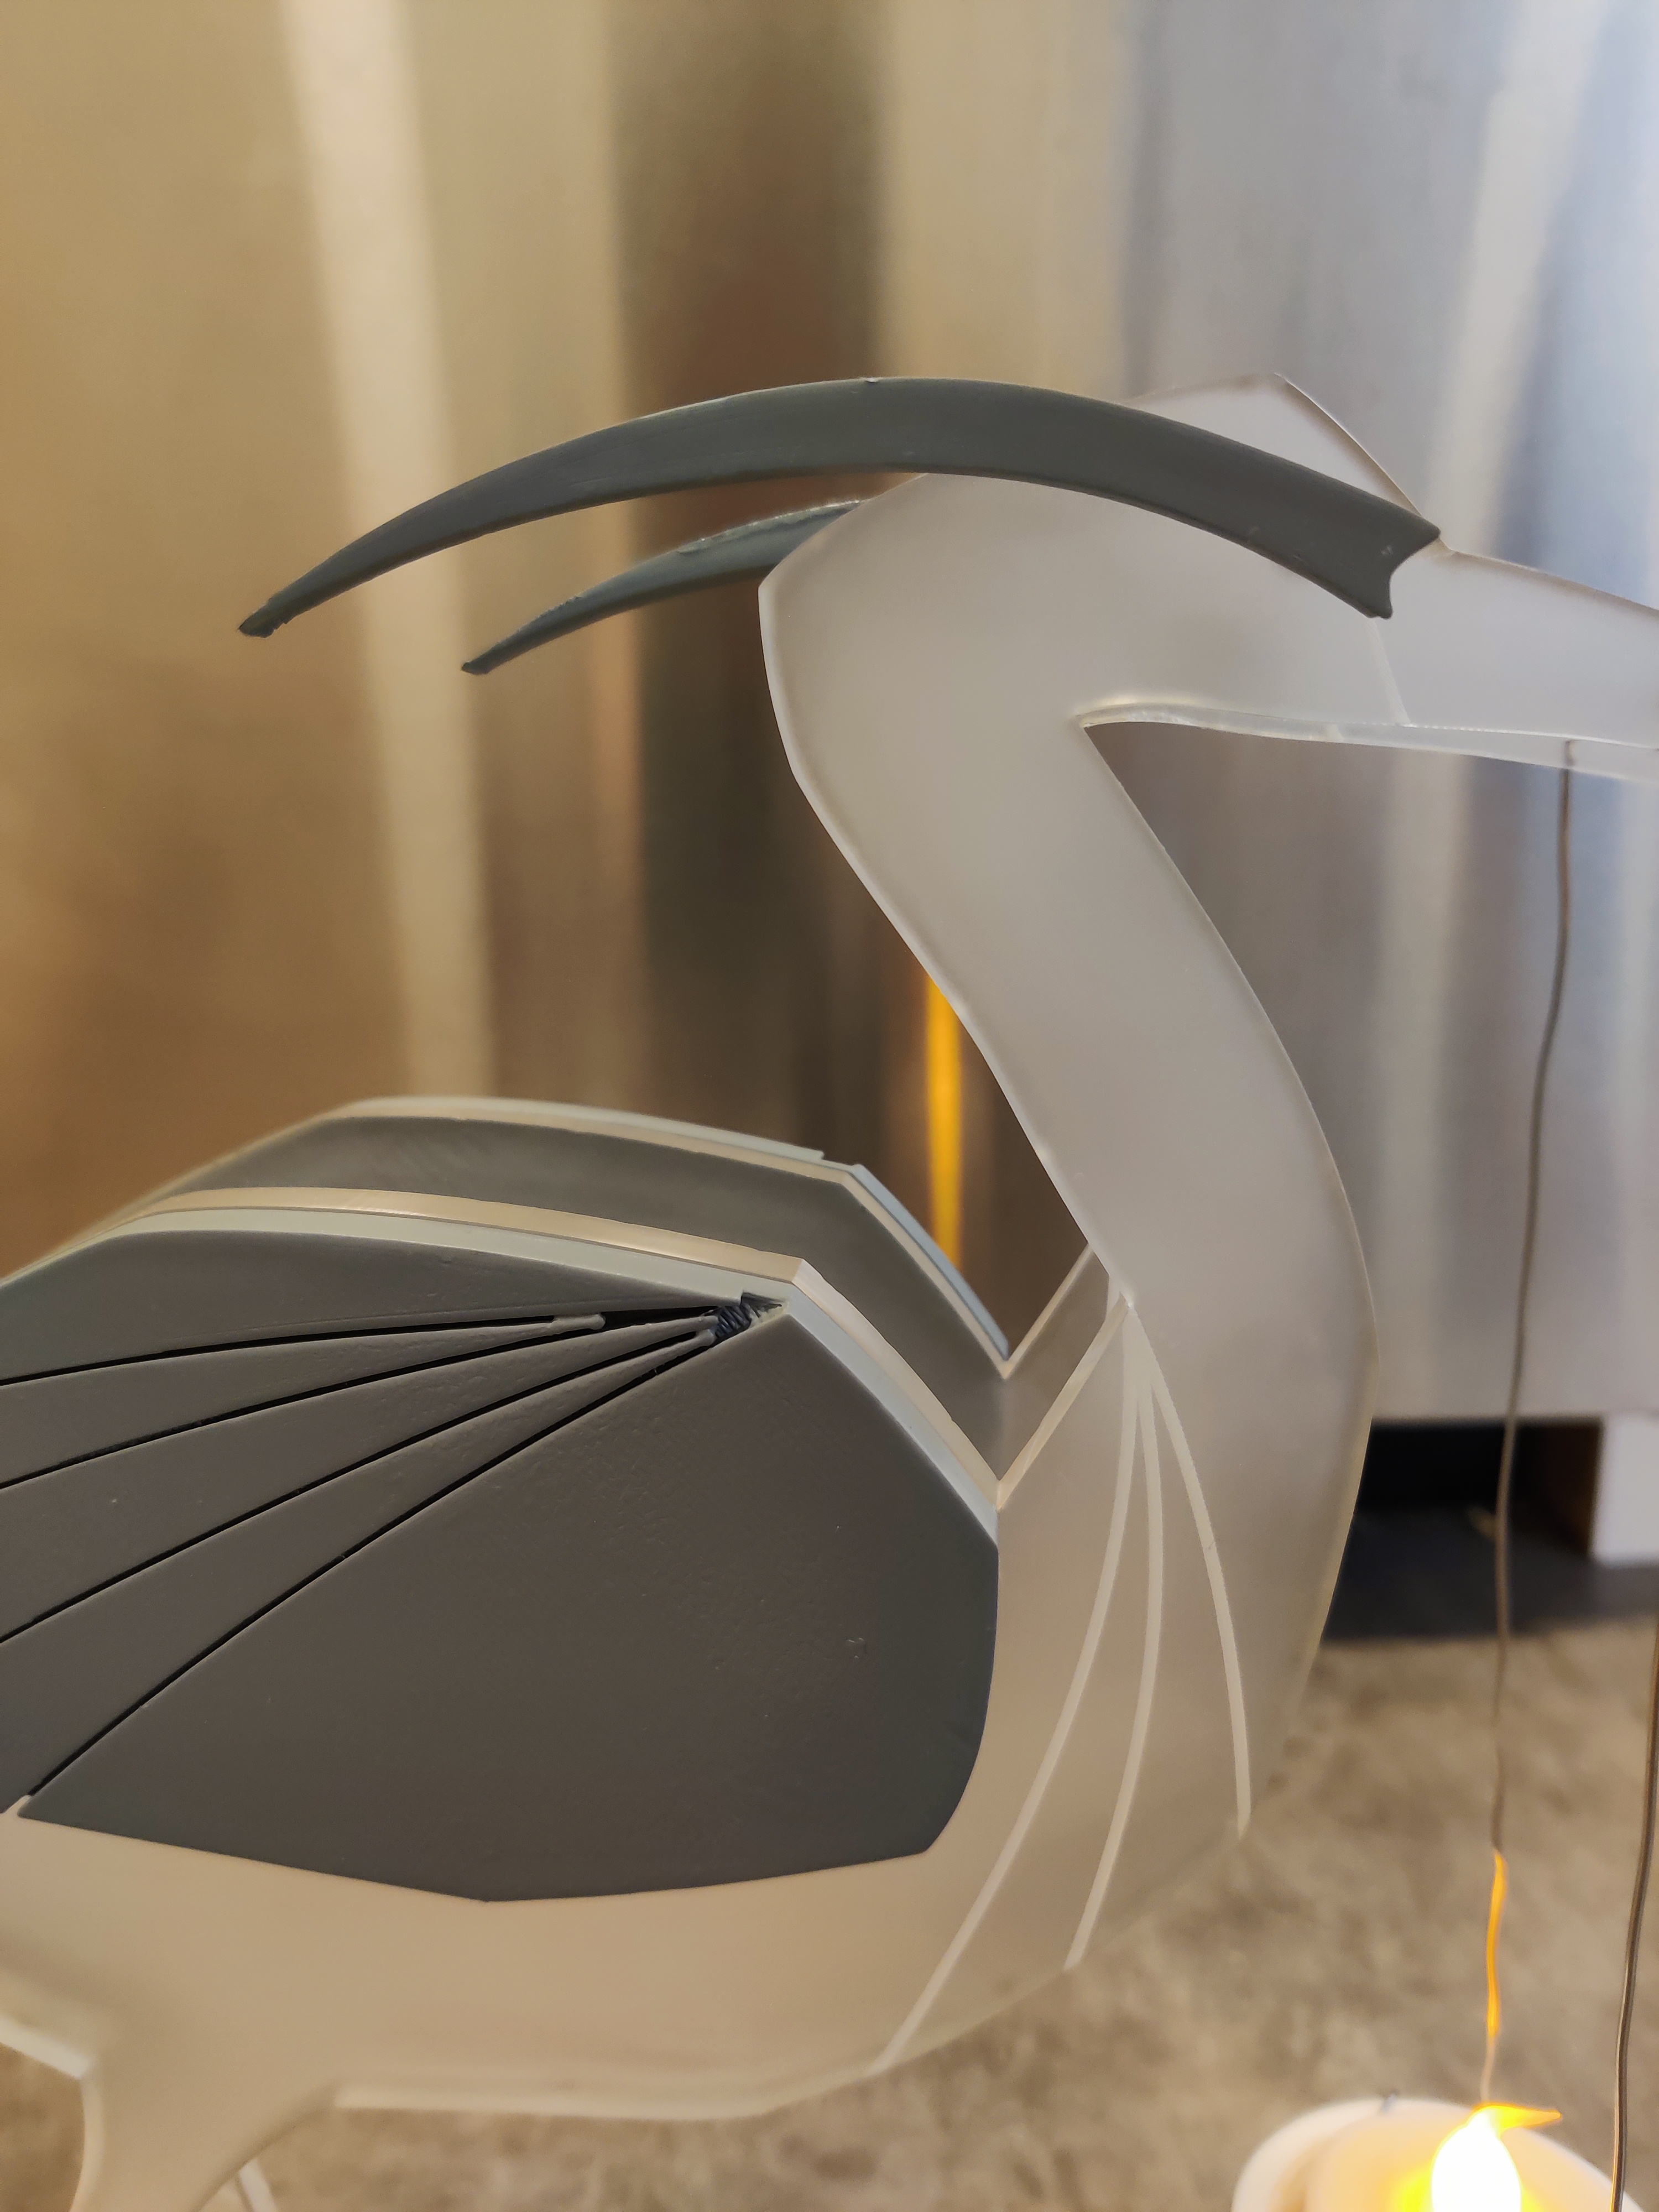
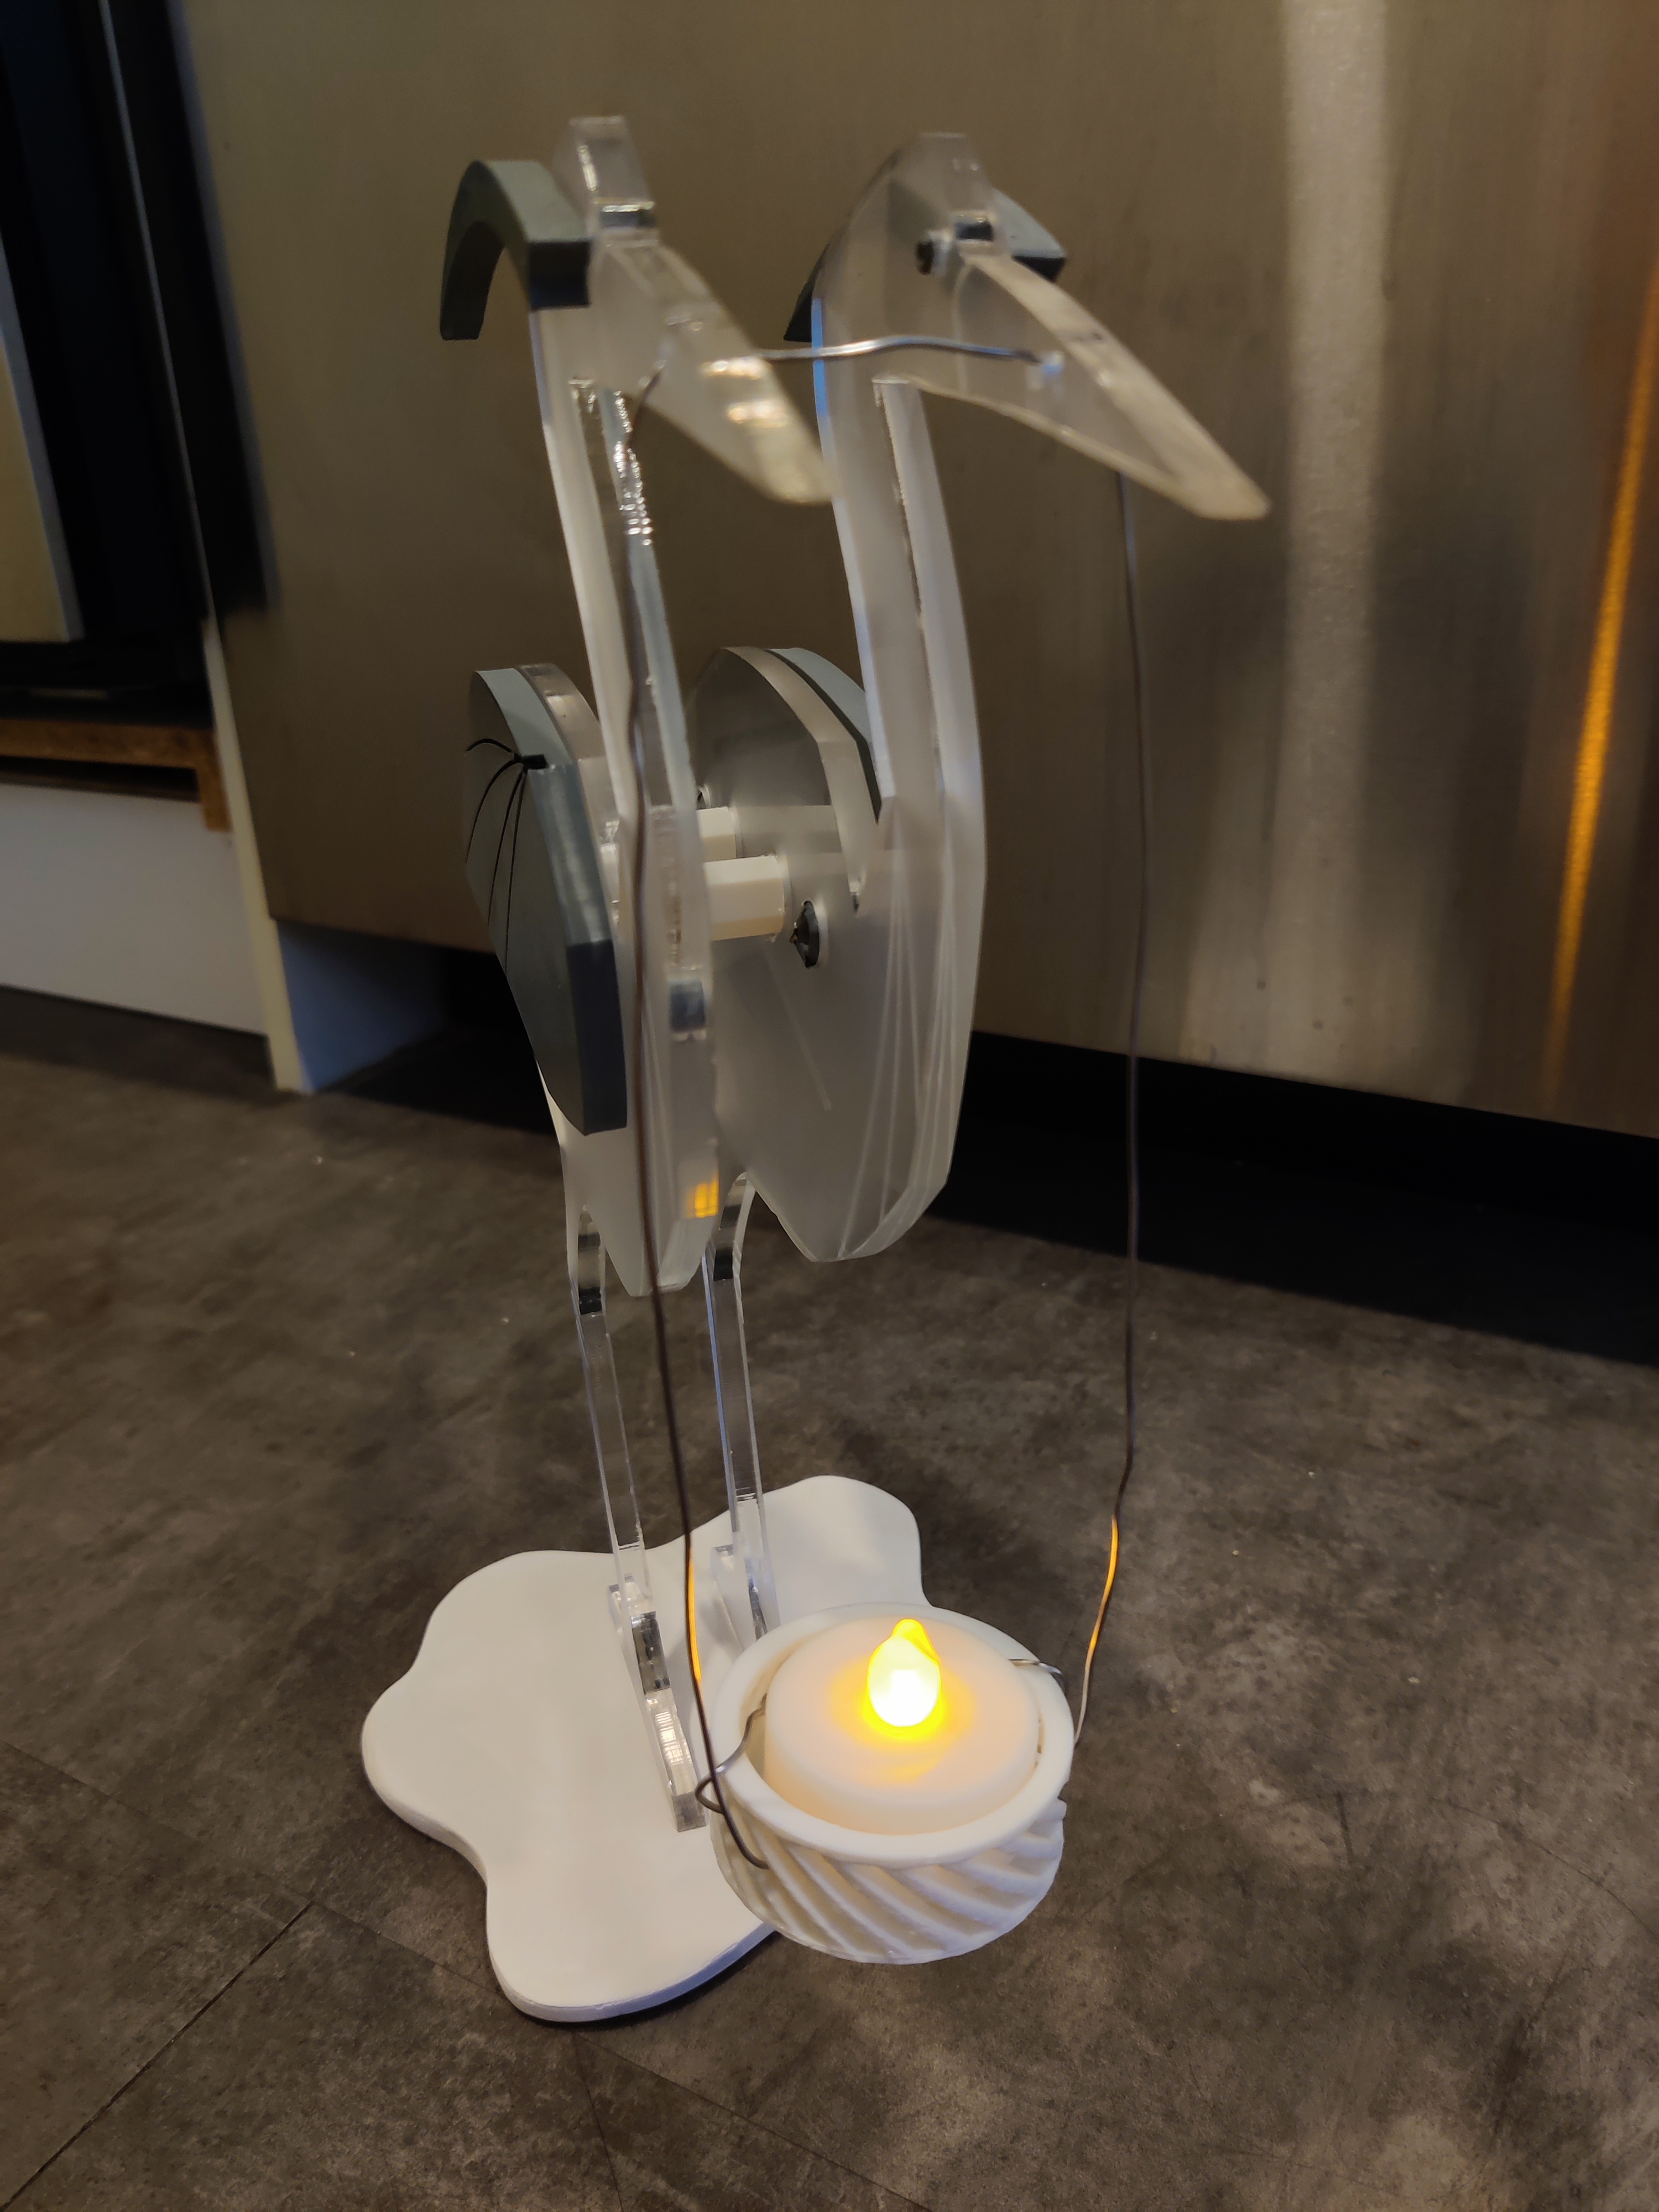
Great Blue Heron Candleholder!
The end result is fully collapsible into flat parts and easily taken down & put together.

I don’t currently have an amazing place to put it in my aparment, so for now he is adding some mood lighting in my bathoom : )
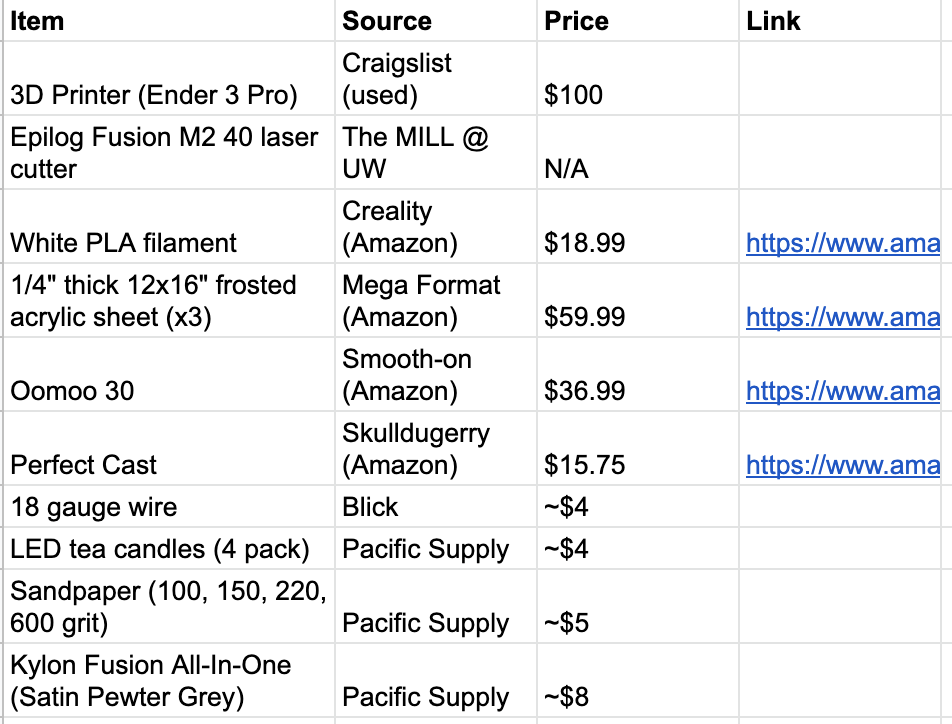
Bill of Materials
Process
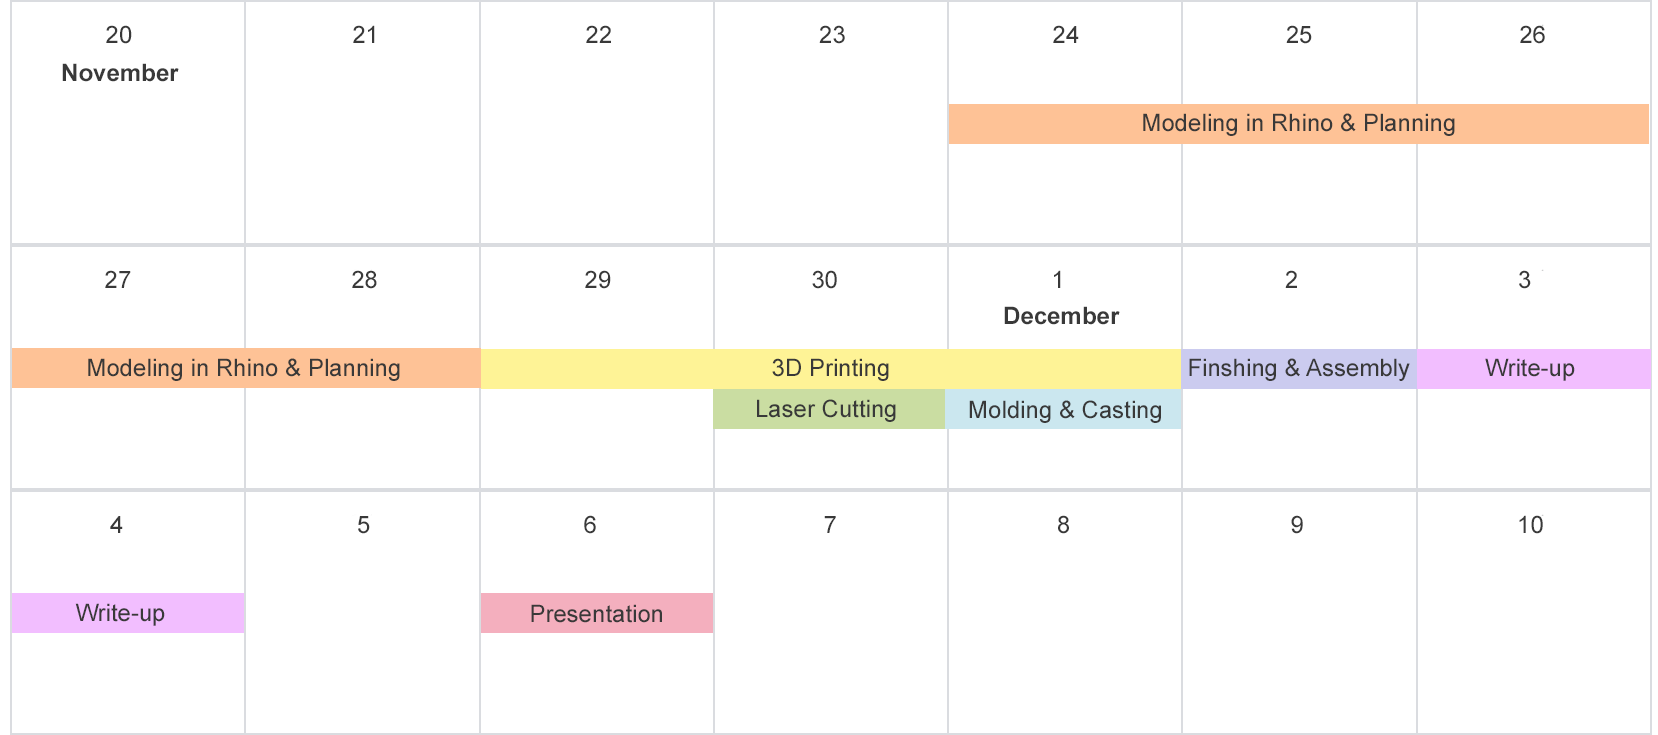
I managed to stay a day or two ahead of schedule throughout the process, which was great! I did not have to fall back on any contingency plans, and was able to basically make the product that I intended to from the start.
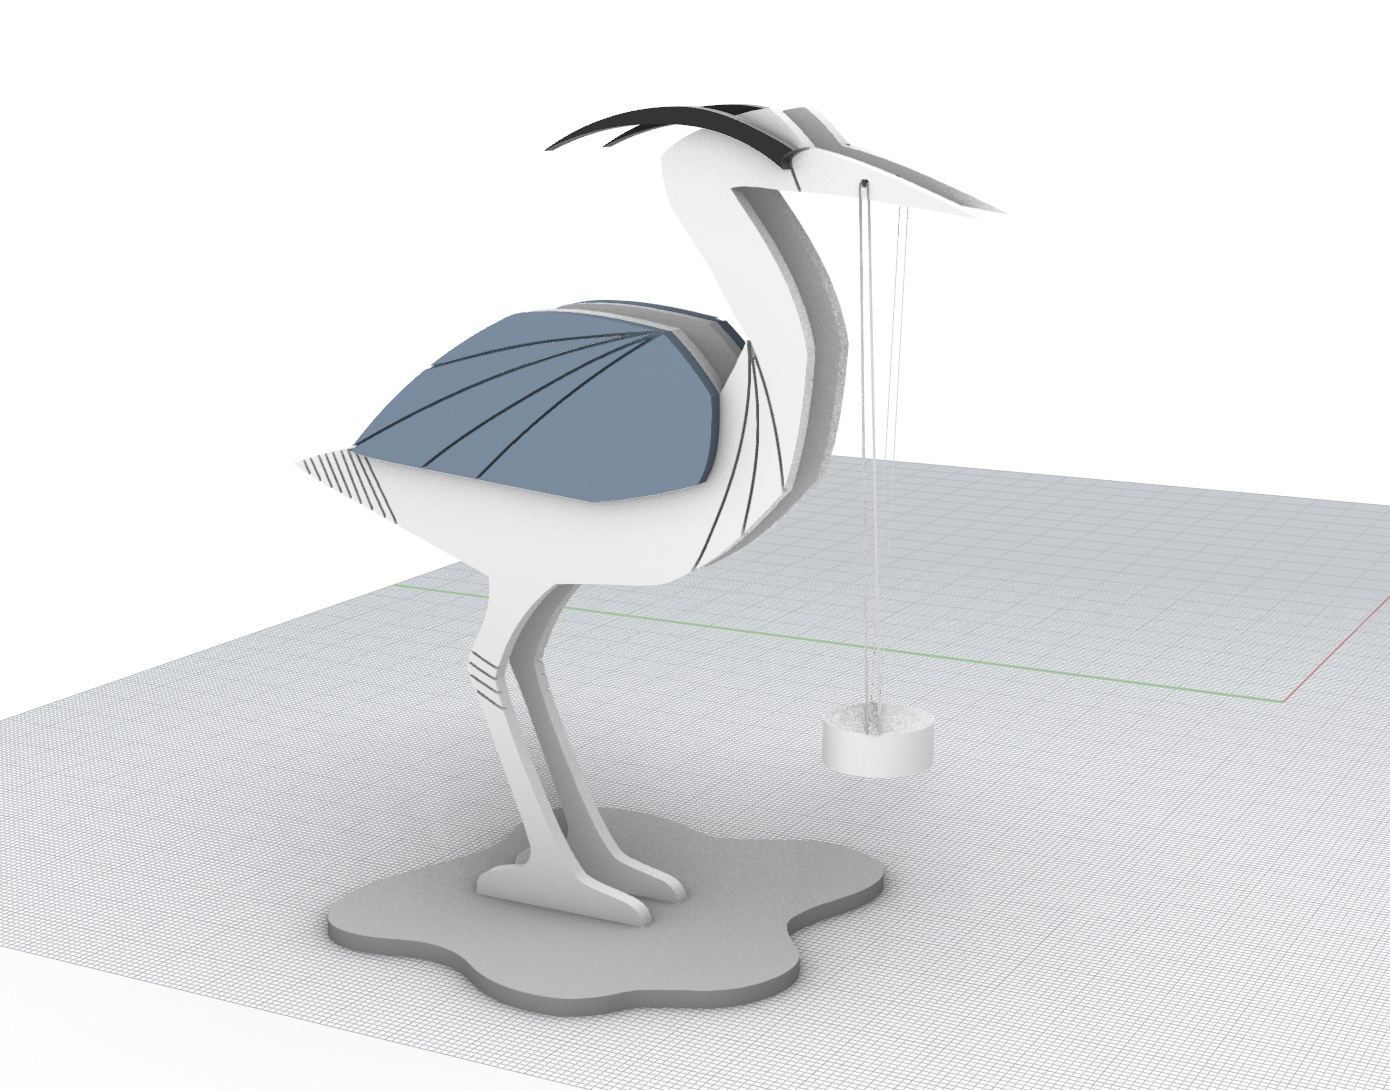
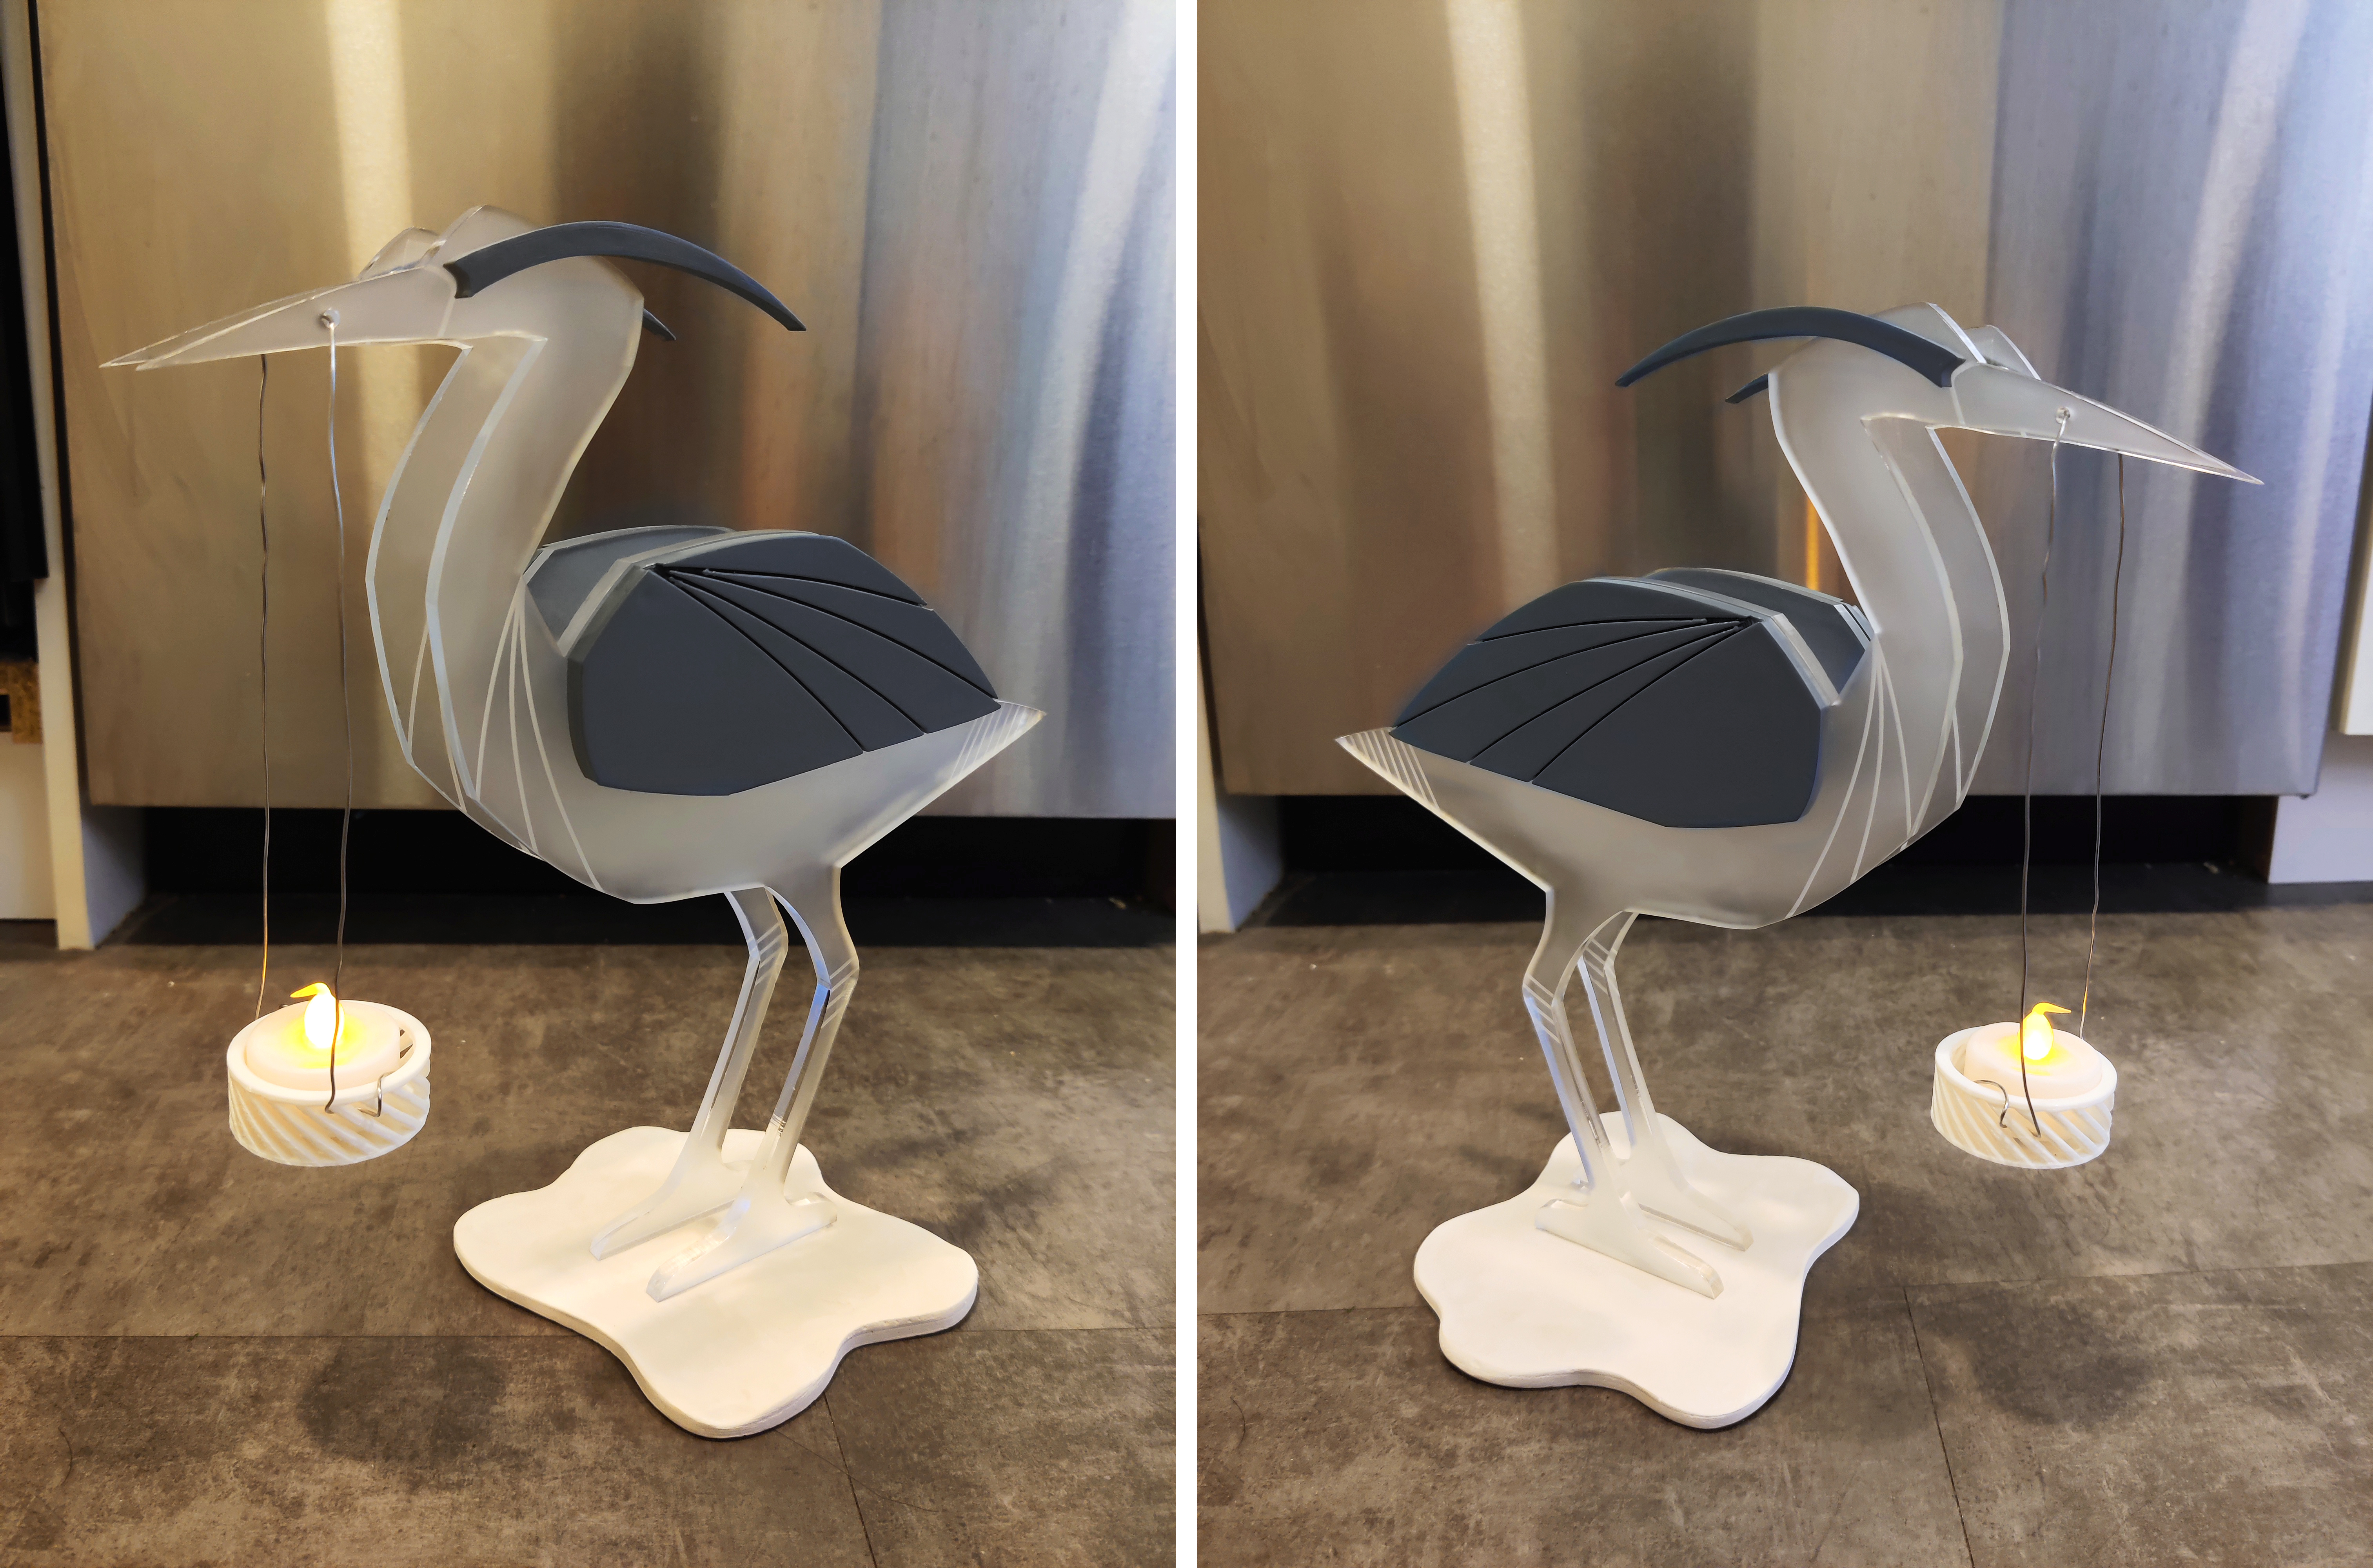
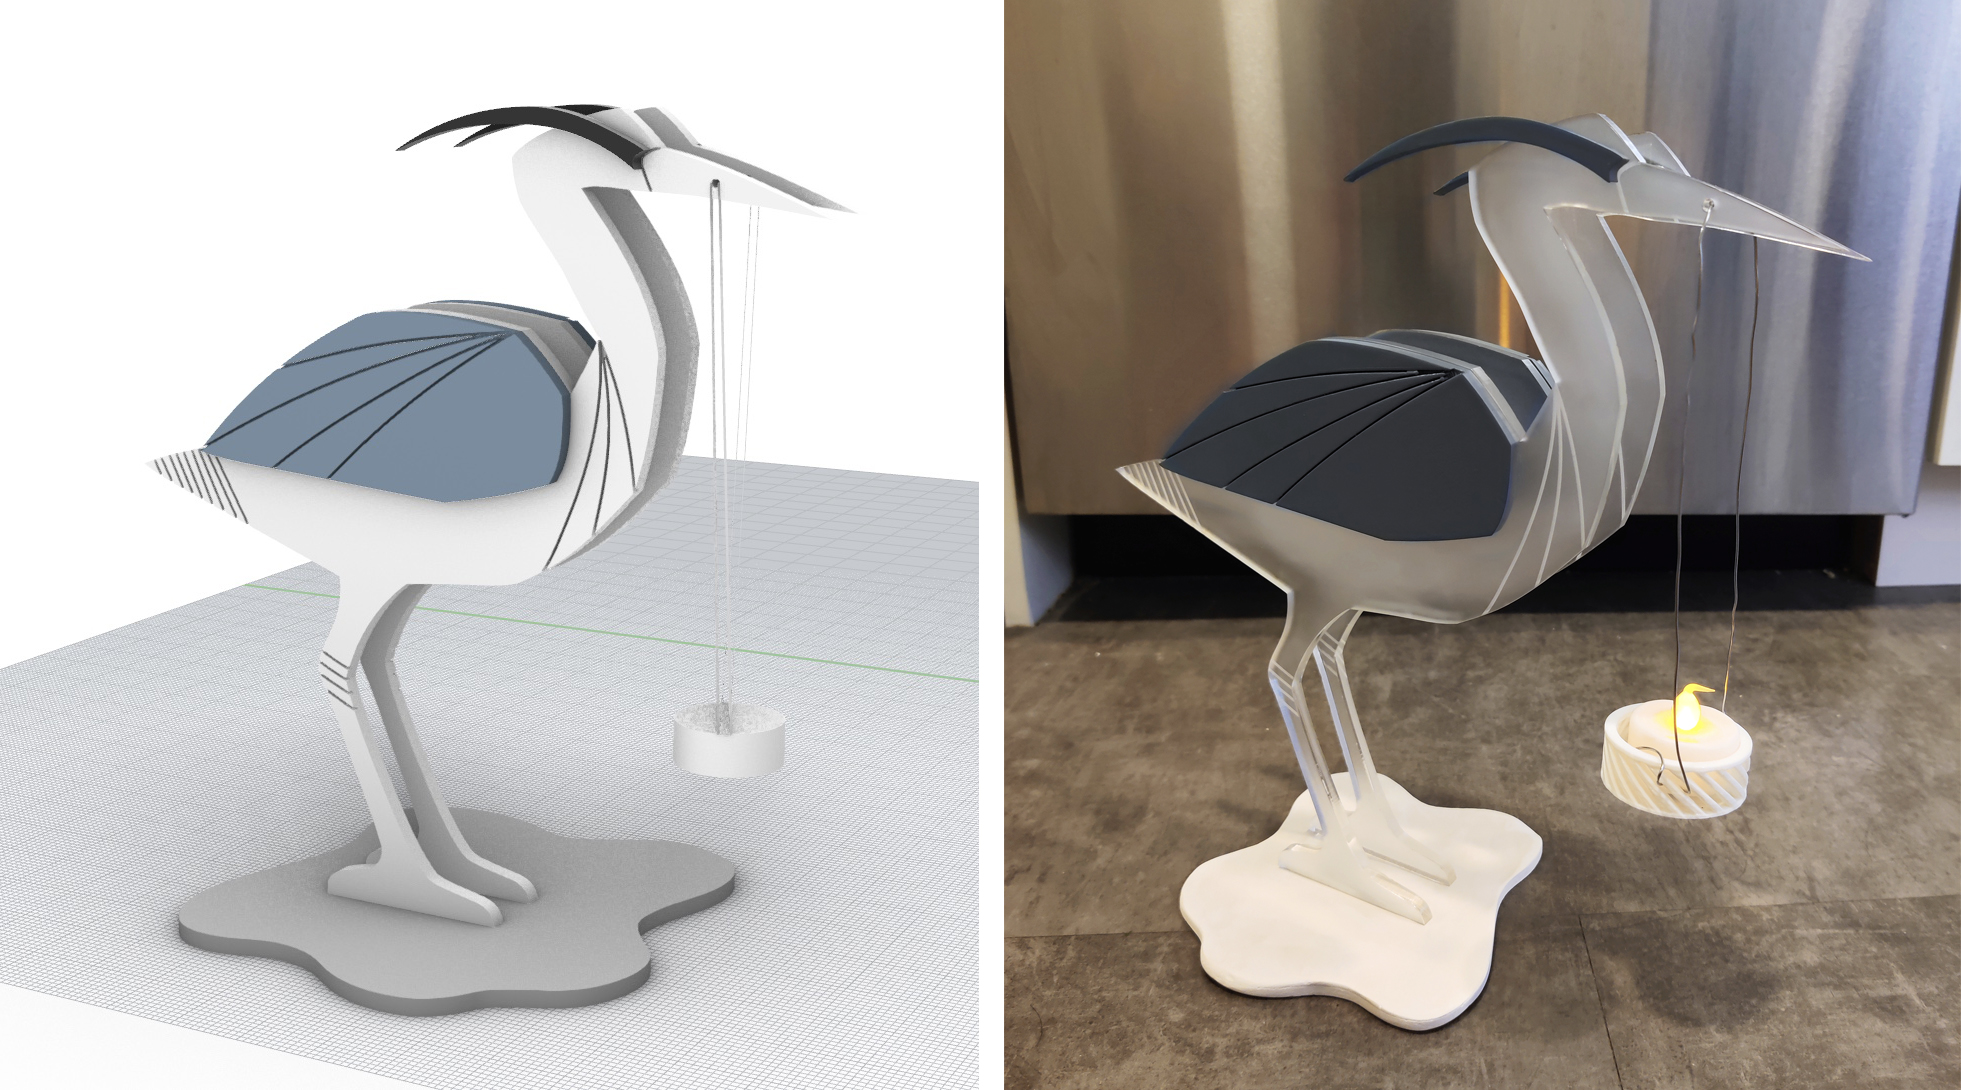 Mock up from propsal vs. final product
Approximate project timeline in calendar form:
The process below is broken up into key tasks below in the approximate order they were done in.
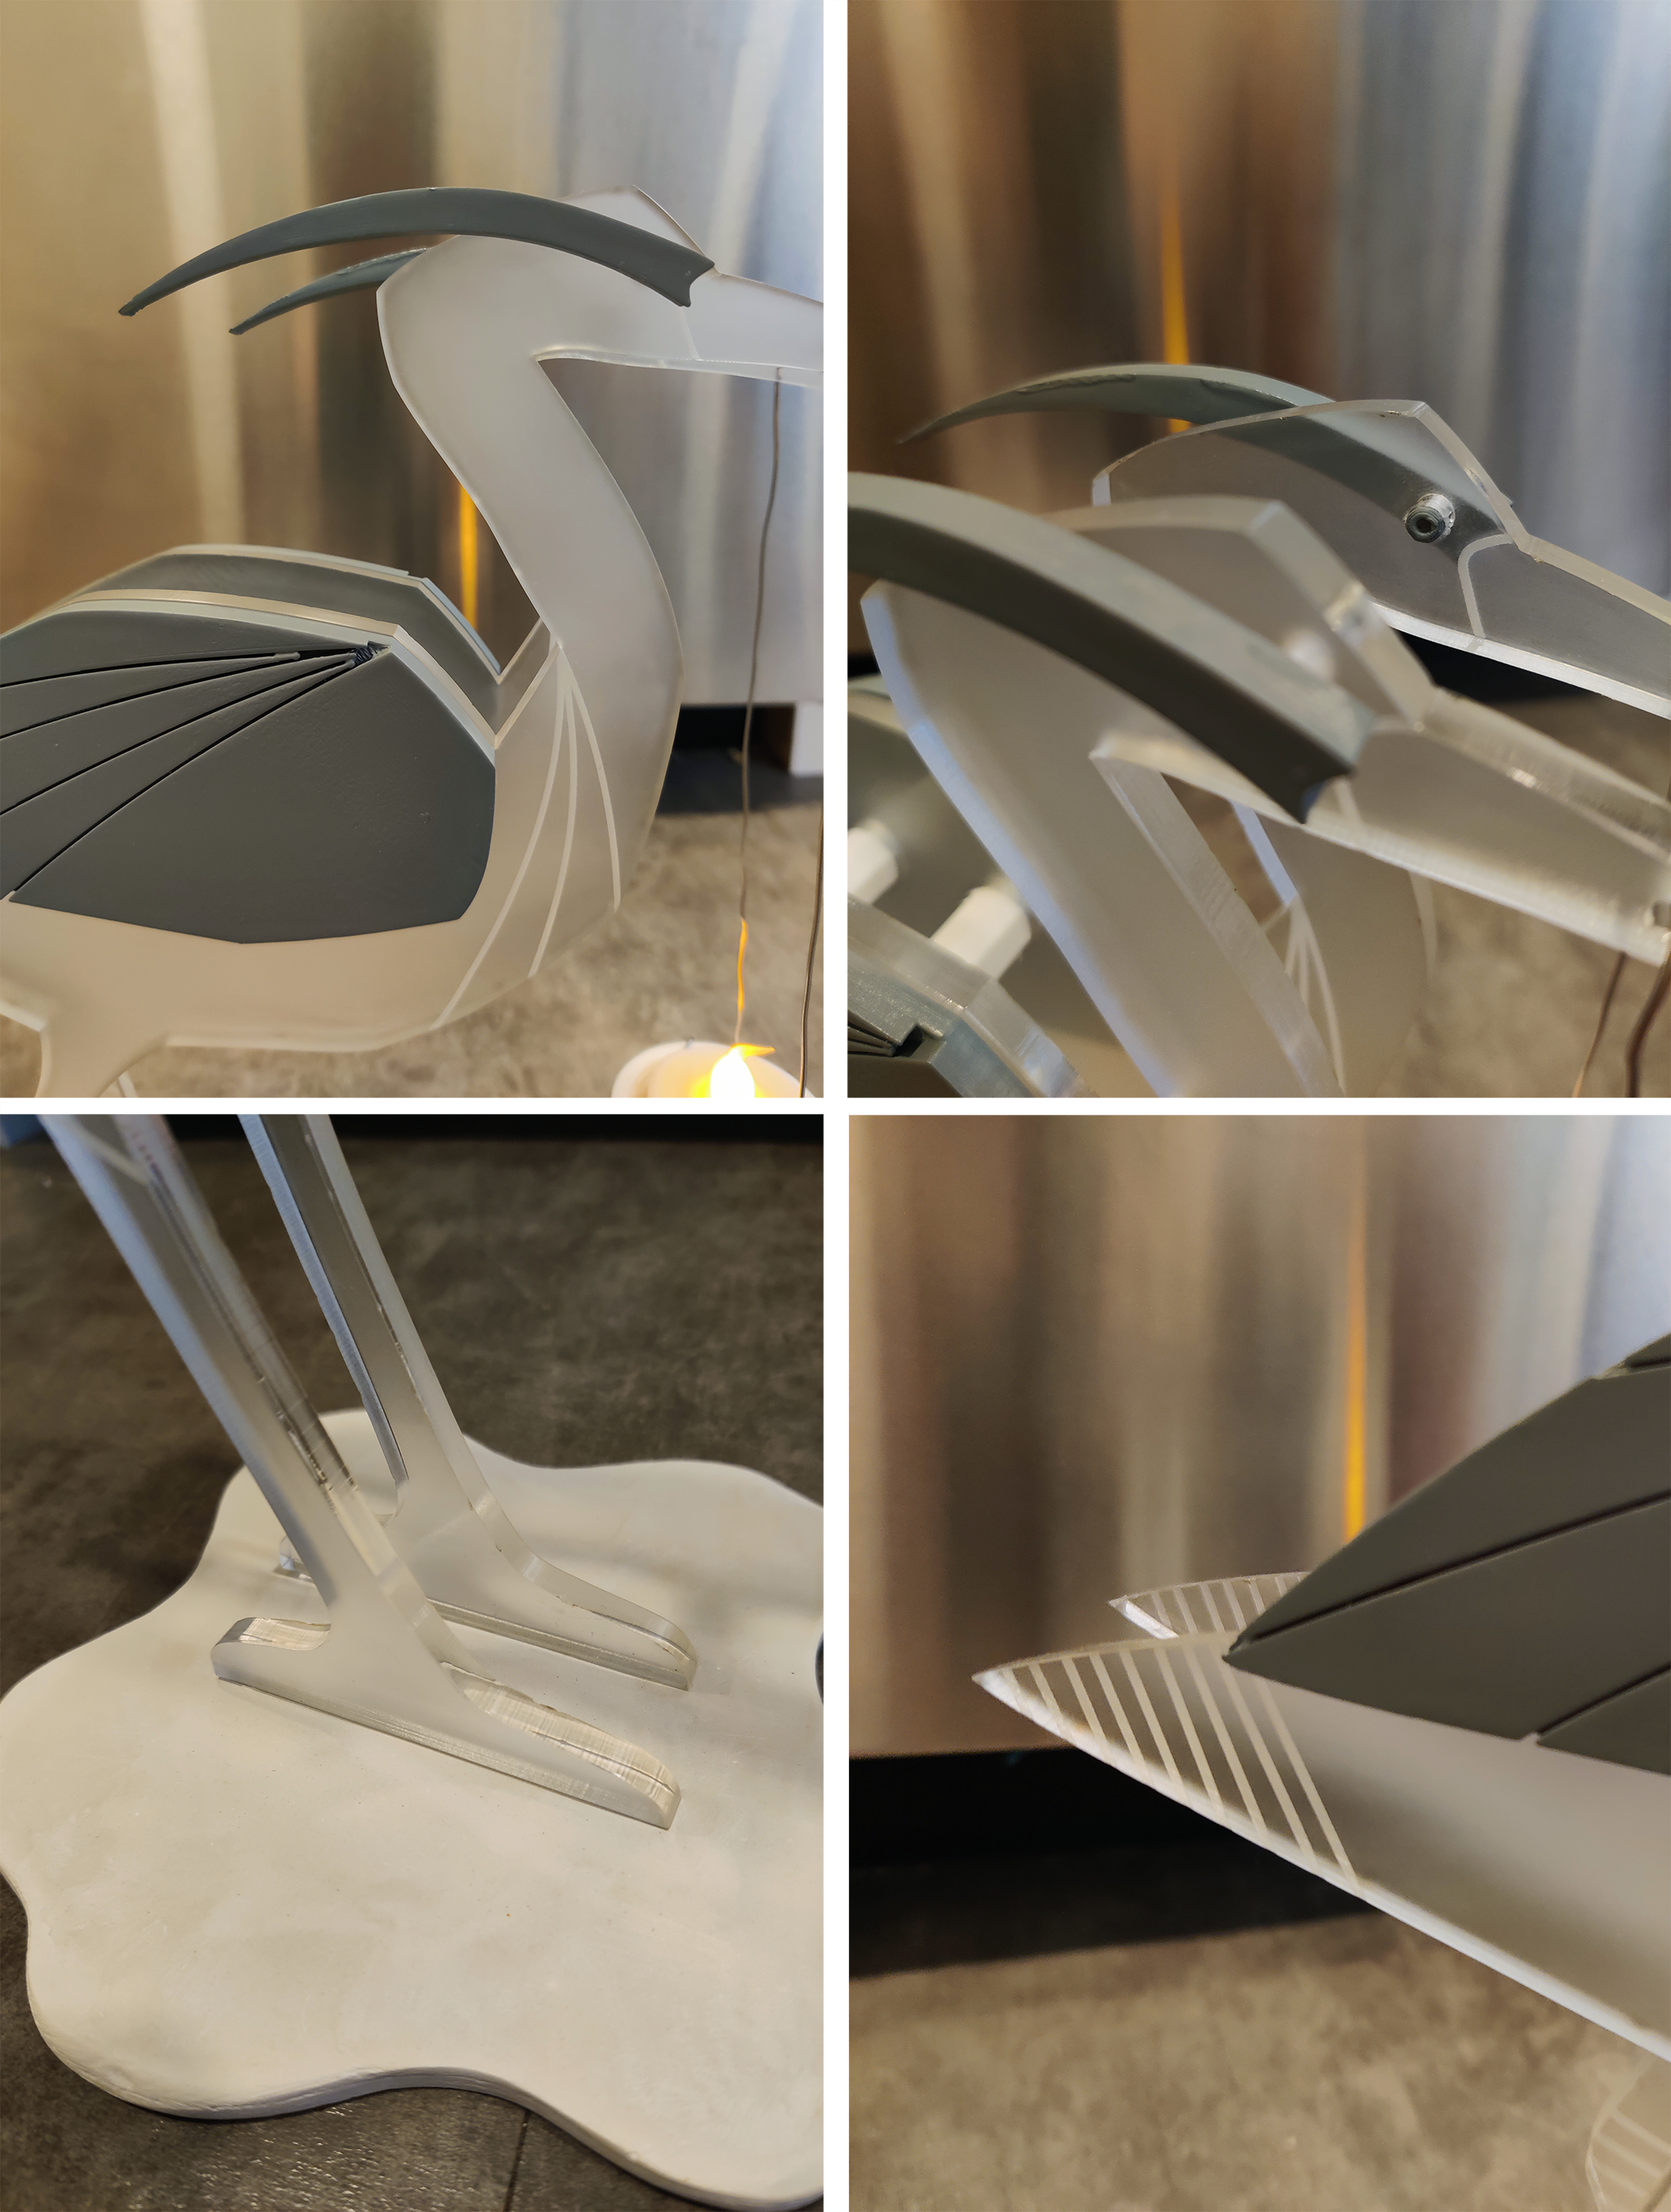
Modeling in Rhino
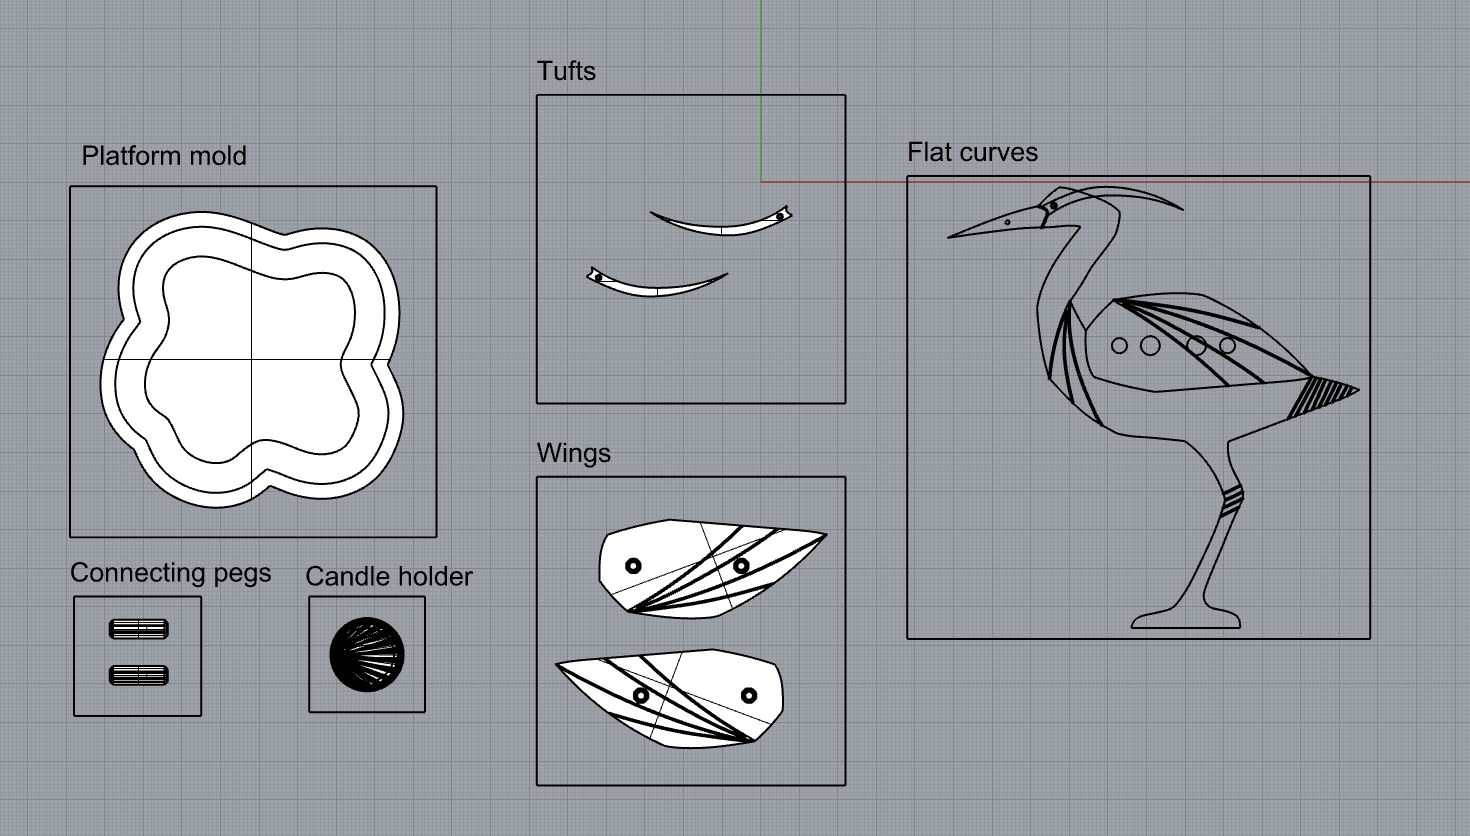
Before printing anything, I had to model the parts in Rhino. As outlined in the previous assignment, I had already imported my curves from Illustrator and began making the 3D models. The parts that needed to be made were:
- Wings x2
- Tufts on head x2
- Pegs for connecting x2
- Mold for platform
- Candle holder
One change that I made from the initial plan was adding a second connecting peg. I thought this would add sturdiness to the structure, which it did. I planned everything out in 2D and then extruded the appropriate curves for the pieces.
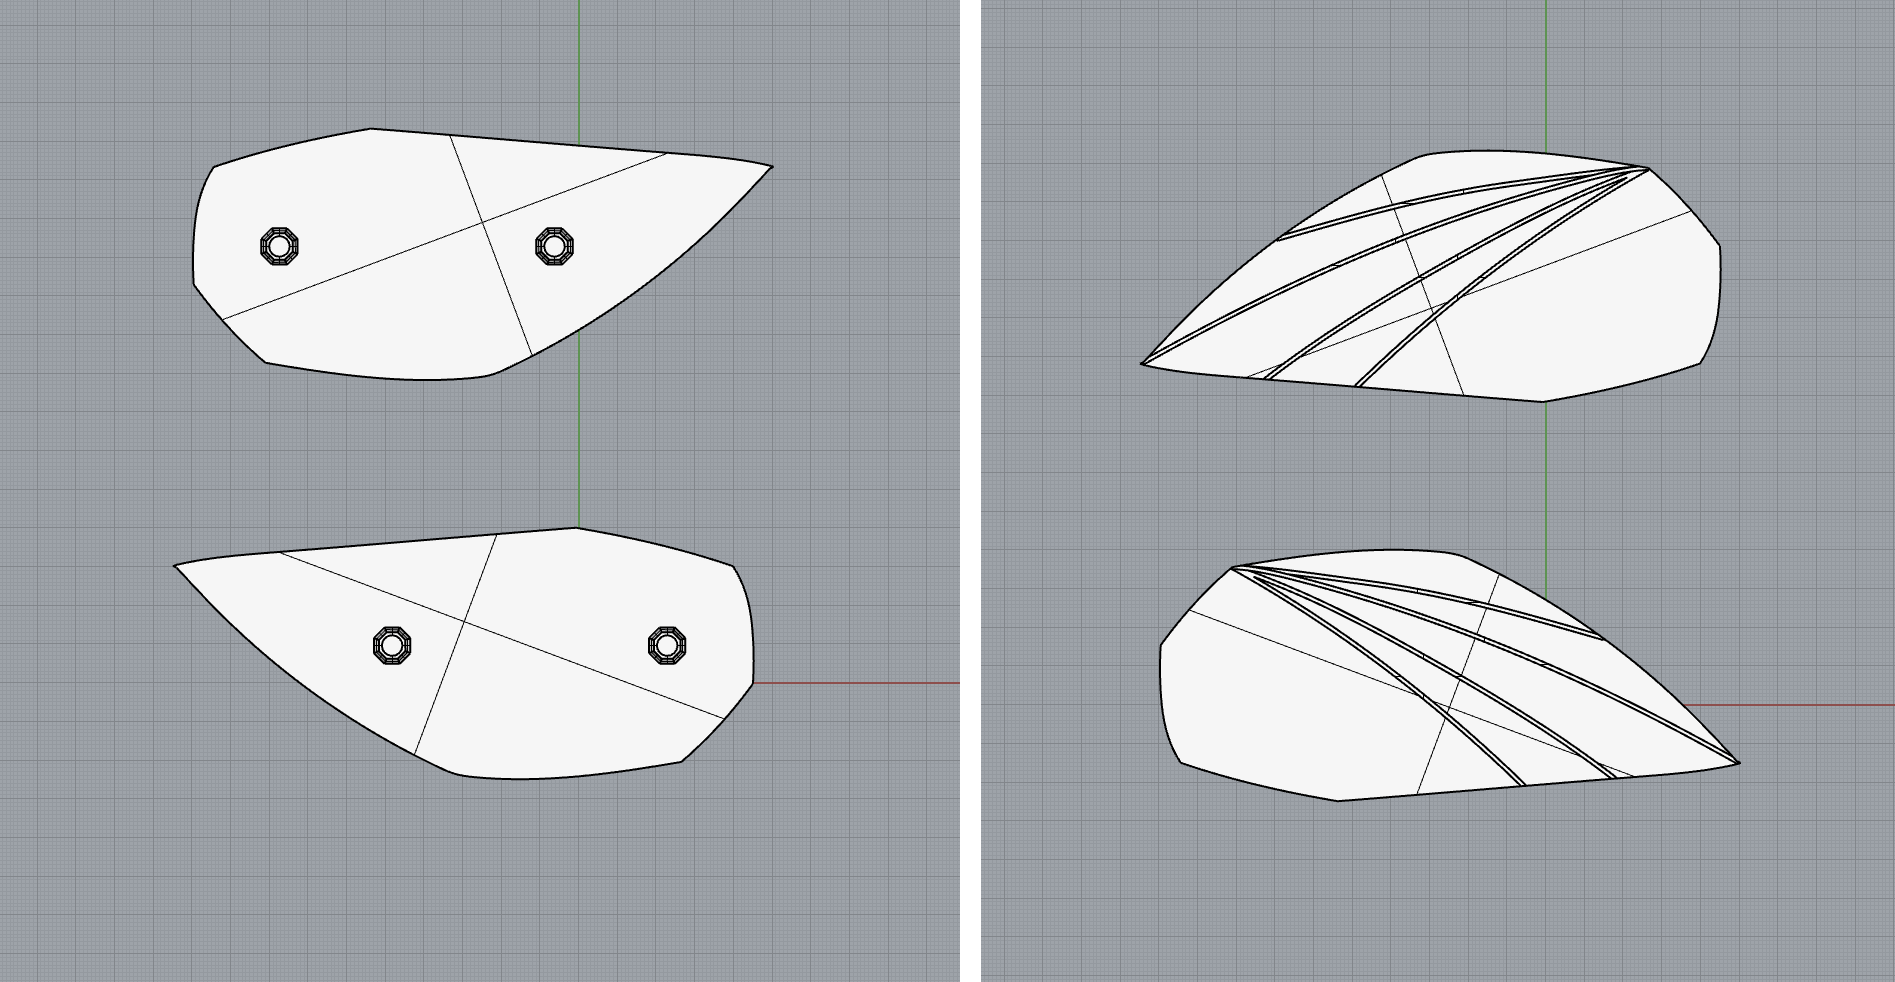
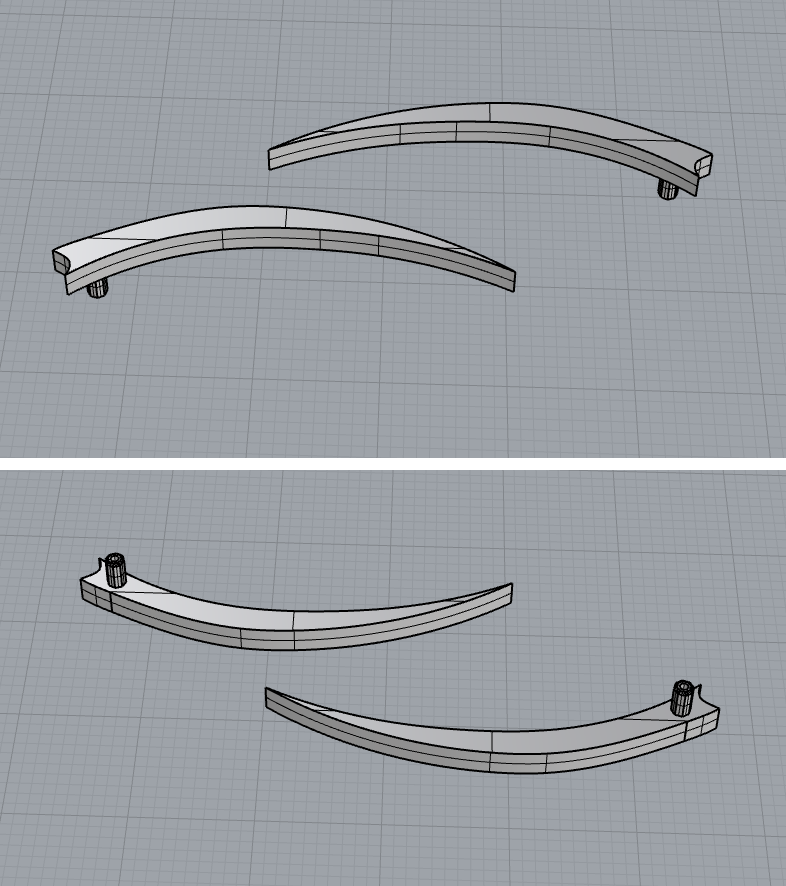
Wings
- Extrude curve - 0.25”
- Extrude 3 decorative lines - 0.25”
- Position decorative lines half way through wing
- BooleanDifference to create cutouts
- Create octagon for pegs based on diameter of outlined circles - 0.4”
- Extrude octagon peg - 0.3” (0.05” more than acrylic thickness, since the peg will be going through the hole in the acrylic)
- Chamfer outside edge
- Create cylinder to pierce through center of the peg (eyeballed)
- Boolean difference to create hollow peg
- Position peg to sit flush with surface of wing
- Duplicate peg and position according to other outlined circle
- BooleanUnion pegs to wing
- Mirror wing to get appropriate orientation for other side
Tufts
- Extrude curve - 0.25”
- Create 1 octagon for peg based on diameter of outlined circles - 0.16”
- Extrude octagon peg - 0.3”
- Chamfer outside edge
- Create cylinder to pierce through center of the peg (eyeballed)
- Boolean difference to create hollow peg
- Position peg to sit flush with surface of tuft
- BooleanUnion peg to tufts
- Mirror tuft to get appropriate orientation for other side
Connecting pegs
- Create octagon for peg based on diameter of outlined circles - 0.5”
- Extrude peg - 1.5”
- Chamfer both ends
- Create cylinder to pierce through center of the peg (eyeballed)
- Boolean difference to create hollow peg
- Duplicate for 2 pegs
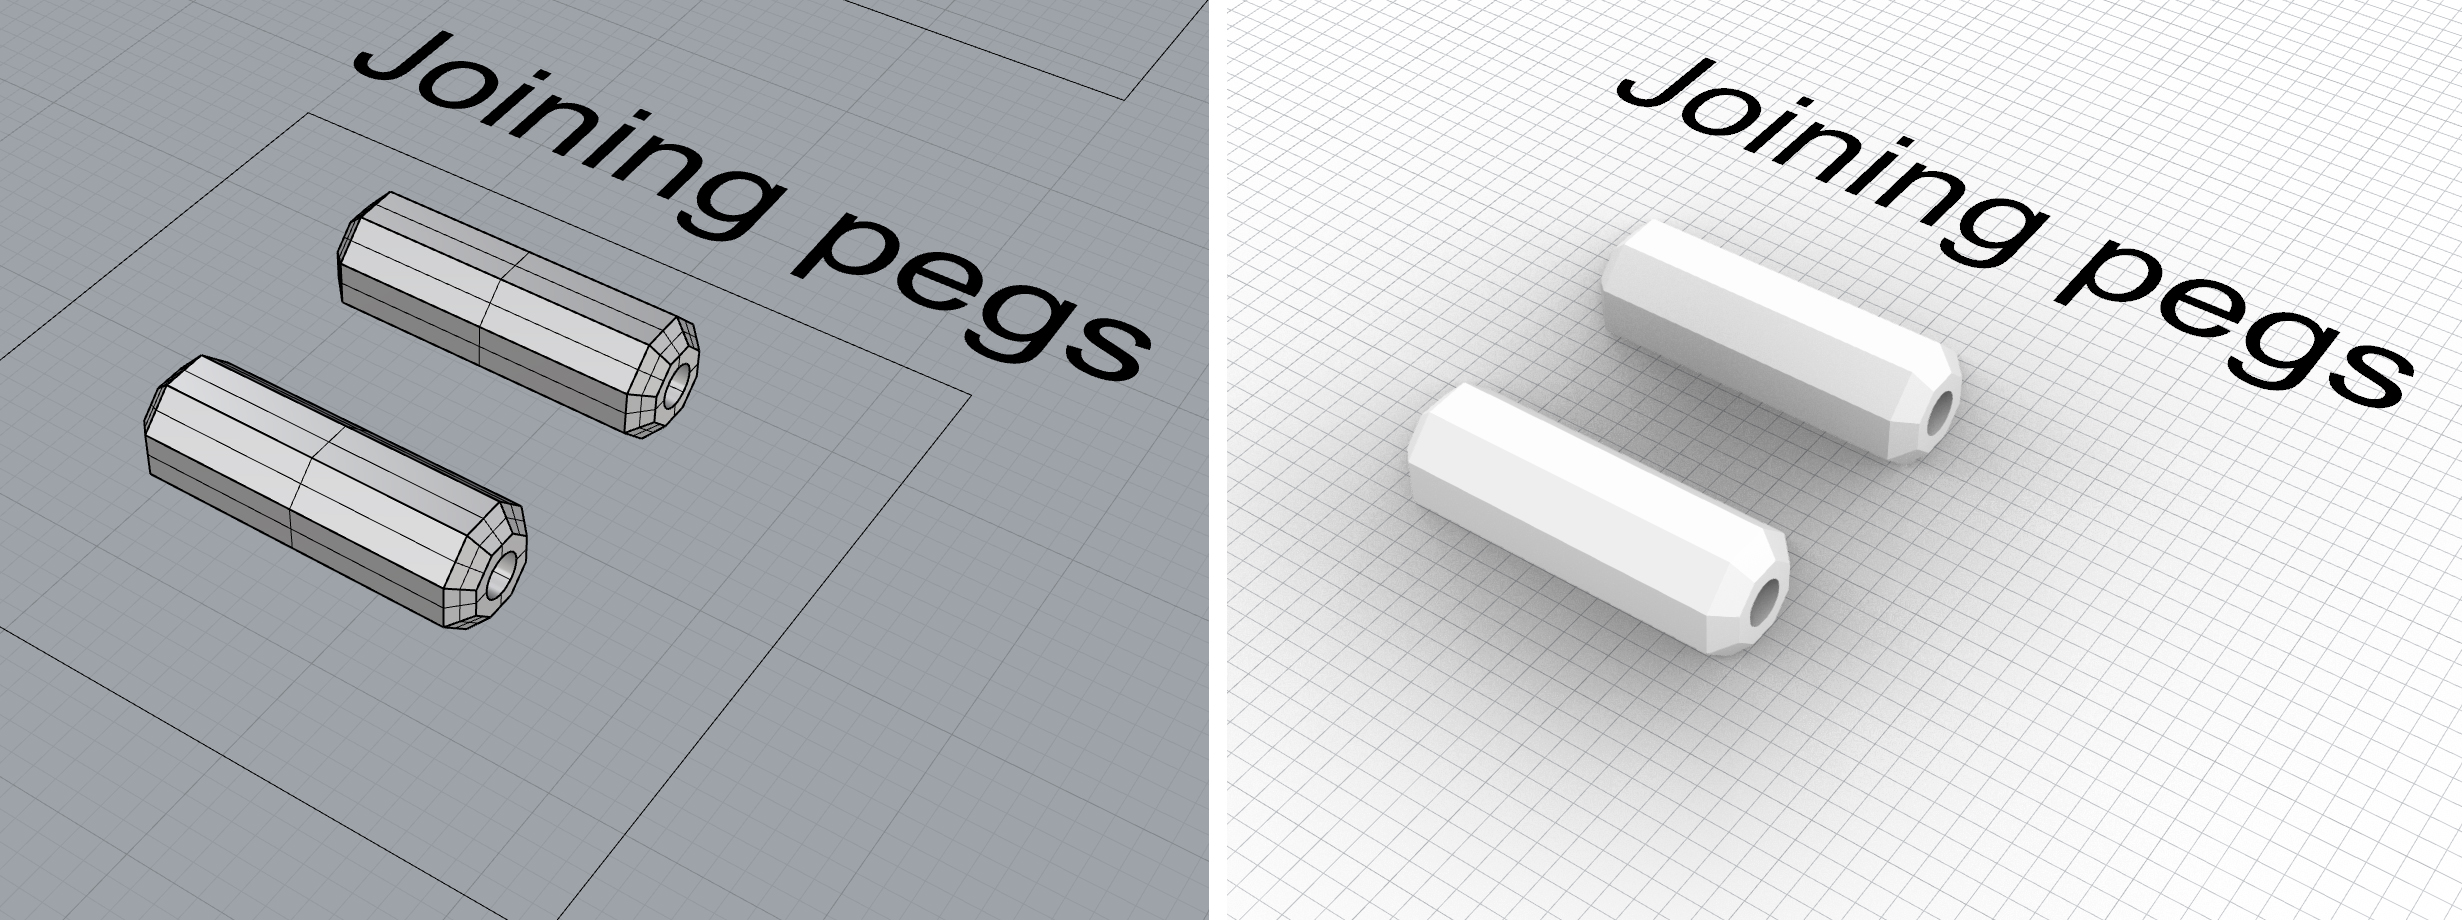
After printing, I noticed that the fit was just a little loose (printer printed about .02” too small), so I equally scaled the width and height to compensate for this tolerance noise. The final diameter is 0.52”.
Mold for platform
- Extrude existing platform curve - 0.25”
- Offset by 0.5”
- Use extruding offset surveys and surface from planar curves to create mold “box”
- BooleanUnion all components of mold

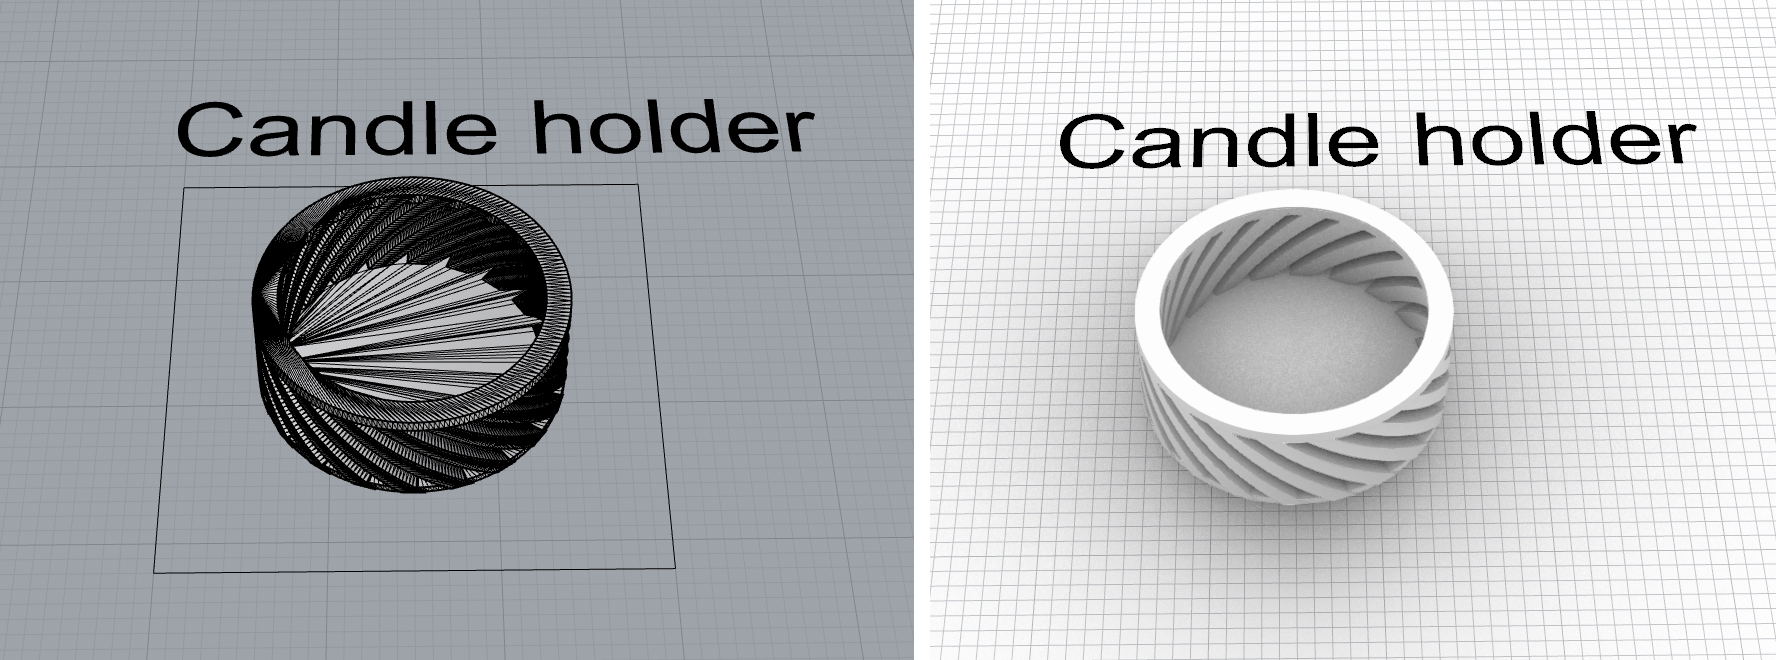
Candle holder
I found a candle holder on Thingiverse that I thought would work since it has holes in the body that I can string a wire through. I imported the file and scaled it to my candle dimensions (1.41” diameter, 0.67” high) plus a little wiggle room.
3D Printing
Since I modeled in inches in Rhino and there is no easy way to change Cura from the metric system, I couldn’t export as STL since STL does not hold unit information. Instead, I learned that I can export as 3mf, which will retain unit information. I exported all of my files as 3mf and imported them into Cura.
The whole printing process took about 2 full days (including overnights), which fit well within my initial plan estimates.
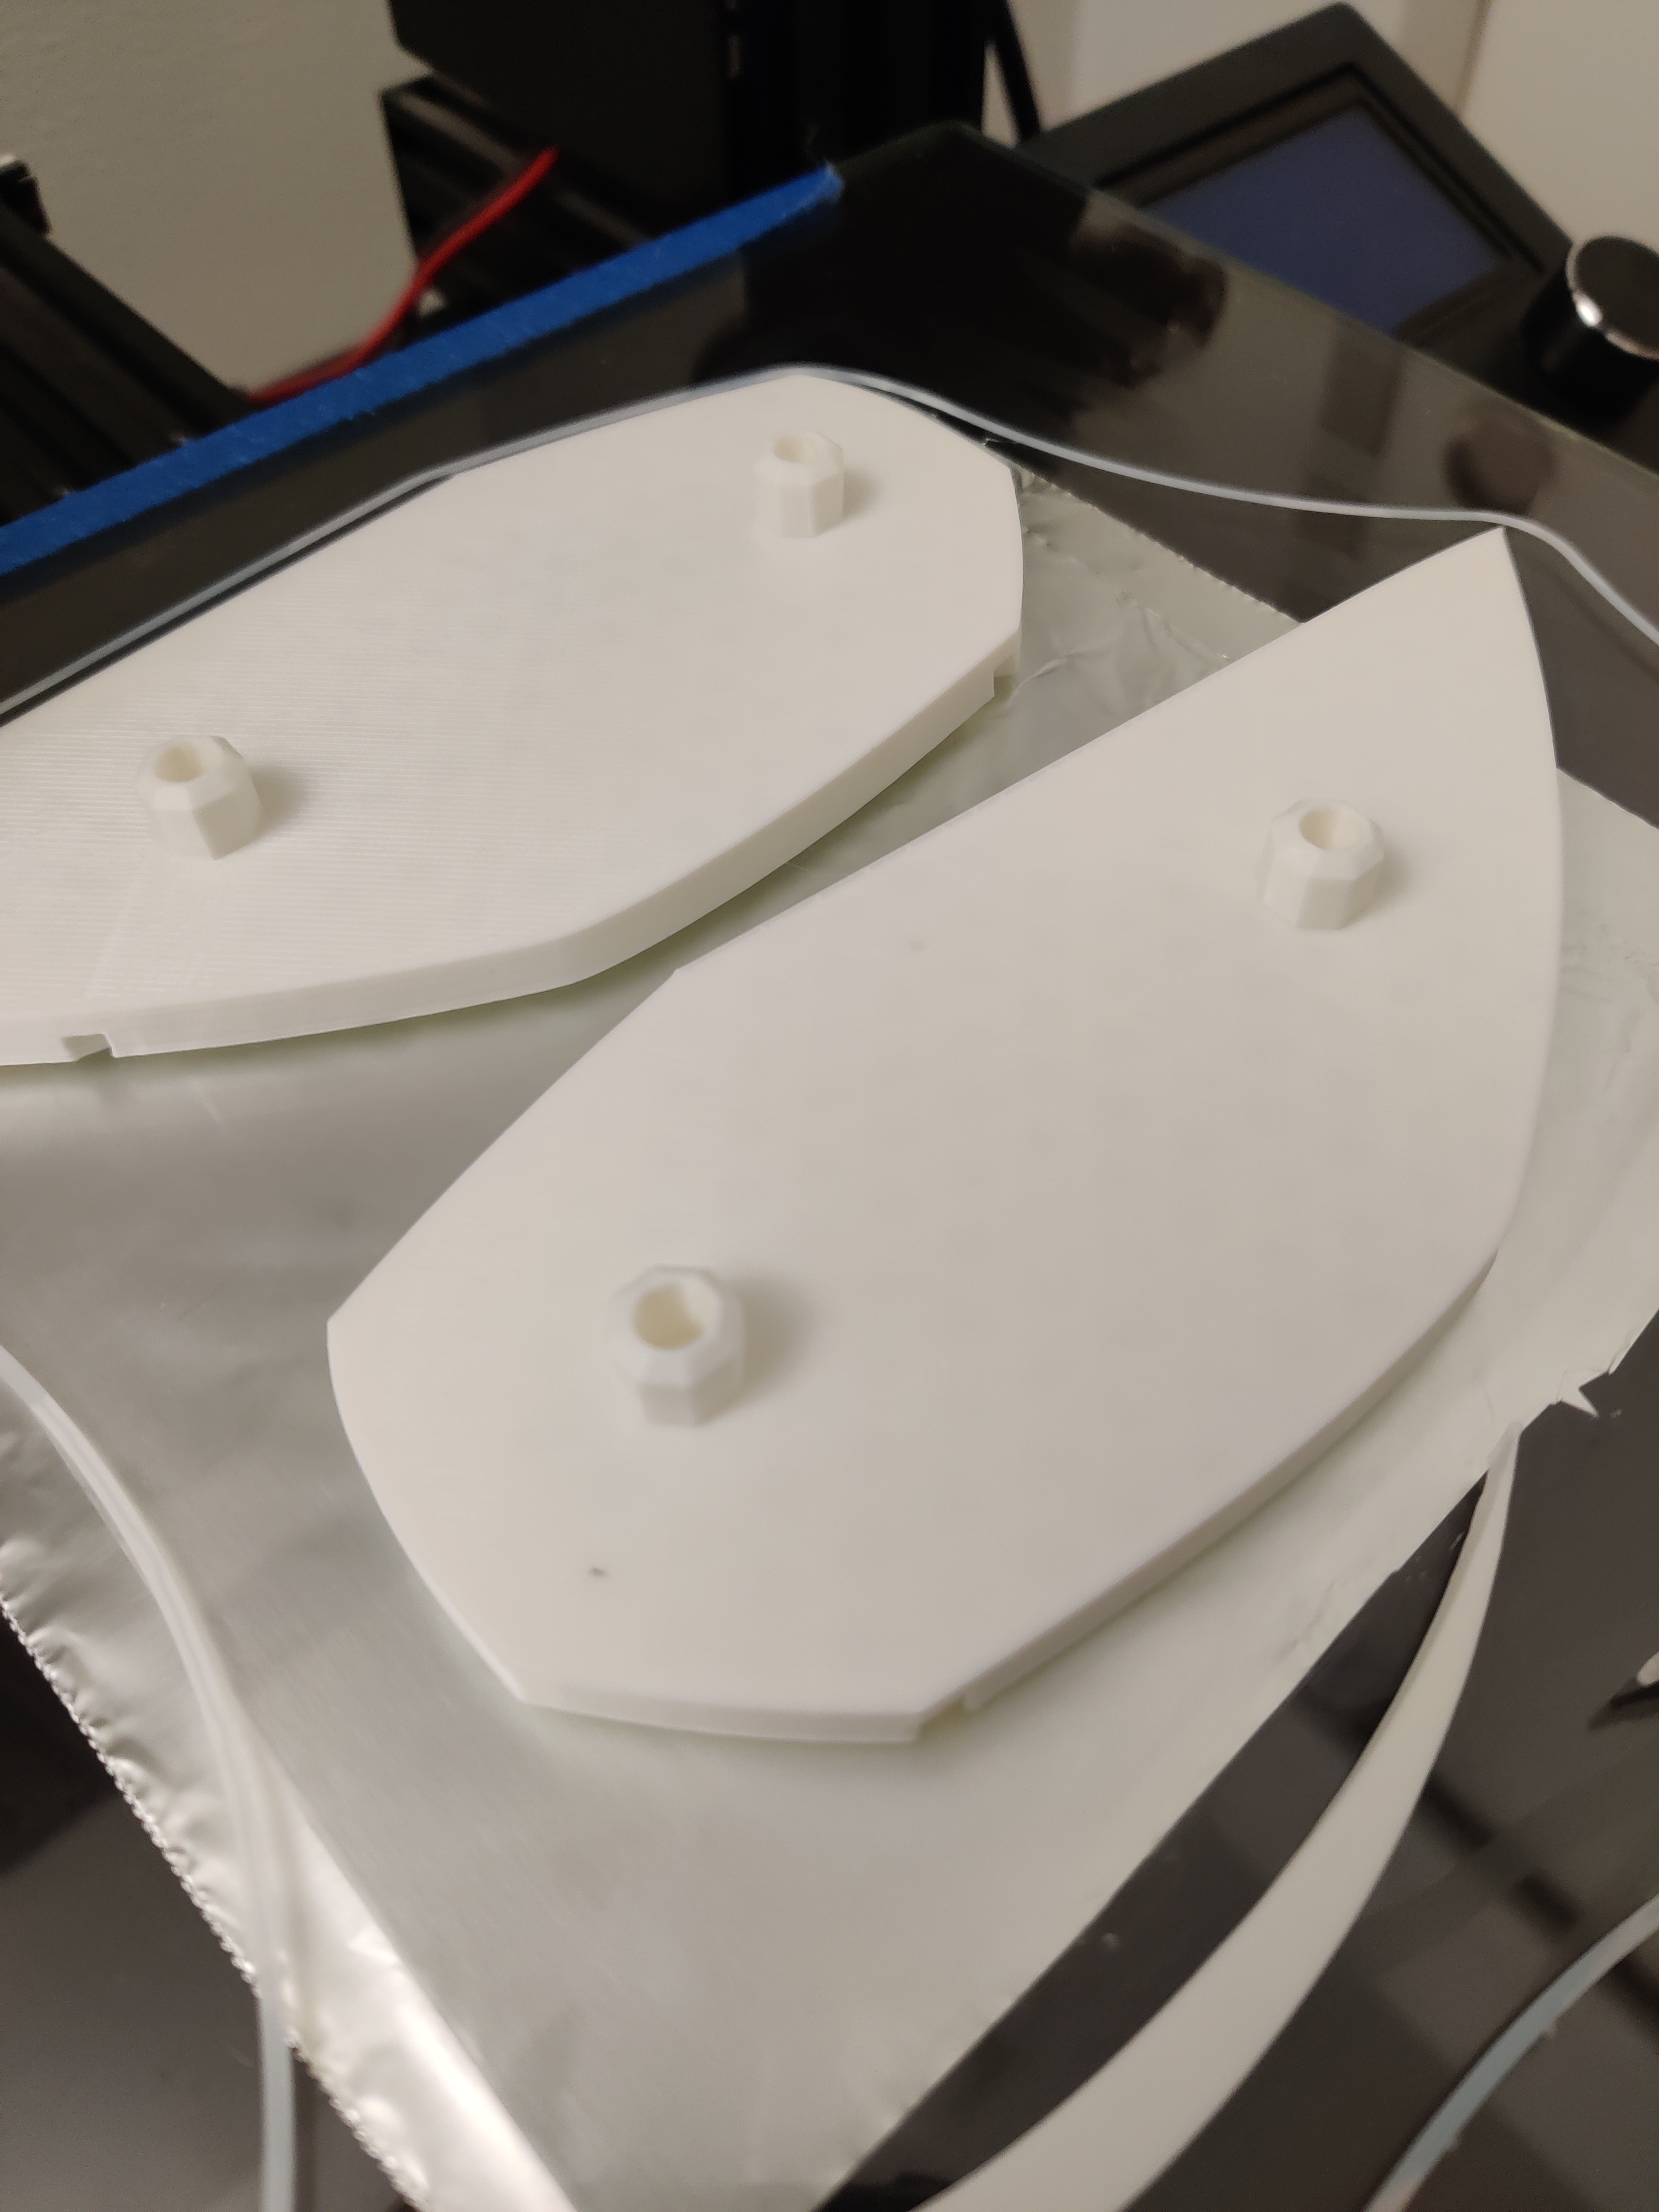
Wings
Duration: ~9 hours (ran overnight)
Standard quality, turned ironing on. A little loose, so I just put a layer of tape over the pegs as an effective quick fix.
Tufts
Duration: ~50min
Standard quality, turned ironing on. Printed twice because I accidentally broke the pegs off of the first print while playing around with them. Didn’t realize how fragile it is!
Connecting pegs
Duration: ~45mins
Standard quality. Printed twice after increasing size to account for tolerance noise.
Candle holder
Duration: ~2 hours
Standard quality, turned ironing on. No issues.
Platform mold
Duration: ~11hr (ran overnight).
Low quality, infill 10%. No issues.
Laser cutting
I was actually really nervous about laser cutting because I was reading the manual for the laser cutters at the Mill and it kept saying how flammable acrylic is! I was literally sweating the whole time (but nothing actually went wrong!).
In my Illustrator file, I have both areas to cut out of the acrylic (the main body of the bird) and areas to engrave (a few decorative lines). The engraving areas are curves that were first outlined with 3pt stroke and then converted to shapes via outline stroke. I’m not actually sure if this makes a difference, but I wanted to make sure there was a distinction between cutting areas and engraving areas, even though I read that the laser cutter only recognizes strokes of .001 as cuts.
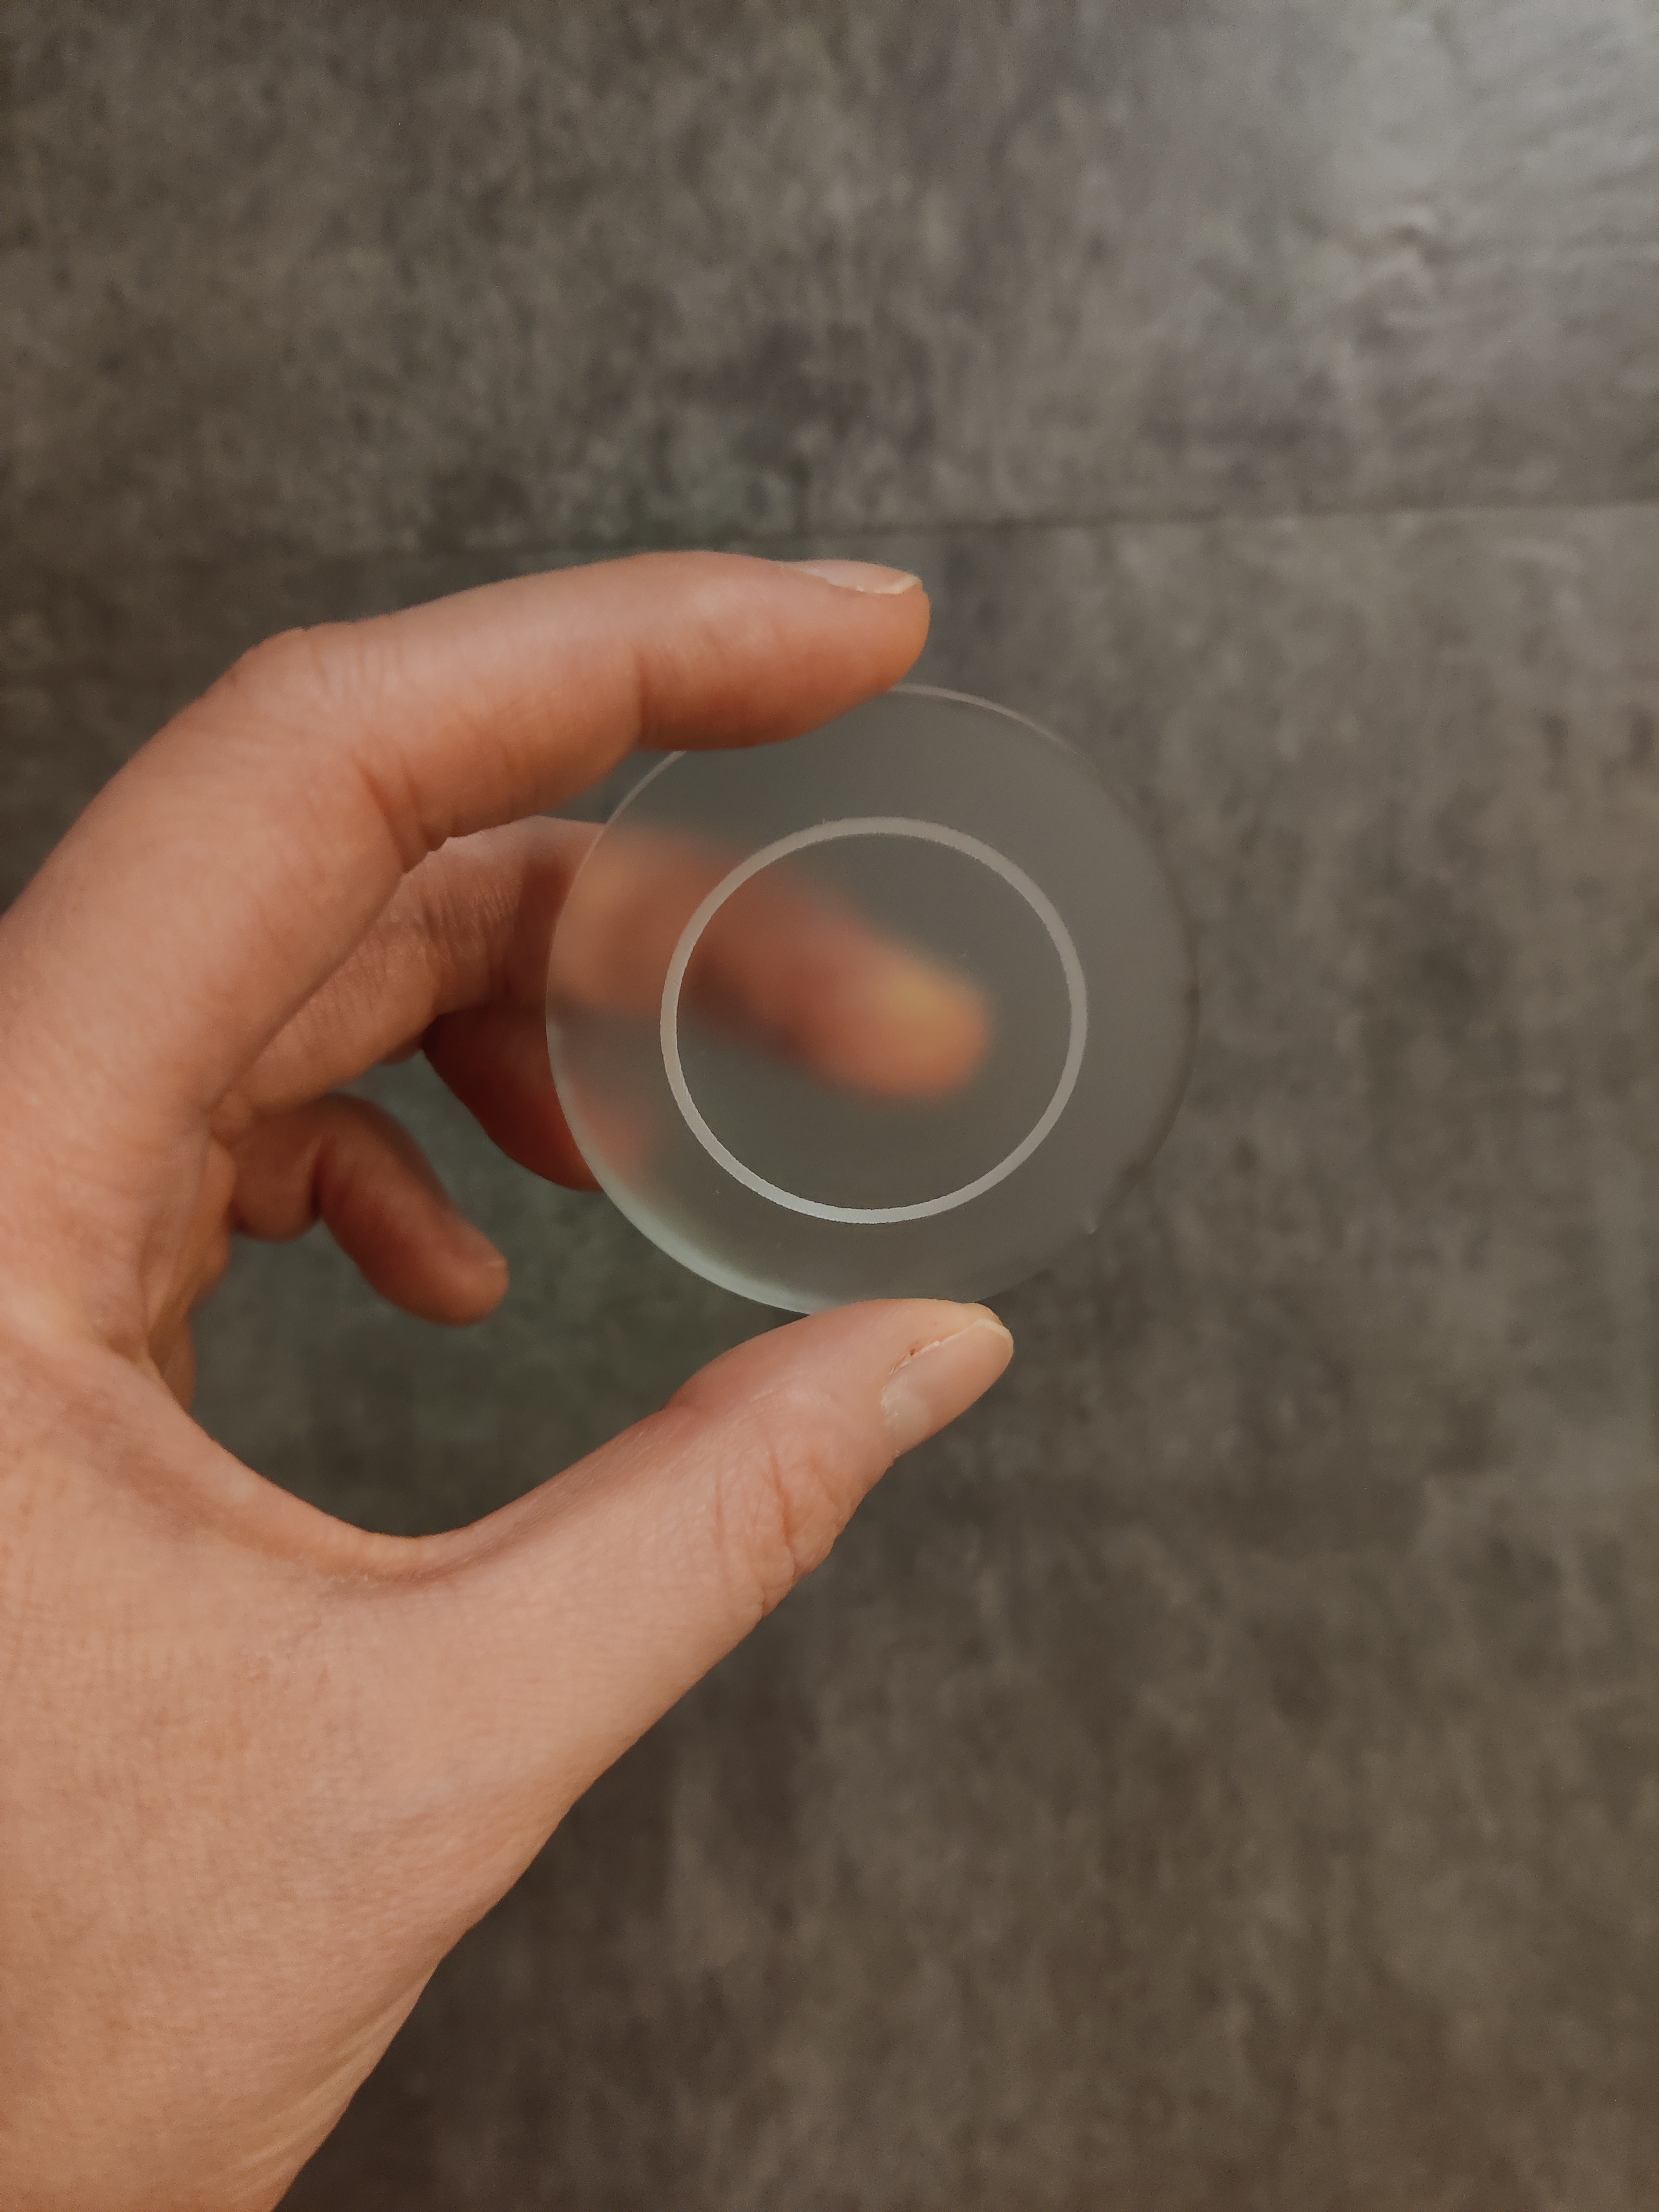
I had two files which were mirrors of each other in addition to a test file which was just a cut circle with engraving inside. I bought 3 12x16” frosted acrylic sheets for this project. Even though I technically only need 2 12x12” sheets, I wanted to make sure that I had some extra material in case I made mistakes.
Testing First, I tested cutting and engraving my test file circle. I selected “Combined” mode so that it would engrave and cut in one go. I used the recommended settings that are provided at the Mill:
Engraving: 90 speed, 60 power, 50 frequency
Cutting: 2 speed, 100 power, 100 frequency
The circle came out great with no issues, so I went on to cut the real pieces.
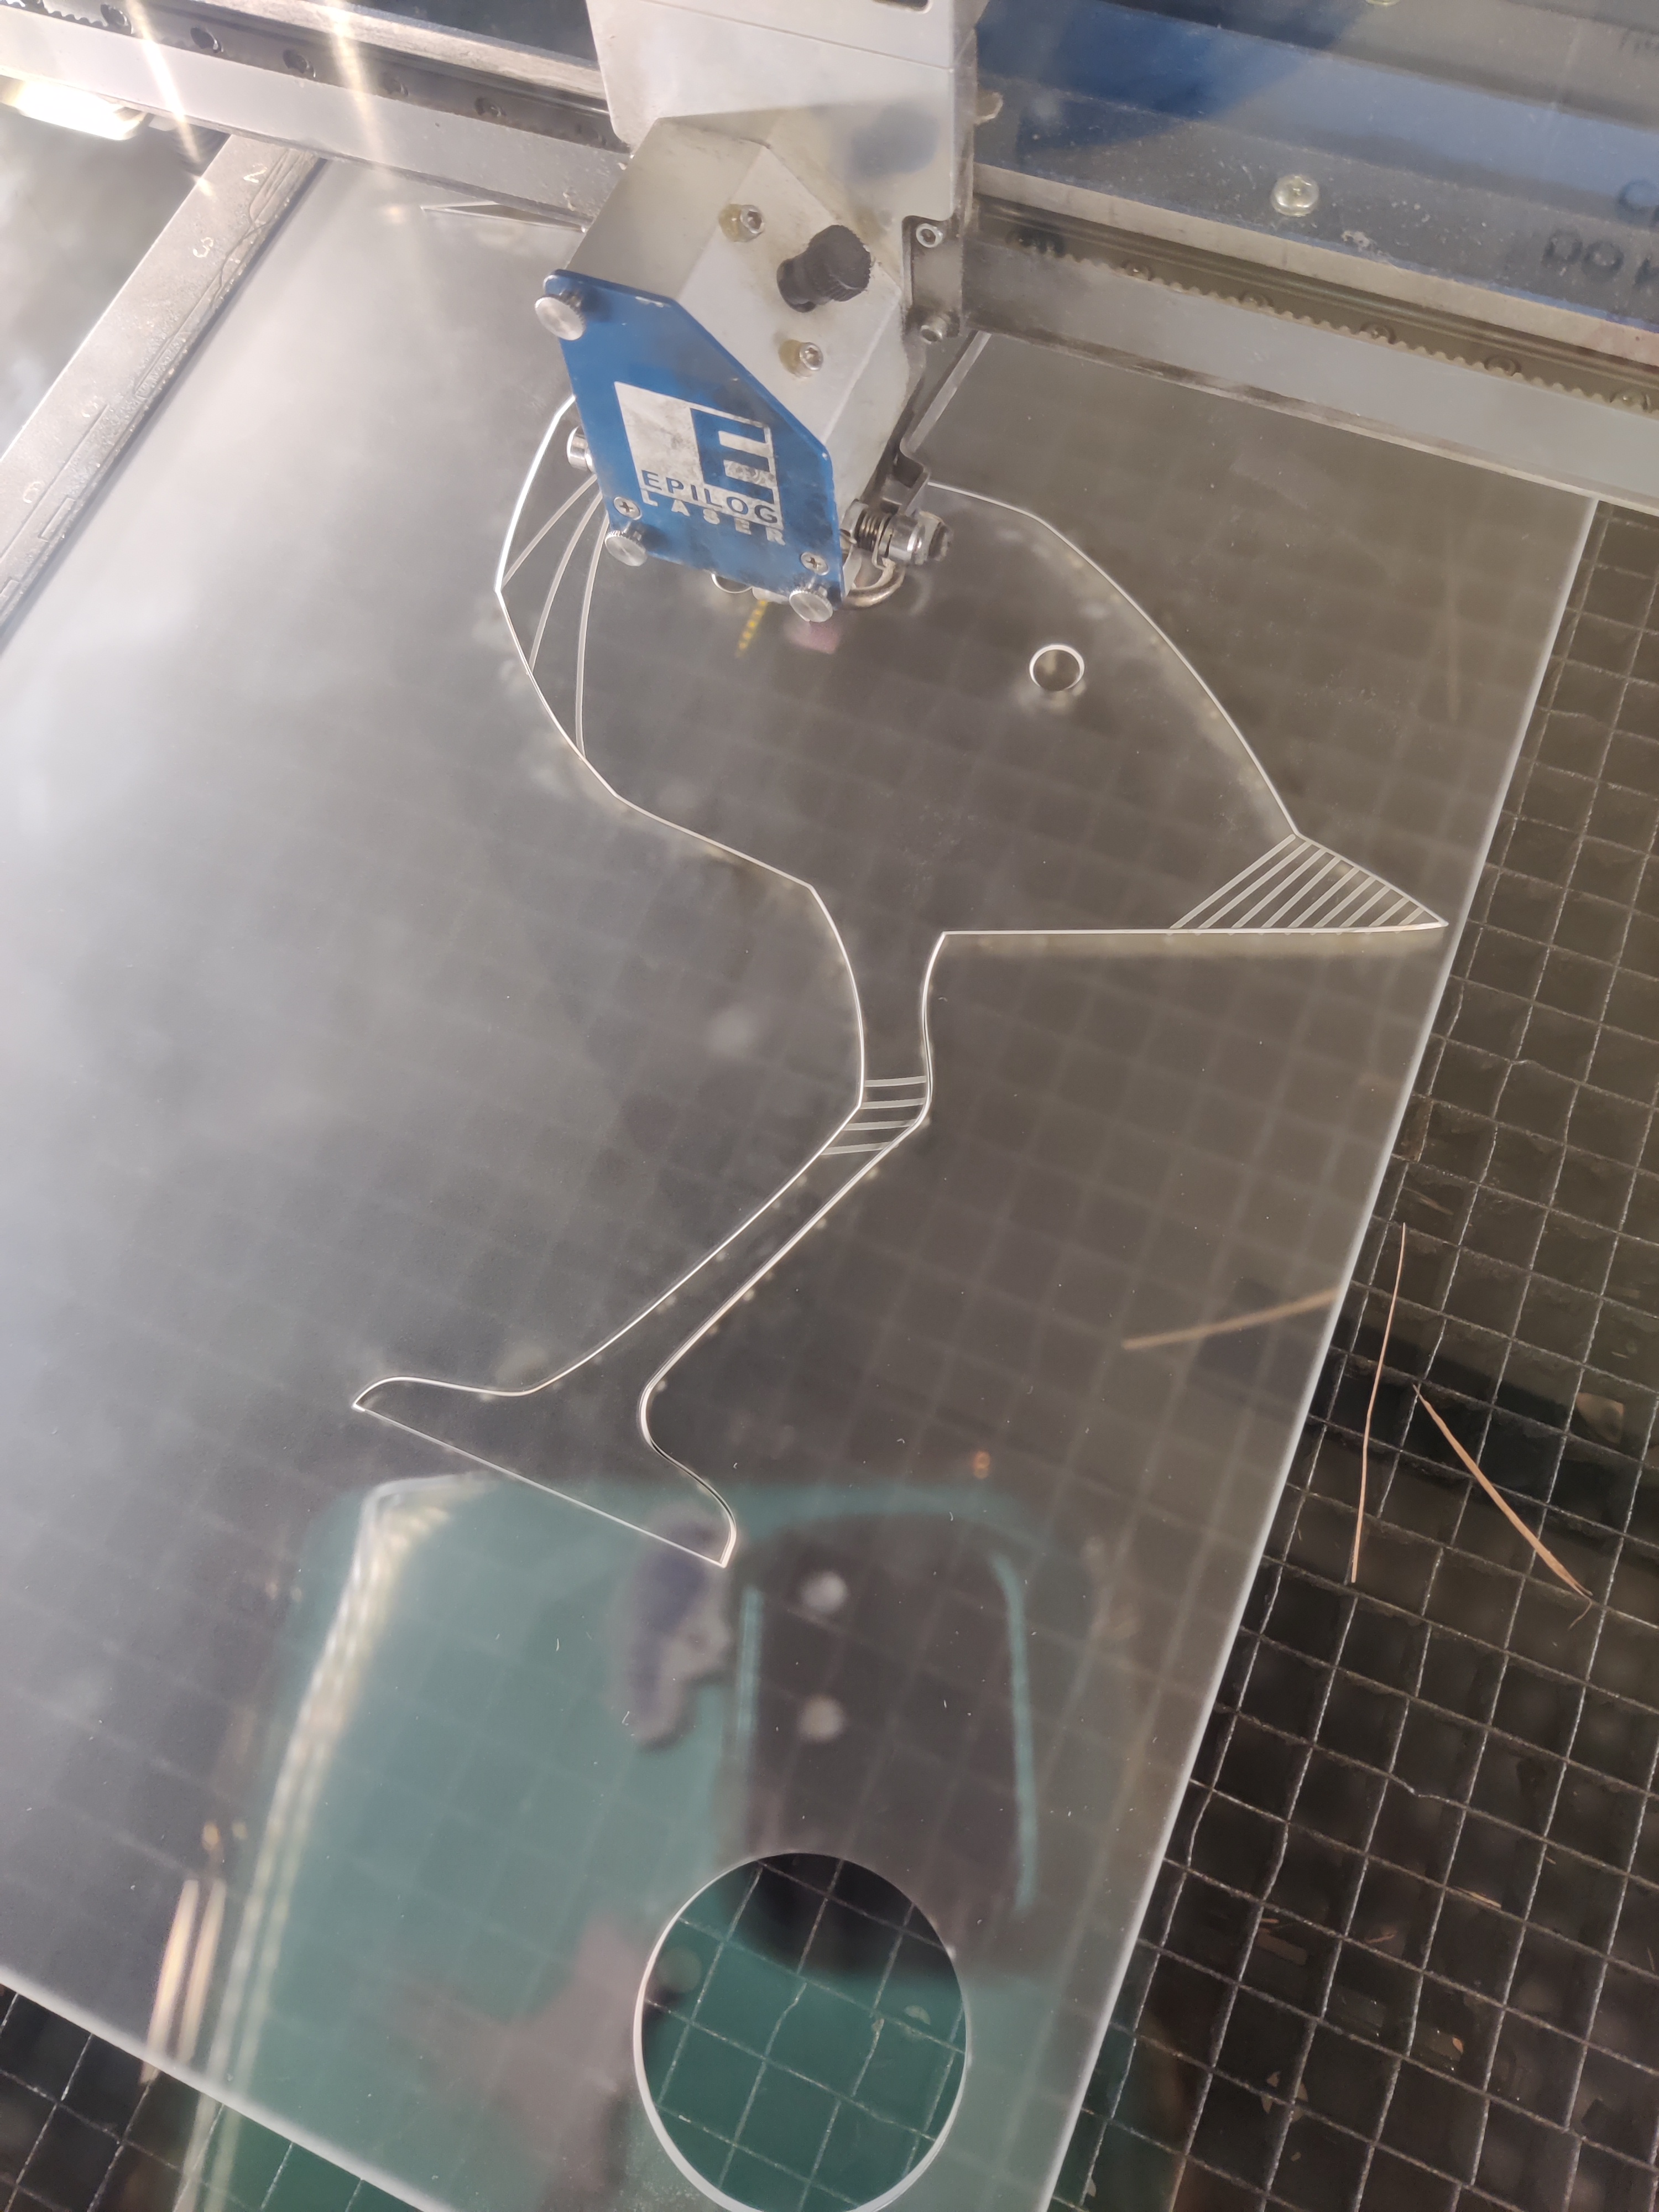
The real deal I loaded up my files and printed with the same settings that I used for the test prints and they came out near perfectly.
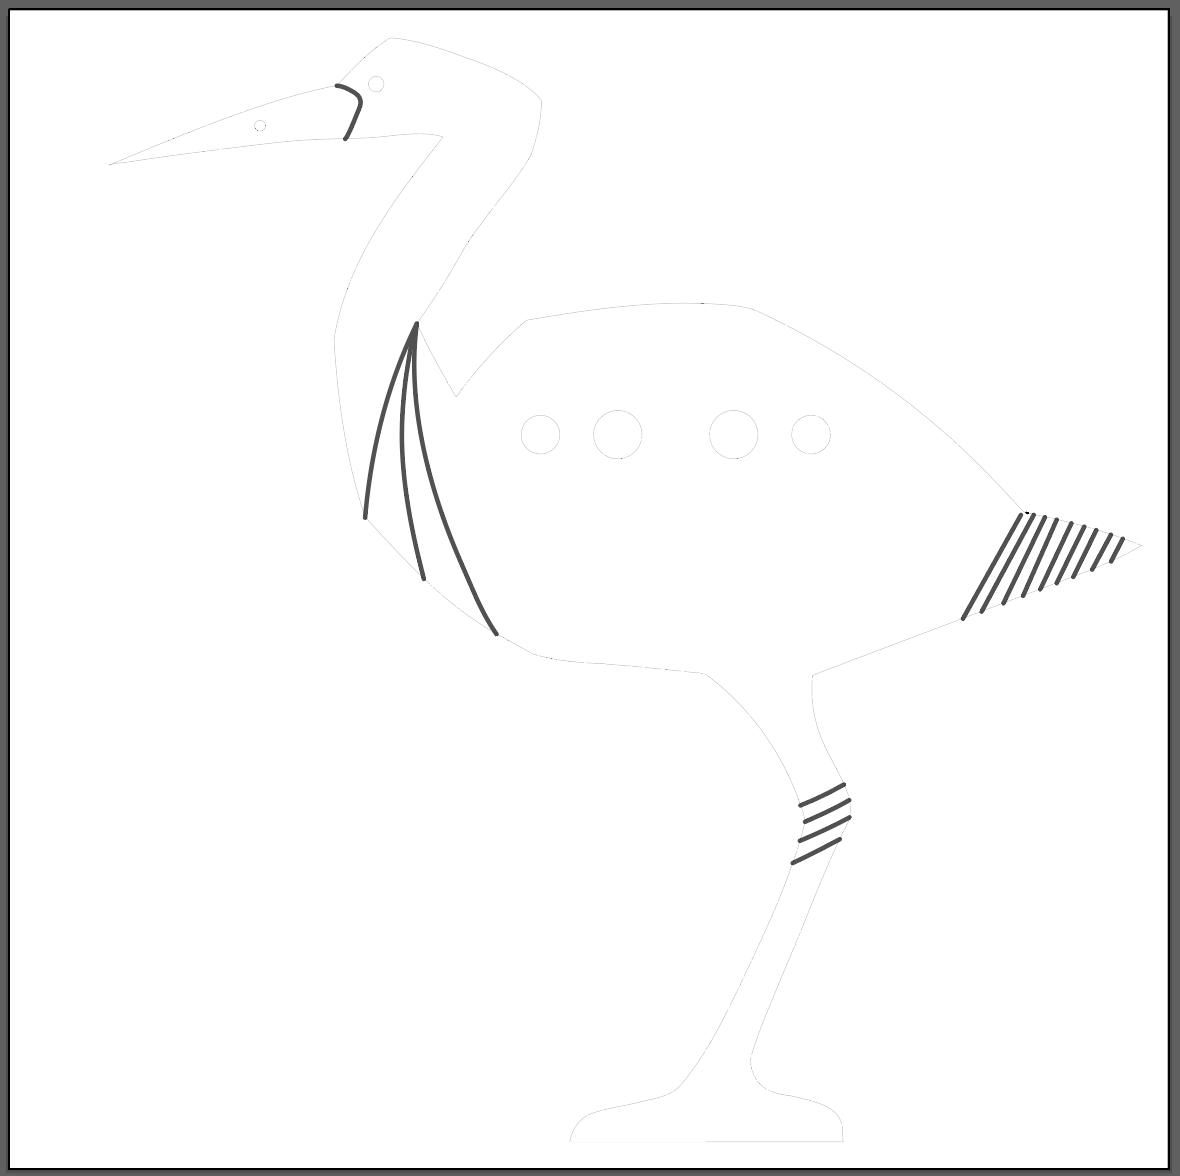 File in Illustrator
There were some brown burns/soot (?) marks and weird melty/cloudy (?) spots on the edges and just a couple points where I think the acrylic melted a little too much so it wasn’t completely smooth. These were mostly eliminated by cleaning with rubbing alcohol and wet sanding with 600 grit sandpaper.
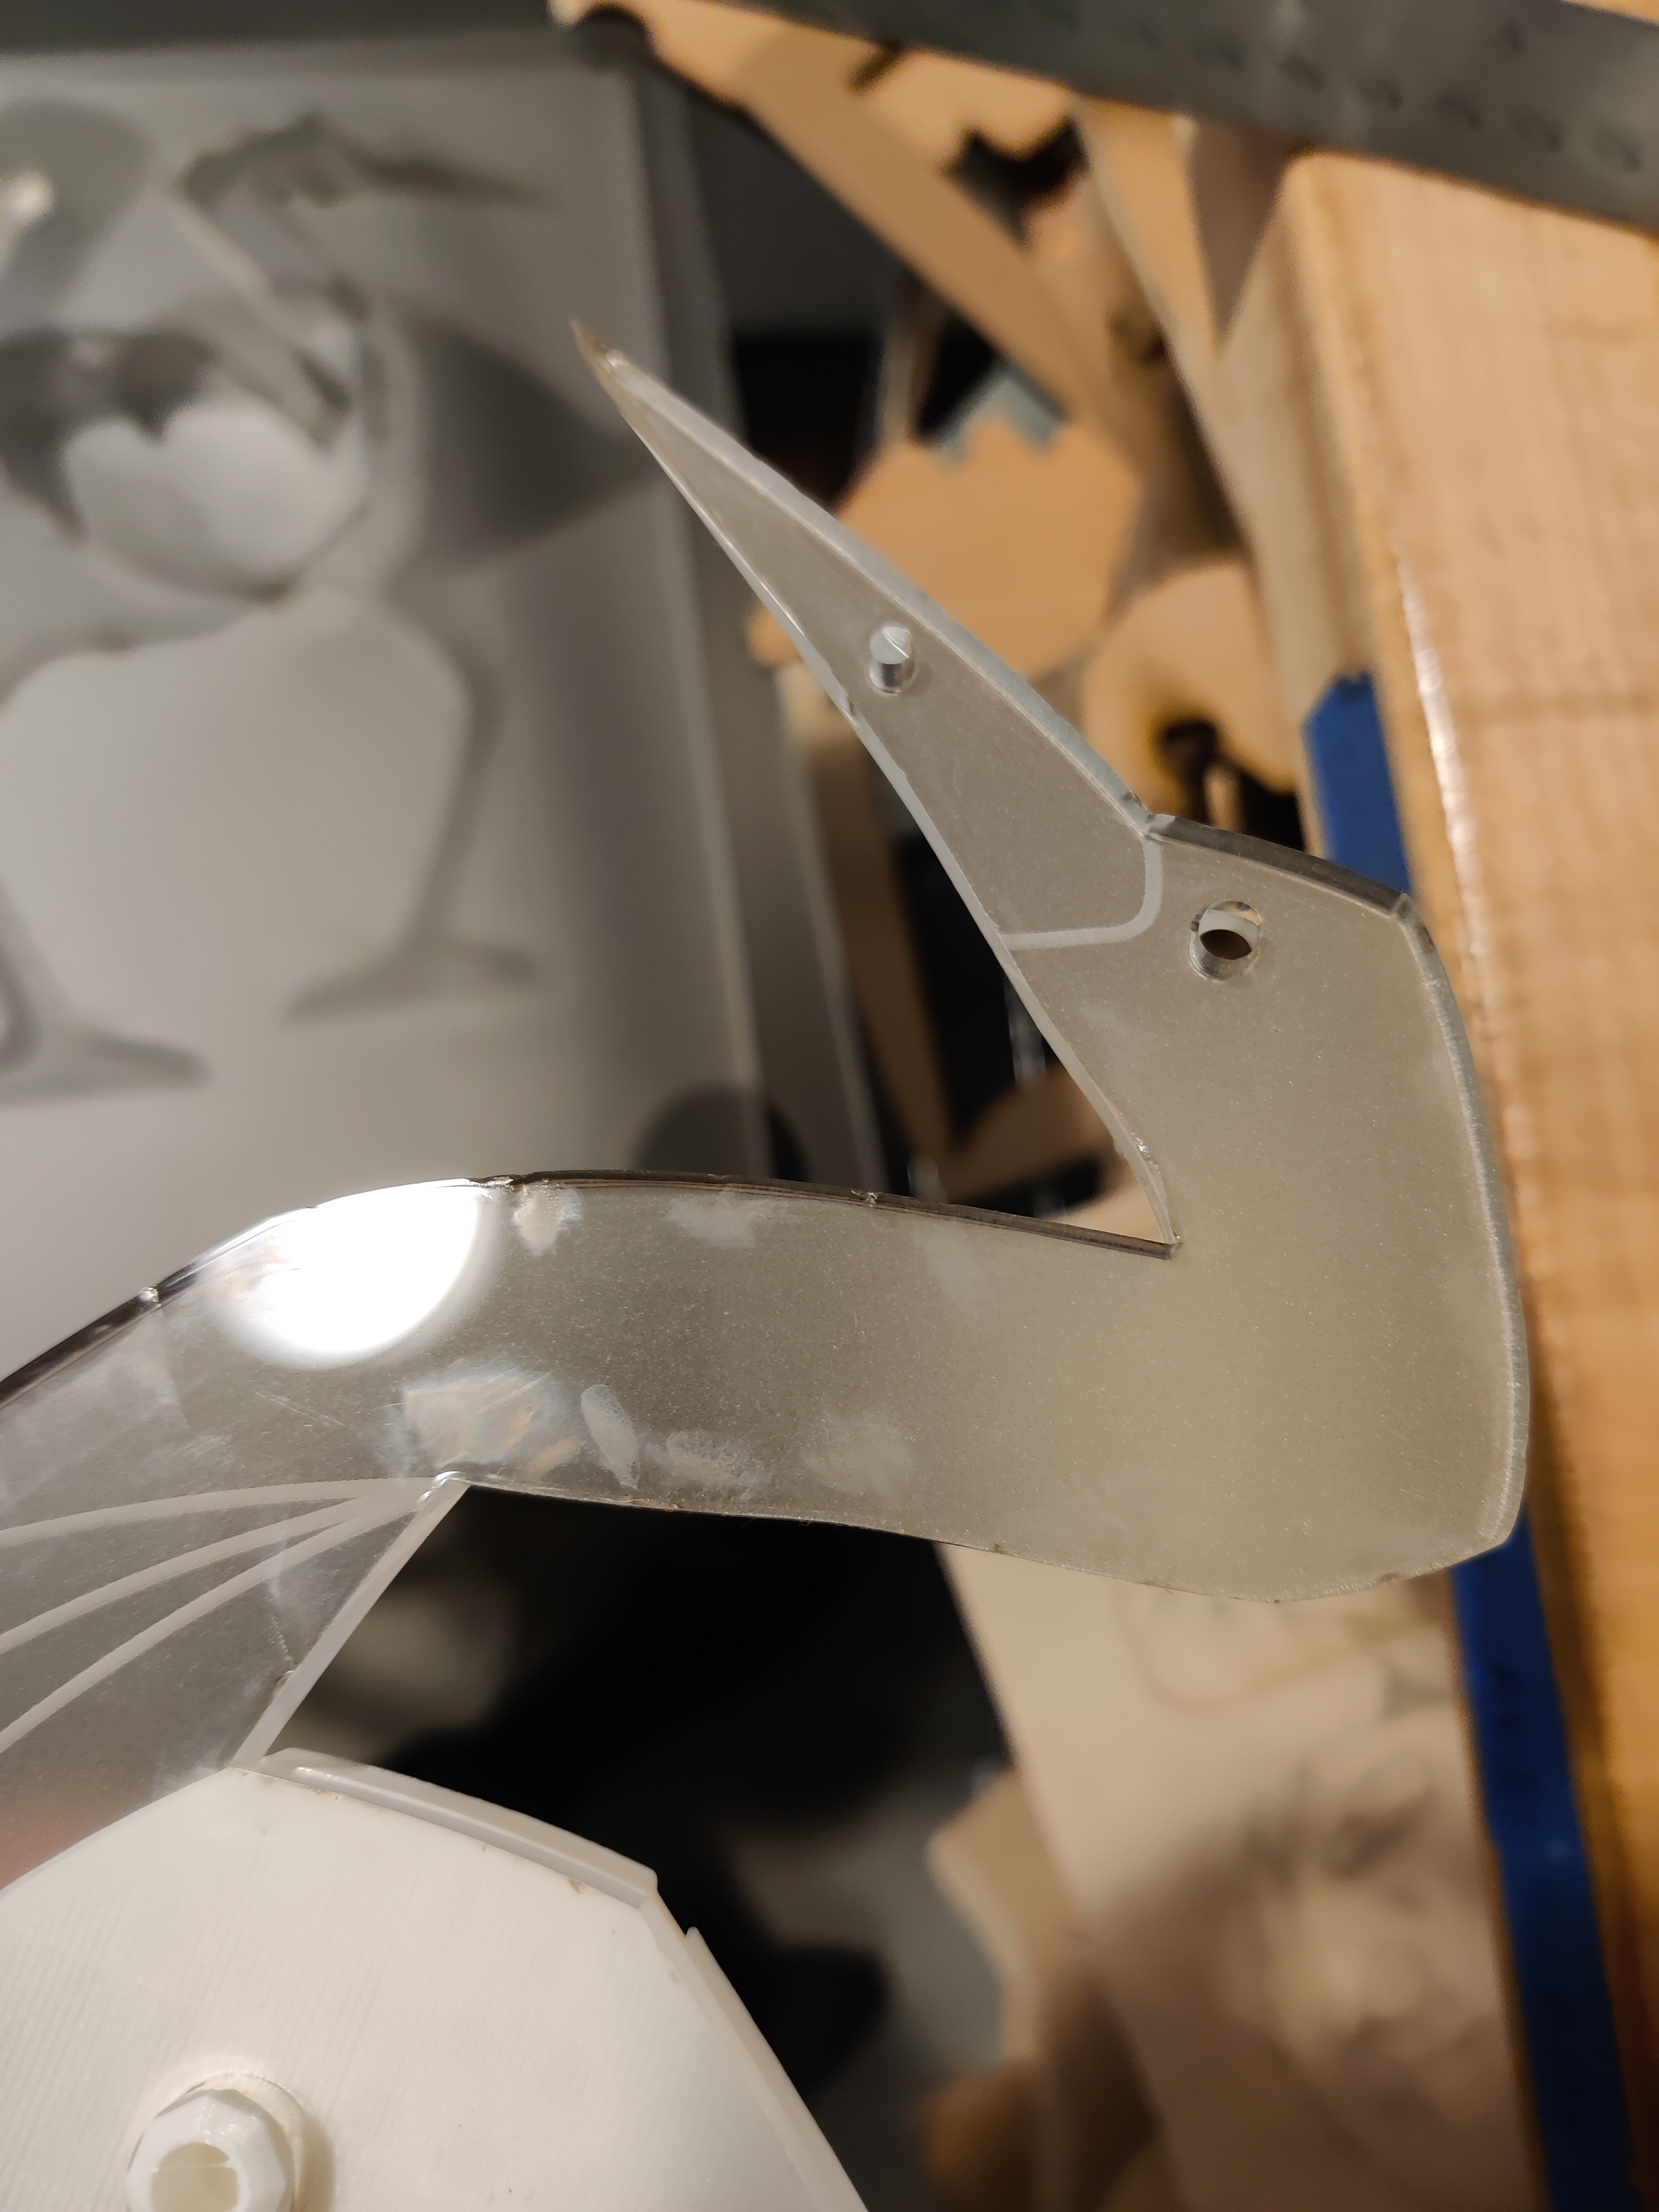
Smudgy marks
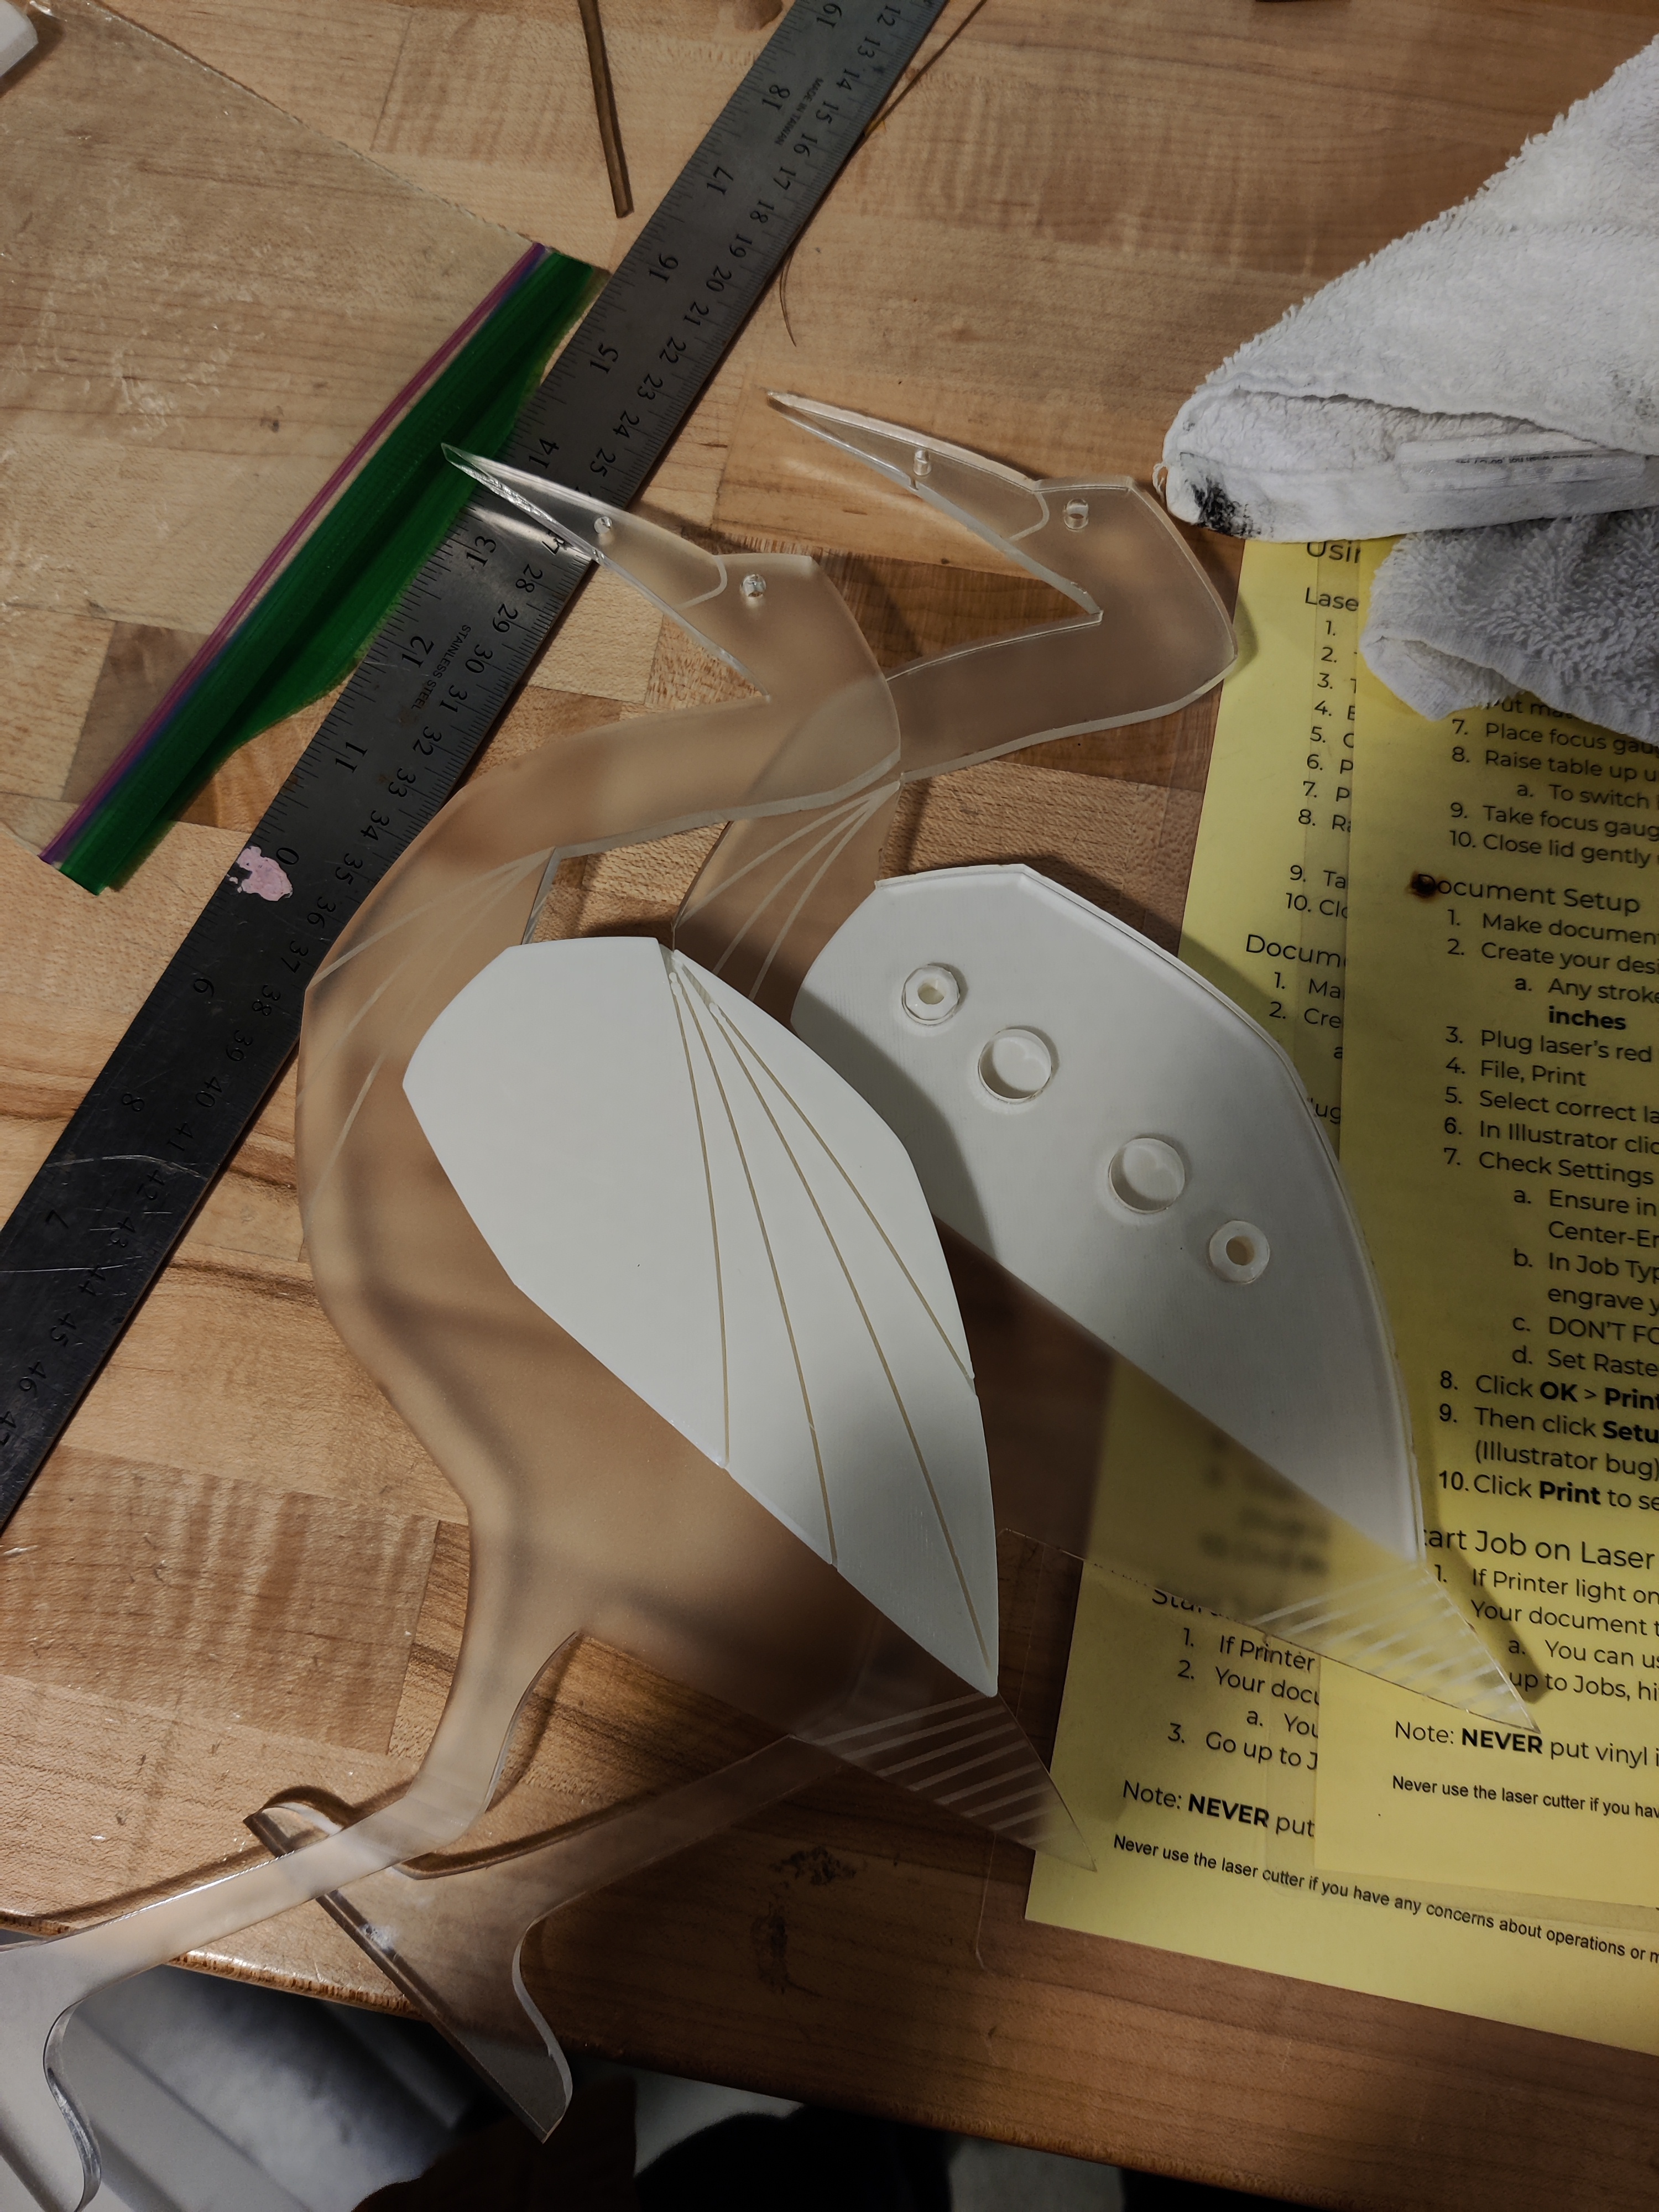
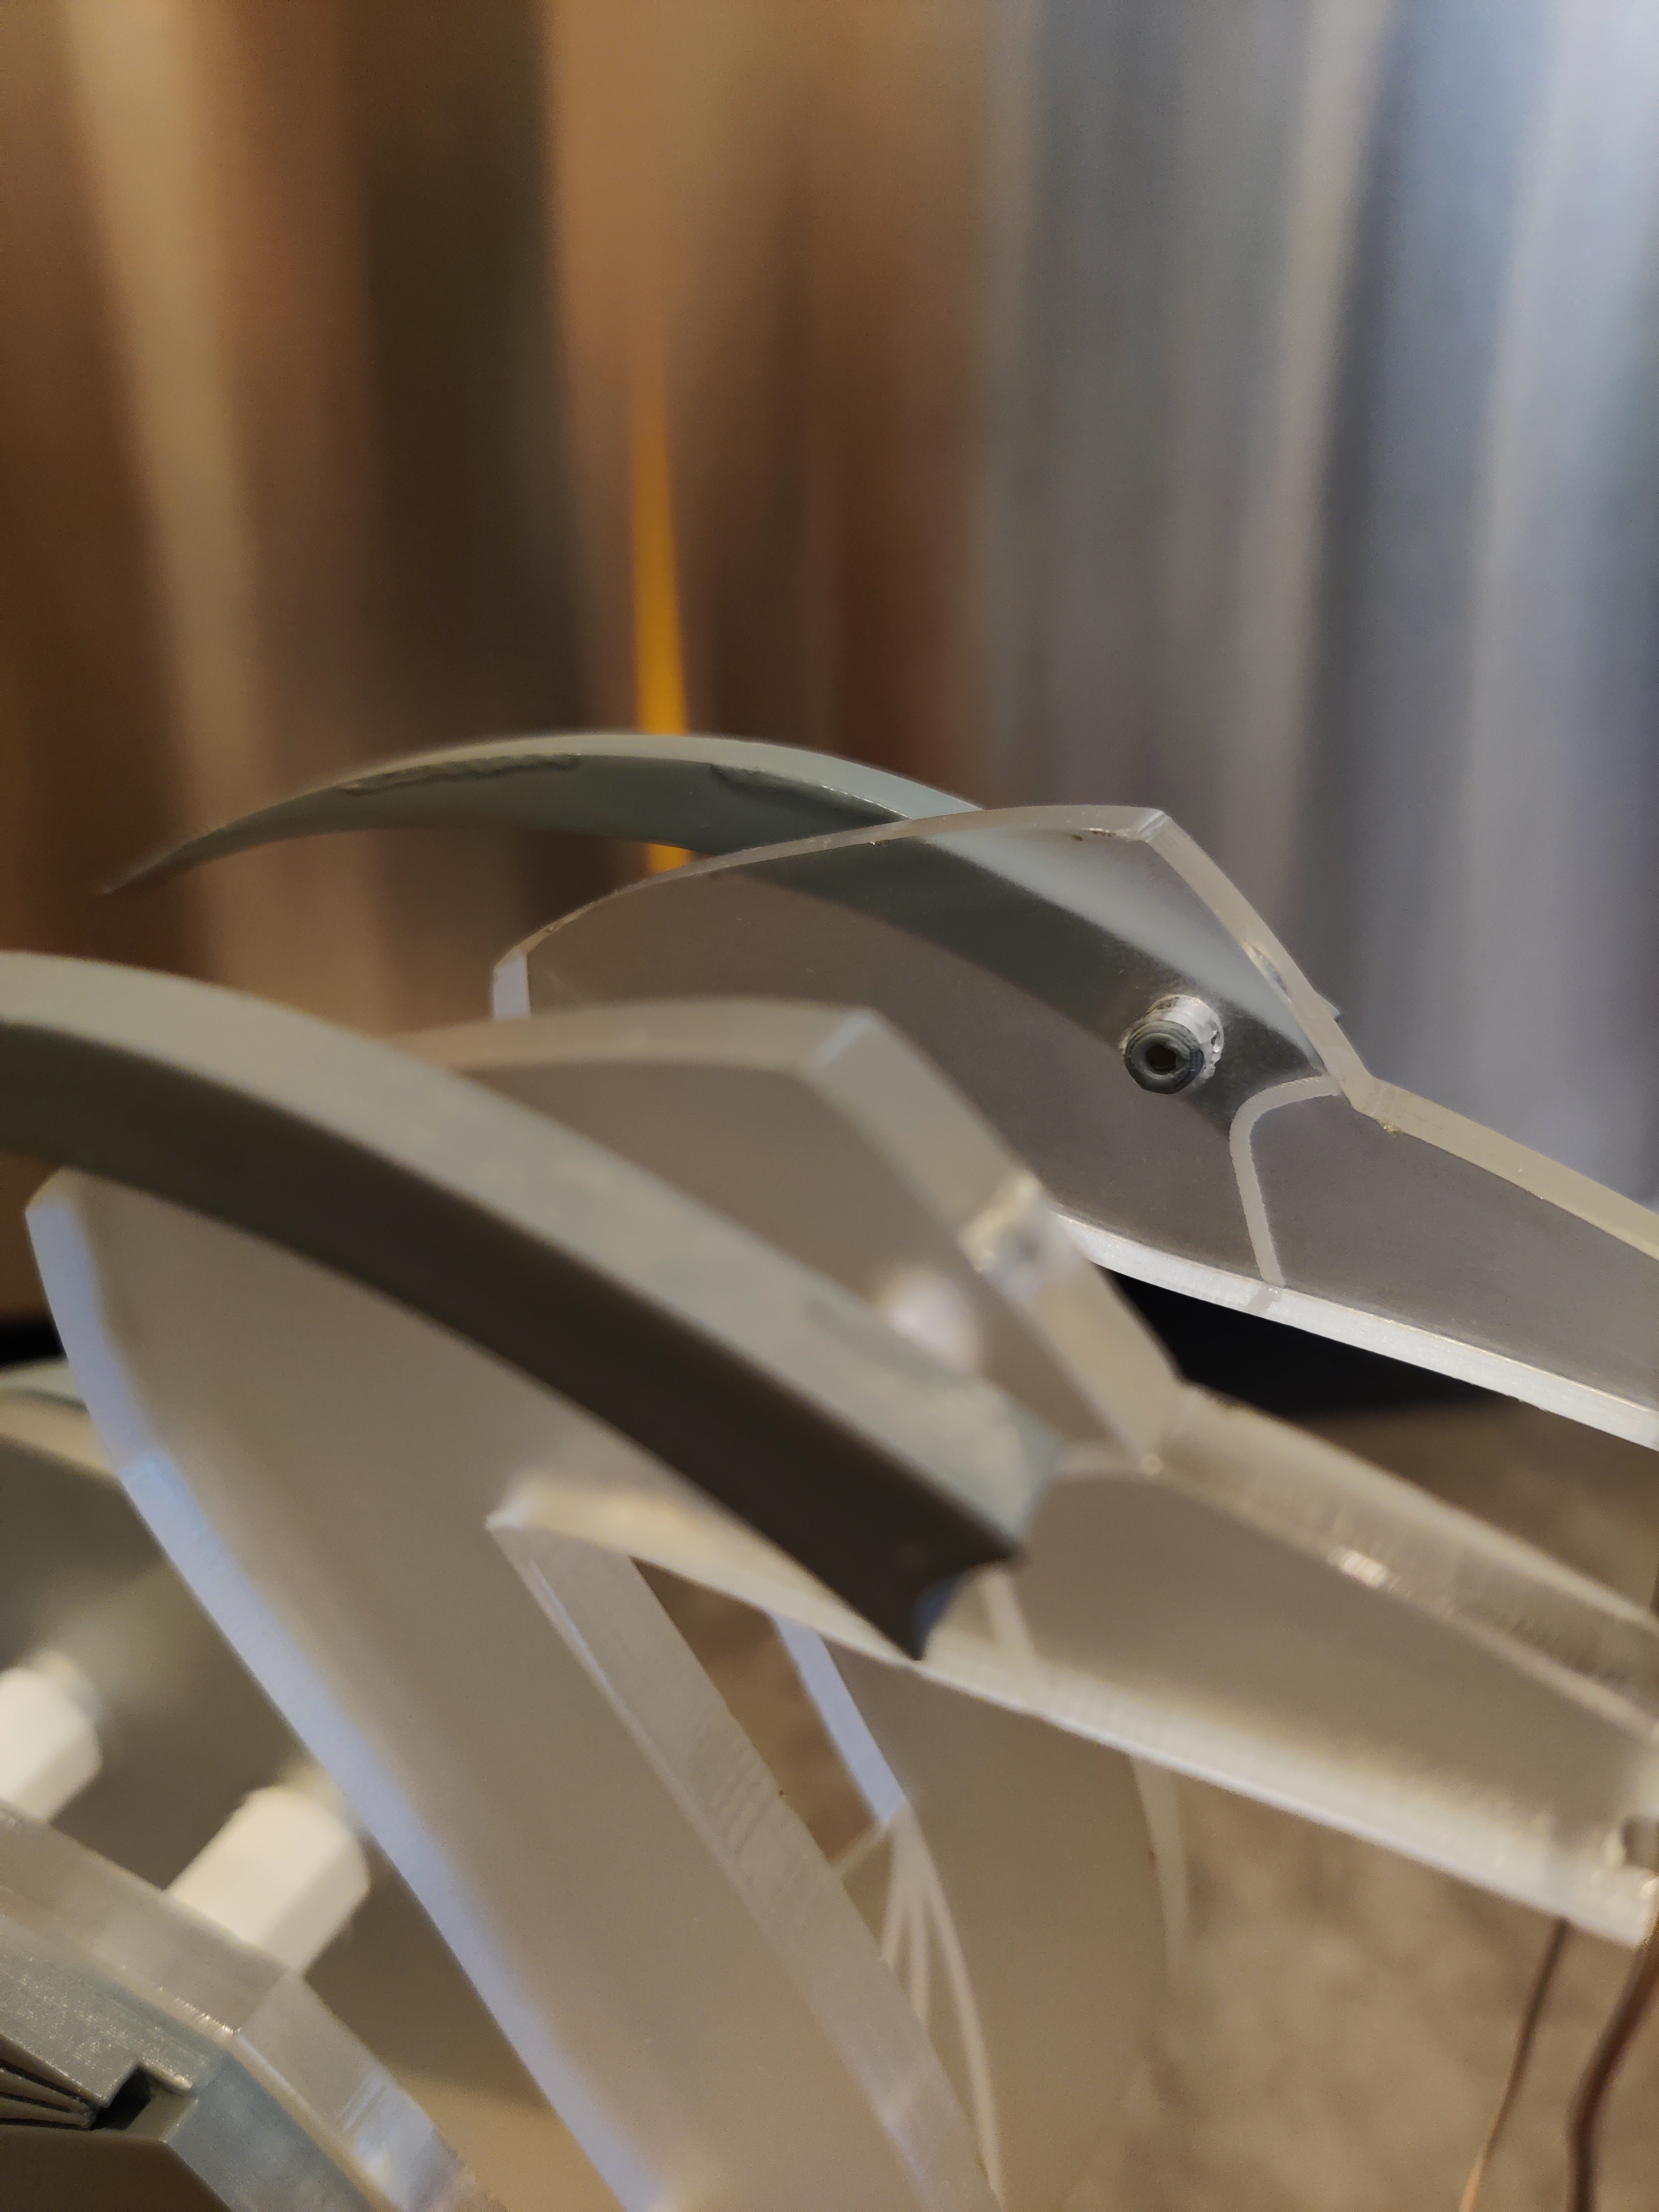
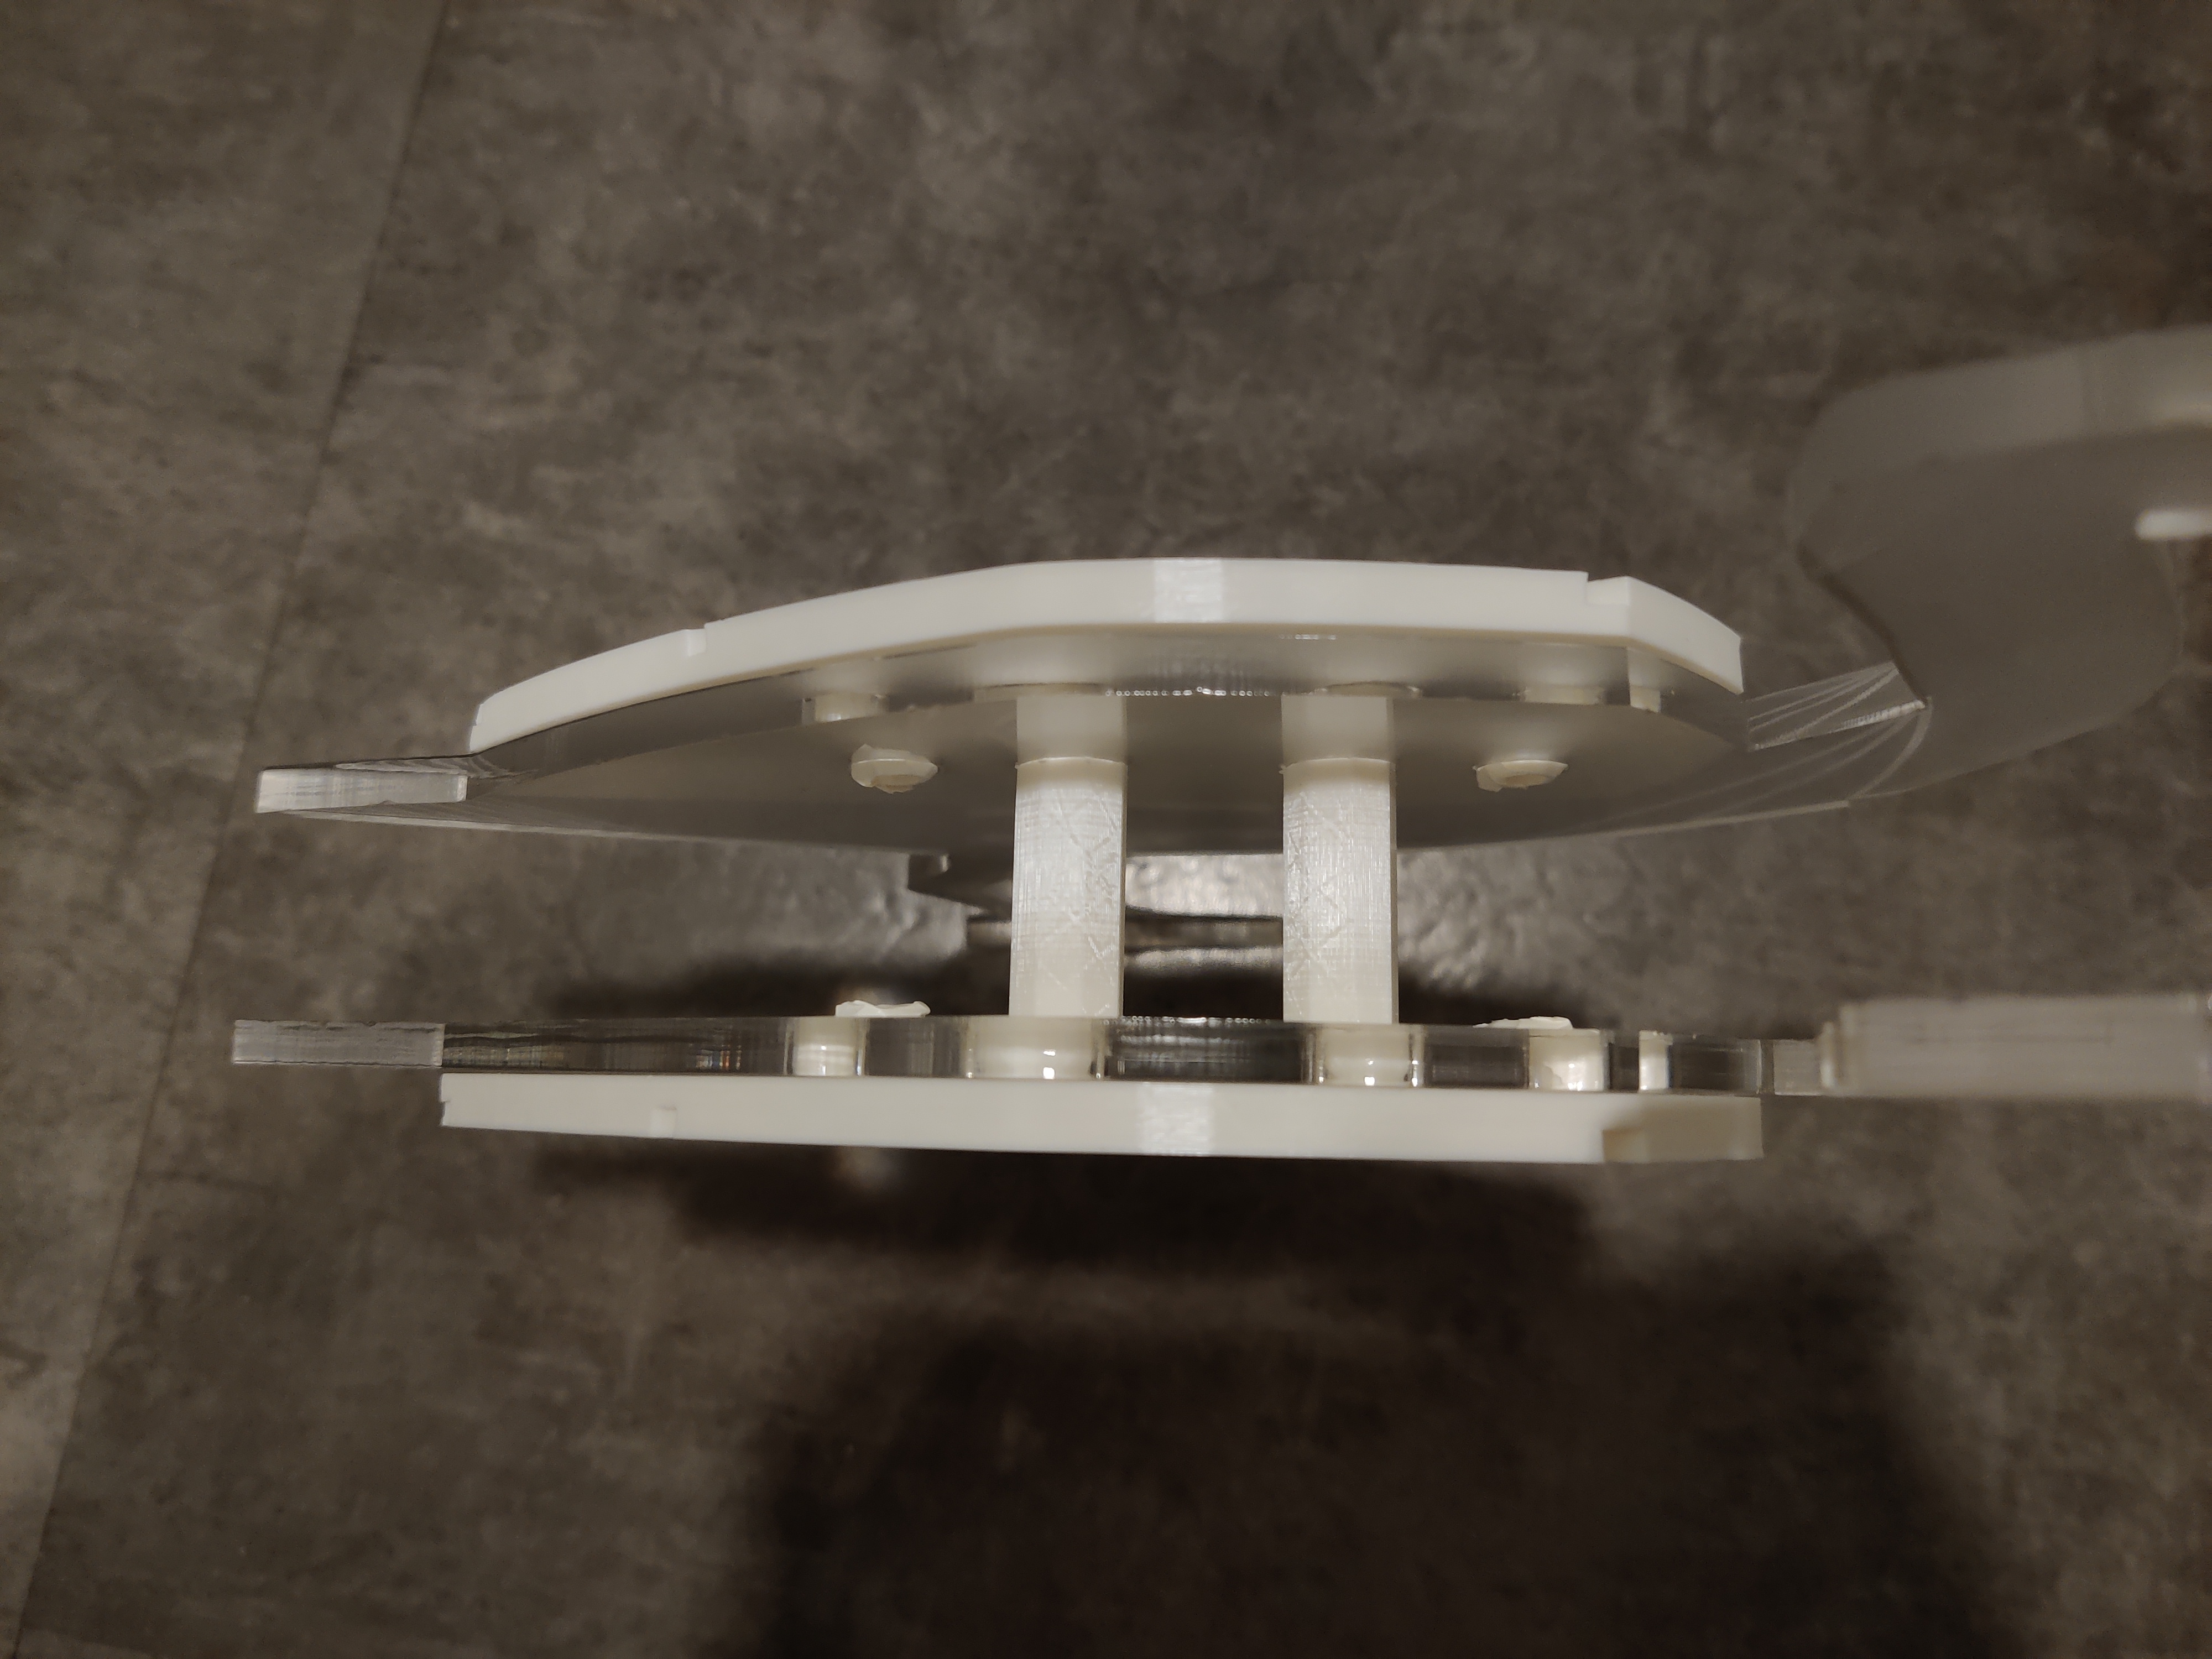
Testing parts after cutting
Molding and Casting
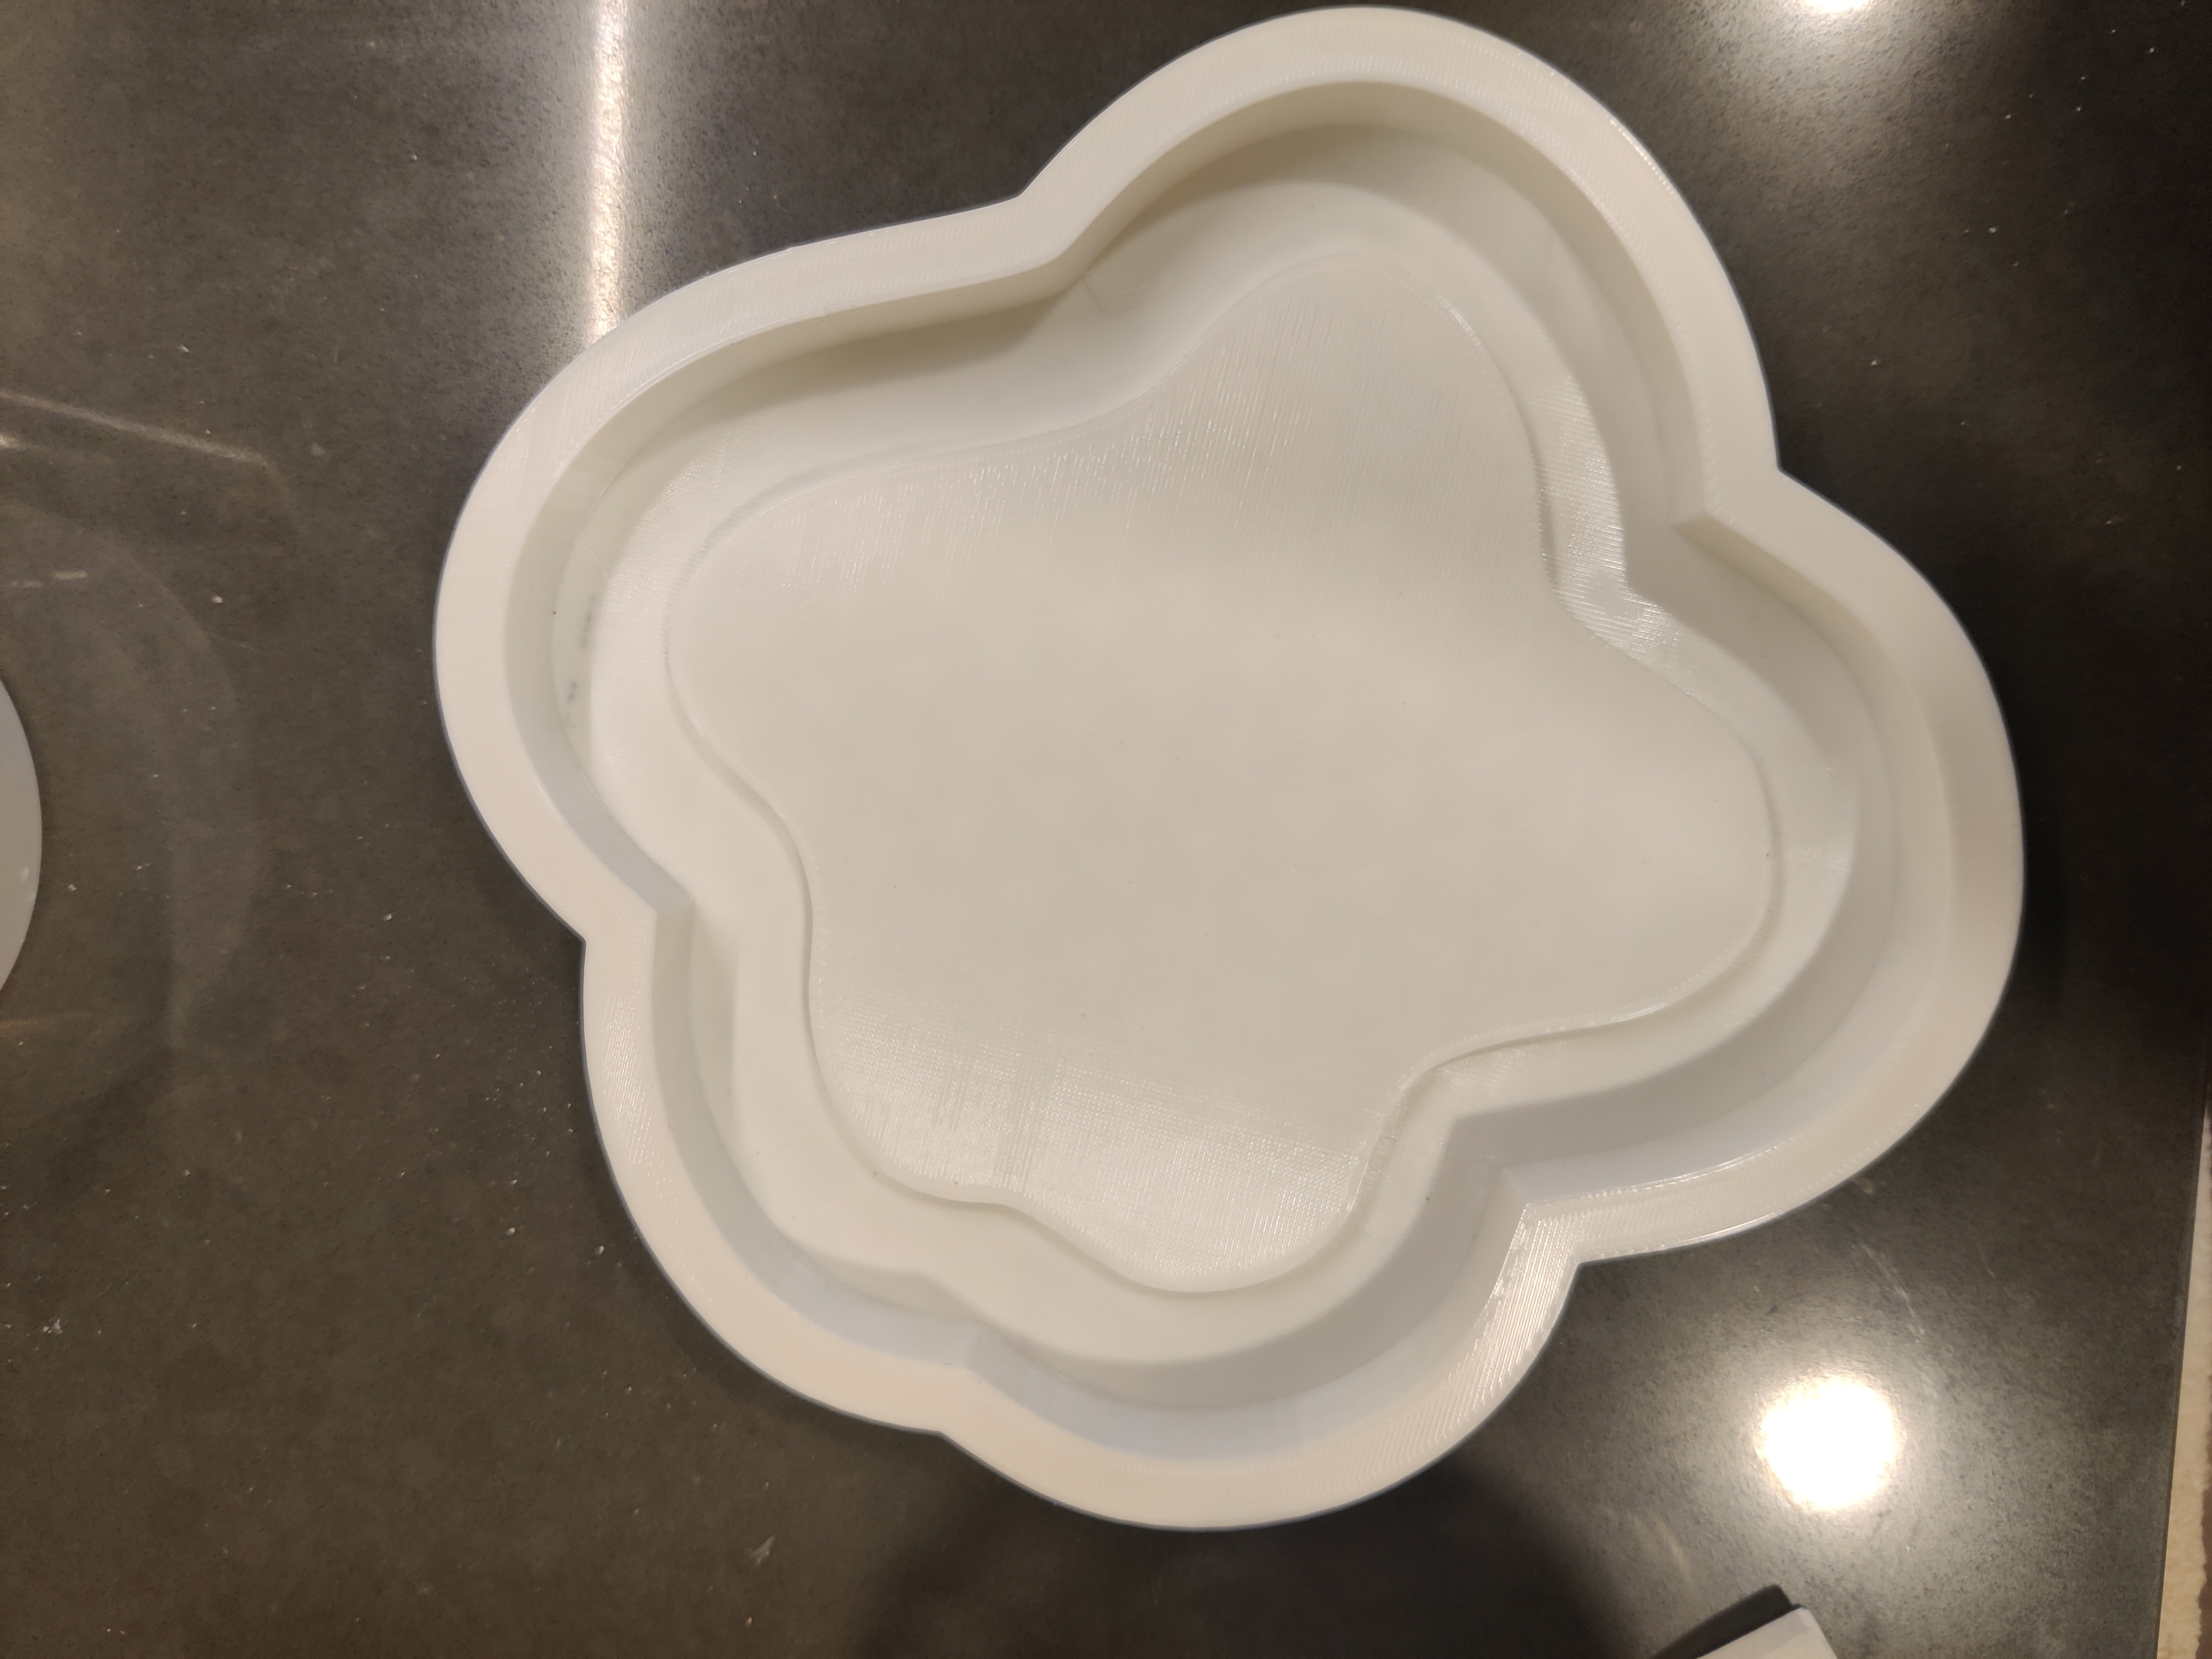
Luckily, I had just enough Oomoo to create the silicon mold from my 3D print. If I had extra, I would have liked to make some mini versions of these so that I could use them as auxiliary candle platforms!
The mixing of the Oomoo, pouring, and curing went smoothly, just as it did last time. After ~6 hours, the mold was good to go.
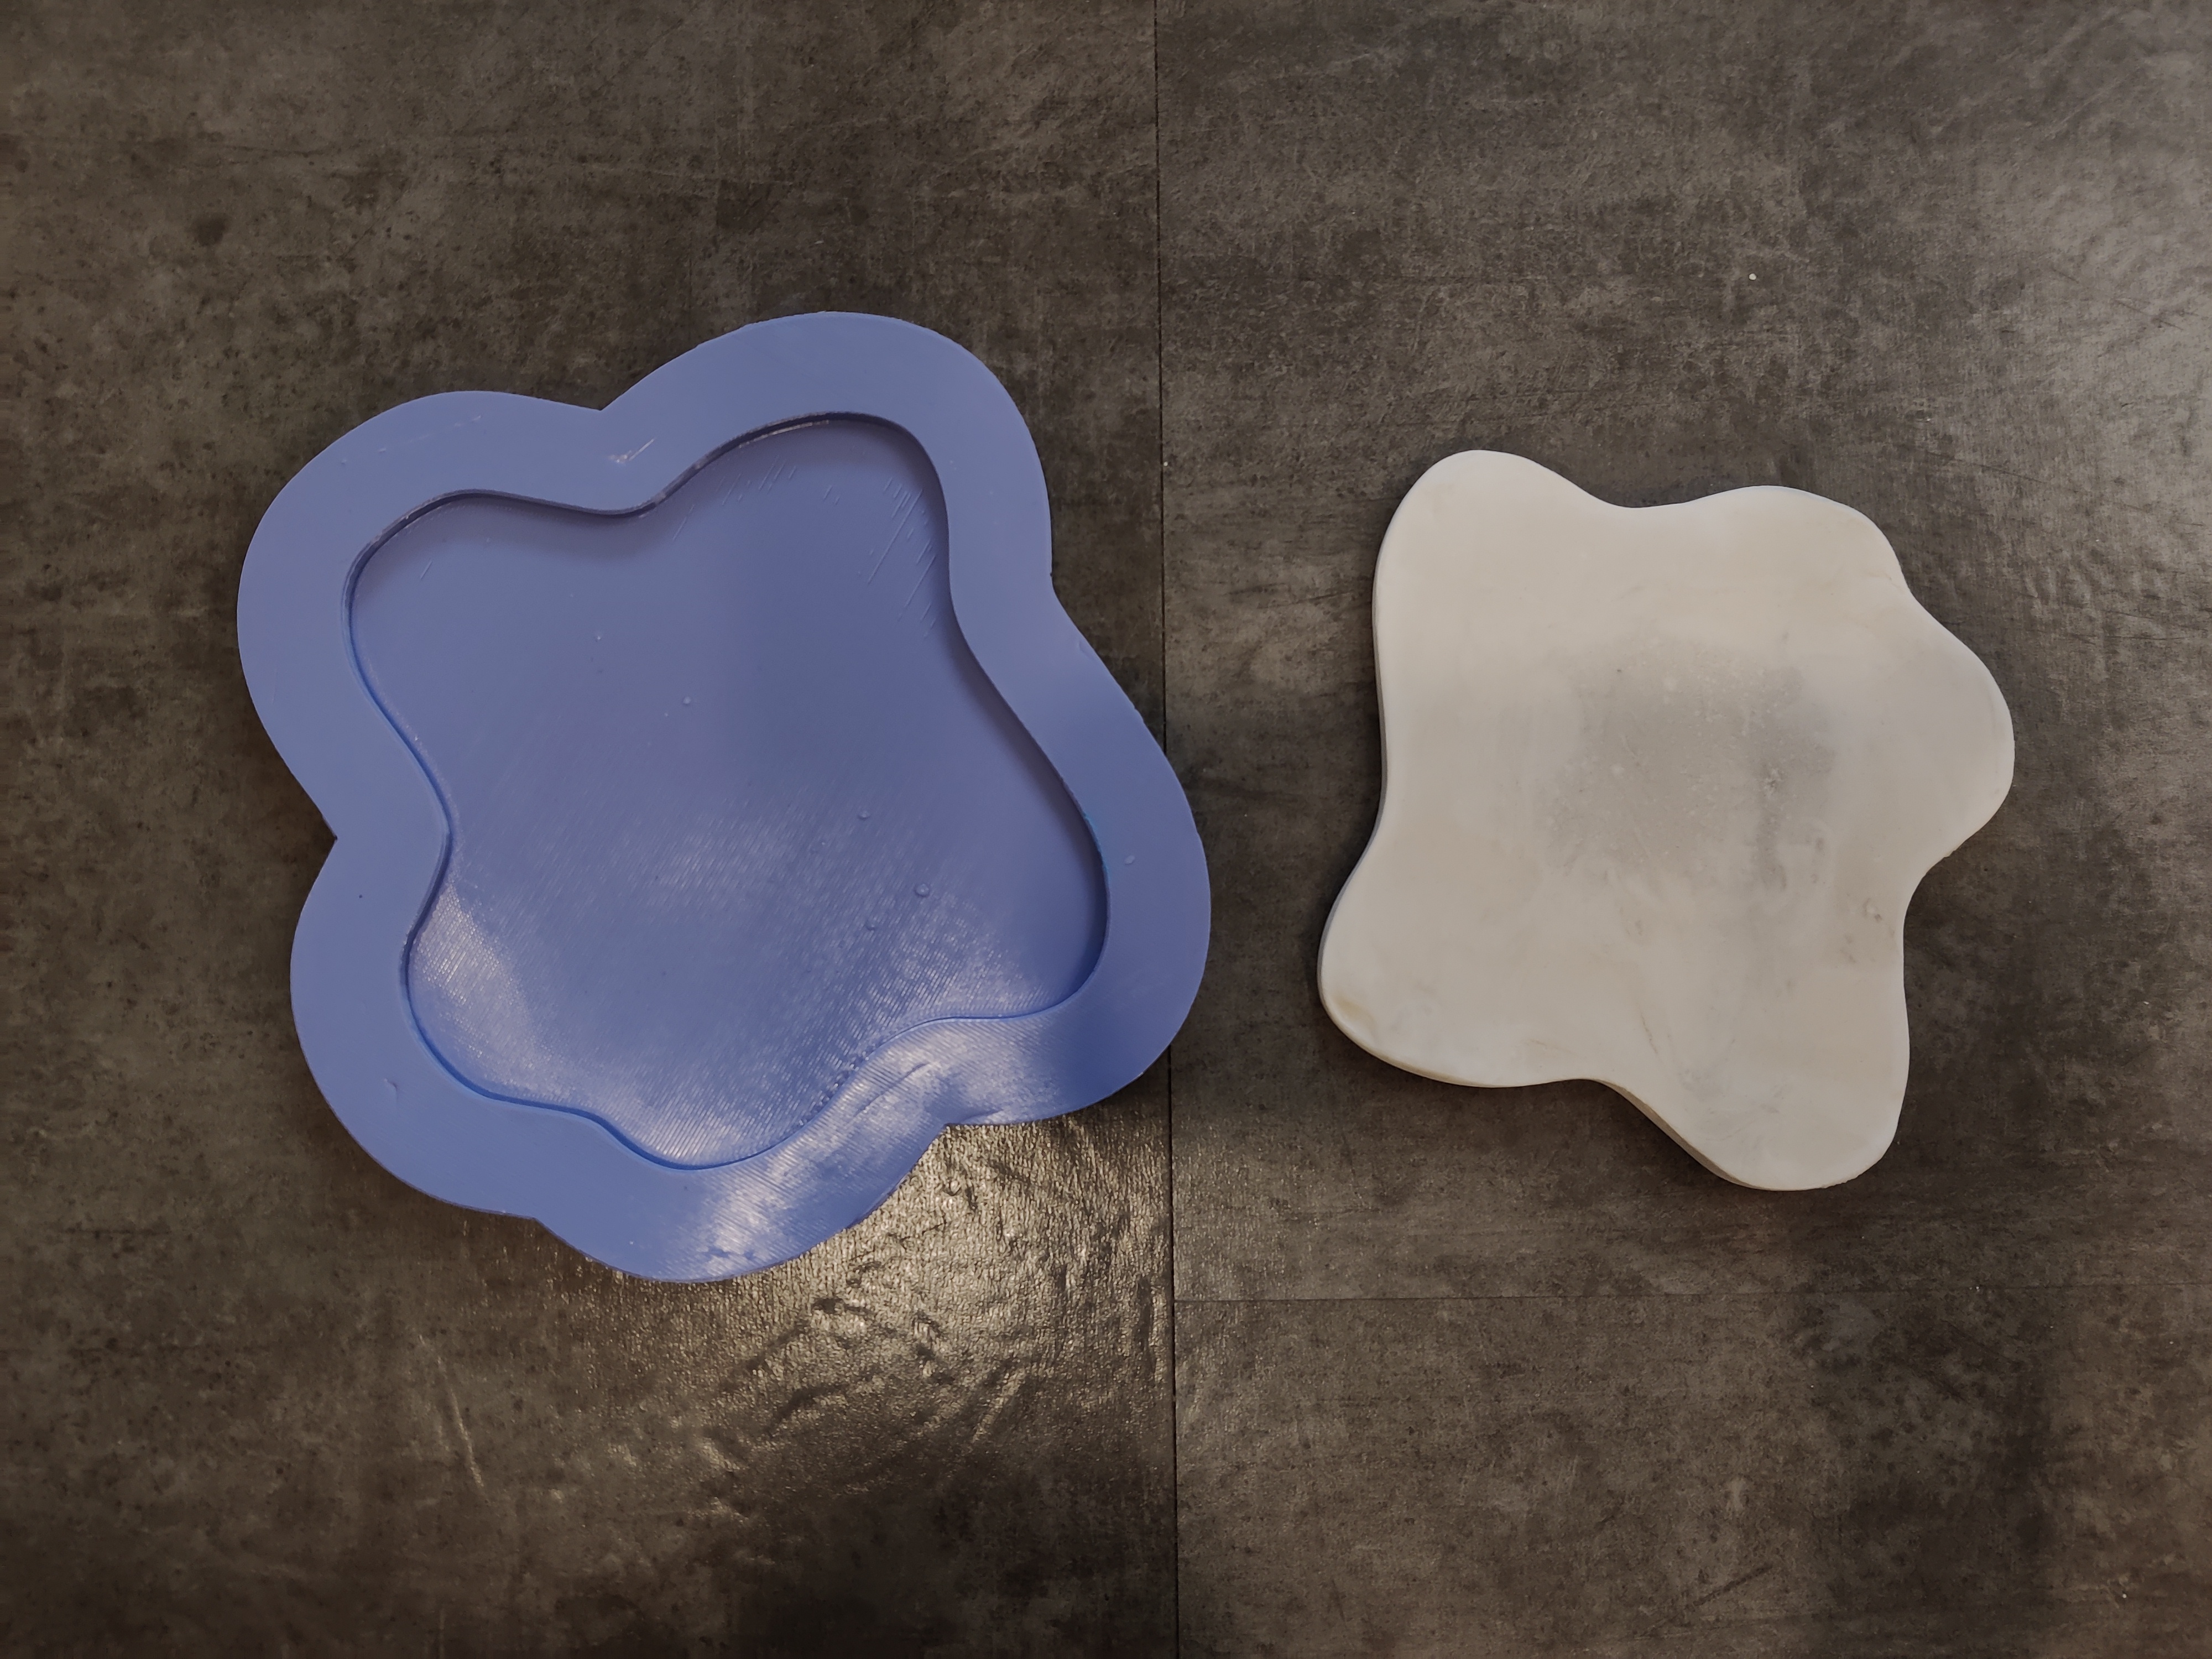
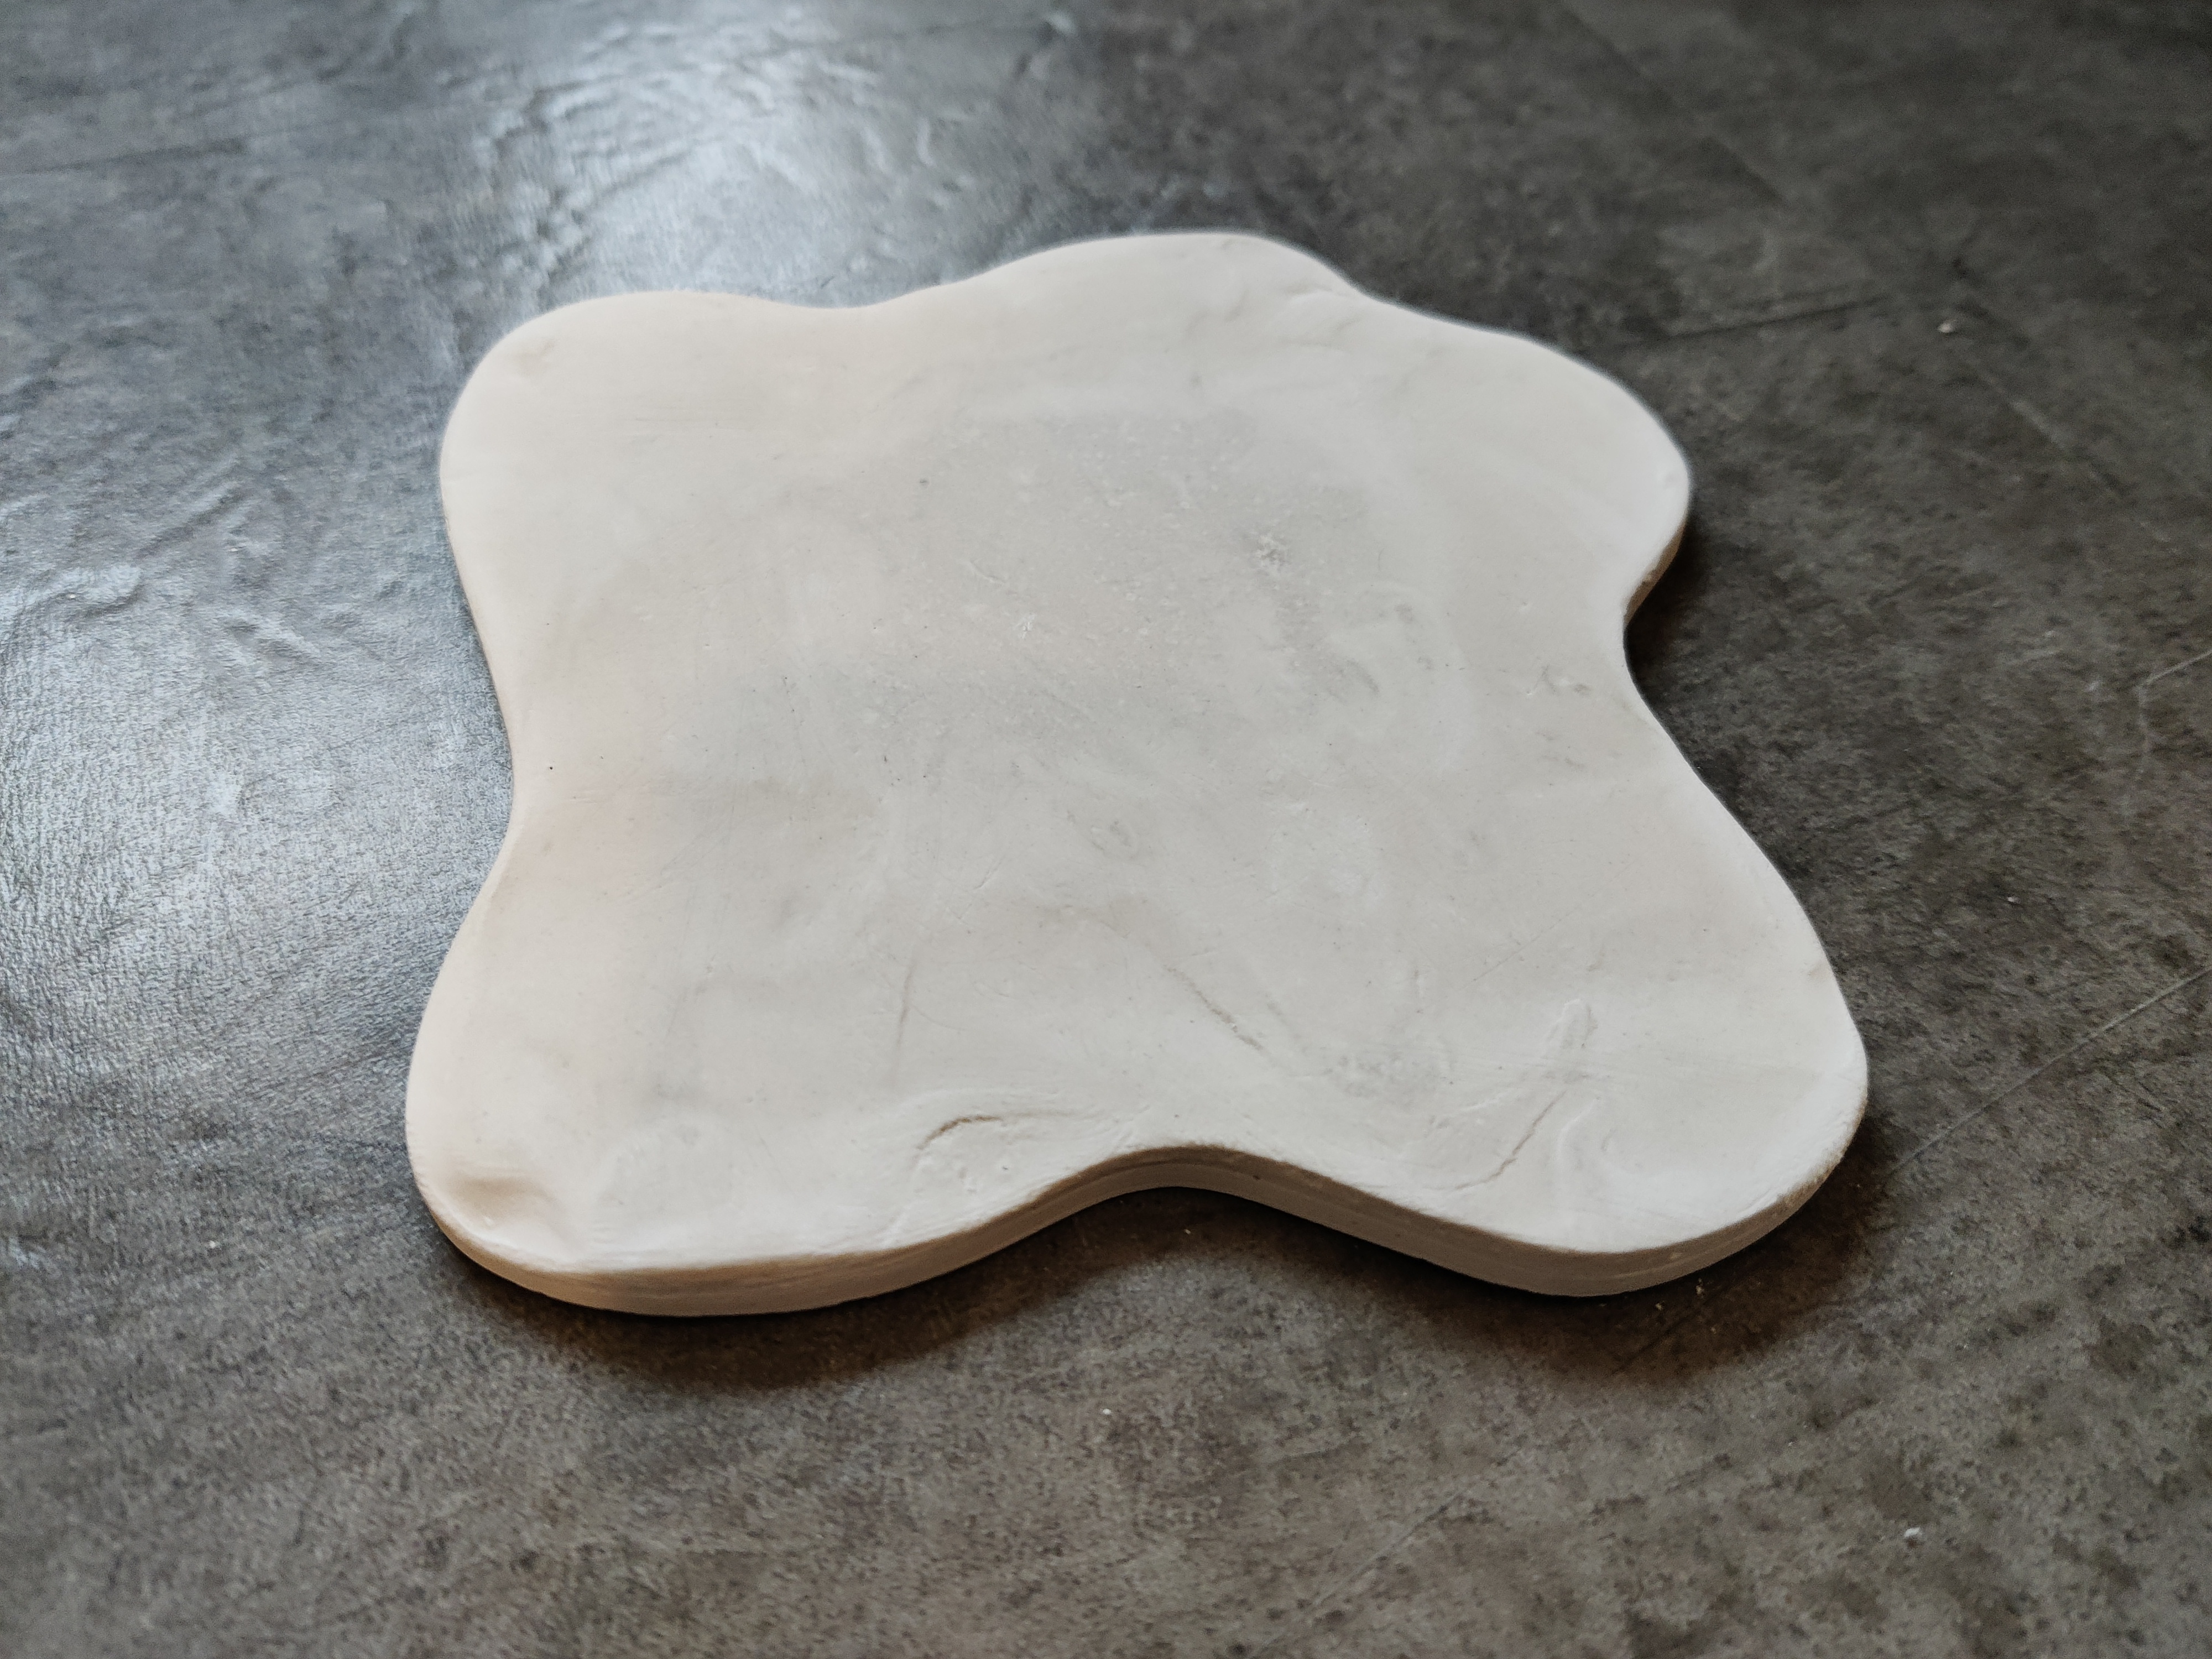
I used Perfect Cast to make the platform. Because I wanted a little bit of texture on it, I used a rubber spatula to create some waves on the surface of the material. After it cured, I sanded the surface down with 100 and 150 grit sandpaper to create a flat area for the bird to stand on. I had entertained the idea earlier of painting it, but I actually really like the subtle variations it already had and didn’t want to add too much noise and color to the project, so I decided to leave it as is.
Finishing Touches & Assembly
Painting
Even though I actually kind of liked how the natural white of the prints looked, I definitely also wanted to see if I liked them colored, as I planned. If I hated it, I could always print another set anyway.
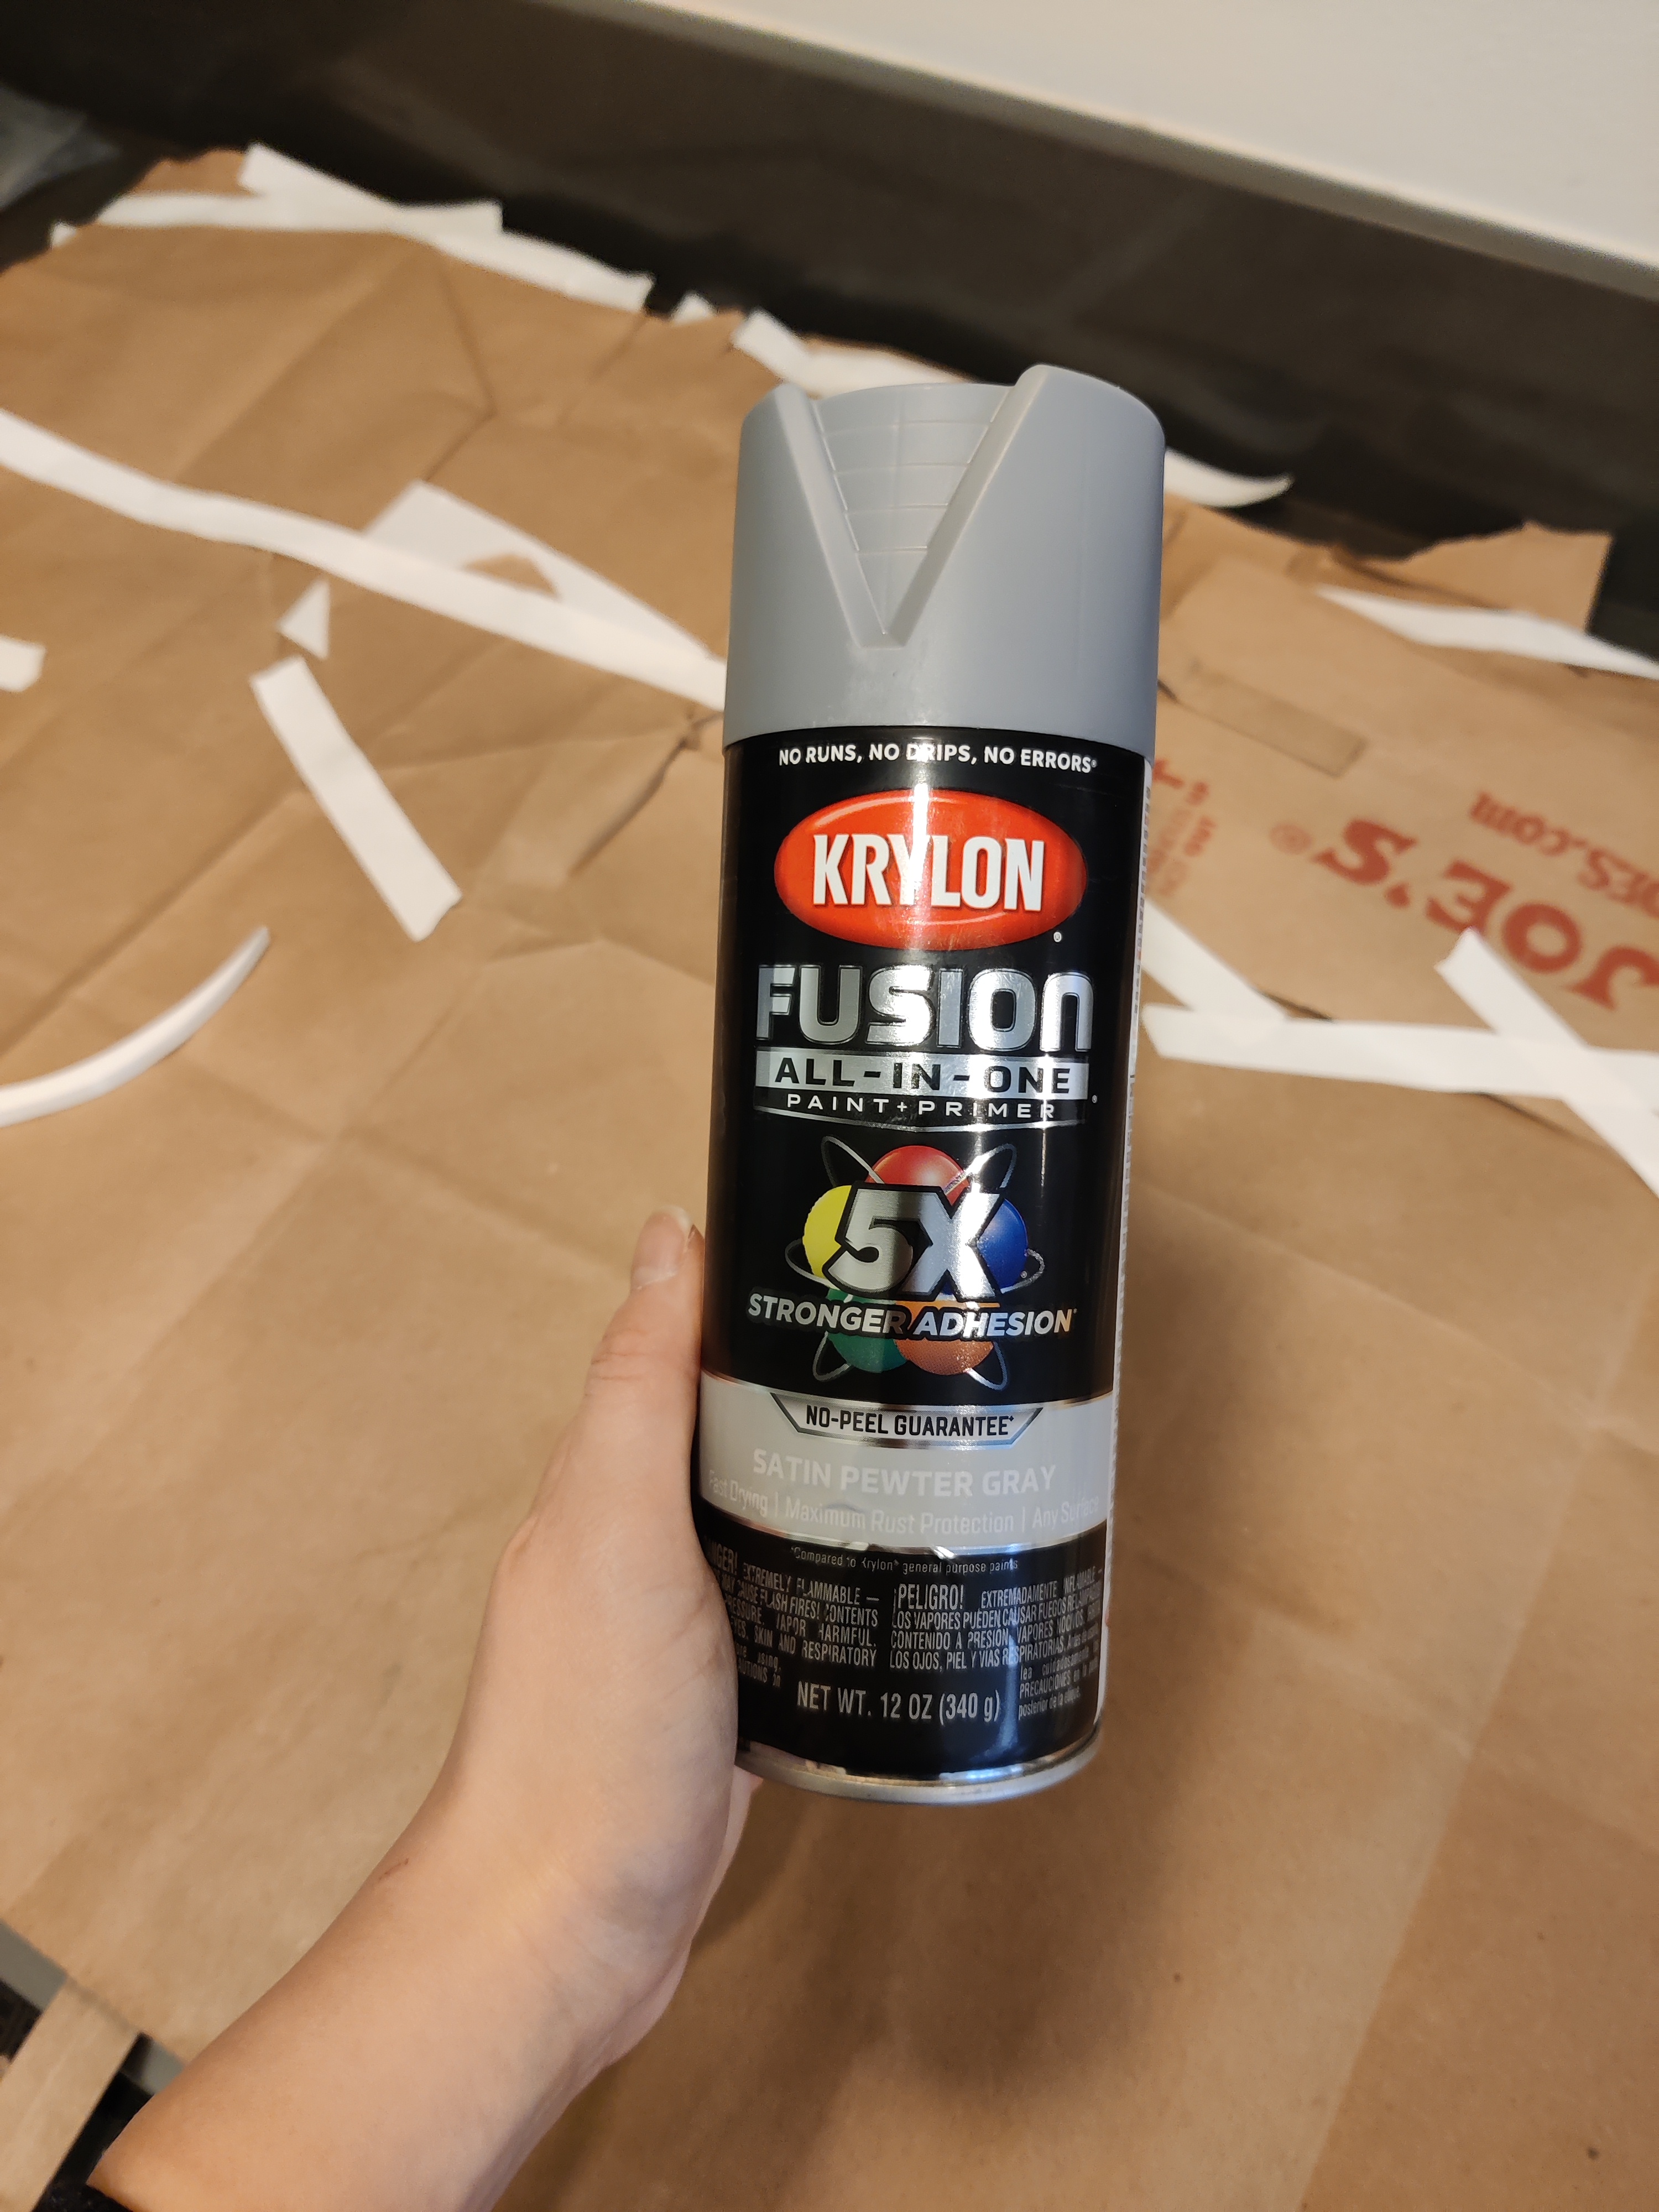
For painting, I bought a can of Krylon Fusion All in One Paint and Primer. I was able to find one in a color really similar to the grey that I originally envisioned. I initially wanted to paint the tufts of hair black, but after seeing how it looked in grey, I decided to keep it. I feel like it is more cohesive and simple with just one color.
Since it was pretty cold out (30 degrees), and it would have been a paint to set up outside and the paint can says it works best above 60 degrees, I set up a makeshift station inside my tiny studio apartment. The only place that has both space and ventilation is my stovetop. I turned on all the fans in my apartment and set up a mini fan to funnel stuff up into the hood. It worked…alright? I didn’t feel any effects and hopefully did not get any brain damage.
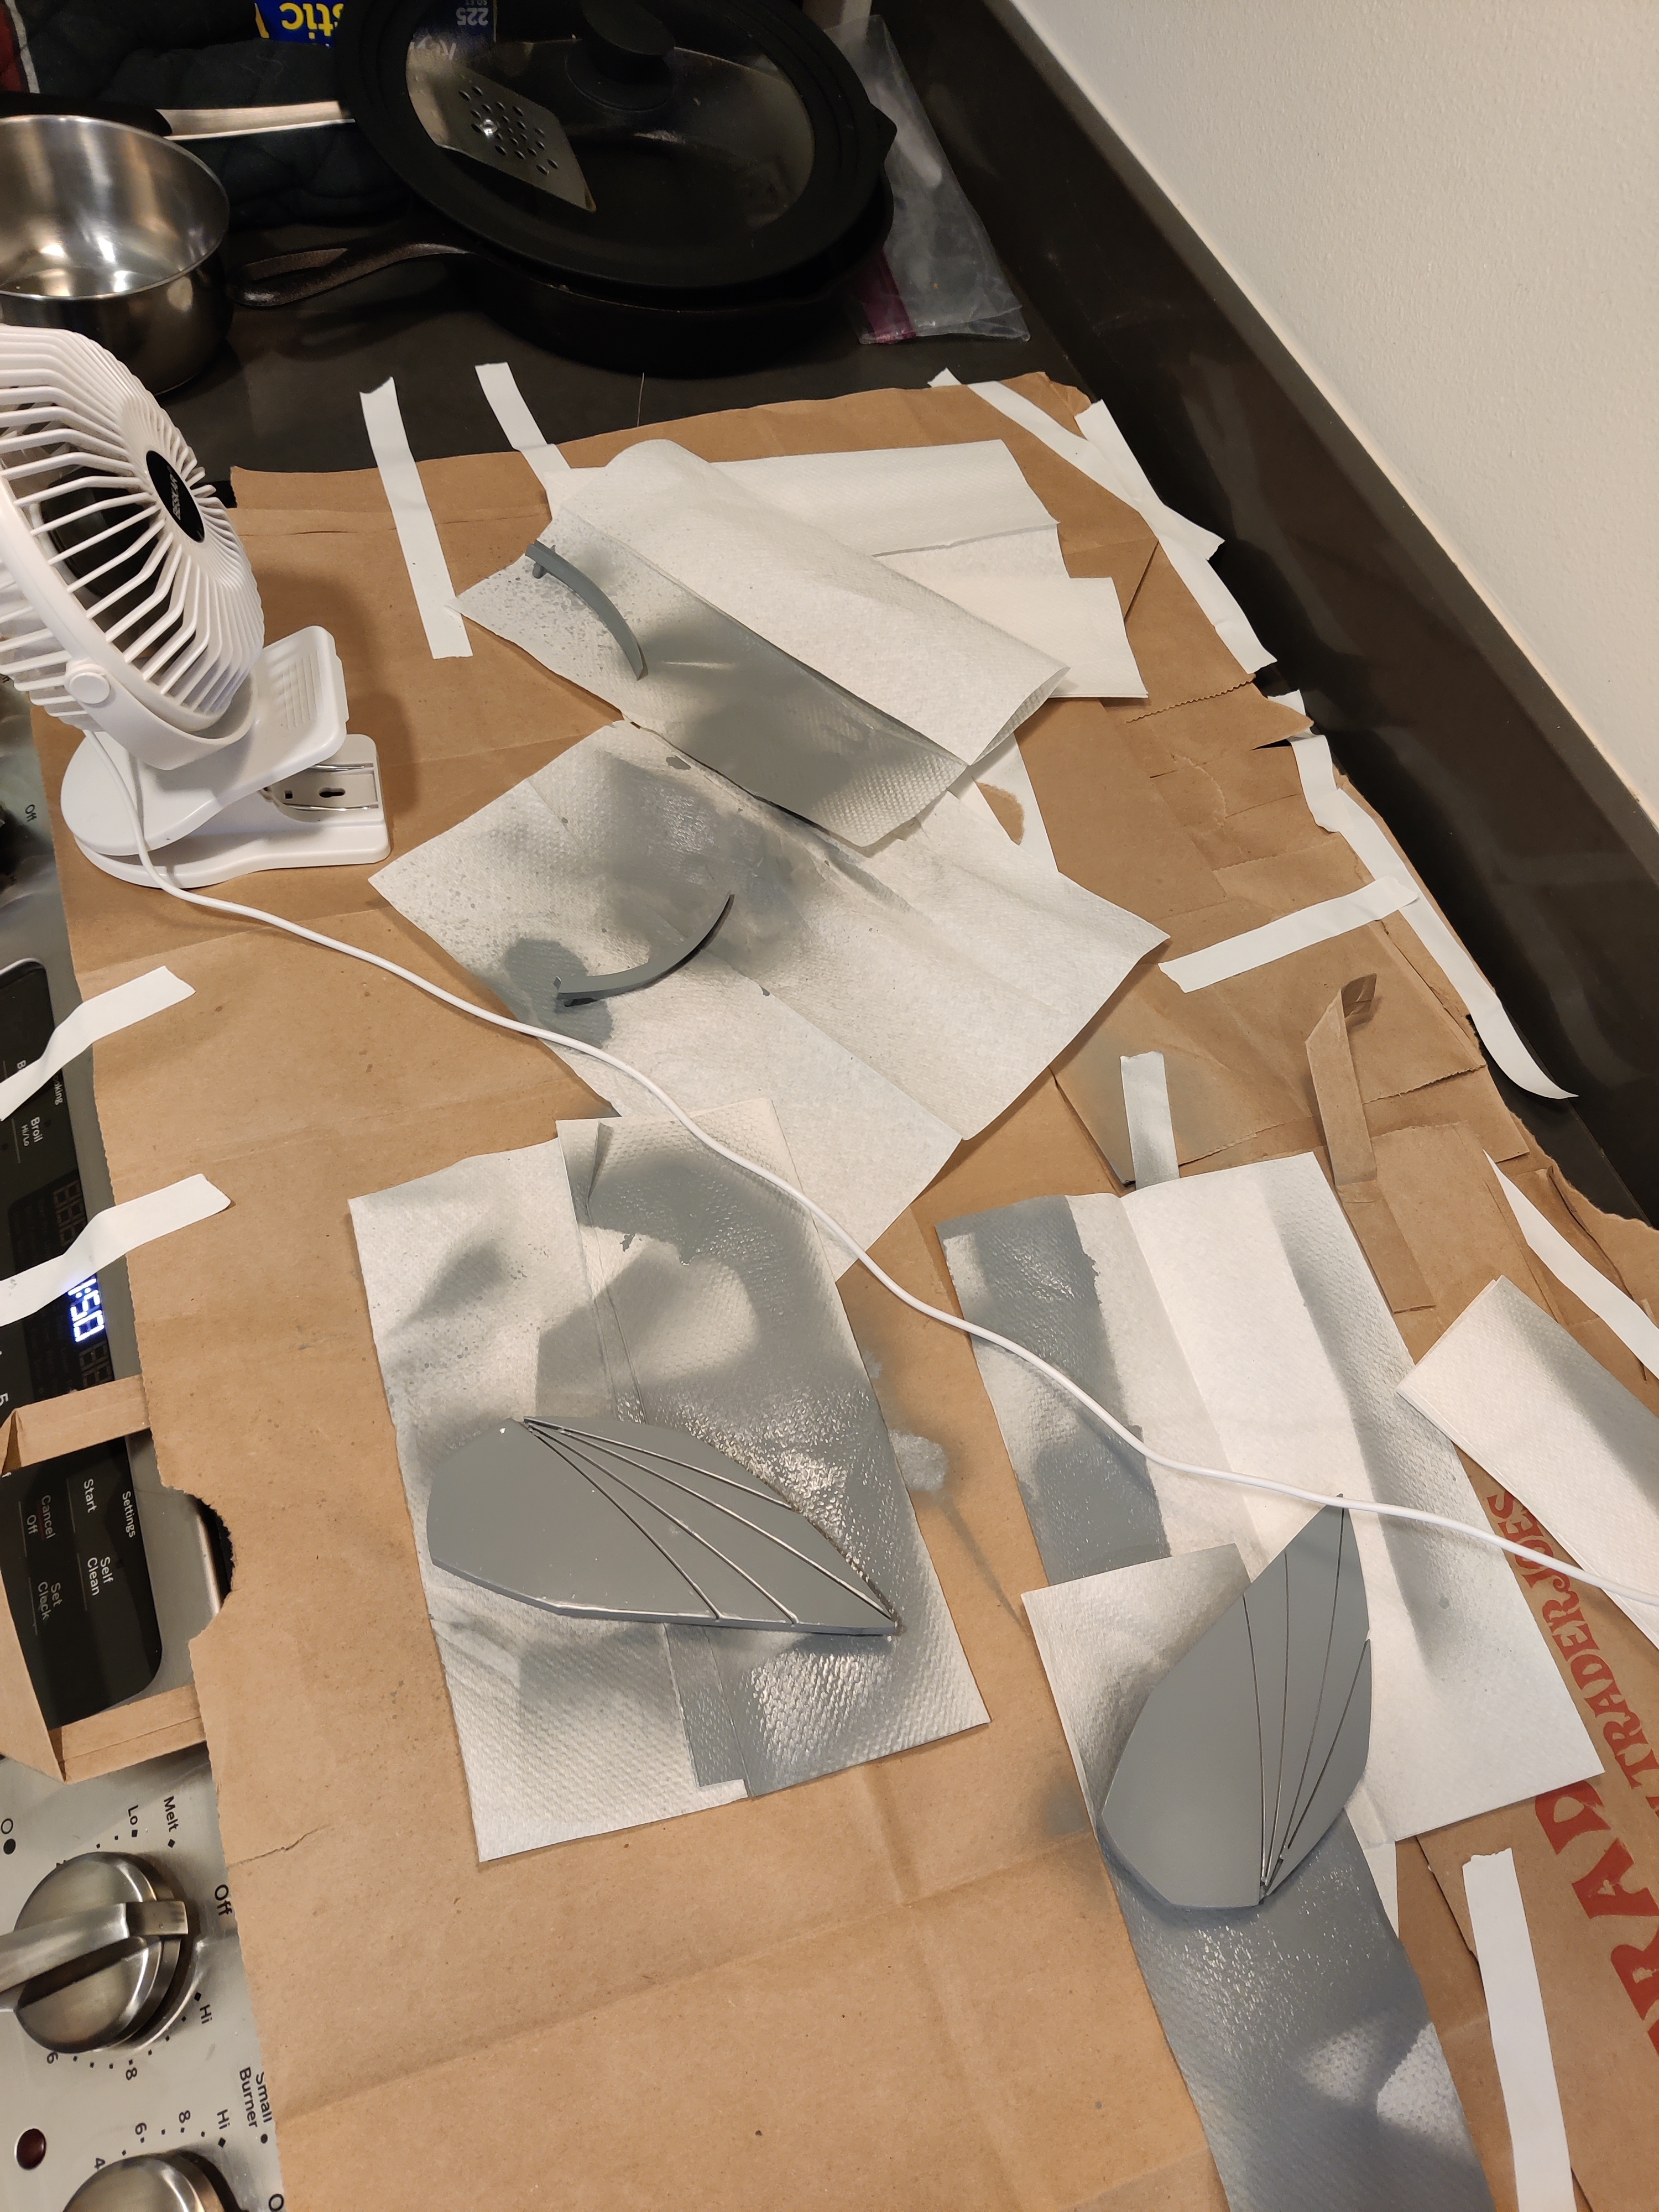
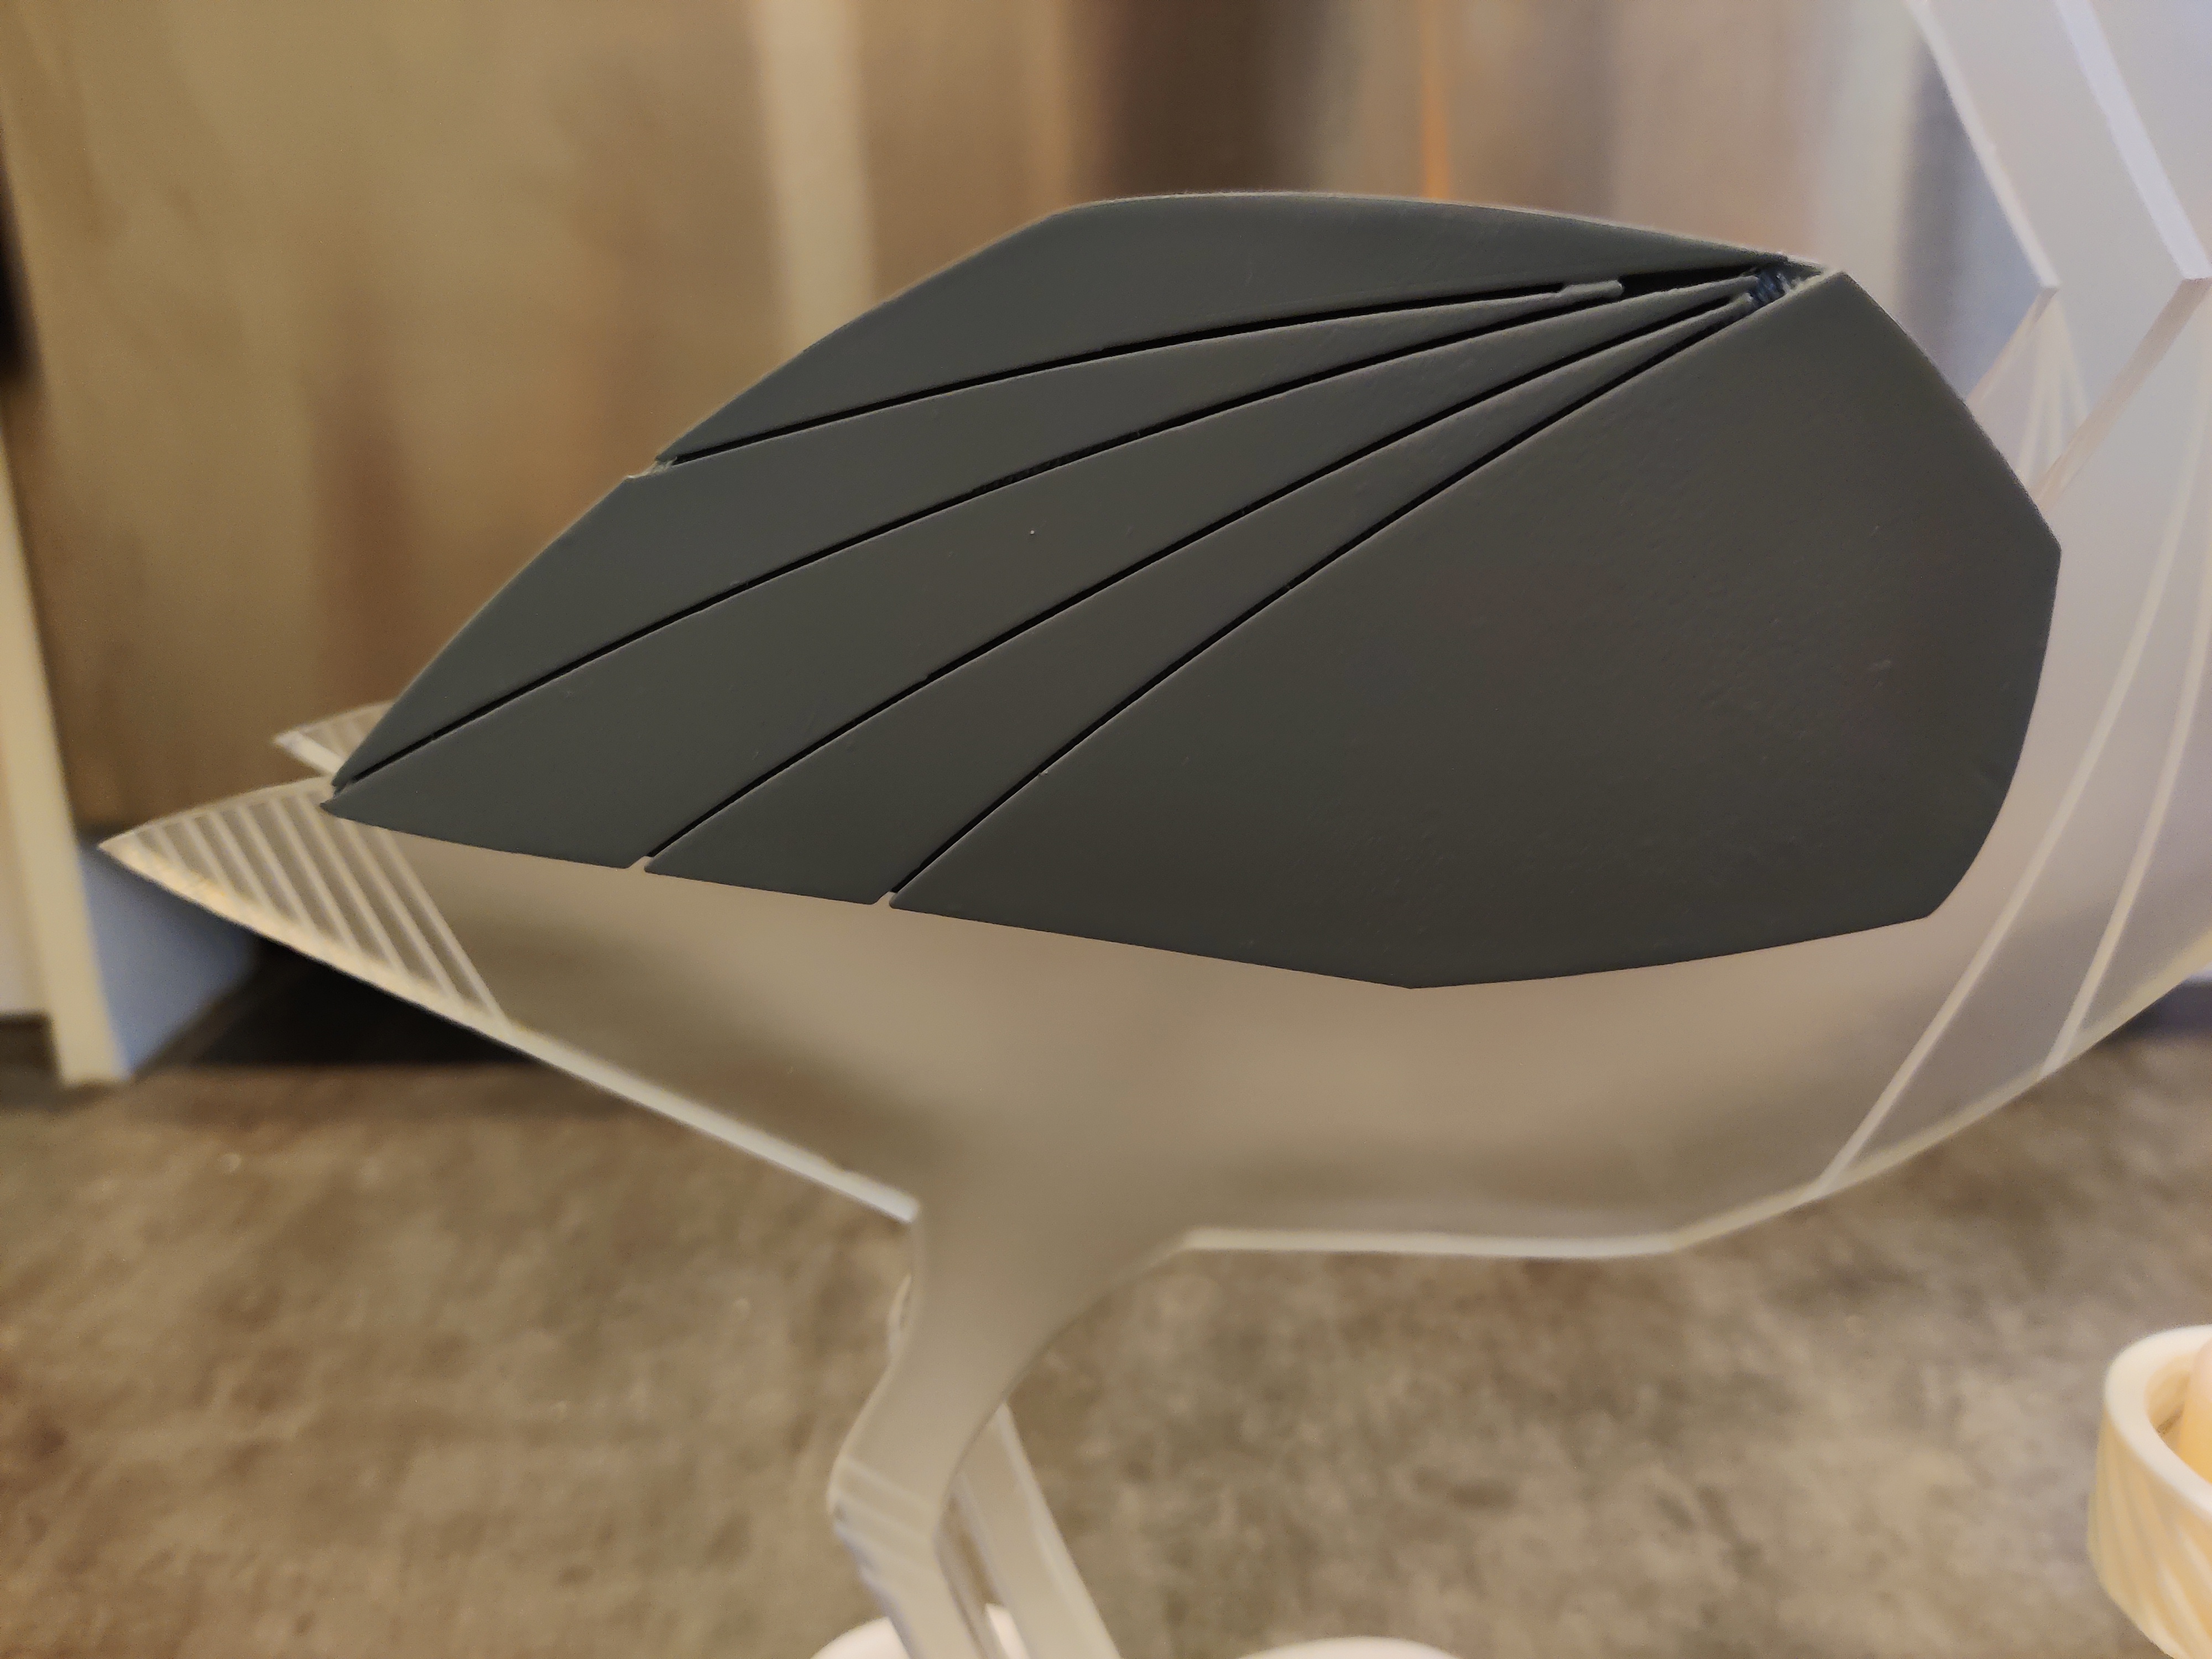
I did several coats on each of the wings and tufts. There were some lumps and bumps because I didn’t have a great way to keep everything level while it was drying and I might have put on multiple coats too quickly, but overall it looked pretty good.
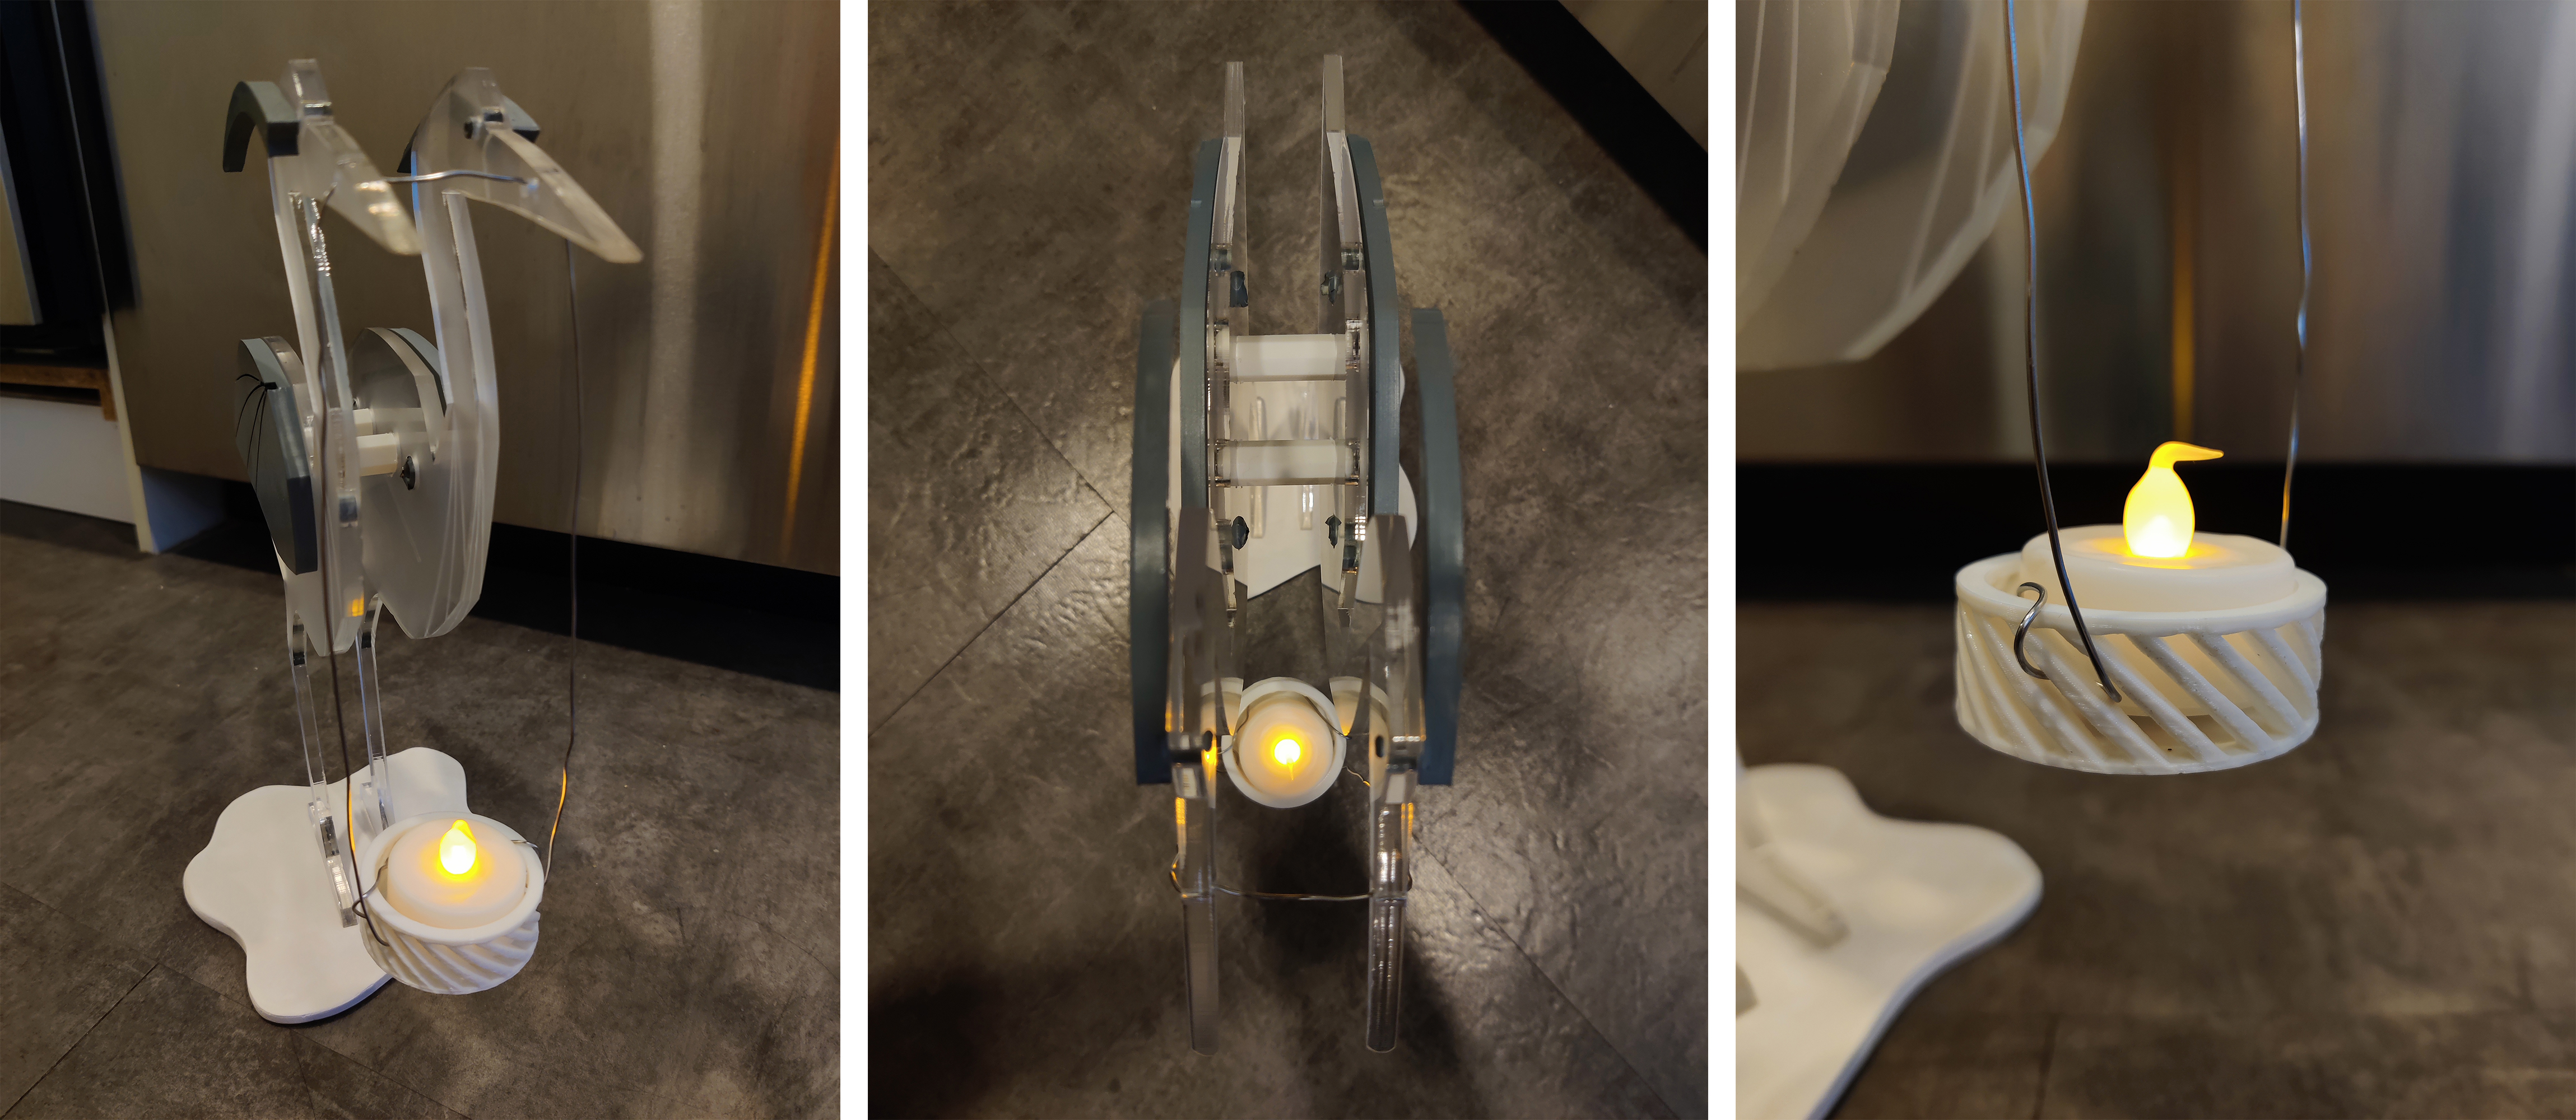
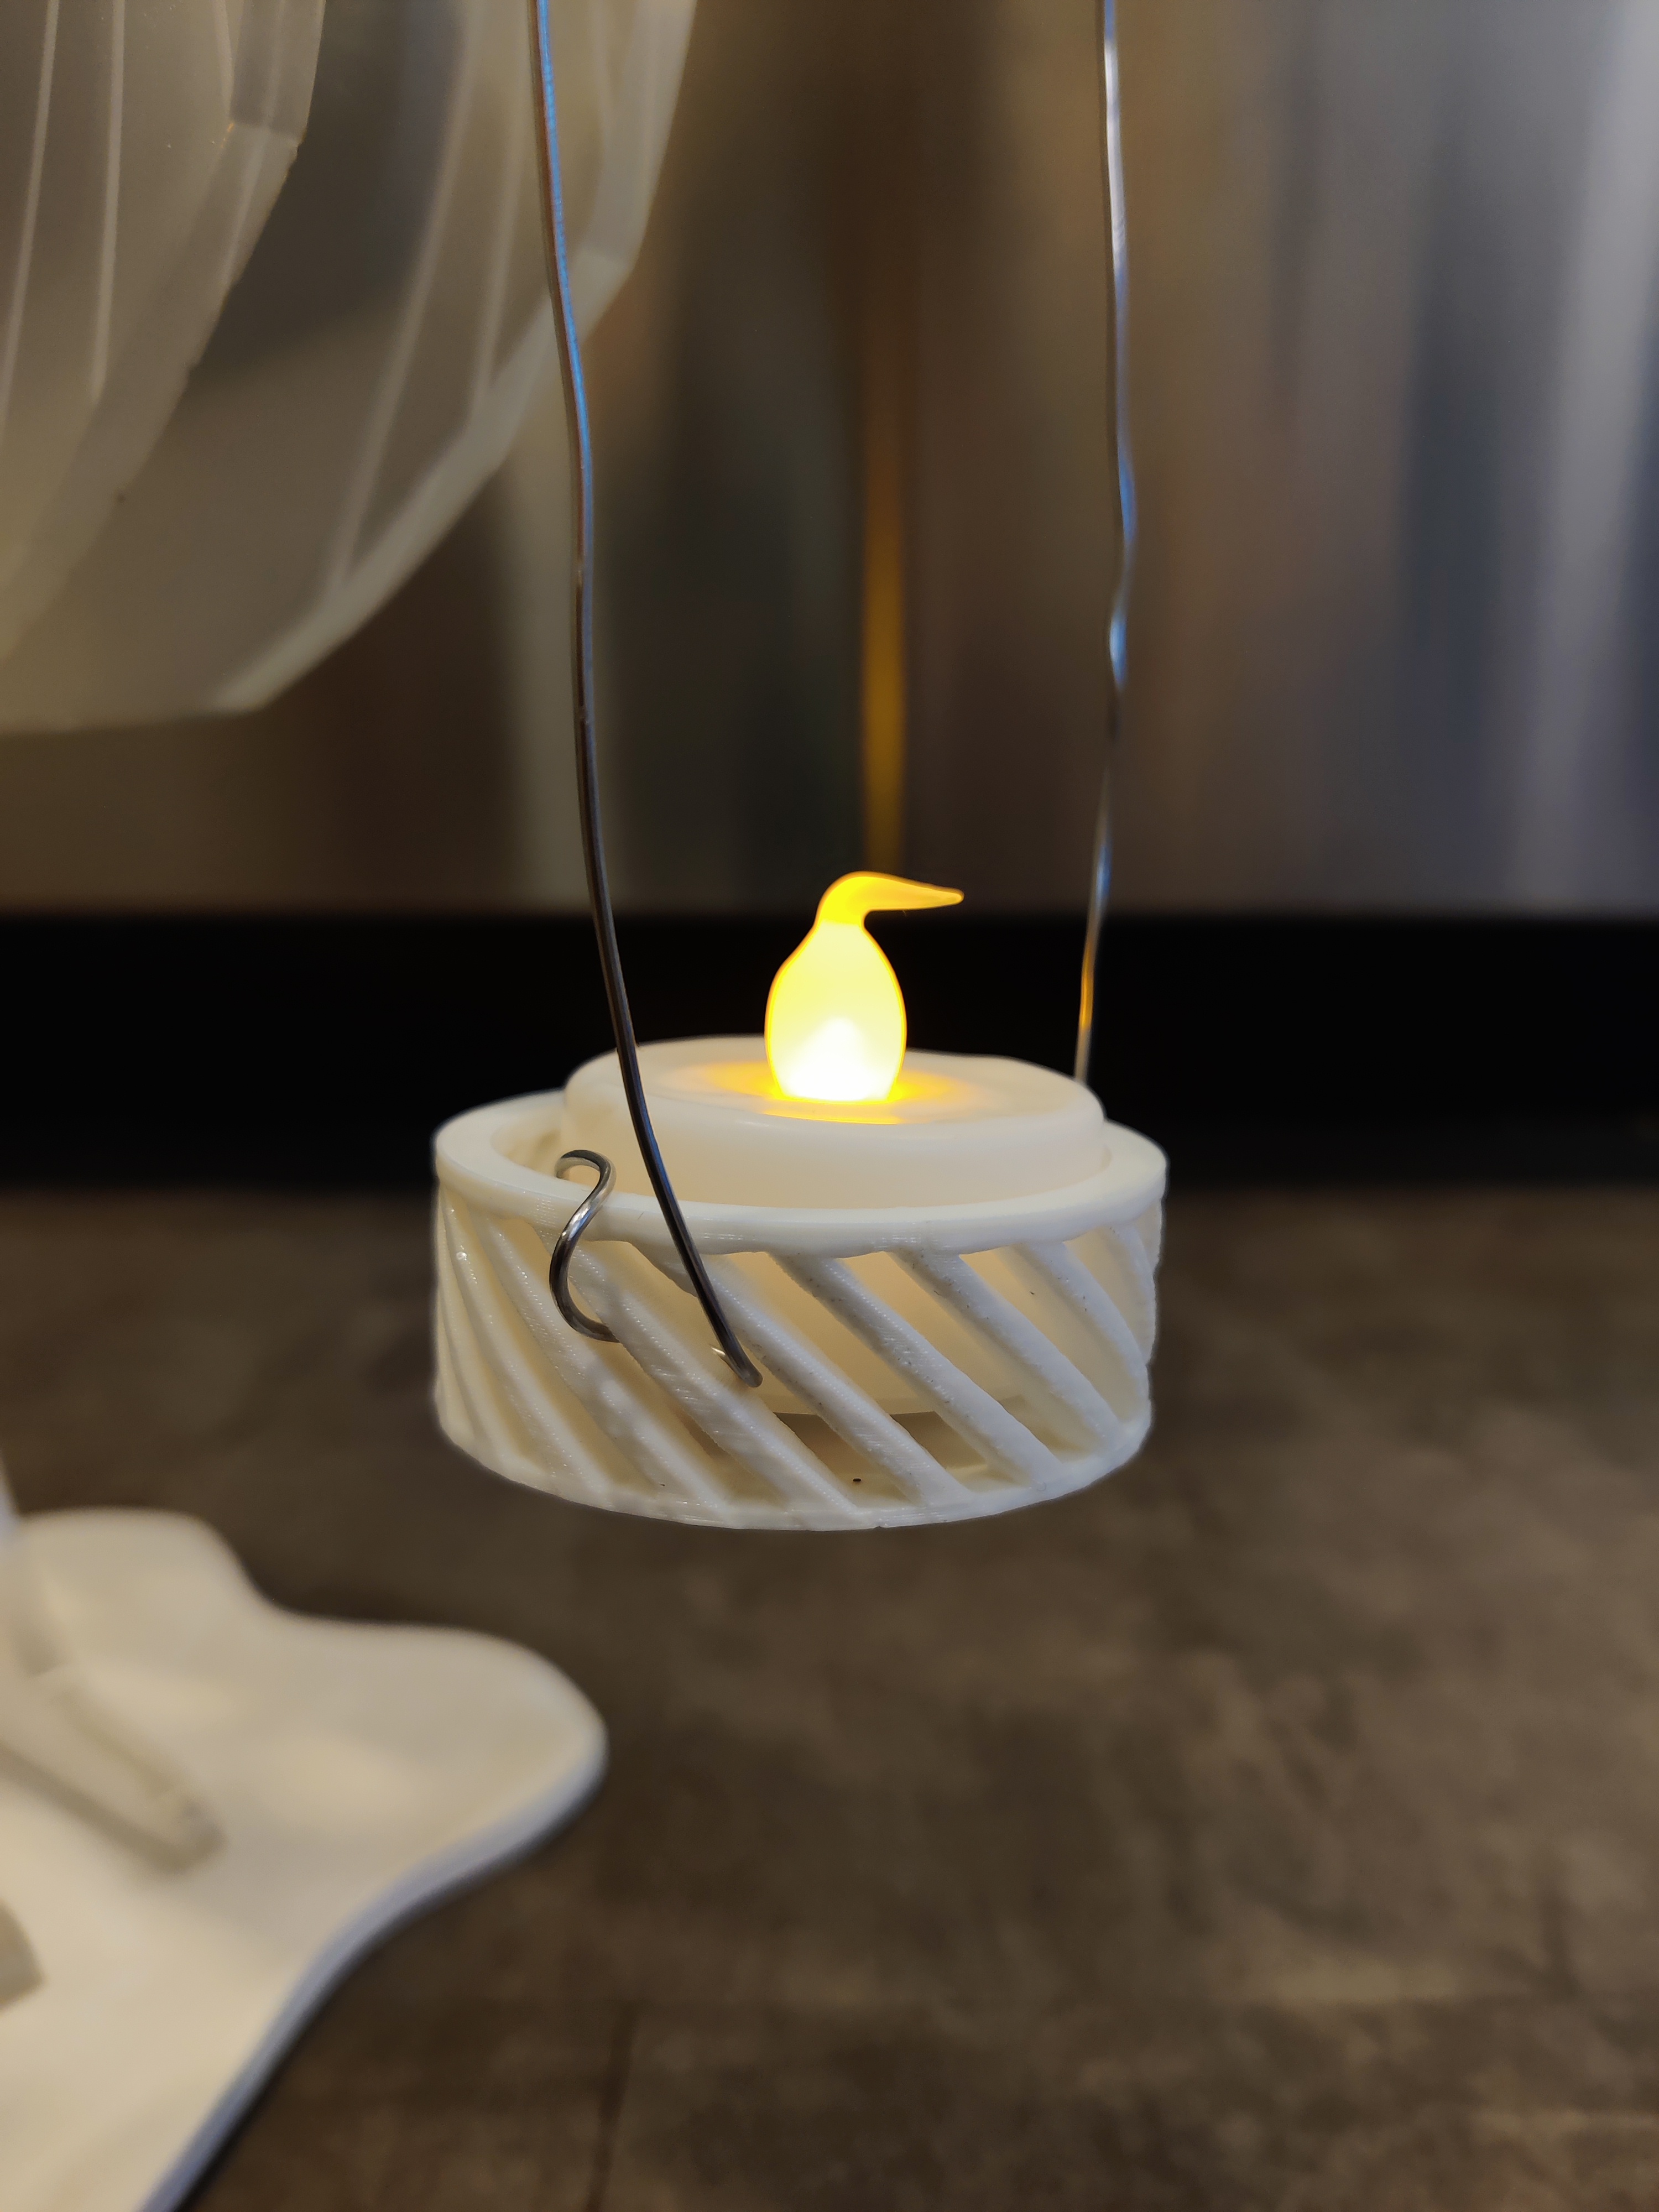
Attaching candle holder
I found some 18 gauge wire at the store that I thought would work well enough for suspending the candle from the bird. It took a little bit of playing around to find a way to string it so that it was both sturdy enough to hold the candle straight, but also didn’t look messy. I ended up weaving through two of the holes in the holder rather than just looping it through one.
Ideally, I would want the wire to be a little bit straighter with less waves and wiggles from me adjusting it, but I can figure that out another time!
Credits:
Kasturi, Jessica Douma, and Emily Rowland for help with laser cutter settings on Slack