Assignment 1
Written on October 8th, 2022 by Petrina Chan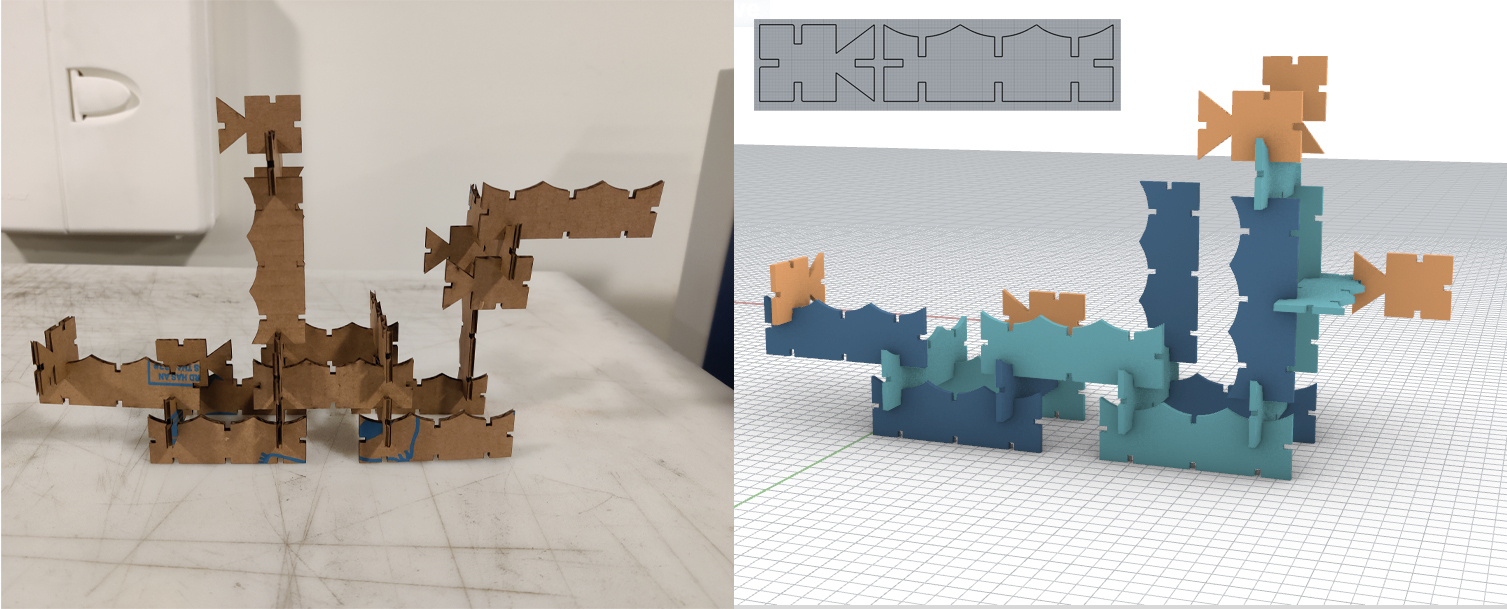
Assignment 1 - Laser Cut Press Fit Construction Kit
Files
Rhino file (single pieces, 2D)
Illustrator file (1 cutting page)
Process
Preparation:
When I was thinking about what I wanted to make for my press kit, I remembered this toy that I played with as a kid:
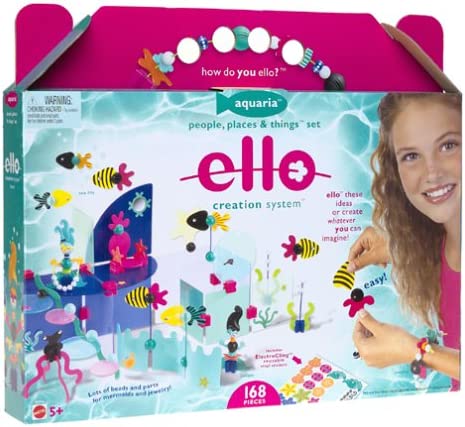
It was a builder kit with different ocean themed components that you could arrange in many different ways. I took inspiration from this kit for my assignment.
I decided to have my kit consist of 2 different parts: waves and fish. These pieces would be able to be fit together in a variety of ways to make different structures and scenes.
Before I did any detailed measuring or model, I made a sketch and a very crude paper prototype of my shapes to check to see if what I was thinking of would work out.
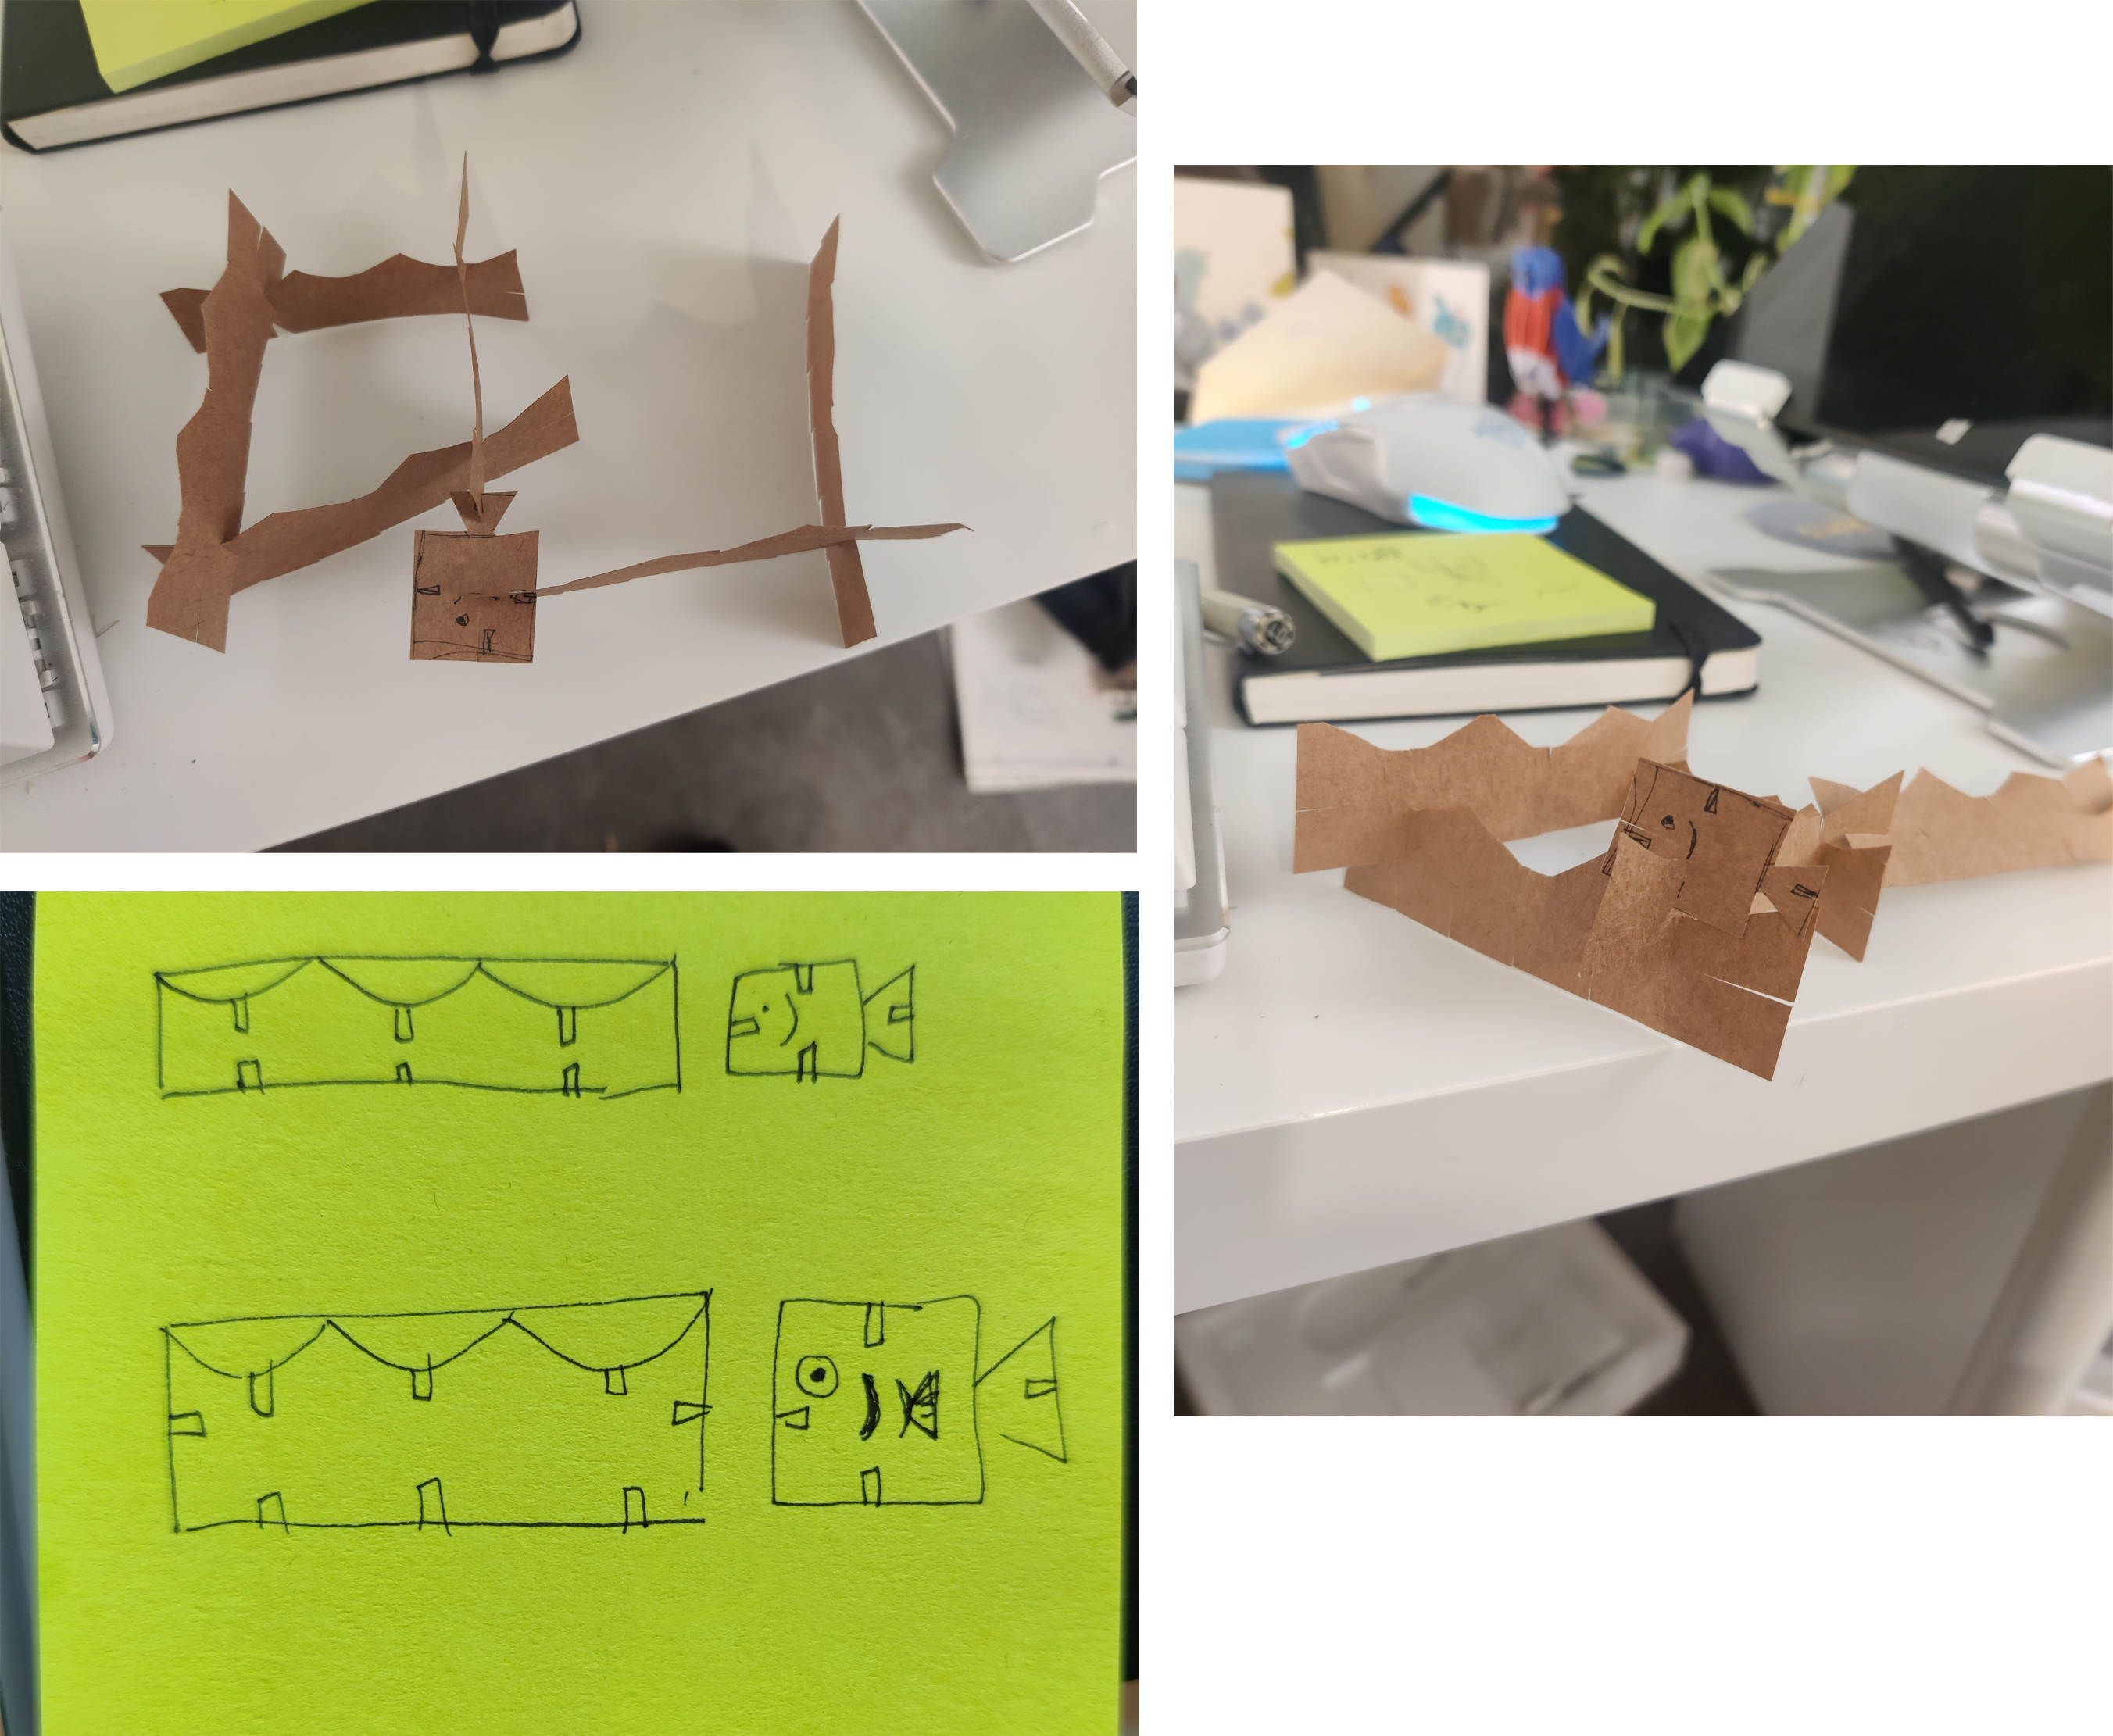
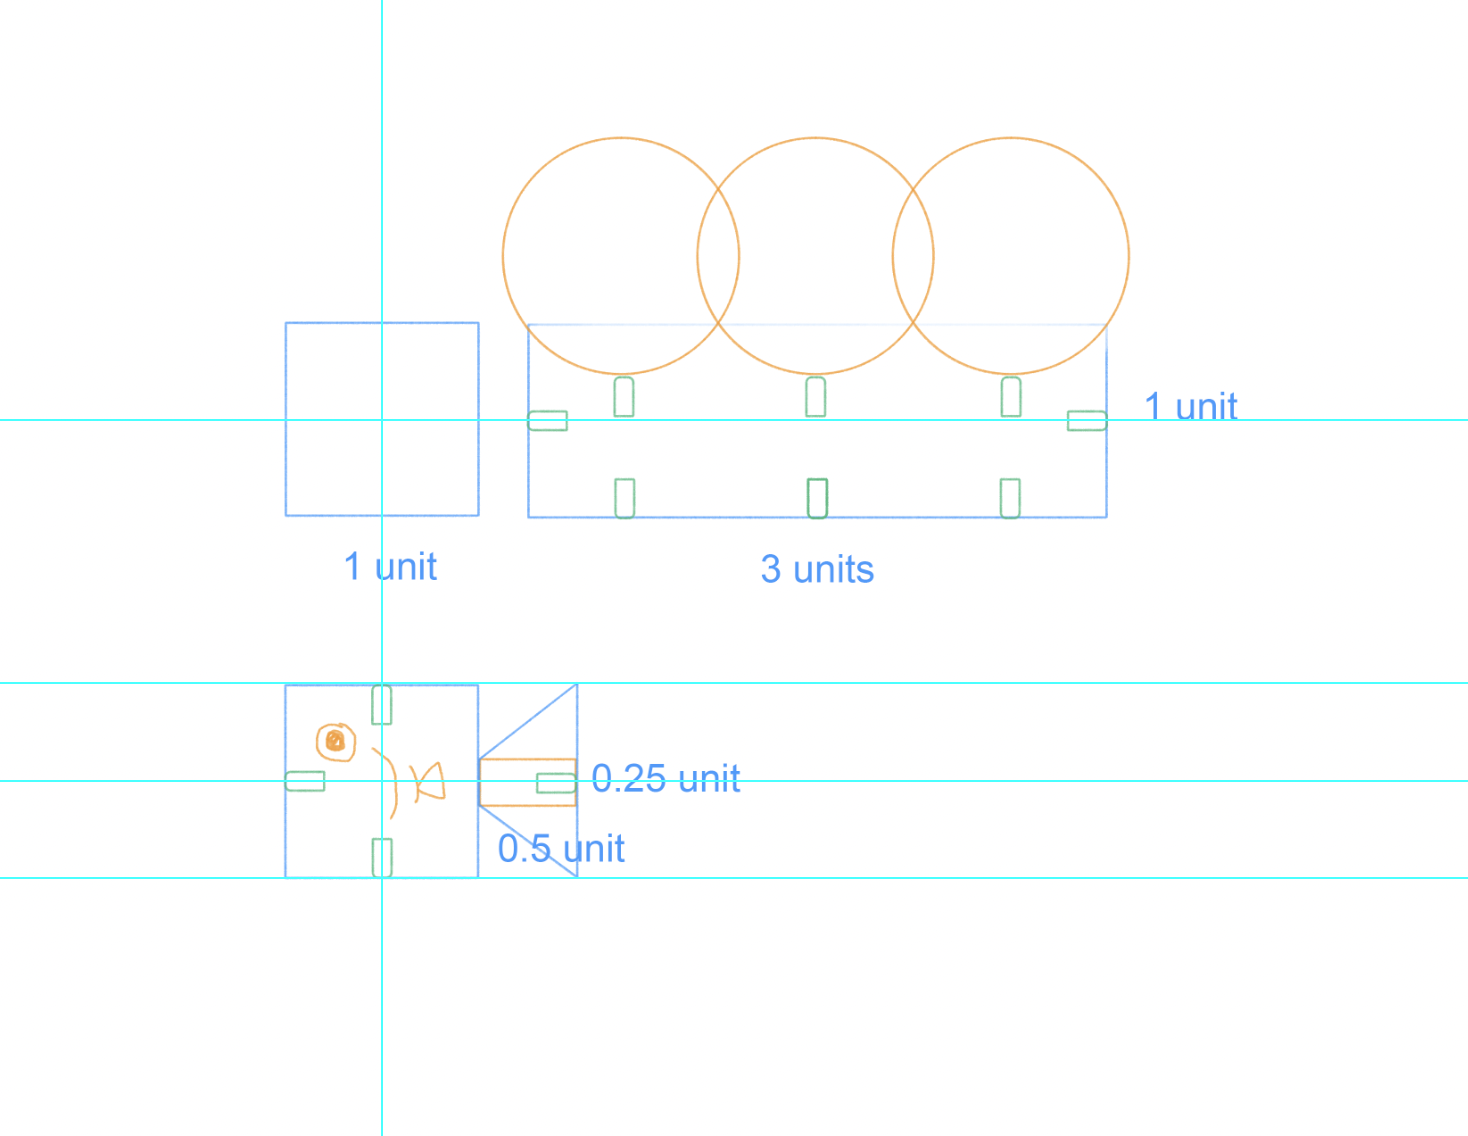
Since it seemed like the pieces would fit together and the shapes would make sense, I made a more detailed sketch with generic units to be filled in after I take measurements.
Then, I found some cardboard boxes in the recycling to use for cutting.
I measured the thickness of the cardboard with the calipers (2.4mm). I also tested out a few slot dimensions to see which length would work best for both sturdiness and the design of the shapes in terms of aesthetics and not having part overlap and bump each other. It seemed like 3mm slots would work well. 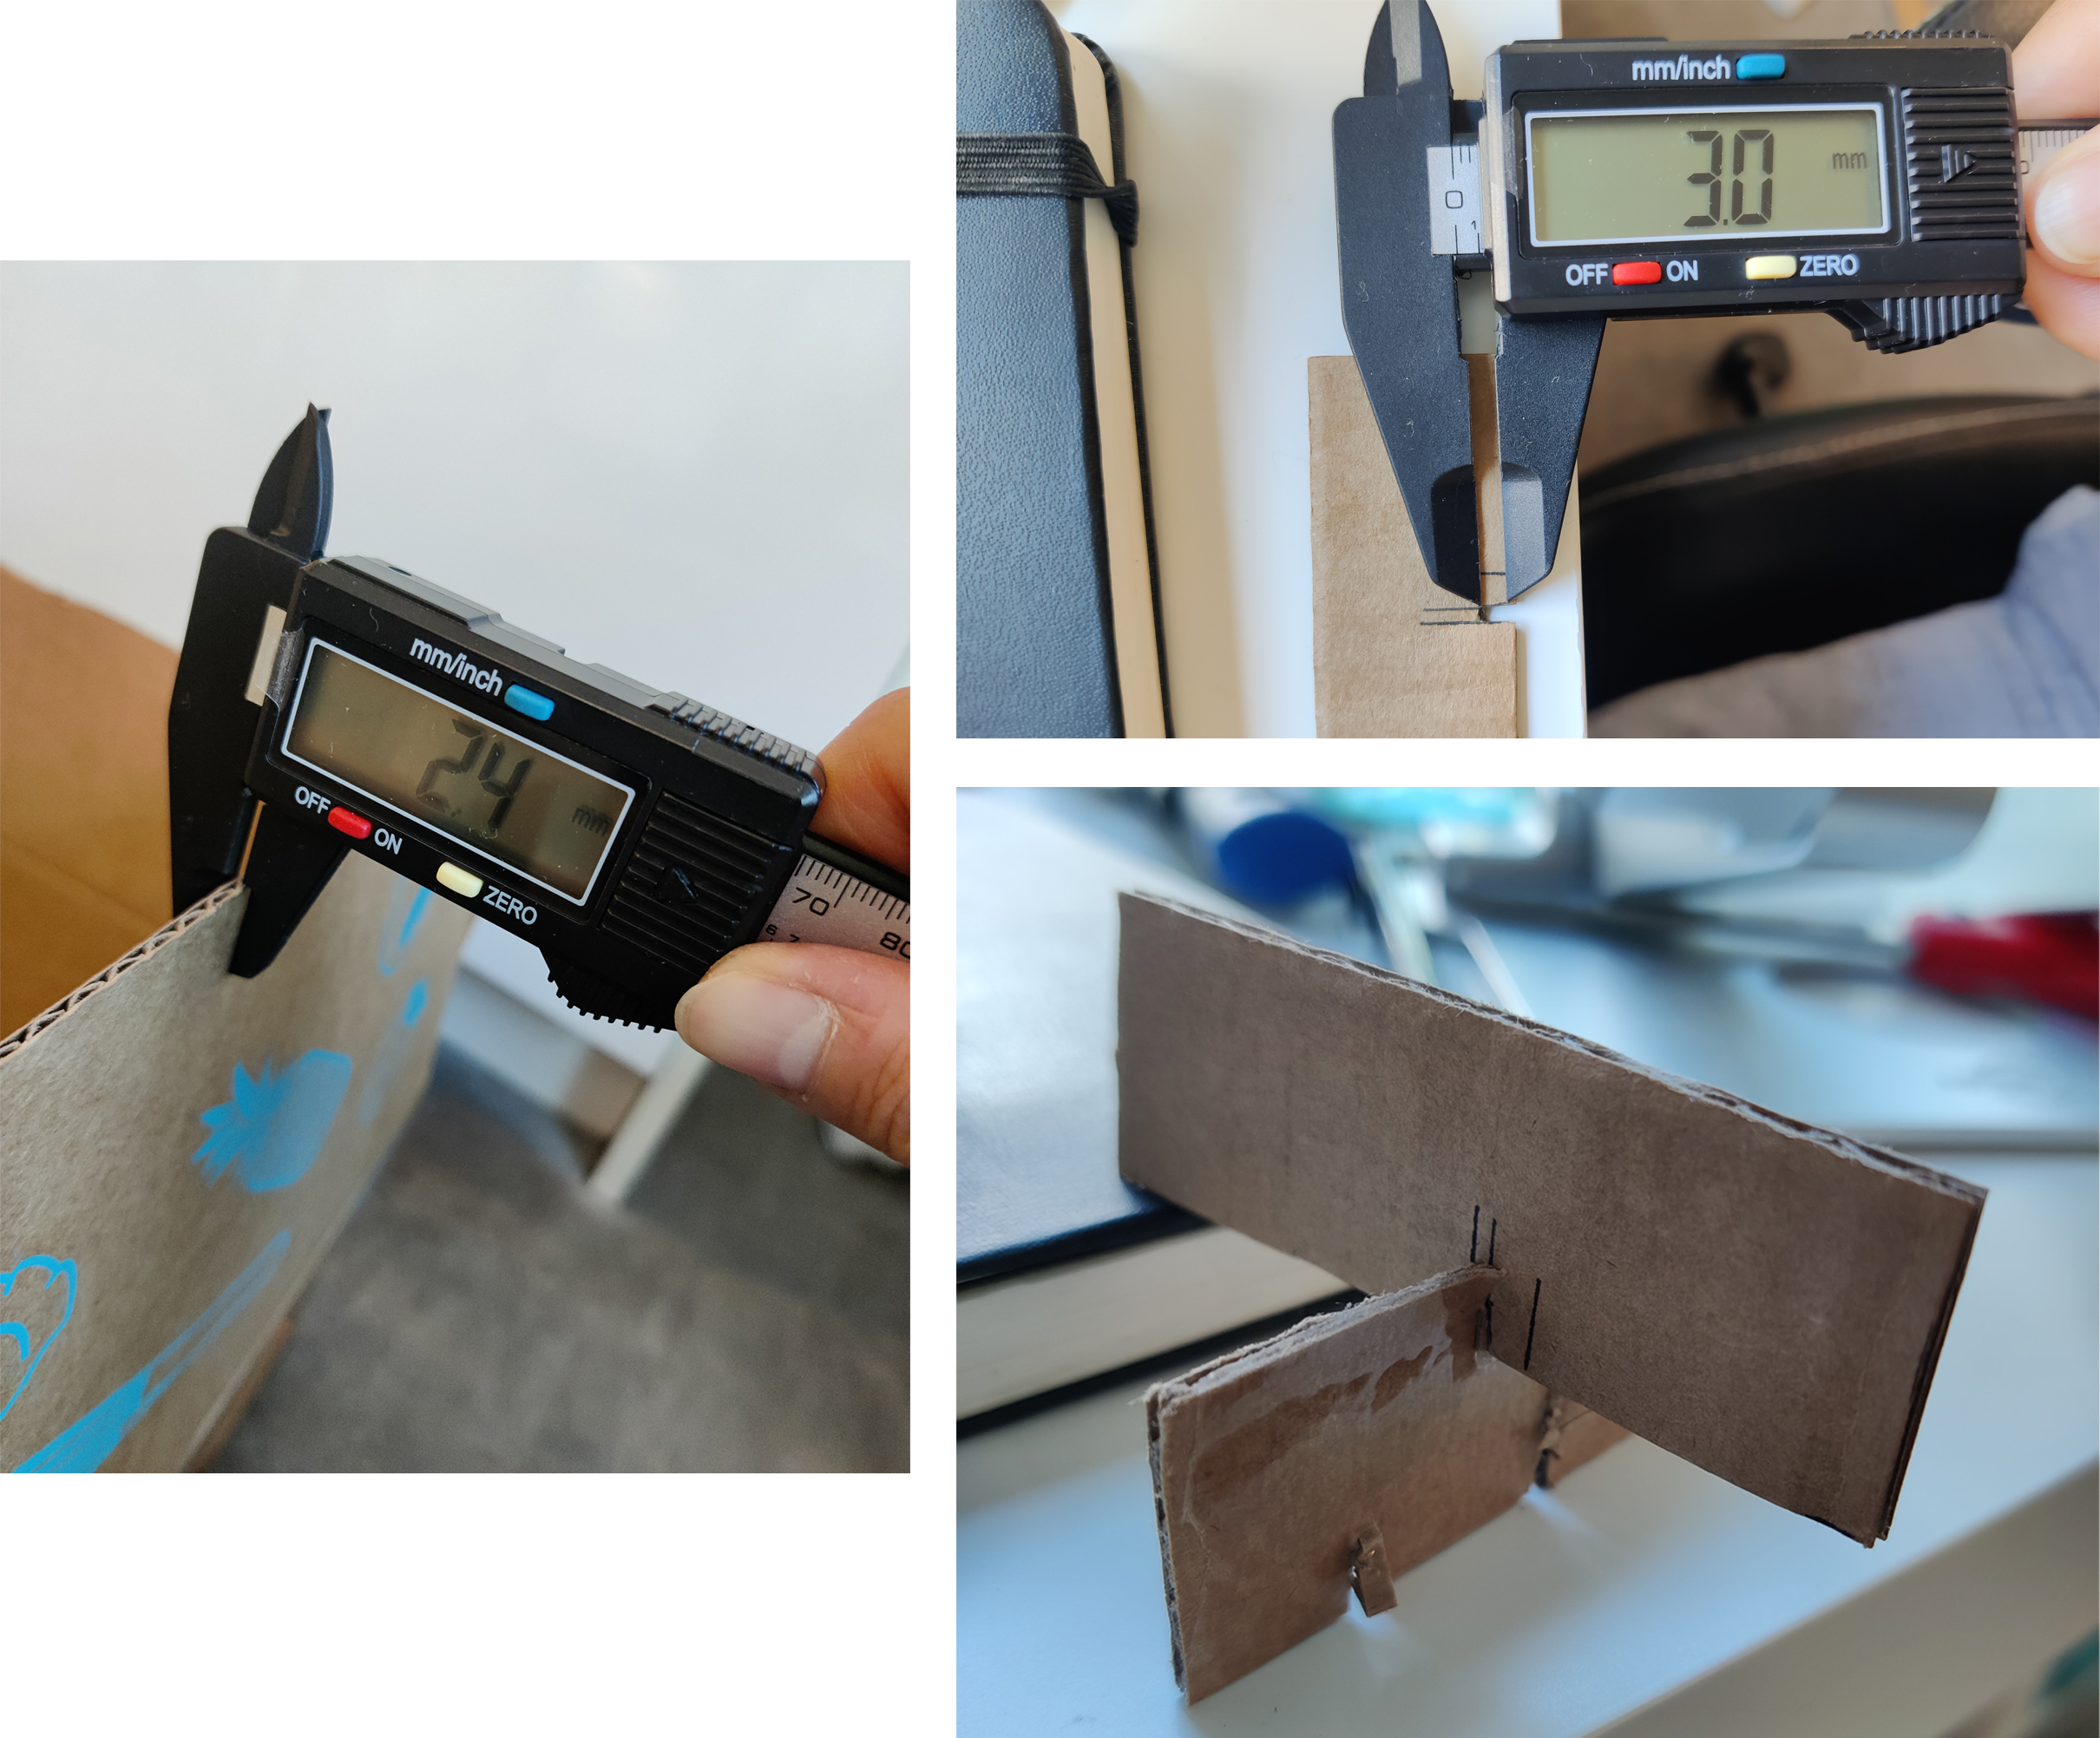
Before getting started in Rhino, I updated the sketch with the proposed dimensions
Making the fish in Rhino:
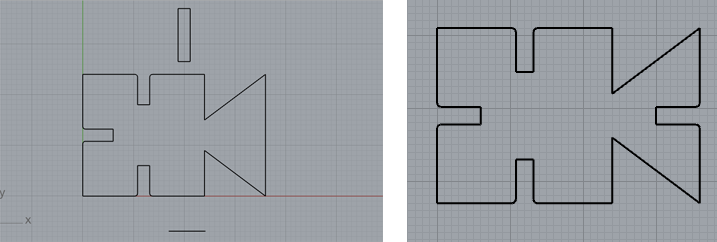
- Start with a 24mm square
- Follow scale in sketch to make the trapezoid tail, slice and join to the body
- Make a 3mm wide rectangle to create the slots
- Place rectangles in appropriate spots
- Slice, trim, and join to cut out the slots from the fish
- Fillet the outer corners of the slots
Making the waves:
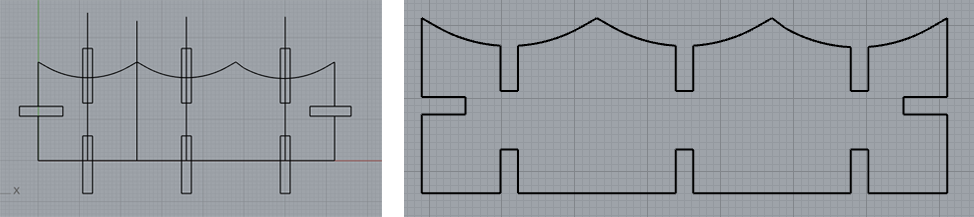
- Start with a 24mm x 72mm rectangle
- Set guidelines at each third (24mm) of the rectangle to guide placement of the wave dips
- Make 3 angles using polyline tool centered at those guidelines
- Fillet the 3 angles to make the rounded wave dip
- Slice, trim, and join to make a complete wave pieve
- Take the same 3mm rectangle from the previous shape to create the slots
- Place rectangles in appropriate spots
- Slice, trim, and join to cut out the slots from the wave
- Fillet the outer corners of the slots
Rendering & Exporting:
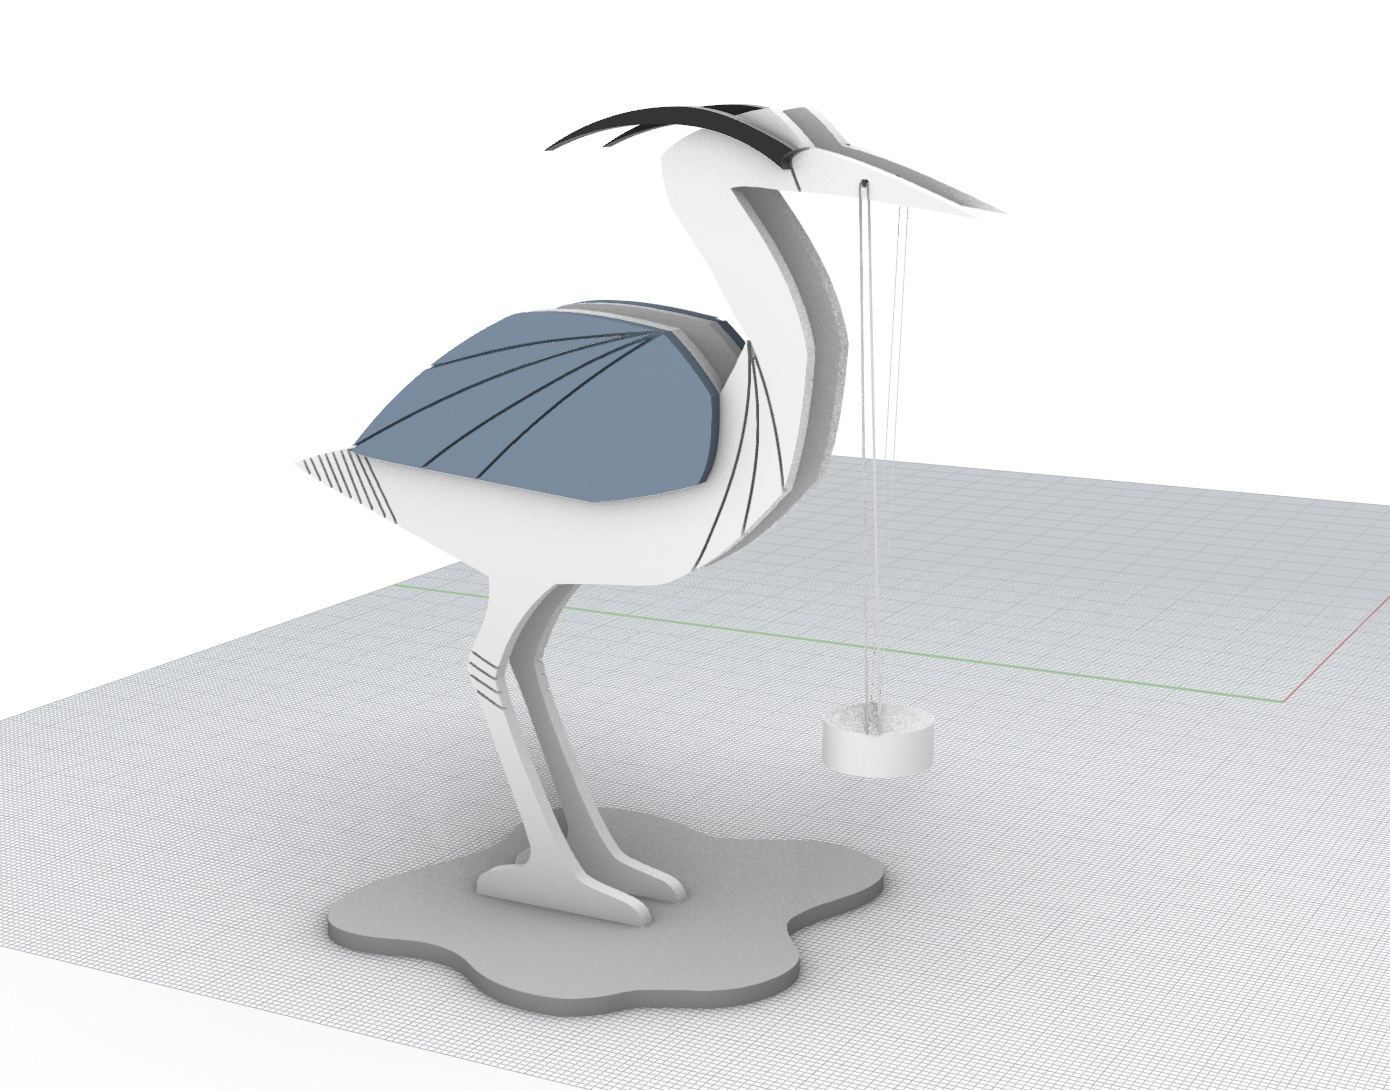
Before finalizing and exporting these curves, I wanted to render the pieces in 3D to see how they would fit together and mockup how the press kit could look like. I extruded the pieces to 2.4mm and built a structure with them.
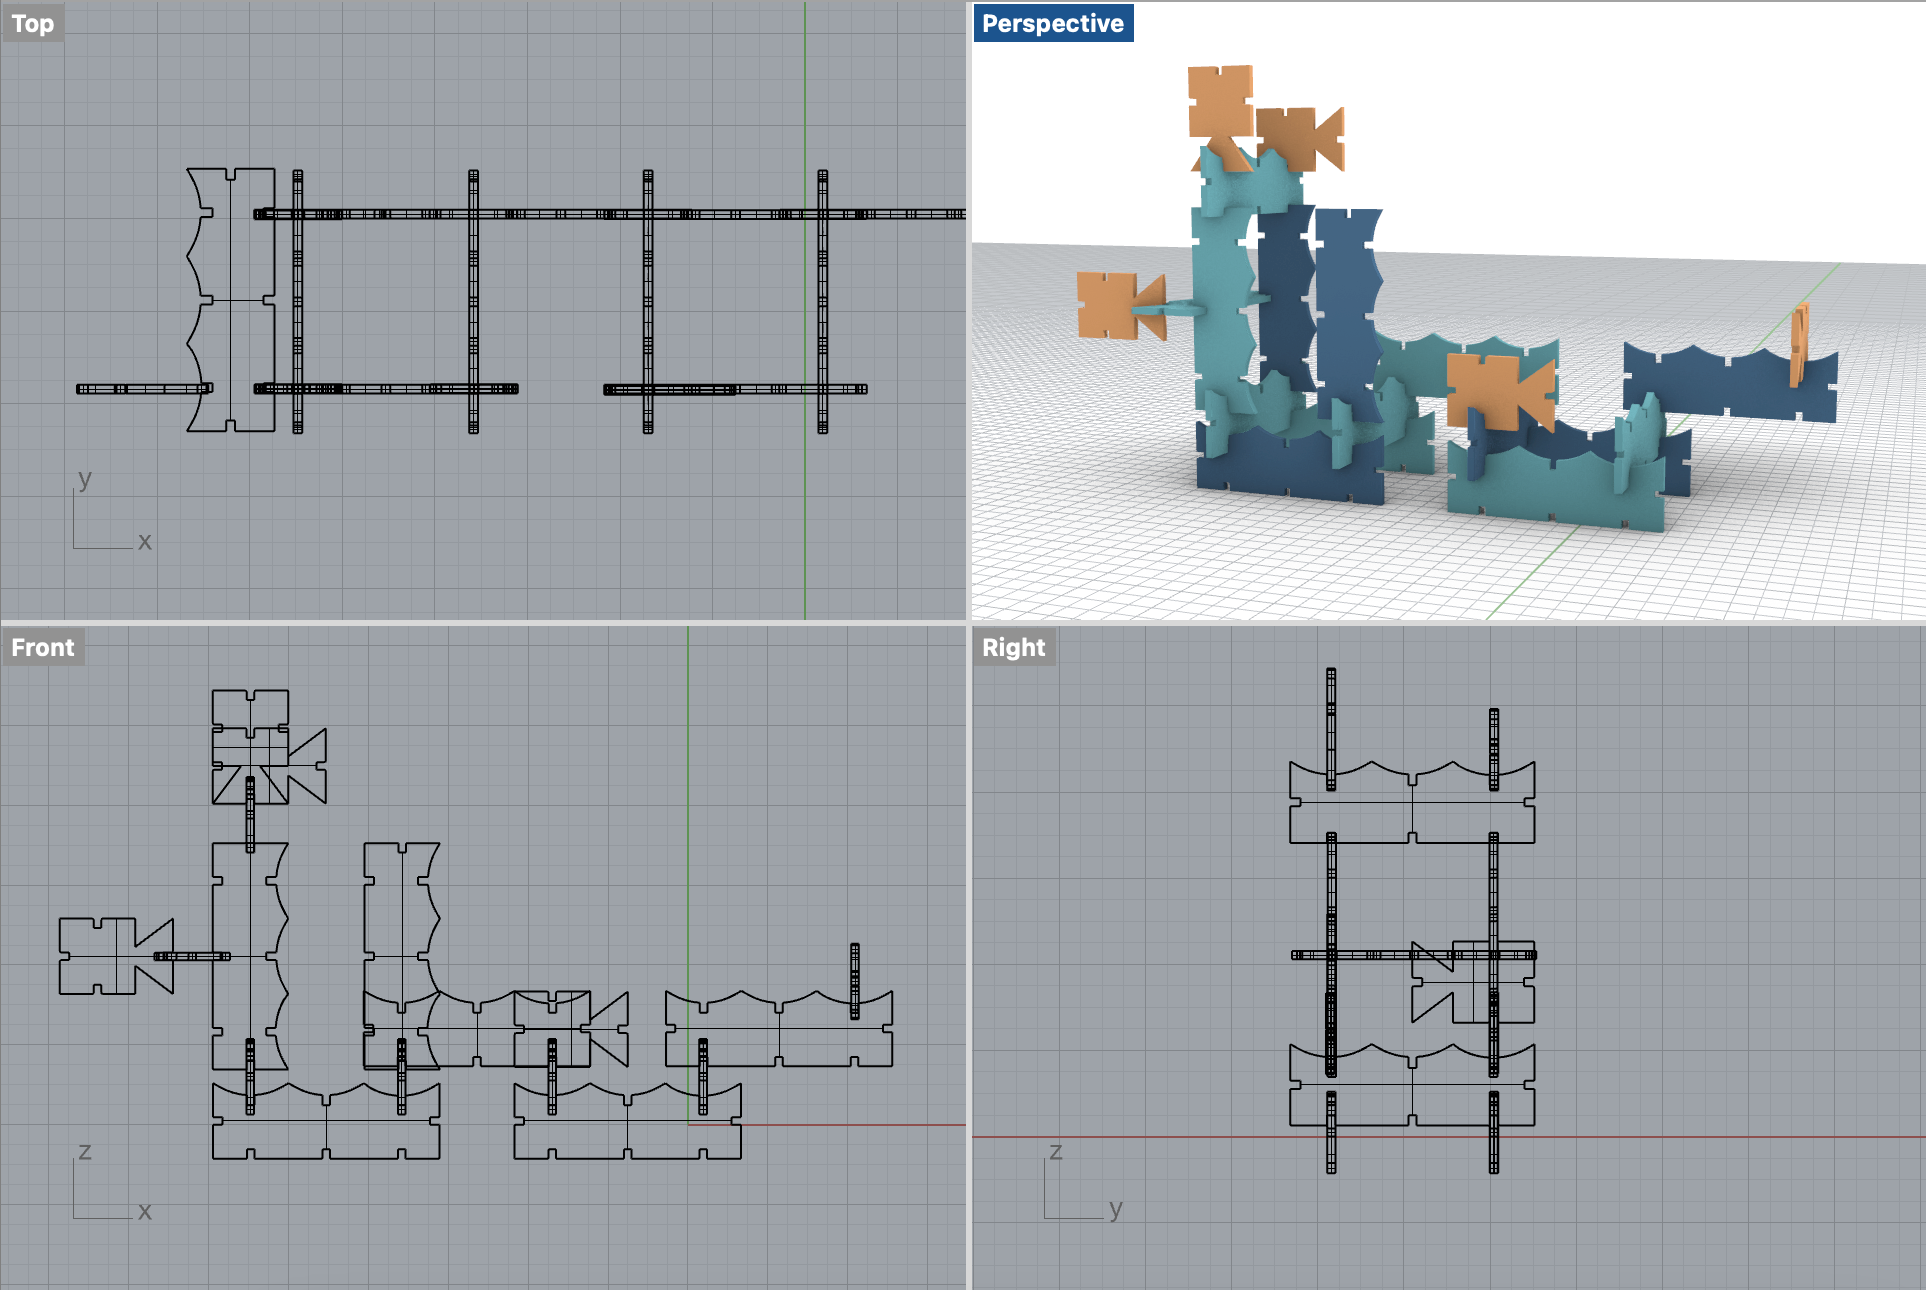
I colored the pieces in the render, though they will just be cut from plain cardboard. In an ideal world I would like to paint the pieces!
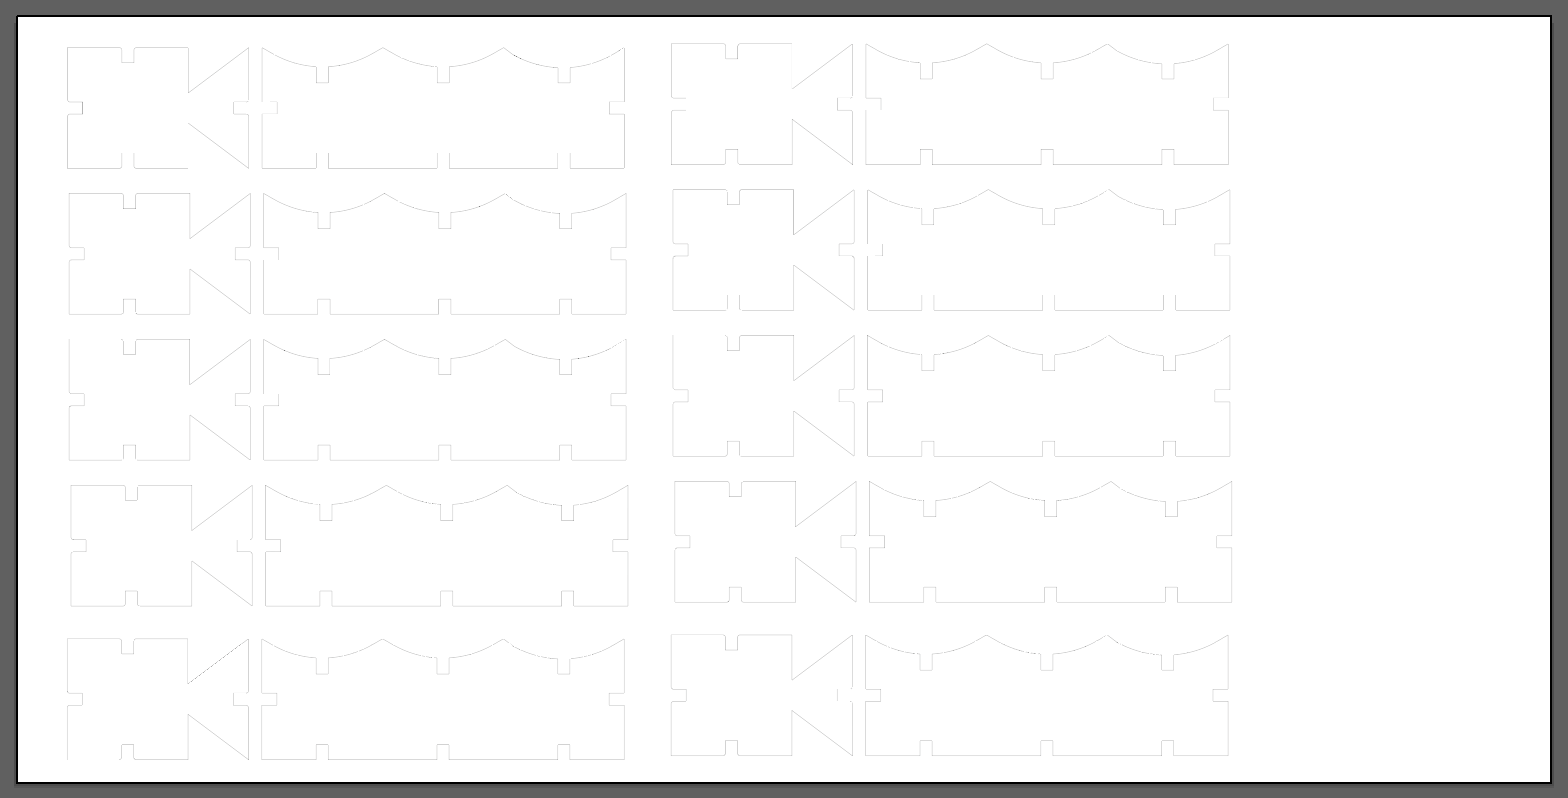
Next, I exported the file to Adobe Illustrator. Since the laser cutter is in inches and I made my file in mm, I had to specify the scale when exporting.
In Illustrator, I laid out the pieces on a canvas that was the same dimensions as the cardboard pieces I will be cutting on (6” x 12”). I also double checked that the dimensions remained consistent after exporting. Since 10 of each piece fits on each panel, I will cut 3 panels resulting in 30 of each piece.
Laser Cutting:
After loading my Illustrator file onto the Mill laptop, I calibrated the laser cutter
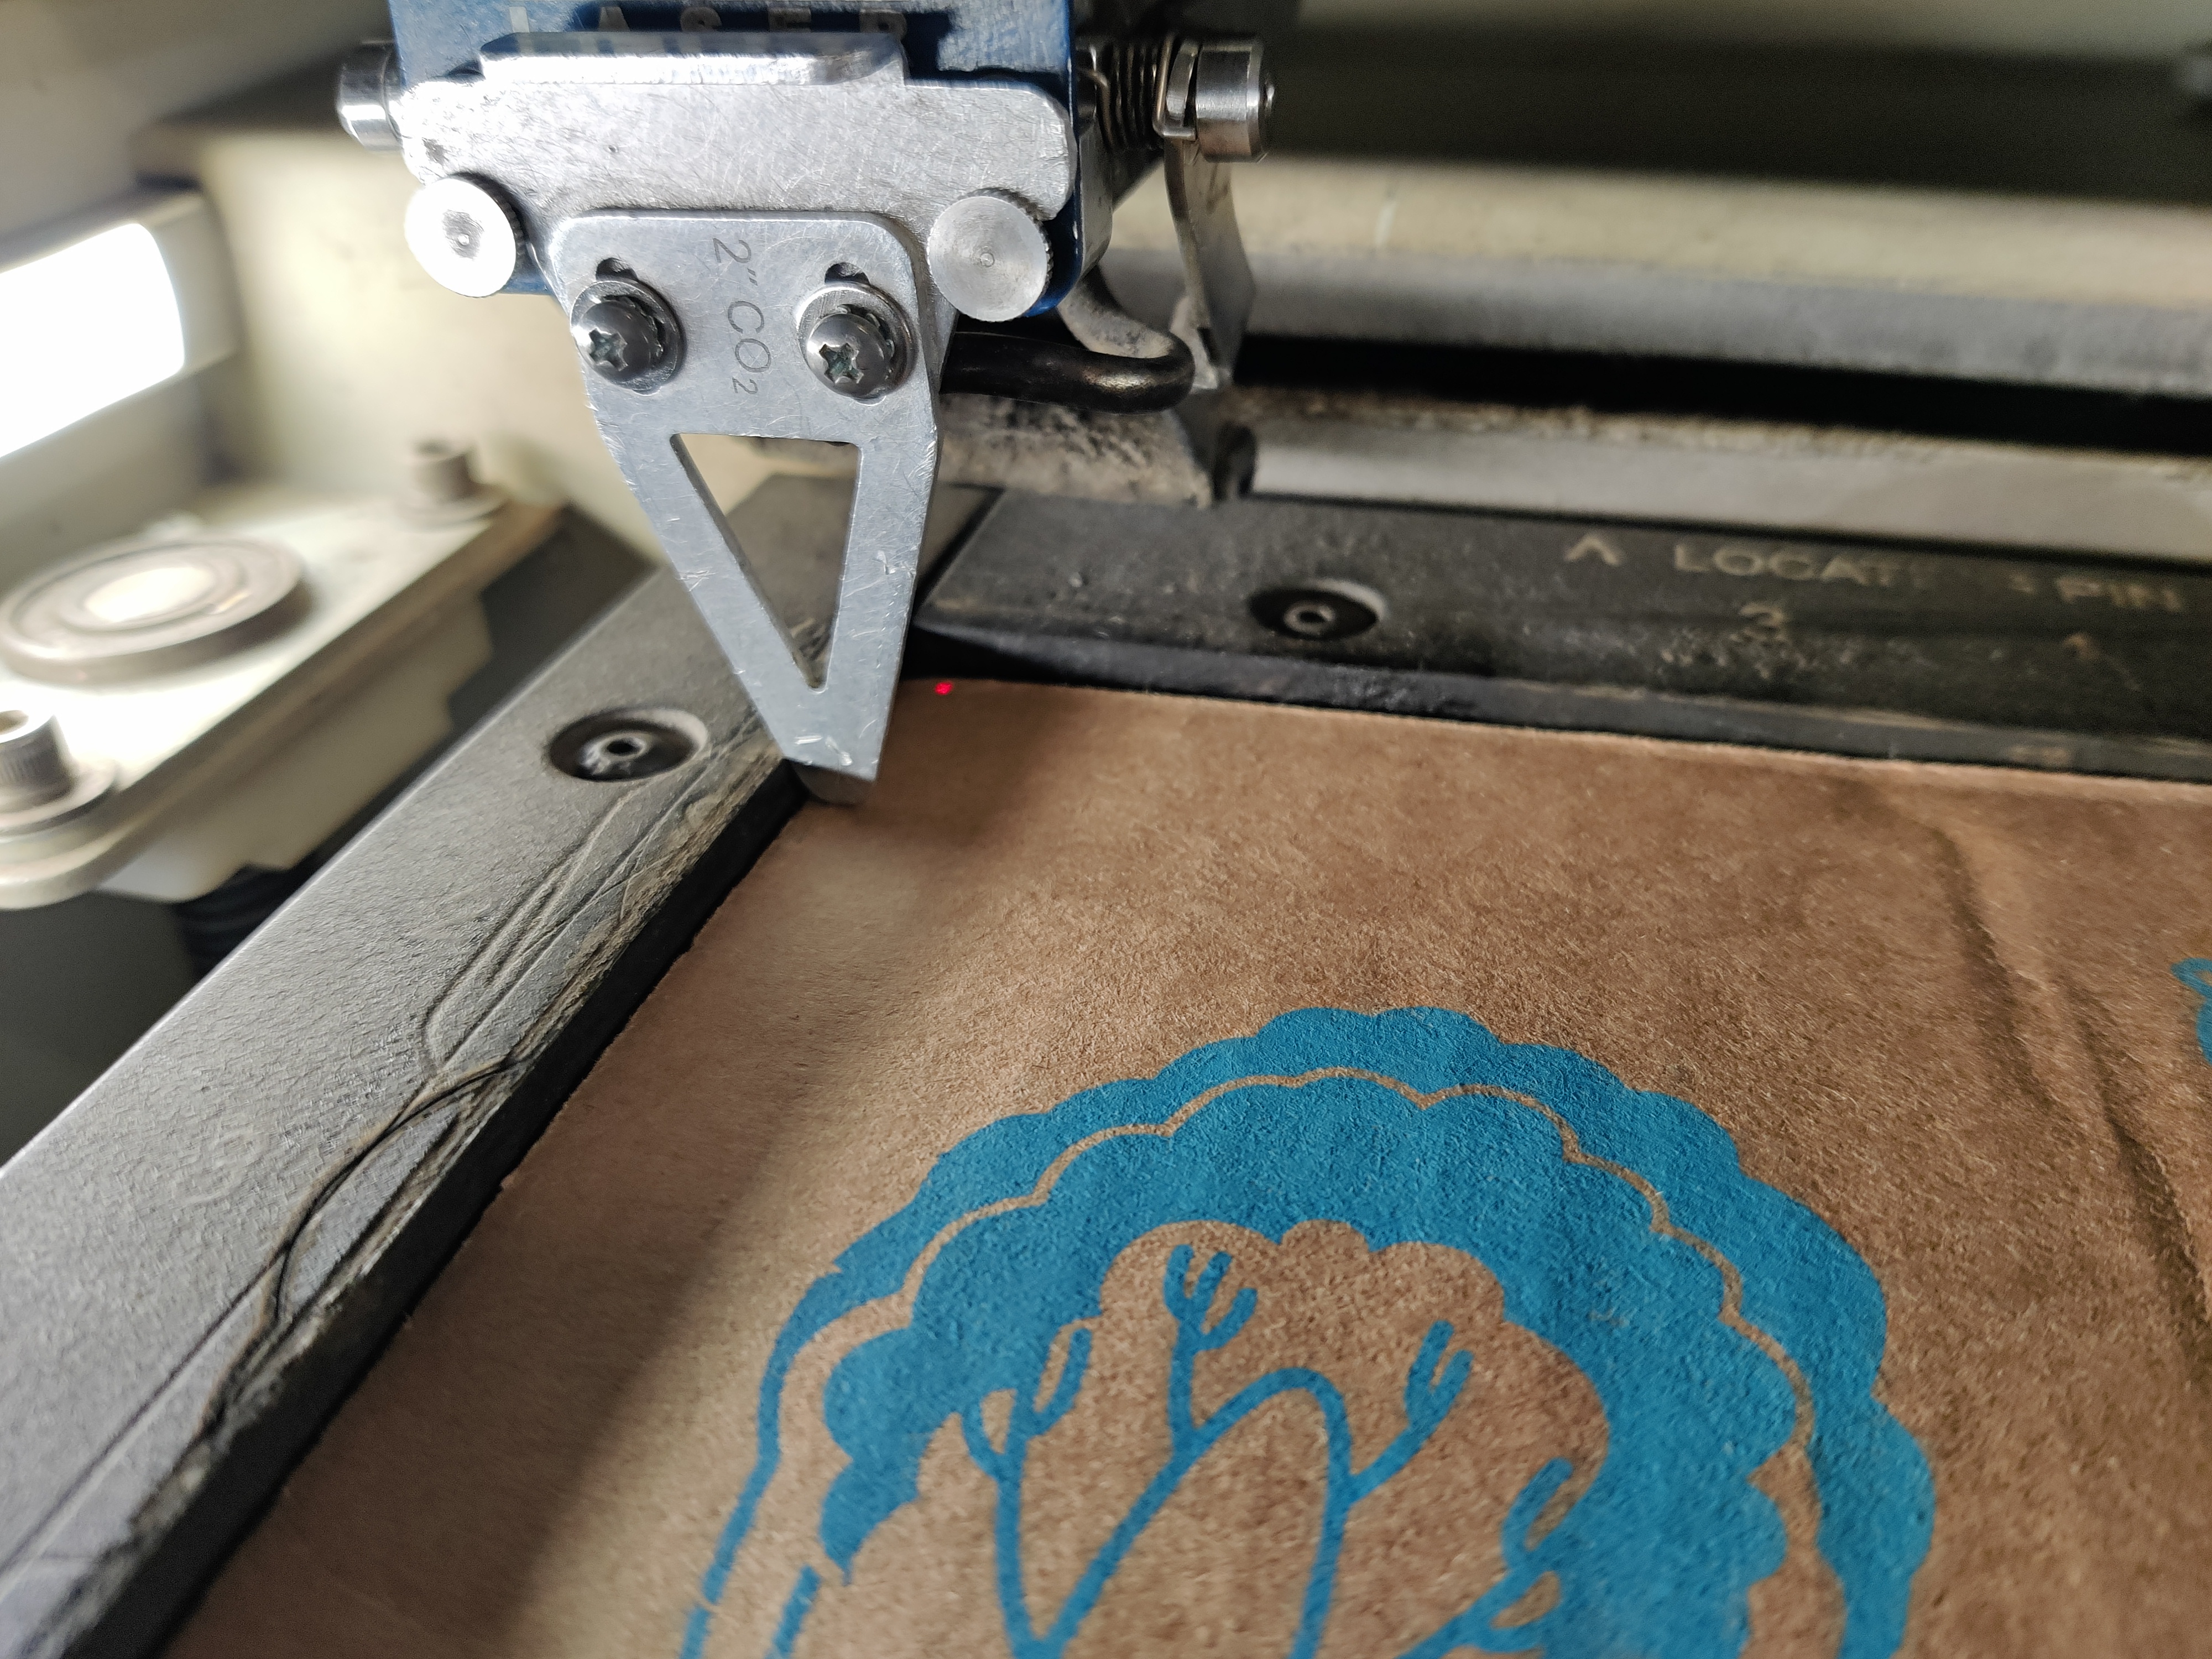
The settings I used were the ones that were recommended per the Mill for the type of cardboard –
Power: 100
Speed: 30
Freq: 10
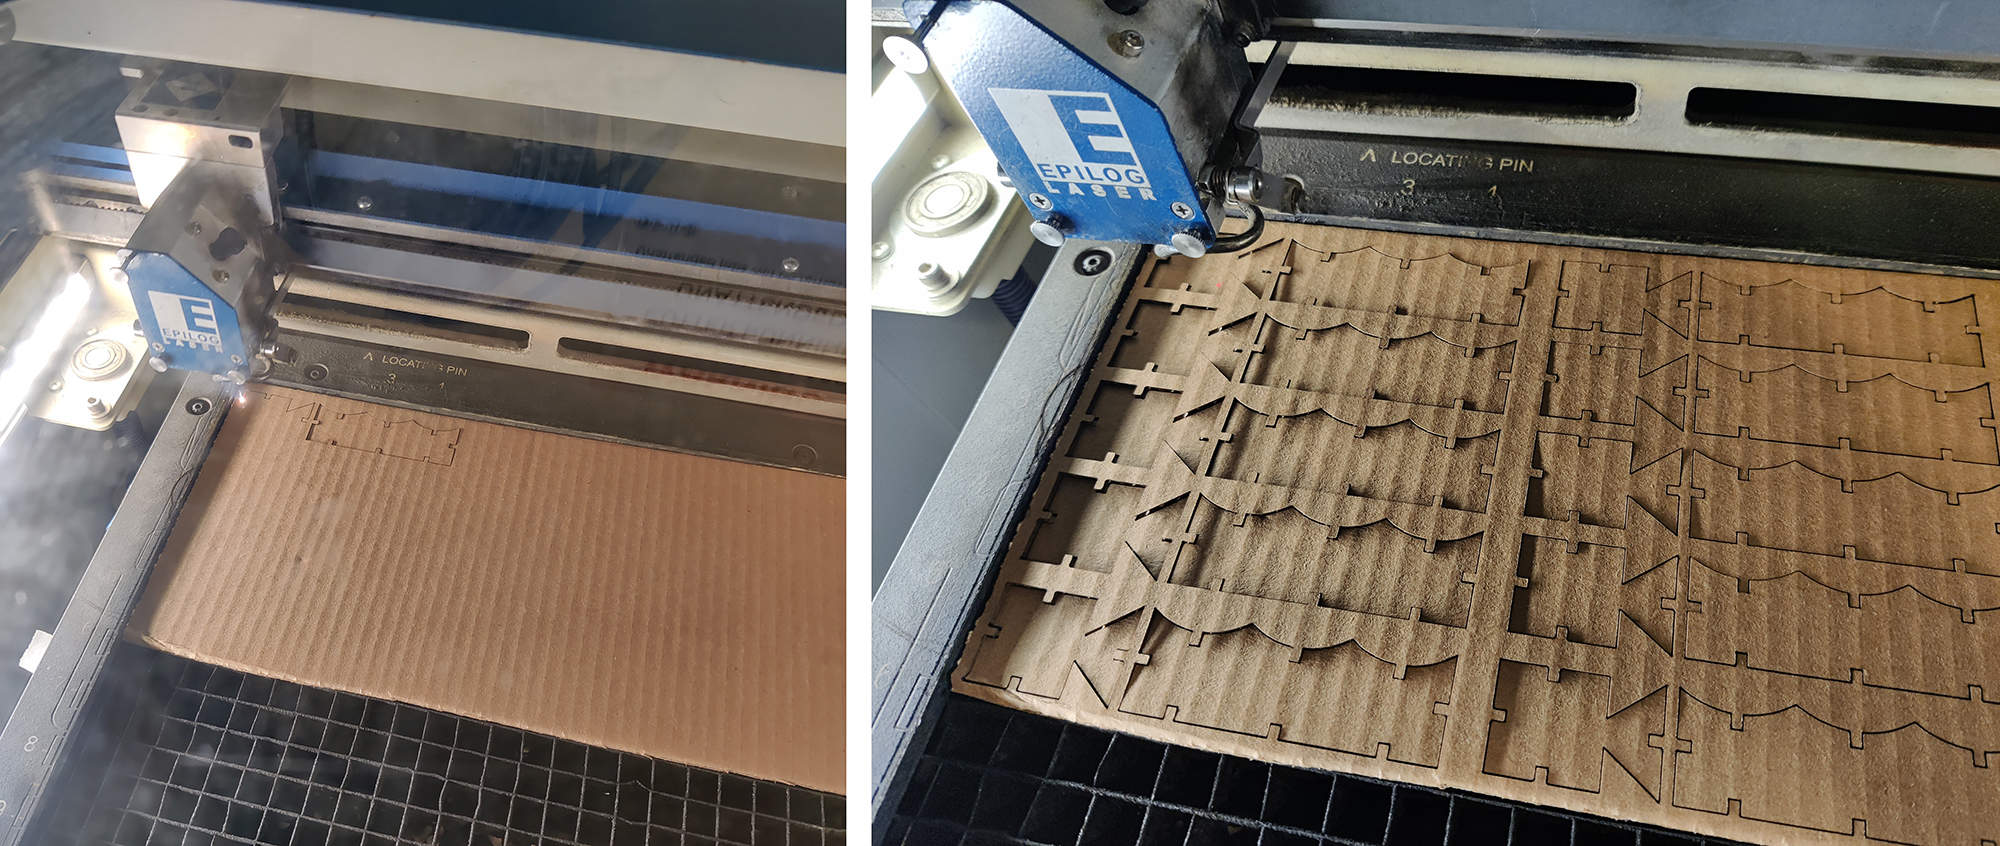
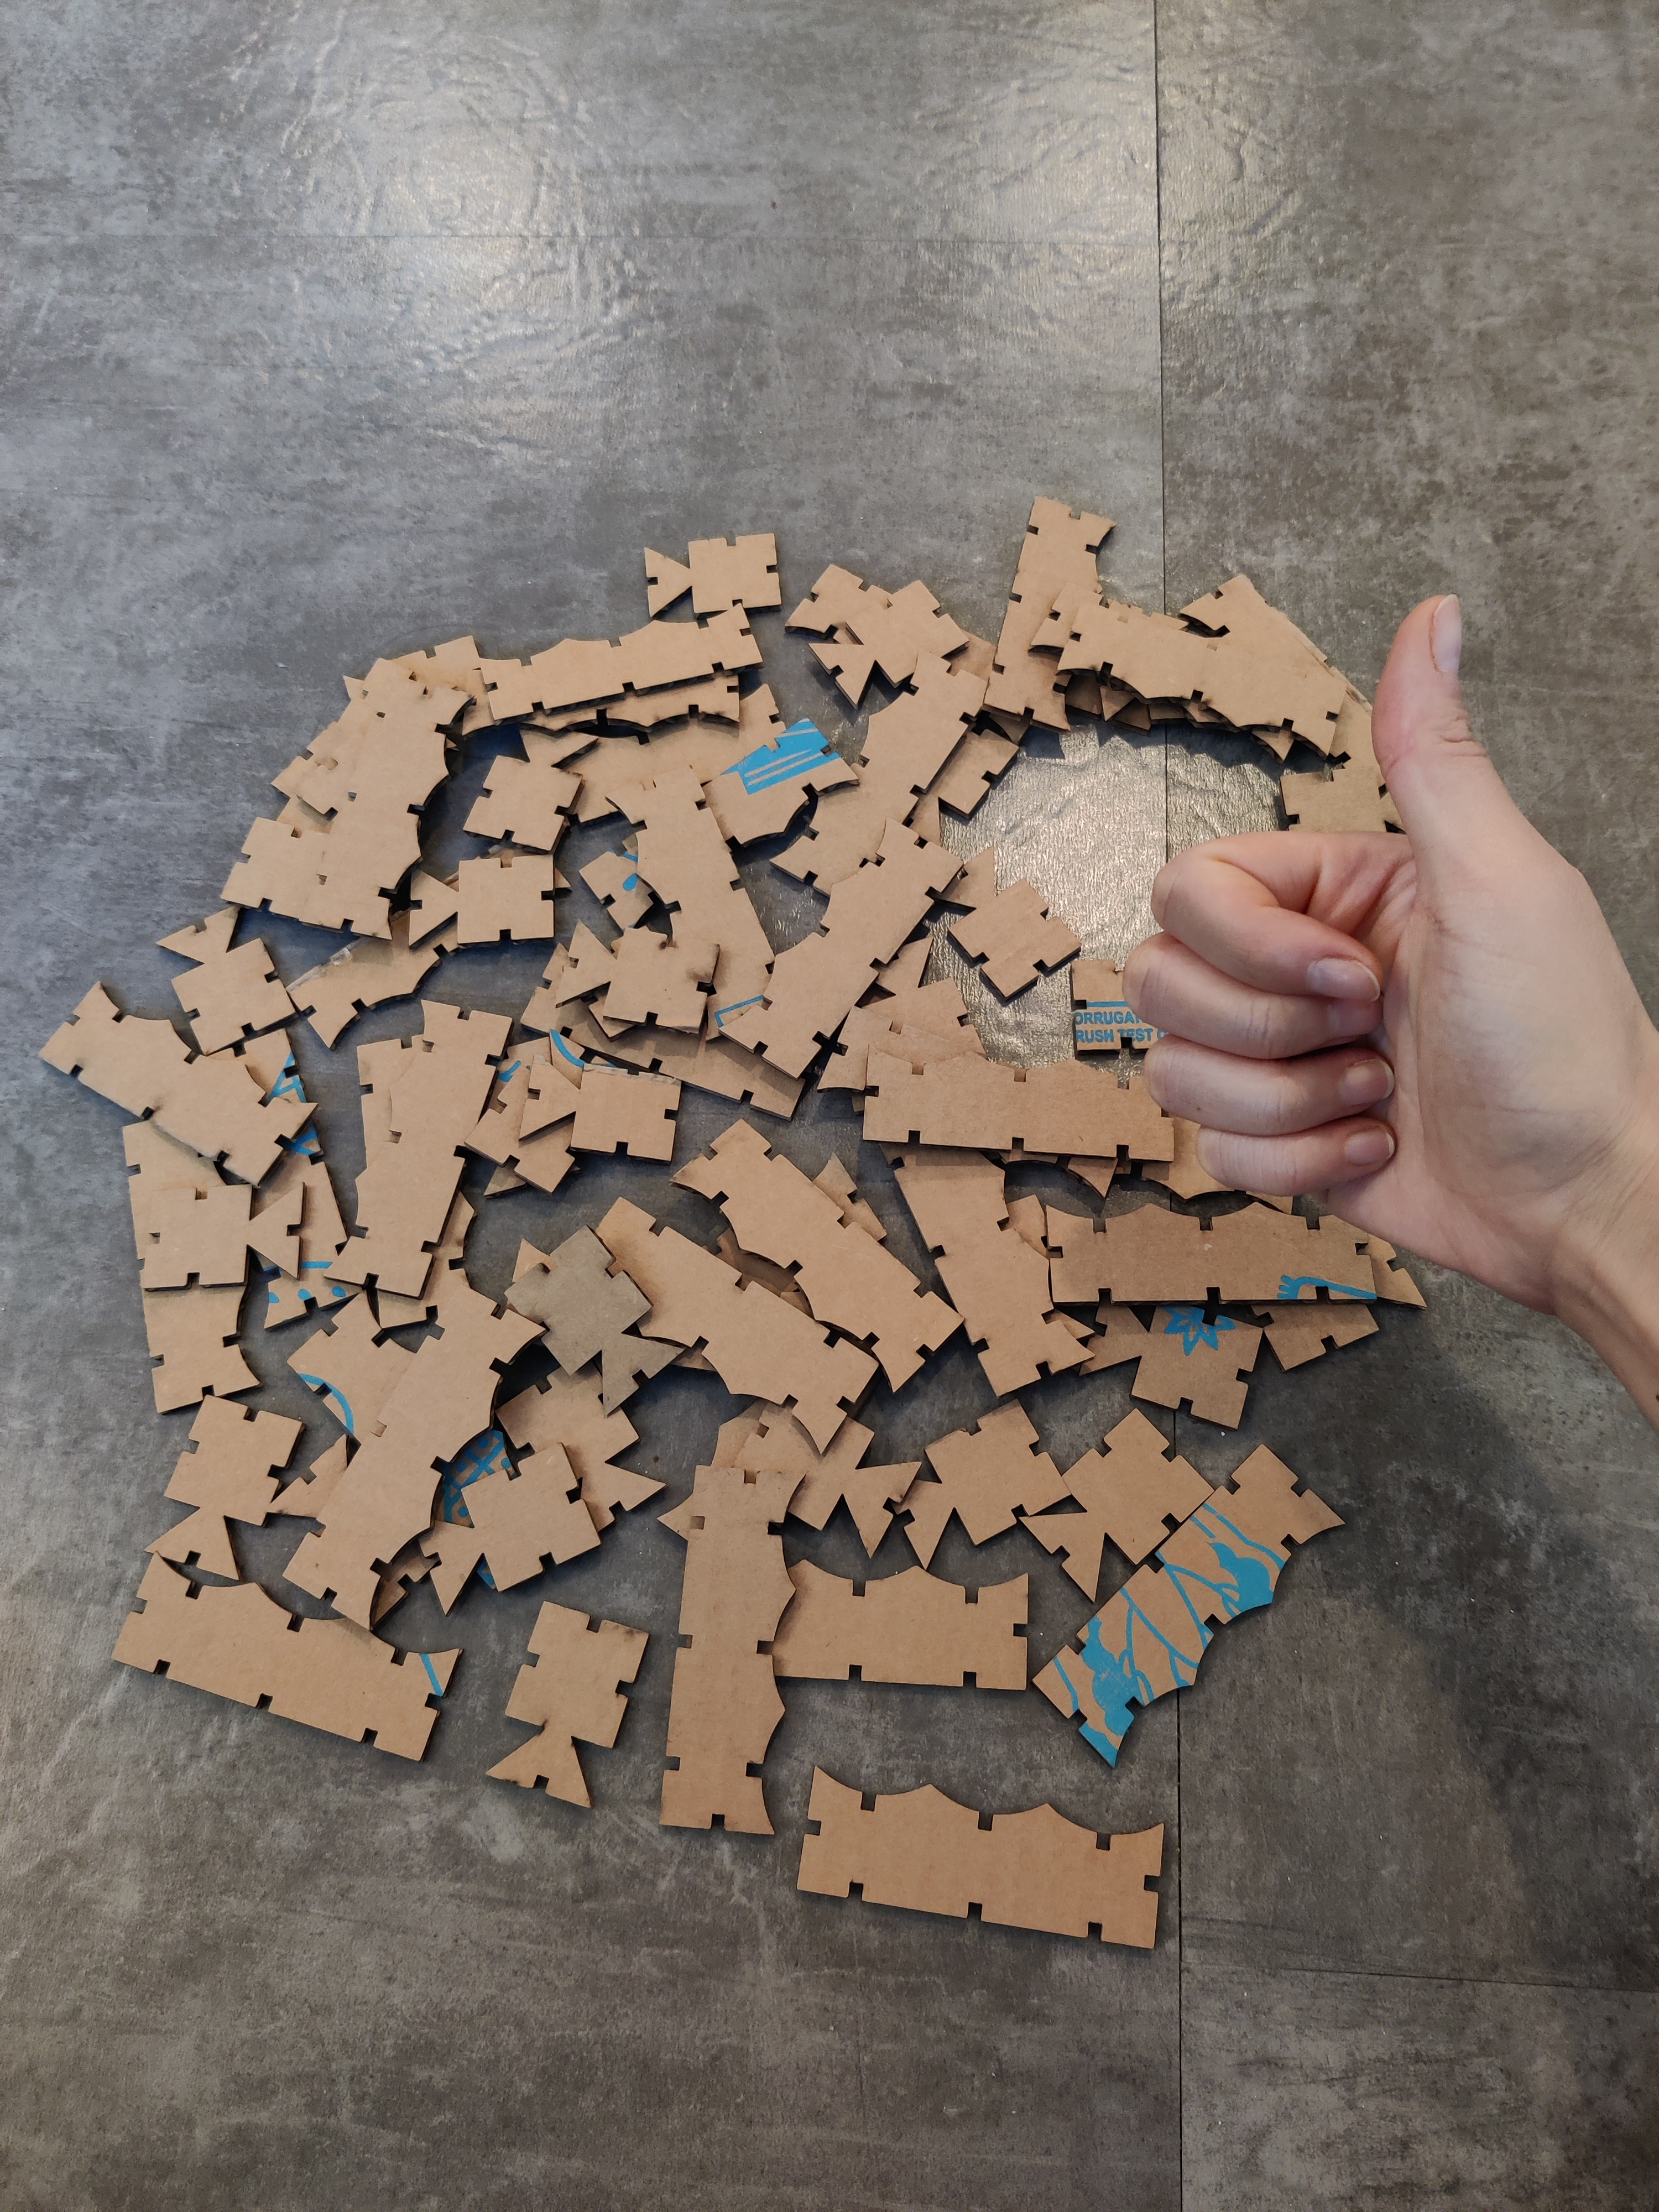
I cut 3 6”x12” cardboard panels to get all of my pieces.
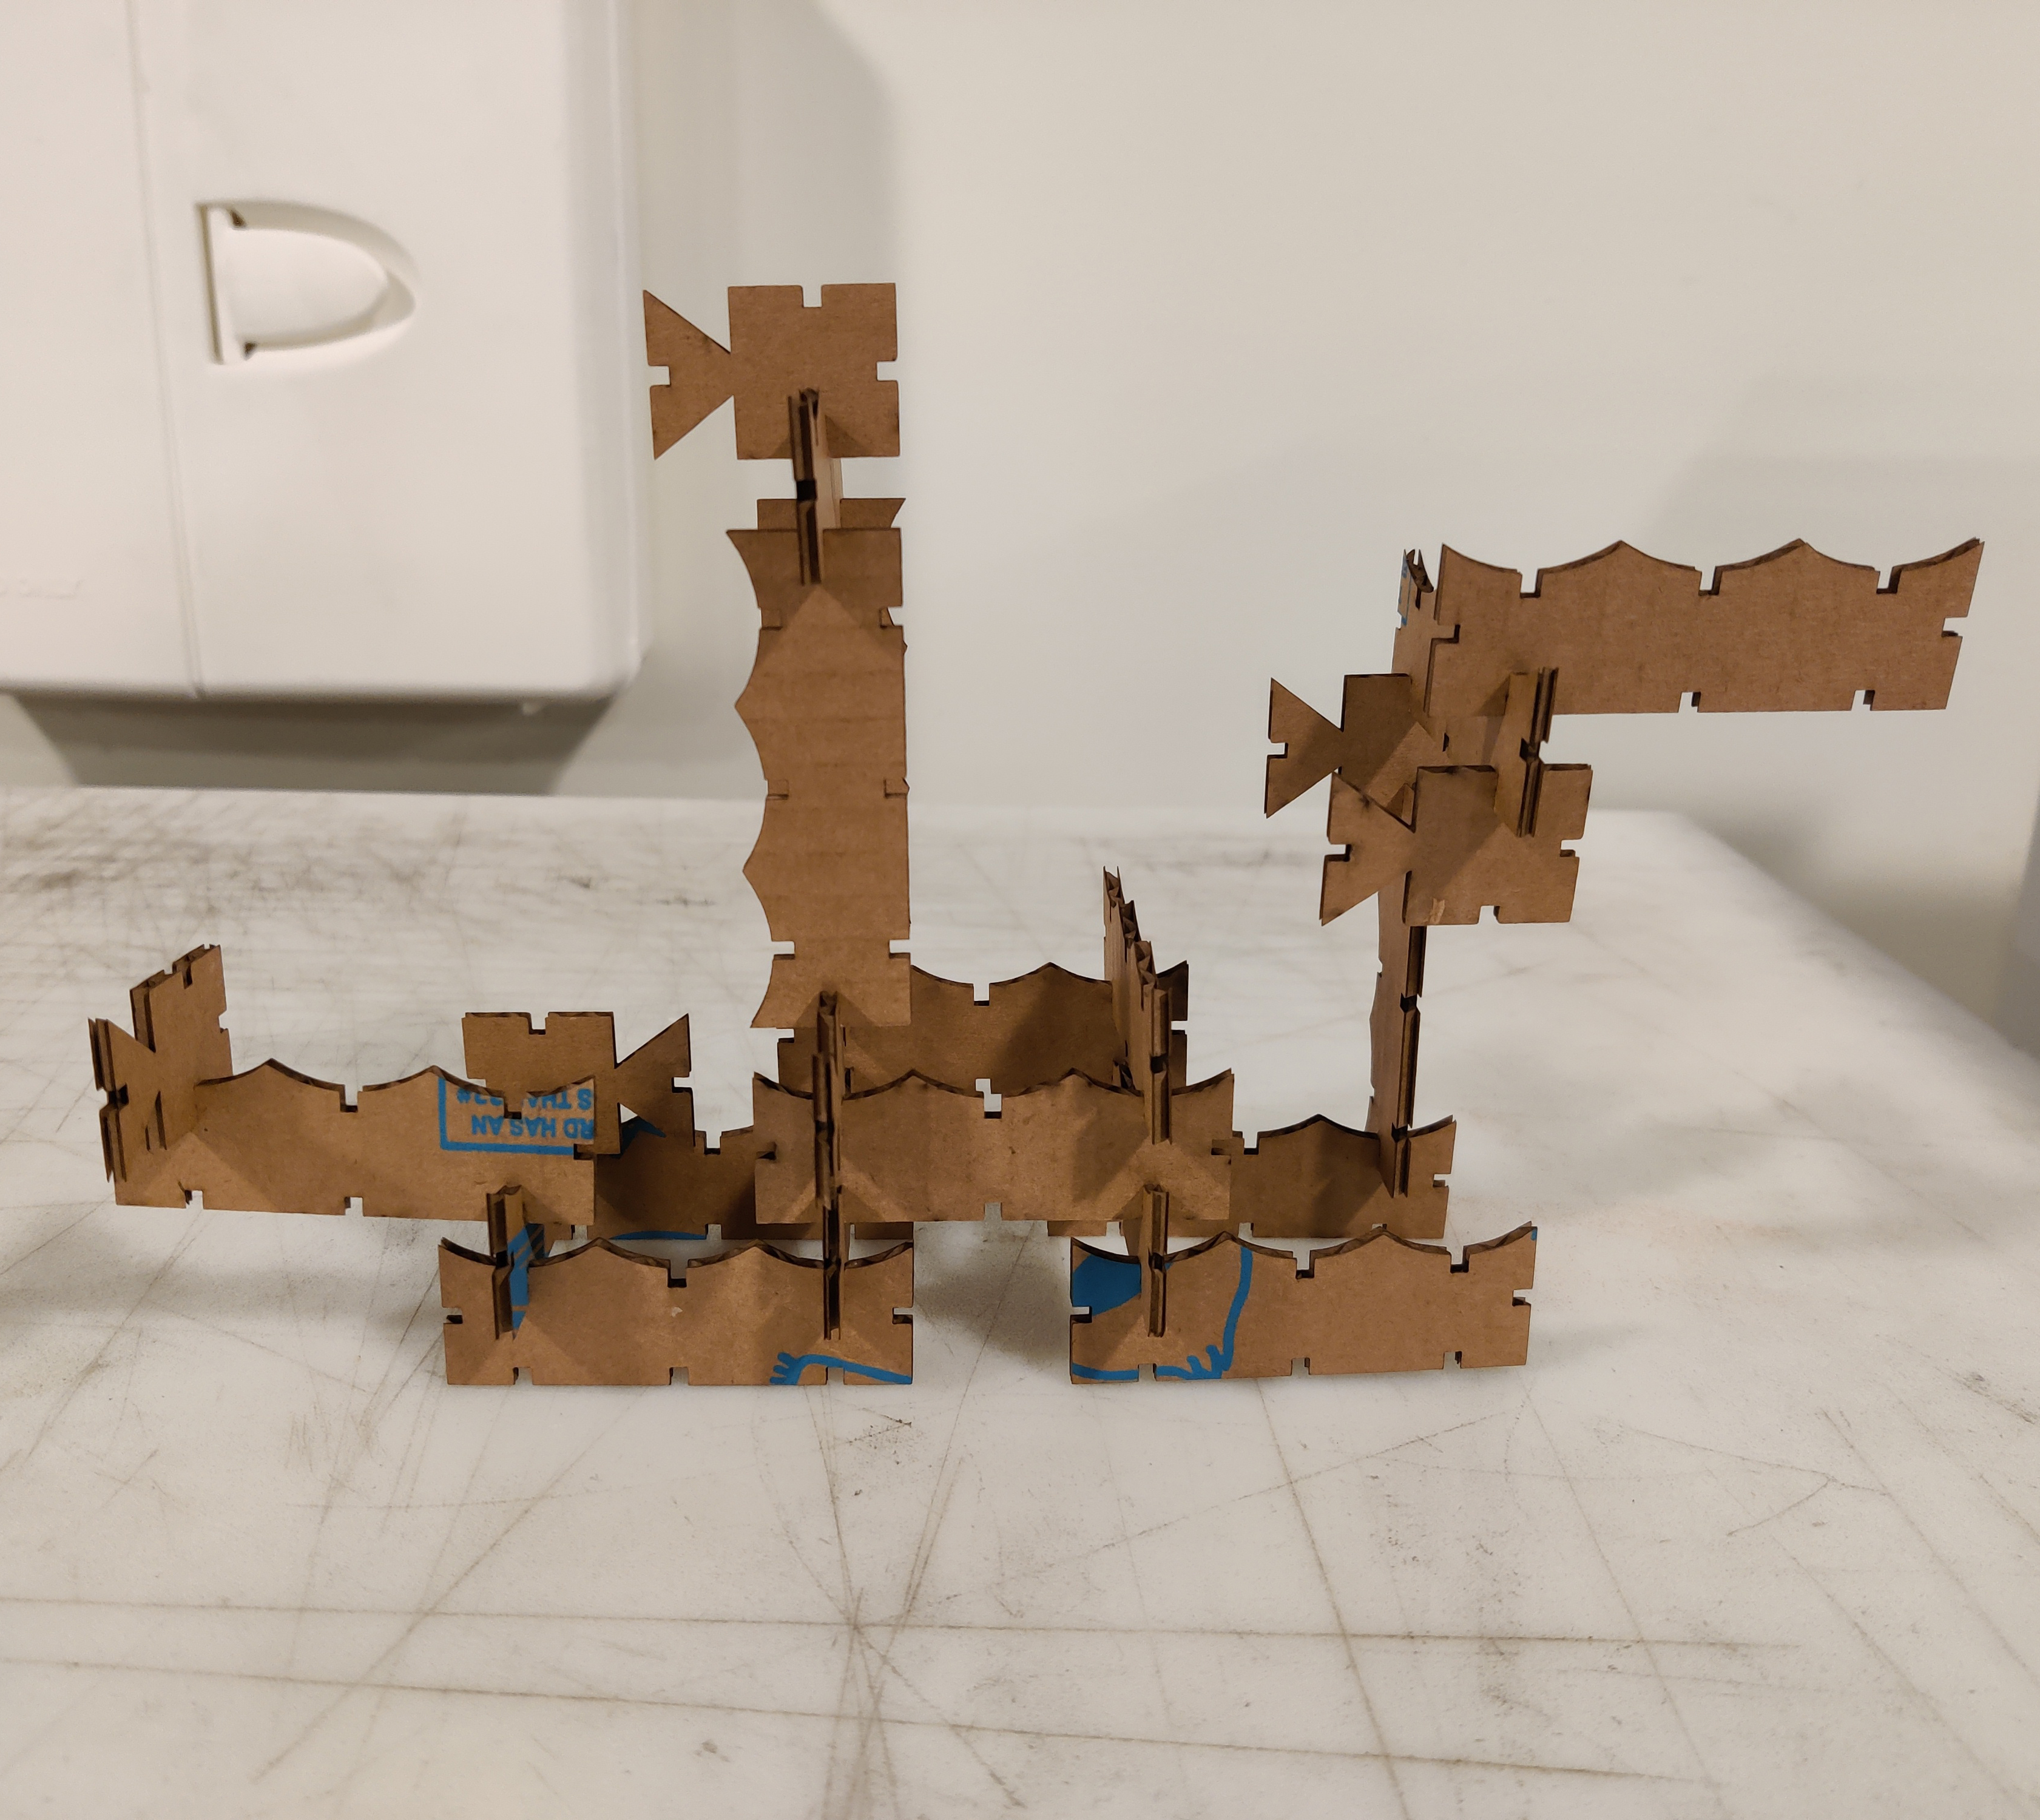
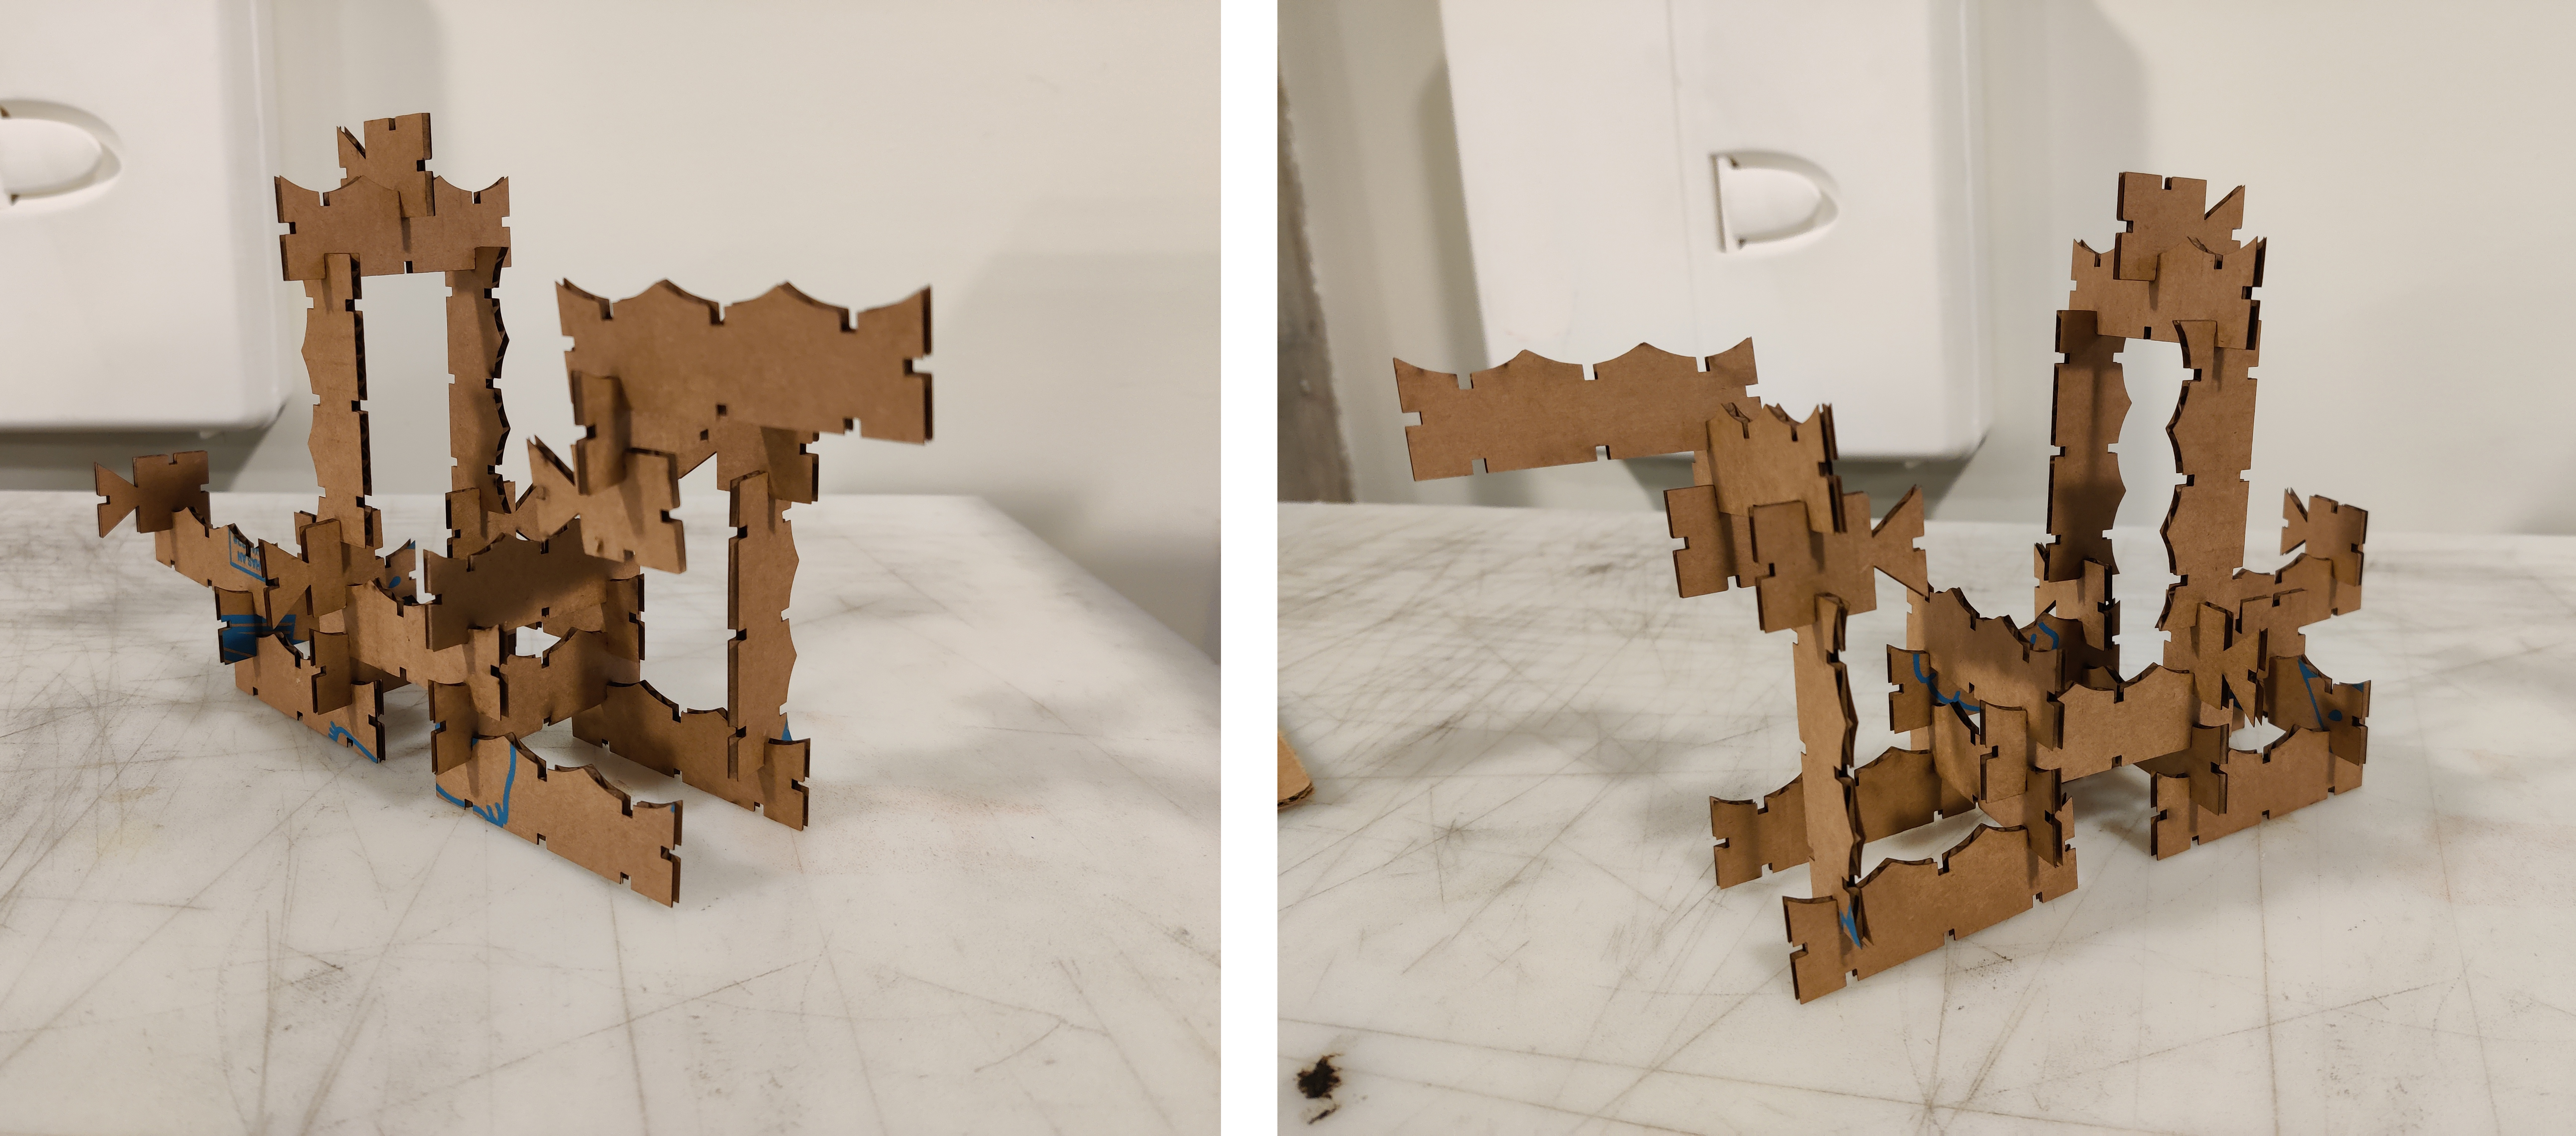
To test my kit, I built a structure similar to the one I modeled earlier. It was actually sturdier than I expected! I could even have a piece hanging on the bottom of another piece without support
Credits:
Jessica Douma for helpful post in Discord about exporting from Rhino to AI