Assignment 2
Written on October 16th, 2022 by Petrina Chan
Assignment 2 - Parametric Modelling with Grasshopper
Files
Rhino file (single pieces, 2D)
Grasshopper file (single pieces, 2D)
Learning
I’ll be honest – I left last week’s lecture feeling very lost and quite nervous about the material that we covered. Things that are very numbers and logic oriented are very difficult for me to wrap my head around, and using Grasshopper is no different.
After not 100% following the in-class demo, the first thing I did before starting anything formal for the assignment was watch through the lecture demo; first without following along just so I could really take in the information presented and why certain actions were taken, then while following.
After I successfully followed the demo, I tried to replicate a similar result without referencing the demo. I kind of got there, and then ran into some questions about making the polar array symmetrical. My questions got answered by TA Junchao, and I felt like I understood things a lot better.
I was confused about why I could only divide by -2 to get the polar array to be symmetrical vs. If I adjusted it by another amount it would get out of whack. I learned about how the line of symmetry has to be centered on both the polar array and the main shape.
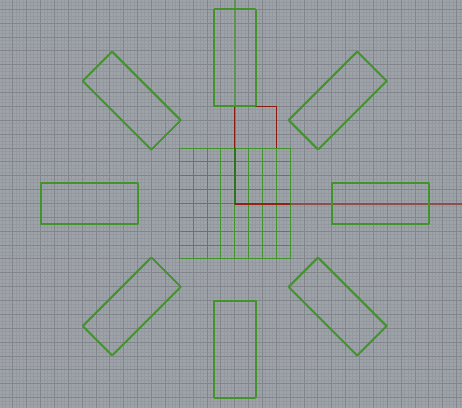
Symmetrical vs. wonky array
After figuring that out, I was able to make a simple circle with slots, and I understood why I was doing the things I was doing. I also discovered, after looking at Grasshopper documentation, that I could use “Region Difference” to trim and join the slots and shape, which to me was a lot easier!

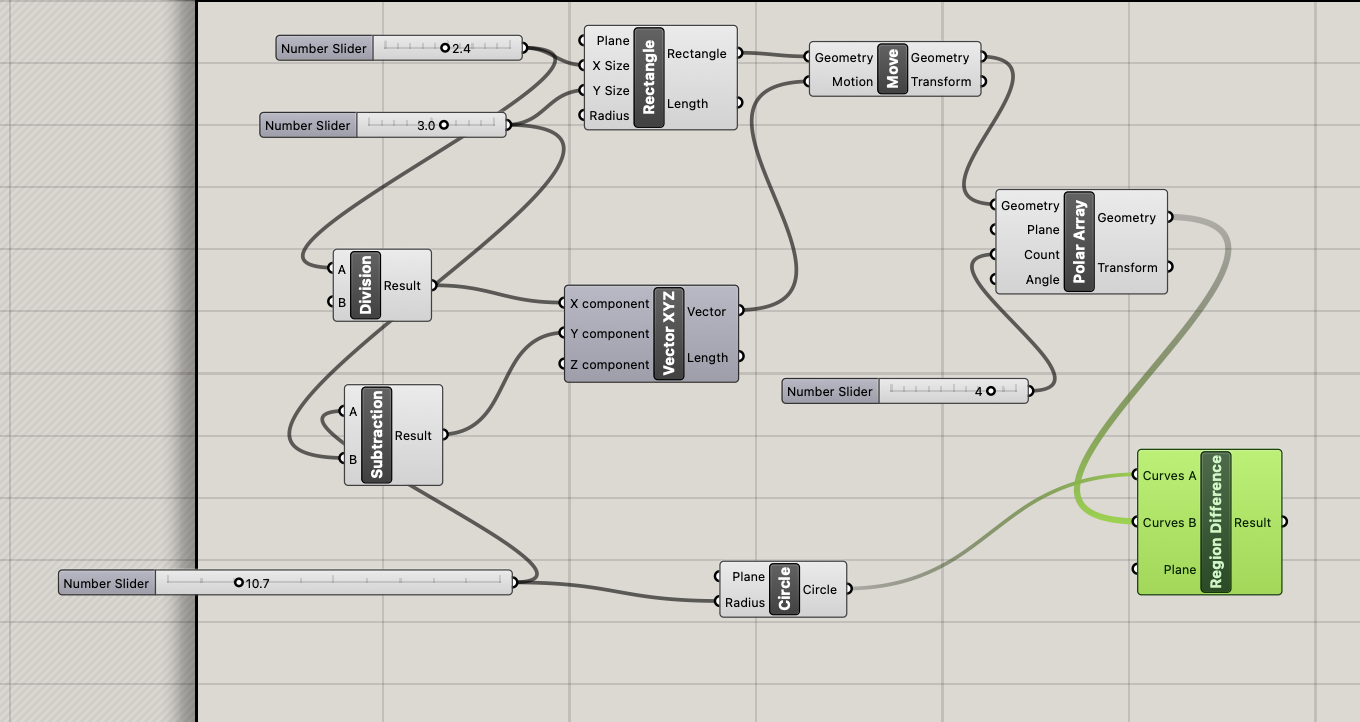
Making pieces in Rhino & Grasshopper
Now I felt like I could make some simple pieces for the assignment. Since I had some leftover cardboard from the same type of box that I used for Assignment 1, I decided to make pieces that would fit with my first assignment. Because the pieces I made for the first assignment were all square-based, I thought that keeping with the circles for the current pieces would be a nice addition to the ocean scene.
In addition to the basic circle, I wanted to make something a little more interesting, so I thought about taking circular cut outs from the larger circle to make a sort of wavy shape. I played around a little bit and ended up making a polar array of smaller circles that were cut out from the larger one.
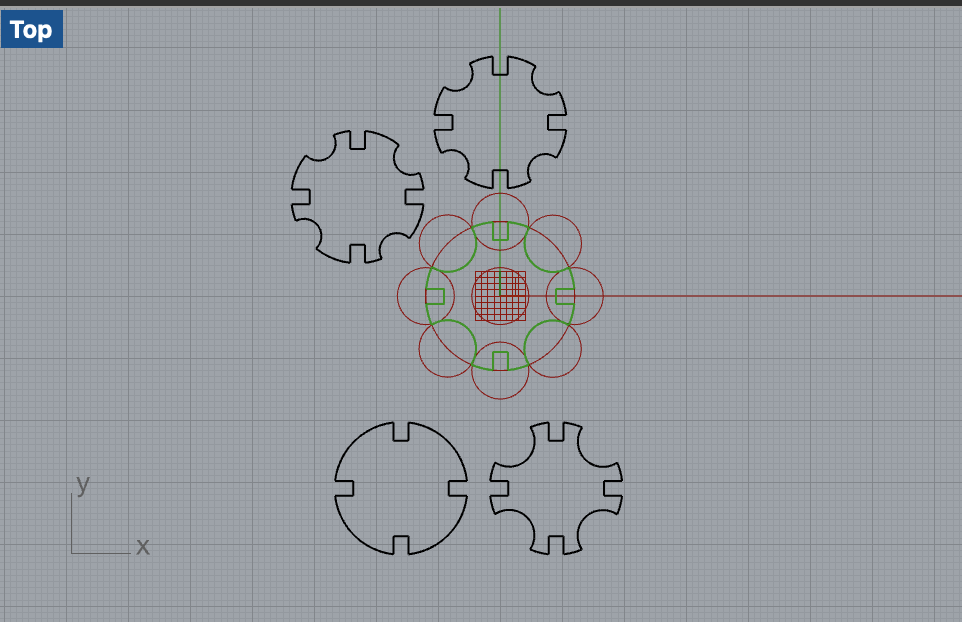
Experimenting with cut outs
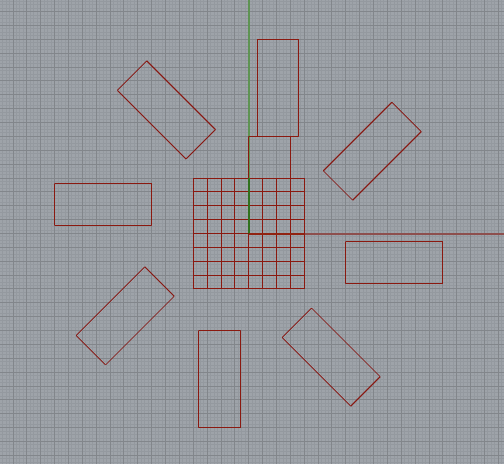
Something that still confuses me is the “angle” option for polar arrays. It doesn’t behave as I thought that it would (e.g. the array doesn’t rotate the amount of degrees that is inputted), but after some trial and error I was able to get what seemed like a symmetrical result.
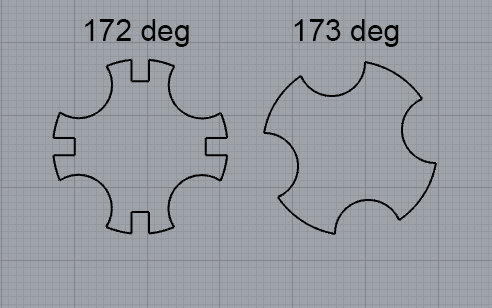
Angle of 172 vs. angle of 173 with no other settings changed
Now that I had the set up for these two shapes, I went back and adjusted the parameters so that they matched the requirements for my cardboard and the dimensions of the pieces from Assignment 1. The slots were adjusted to be 2.4mm wide and 3mm deep. The radius of the circle was adjusted to be 12mm (24mm diameter – since the base squares for A1 were 24mm around). Since the two pieces are based off the same base circle, it was nice that I could just bake it at different points and it would give me the two different pieces.
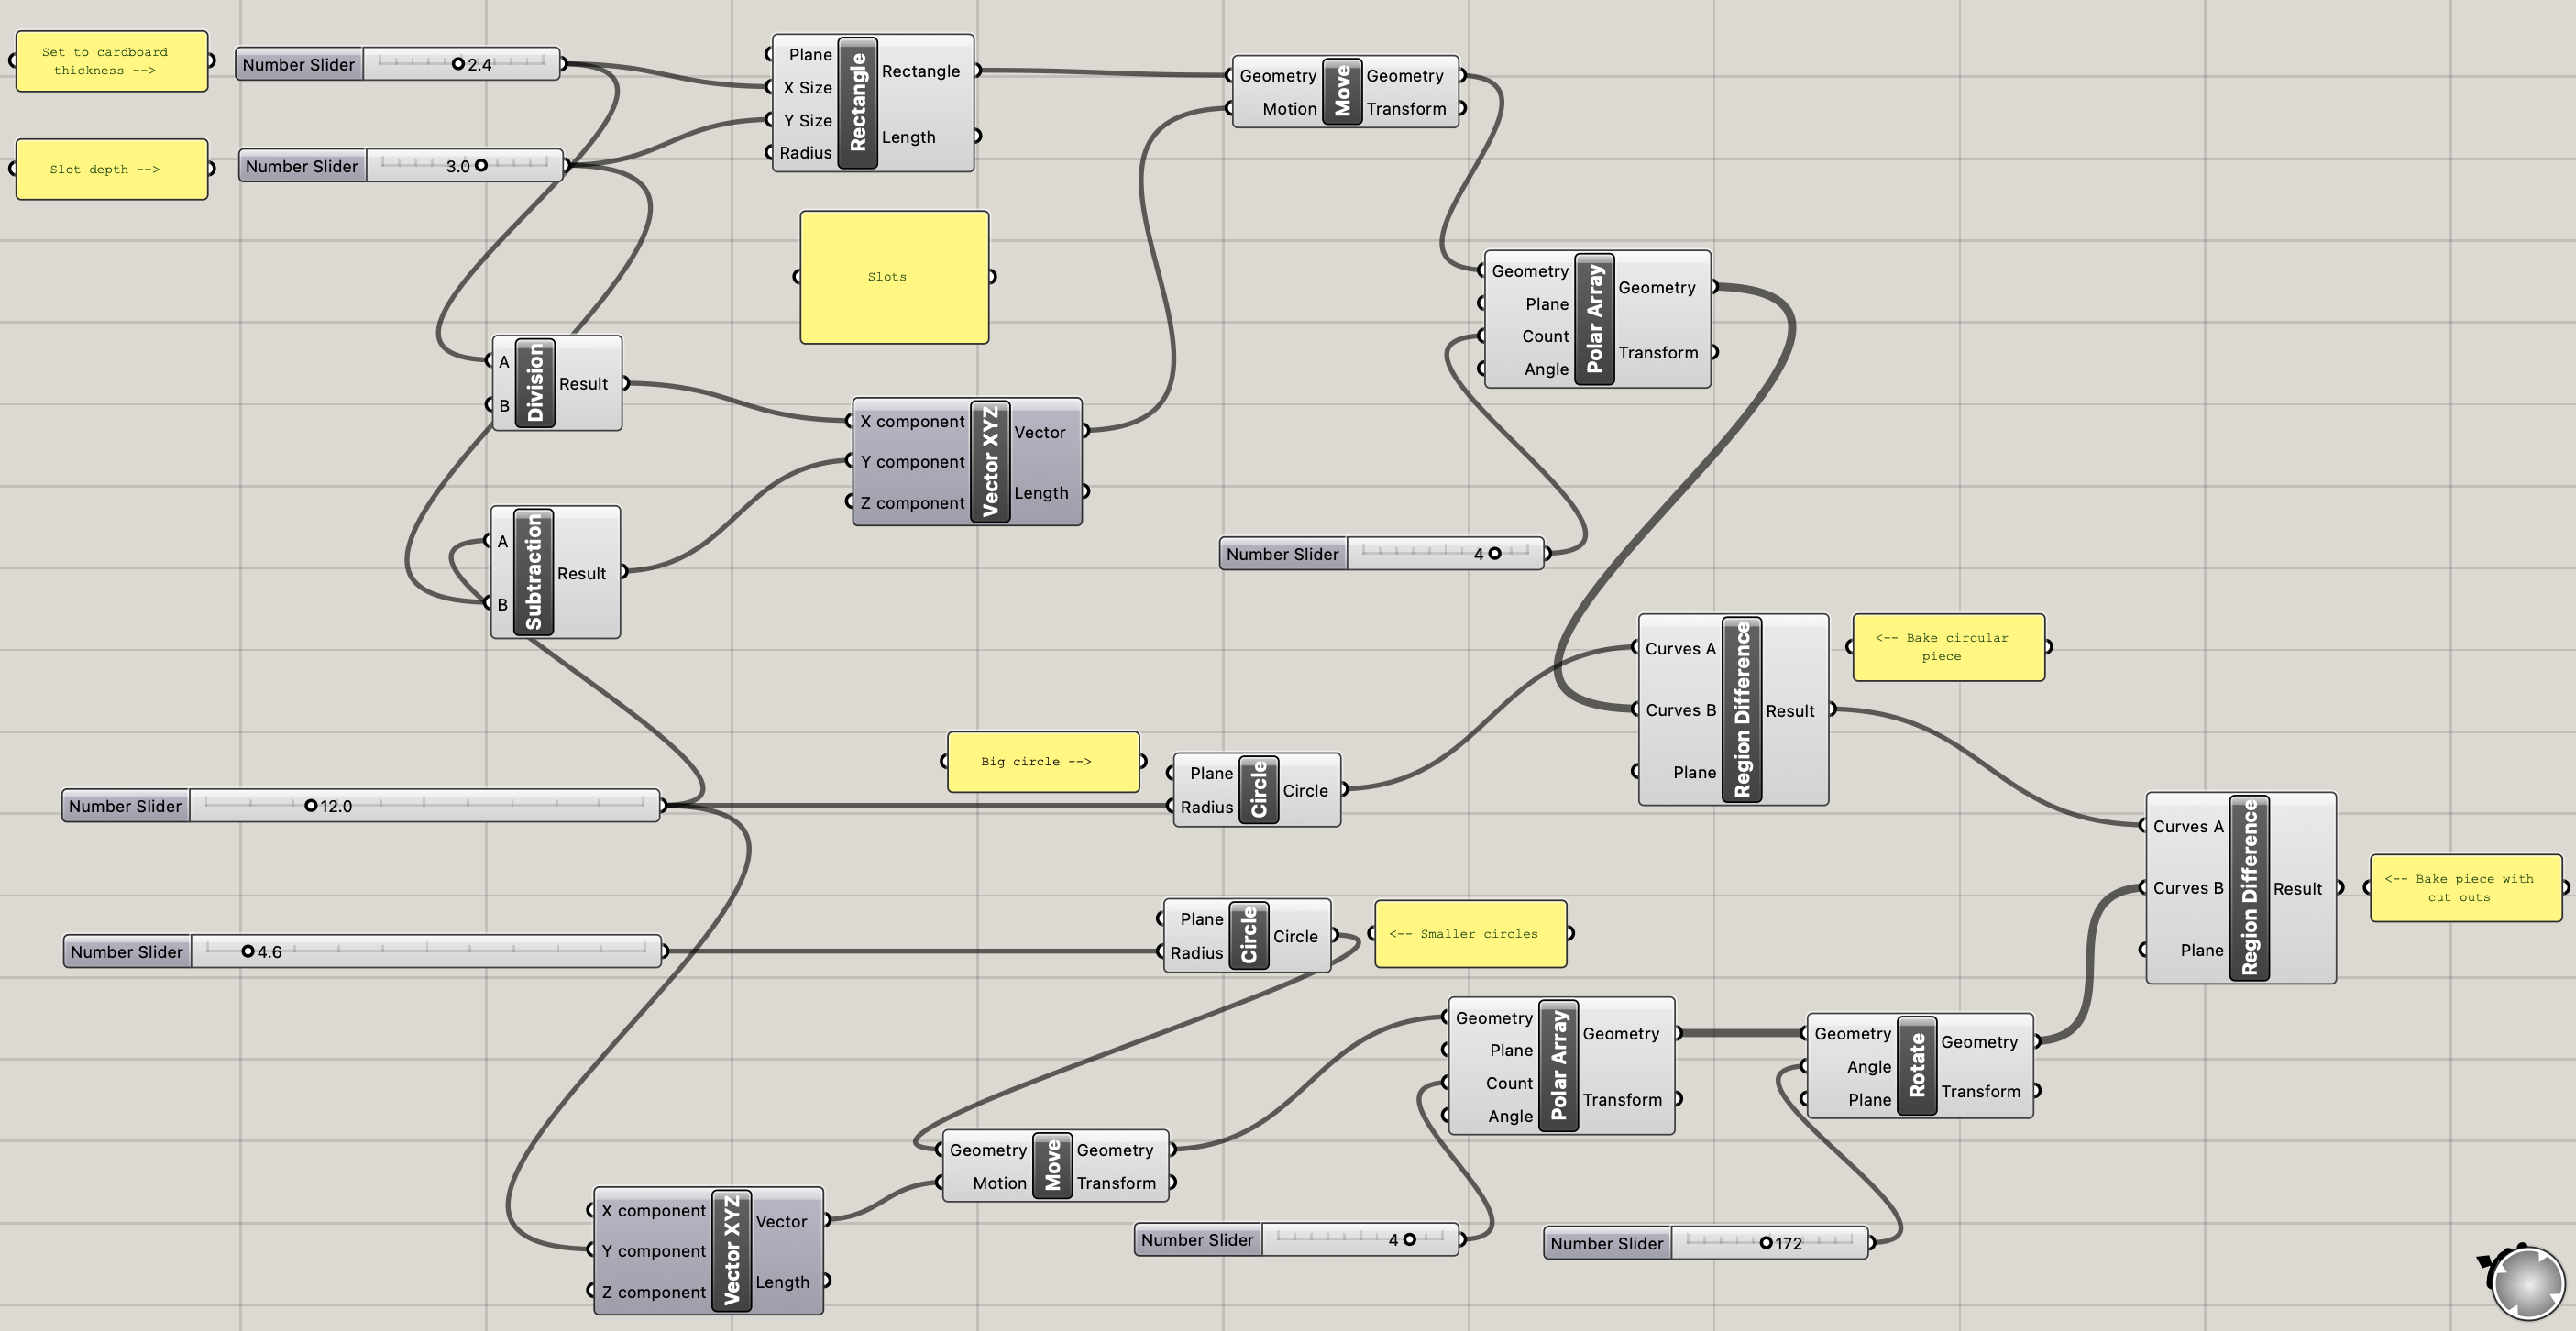
Entire Grasshopper definition

Final pieces
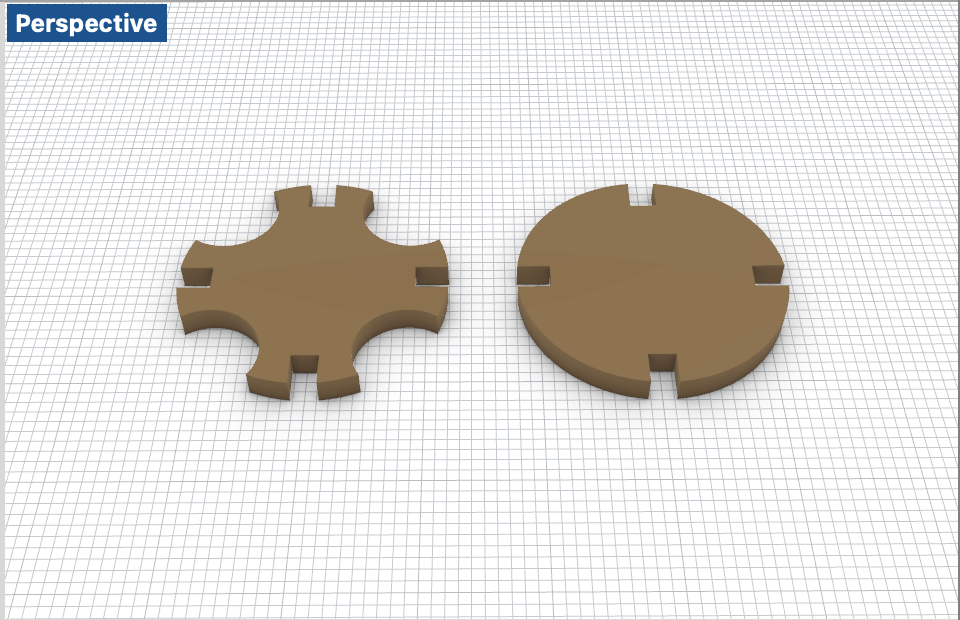
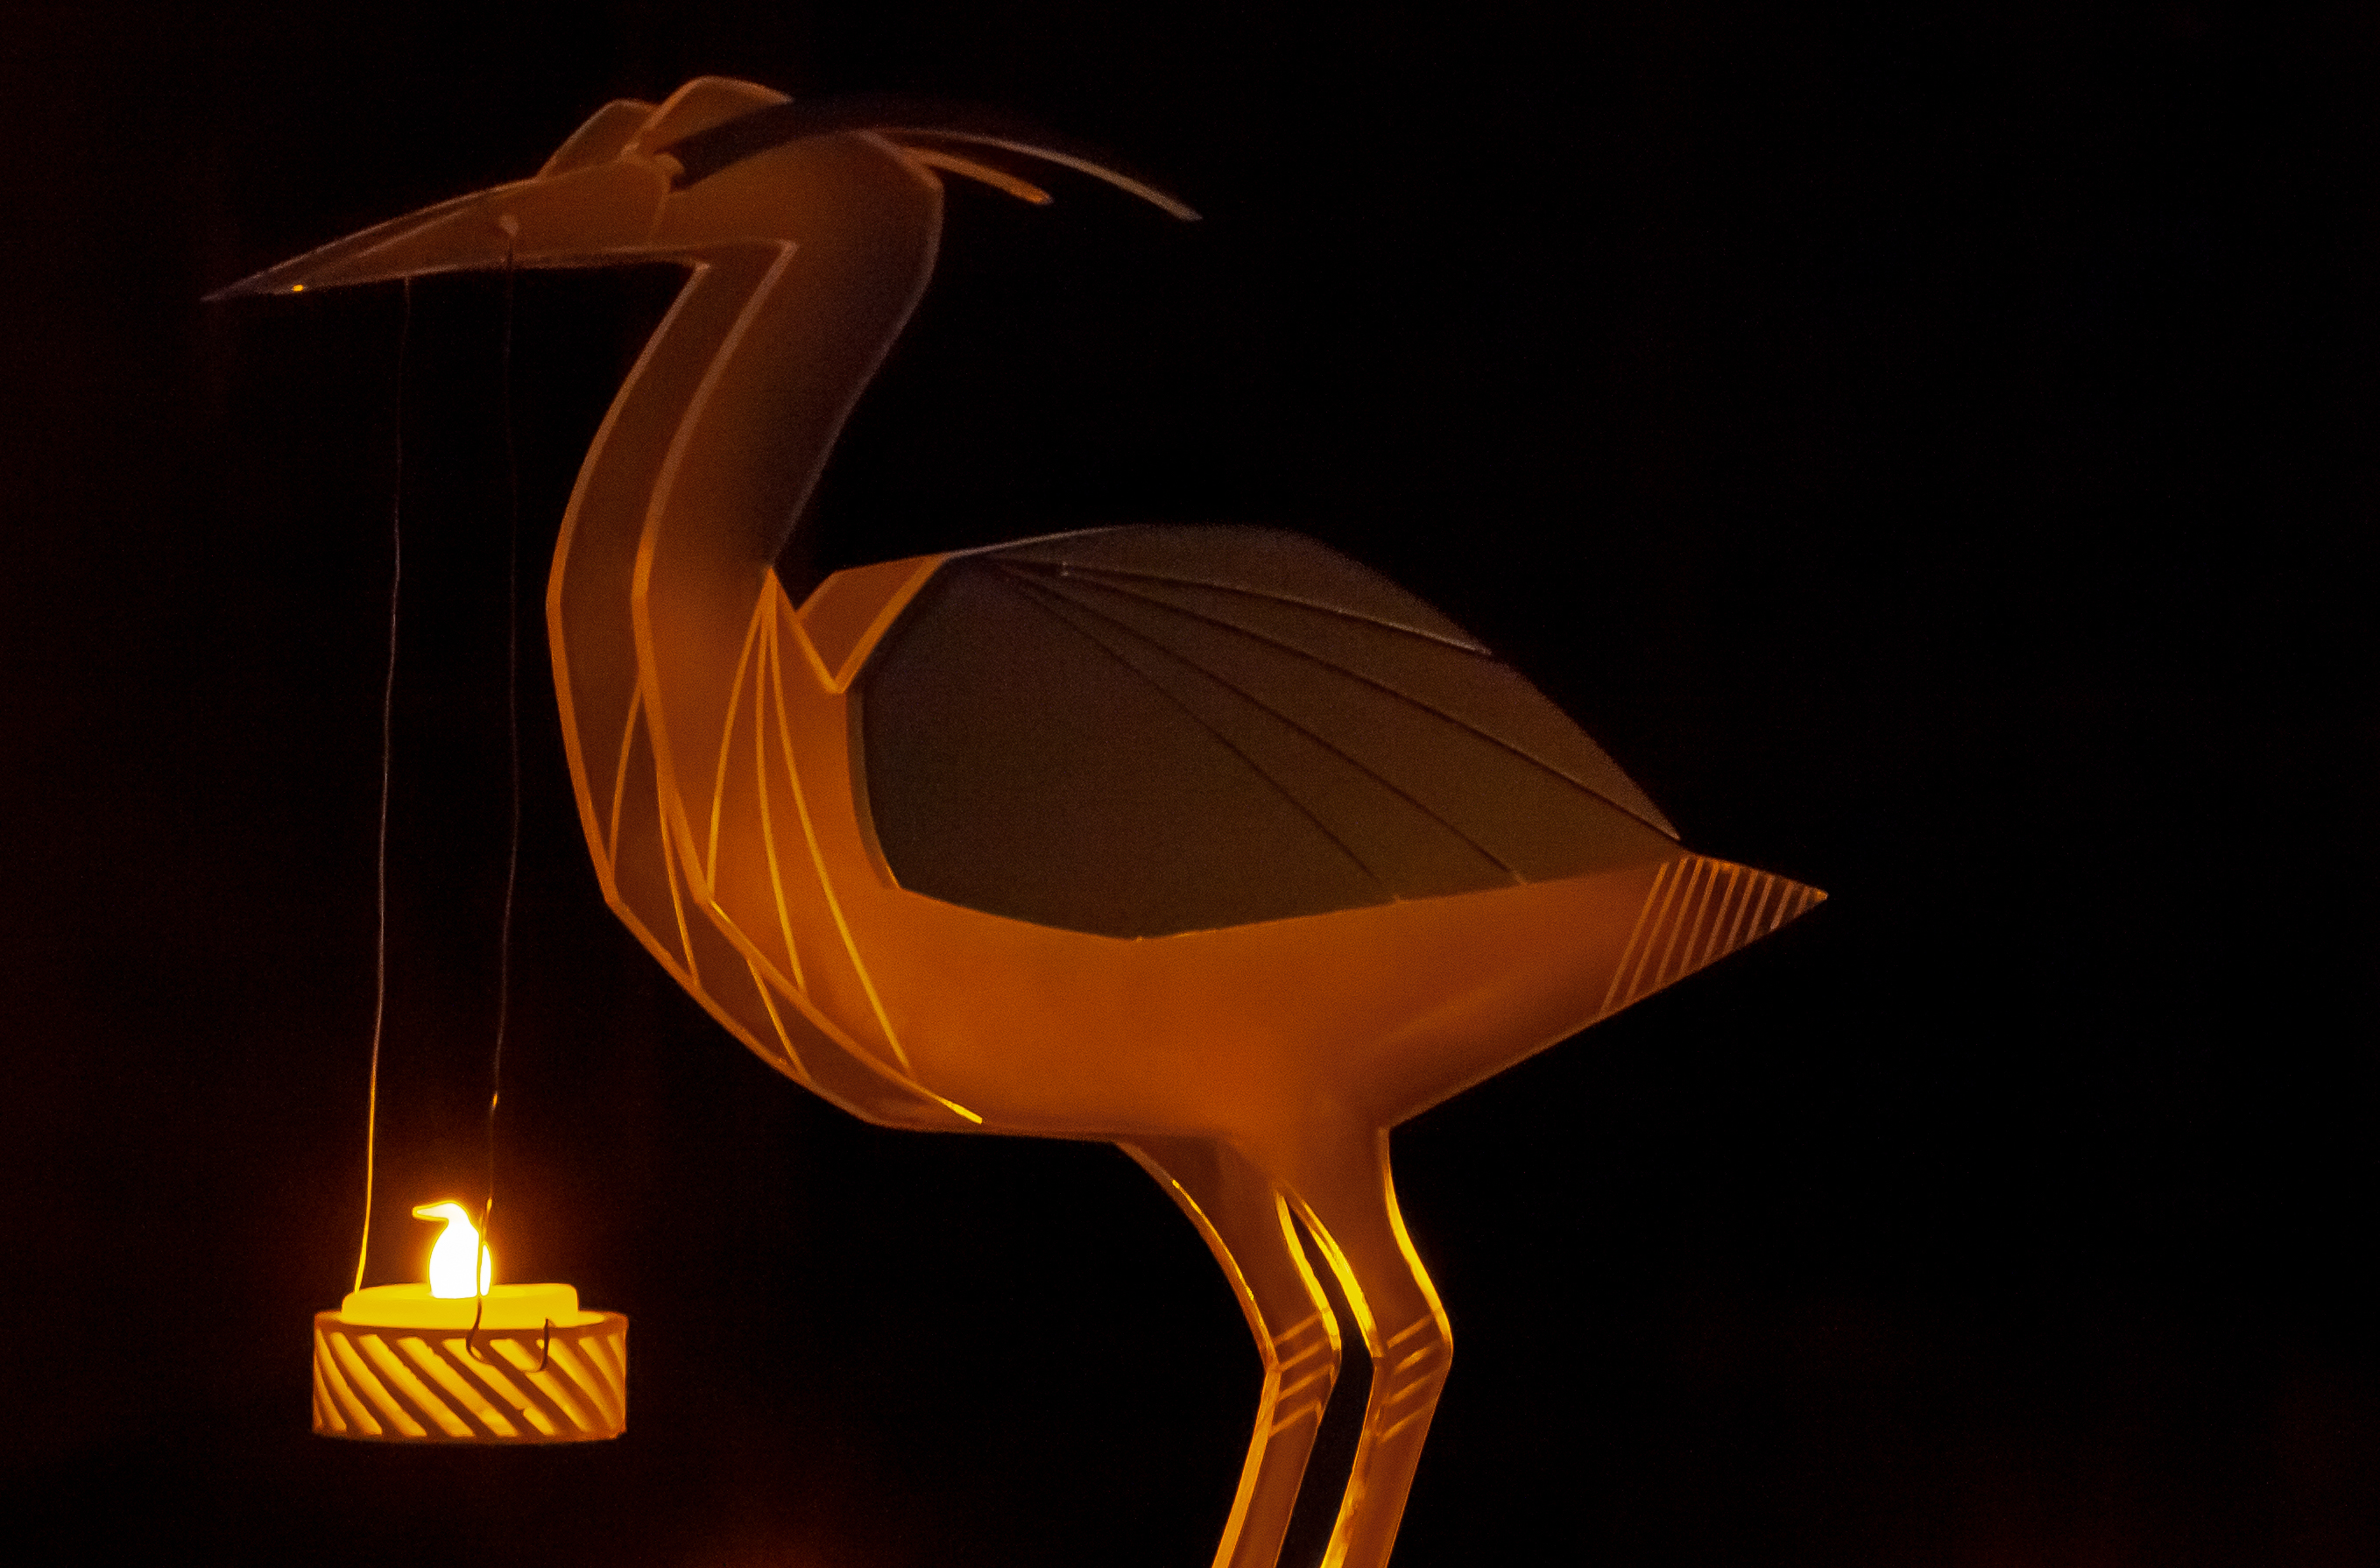
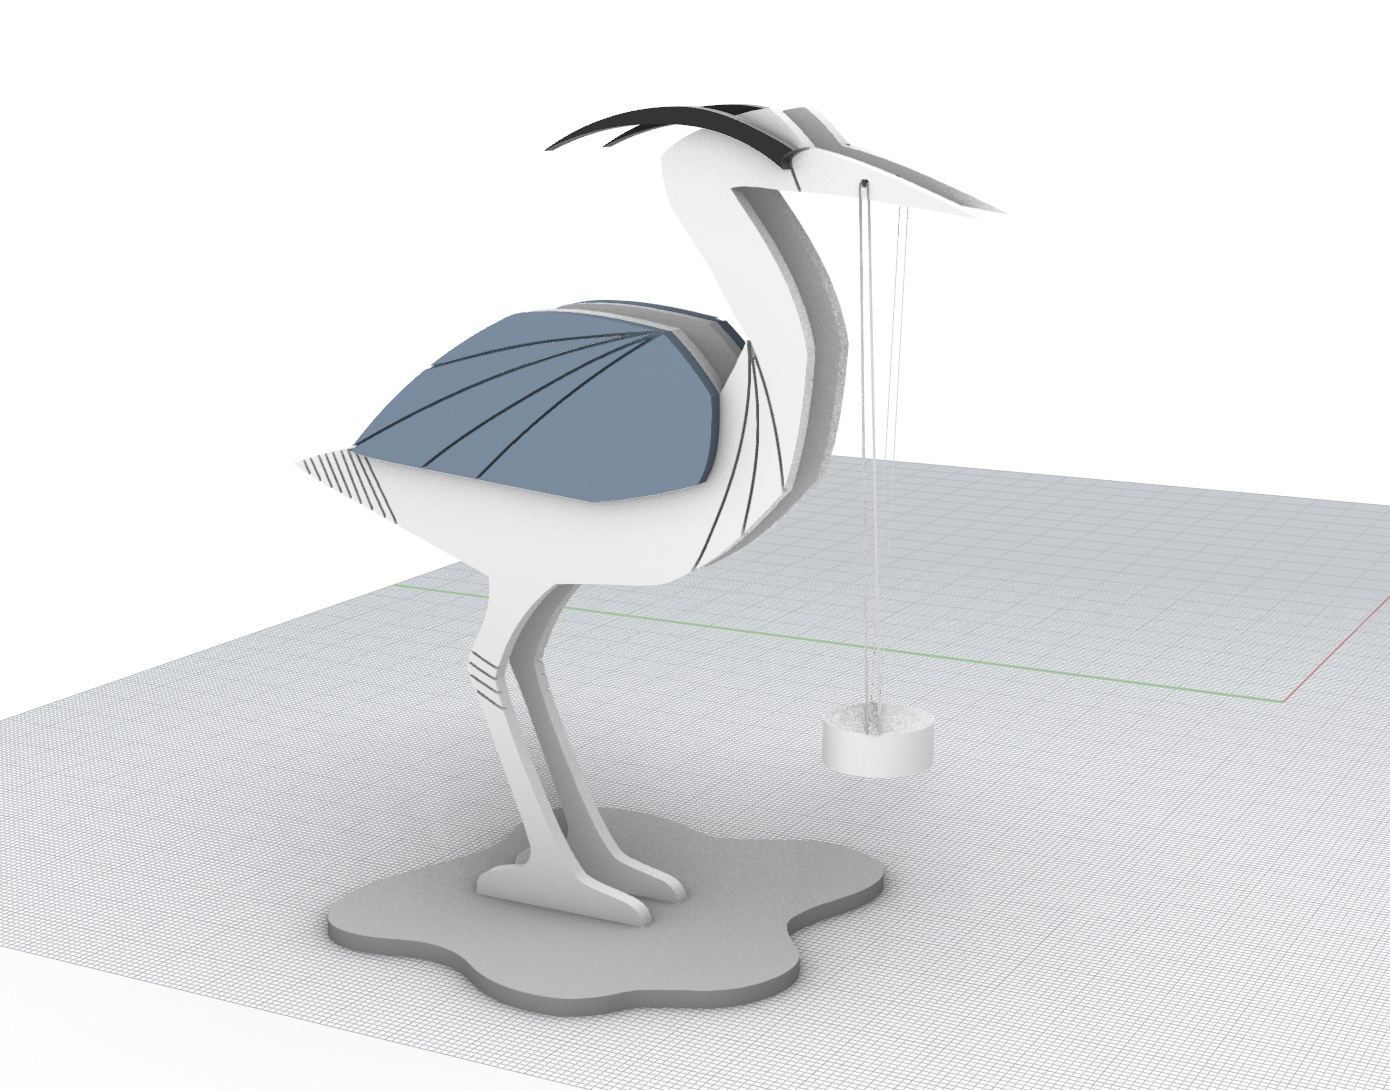
3D render
Exporting
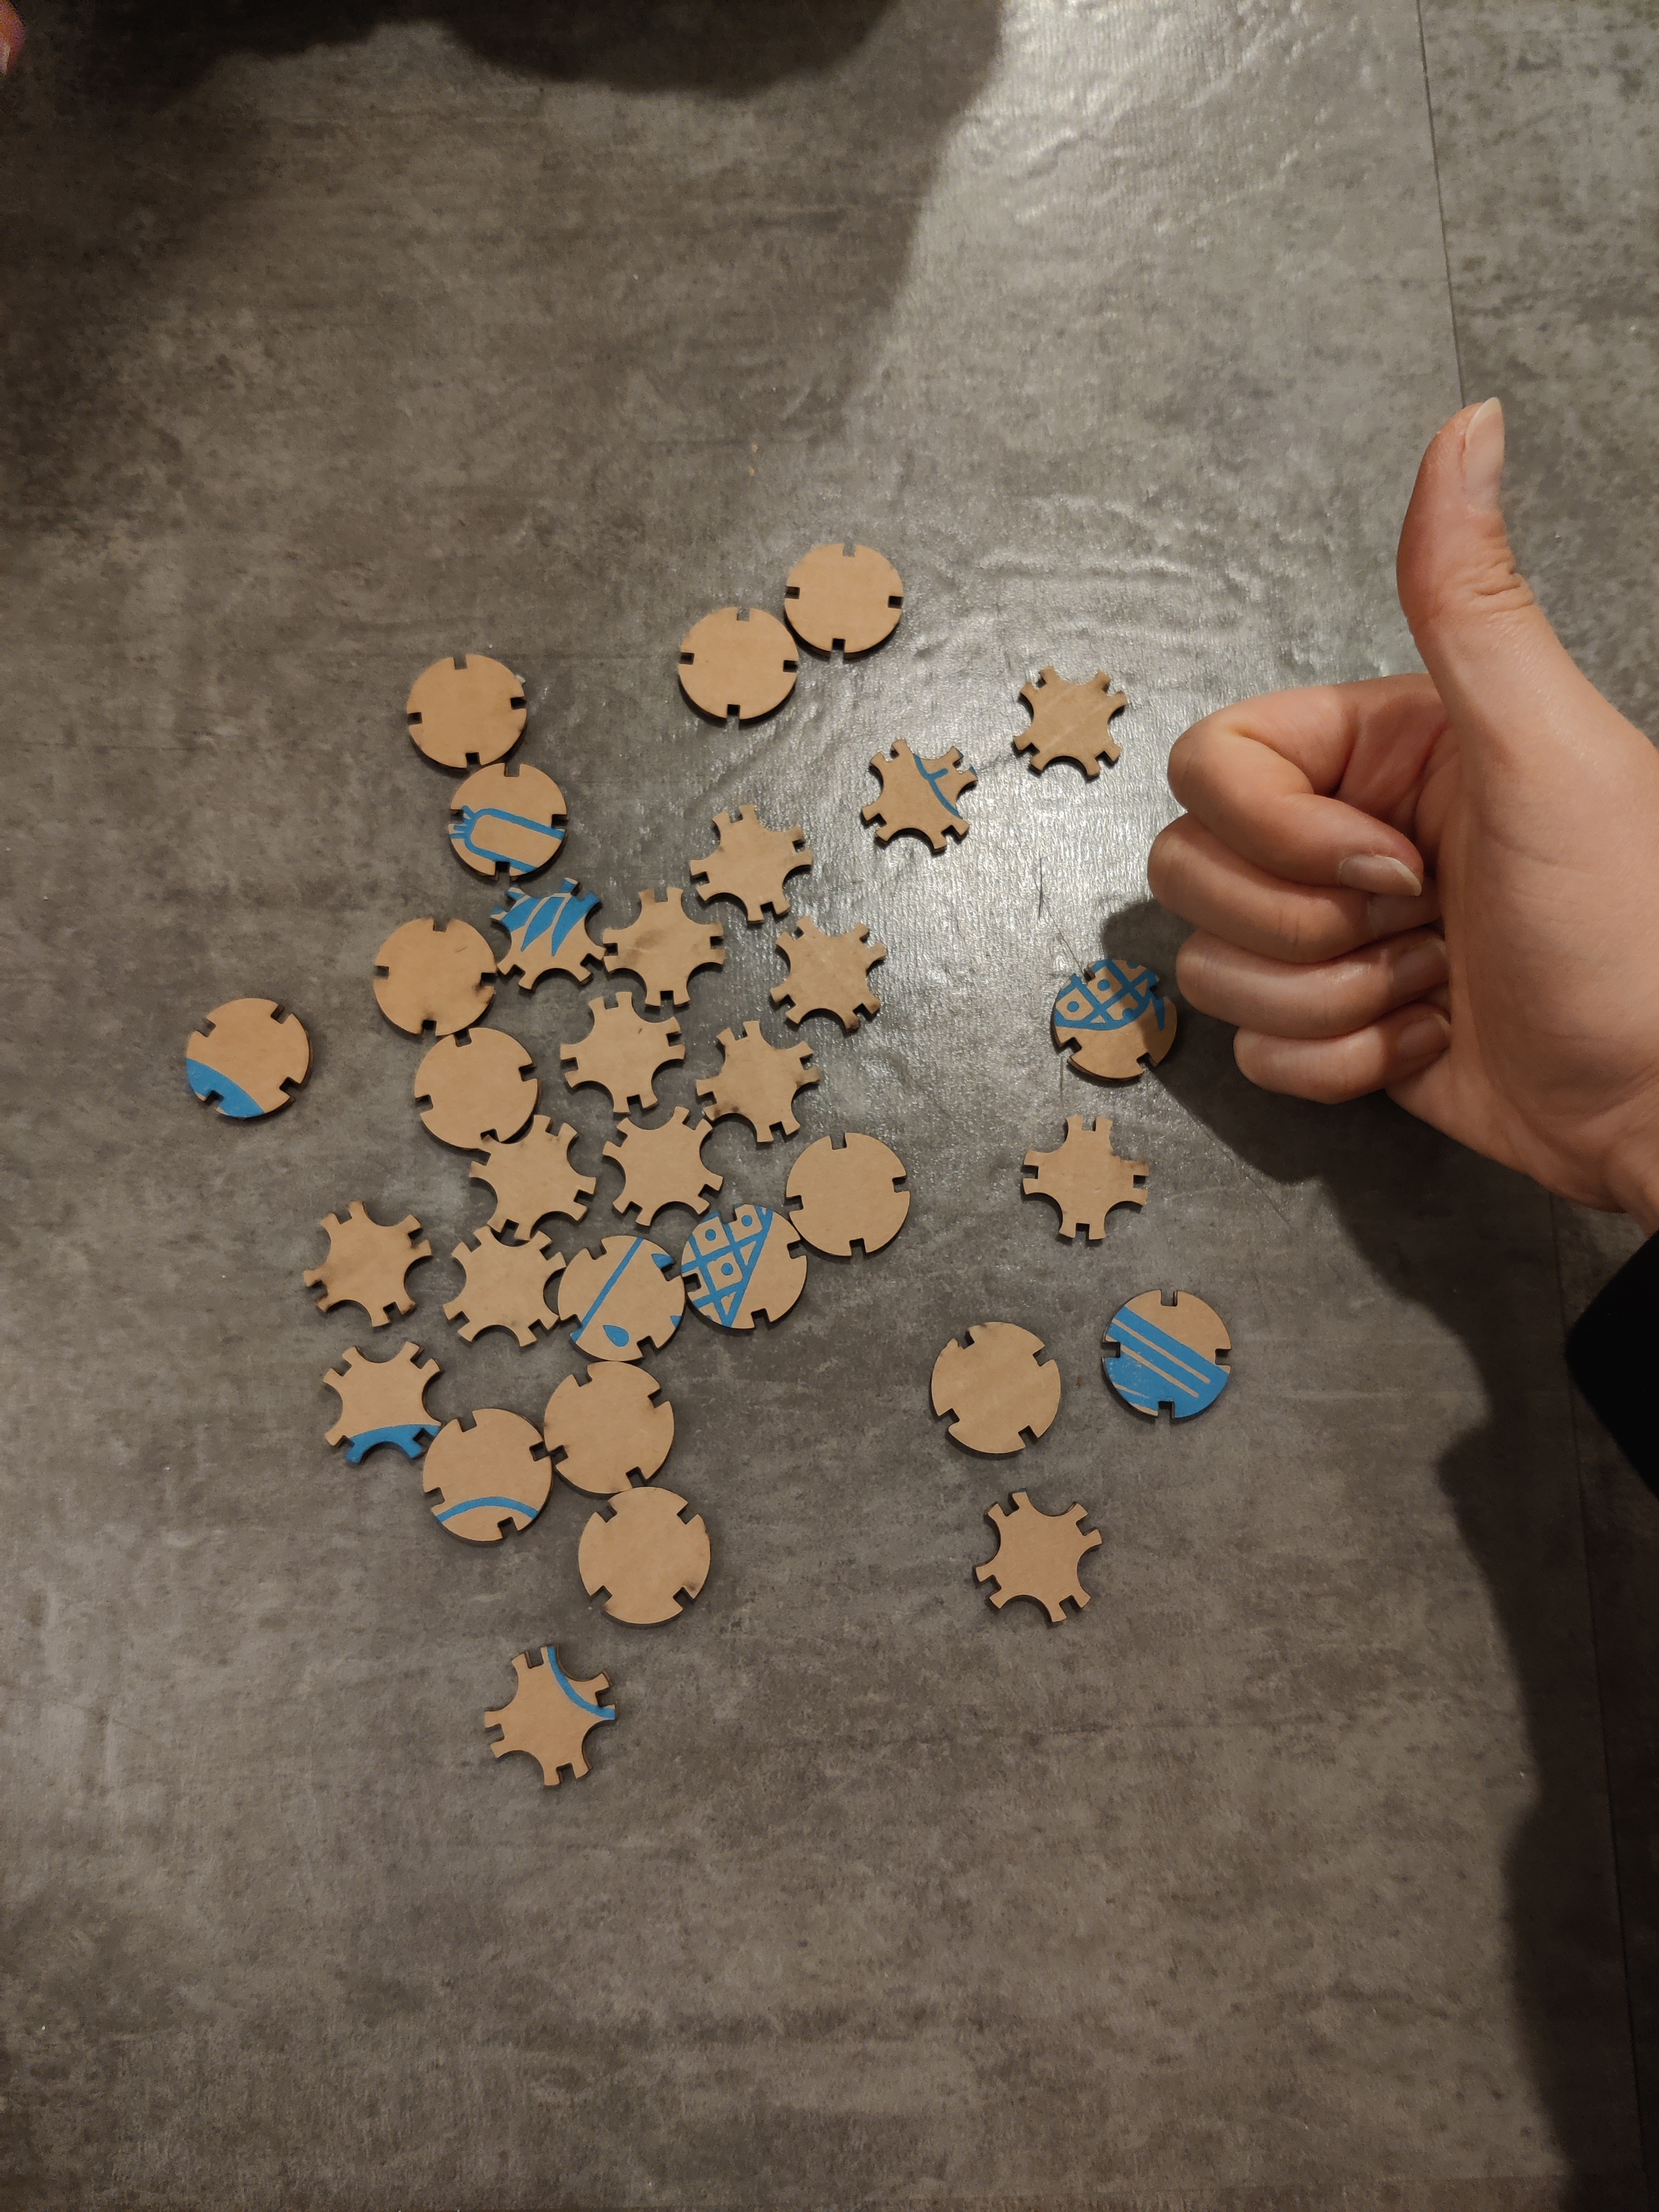
After exporting to an .AI file with the correct scaling, I placed the shapes on a 6”x12” canvas since that is the size of my cardboard panels. Since 32 total pieces fit on one canvas, I would need to cut only one panel total for the assignment

Laser cutting
Since I am using the same type of cardboard as last time, I used the same settings on the laser cutter:
Power: 100
Speed: 30
Freq: 10
I ran into an error when I clicked print in Illustrator that said my colorspace was wrong, so I switched from CMYK to RGB and it worked; I didn’t know it made a difference for the laser cutter.
When I first tried to cut, the laser cutter ran into an error when I pressed the “play” button; it said “Table error – crash detected”. After working with some of the staff at the Mill, we tried turning off auto focus on the printing preferences and restarting the laser cutter. This fixed everything and the cut worked perfectly.
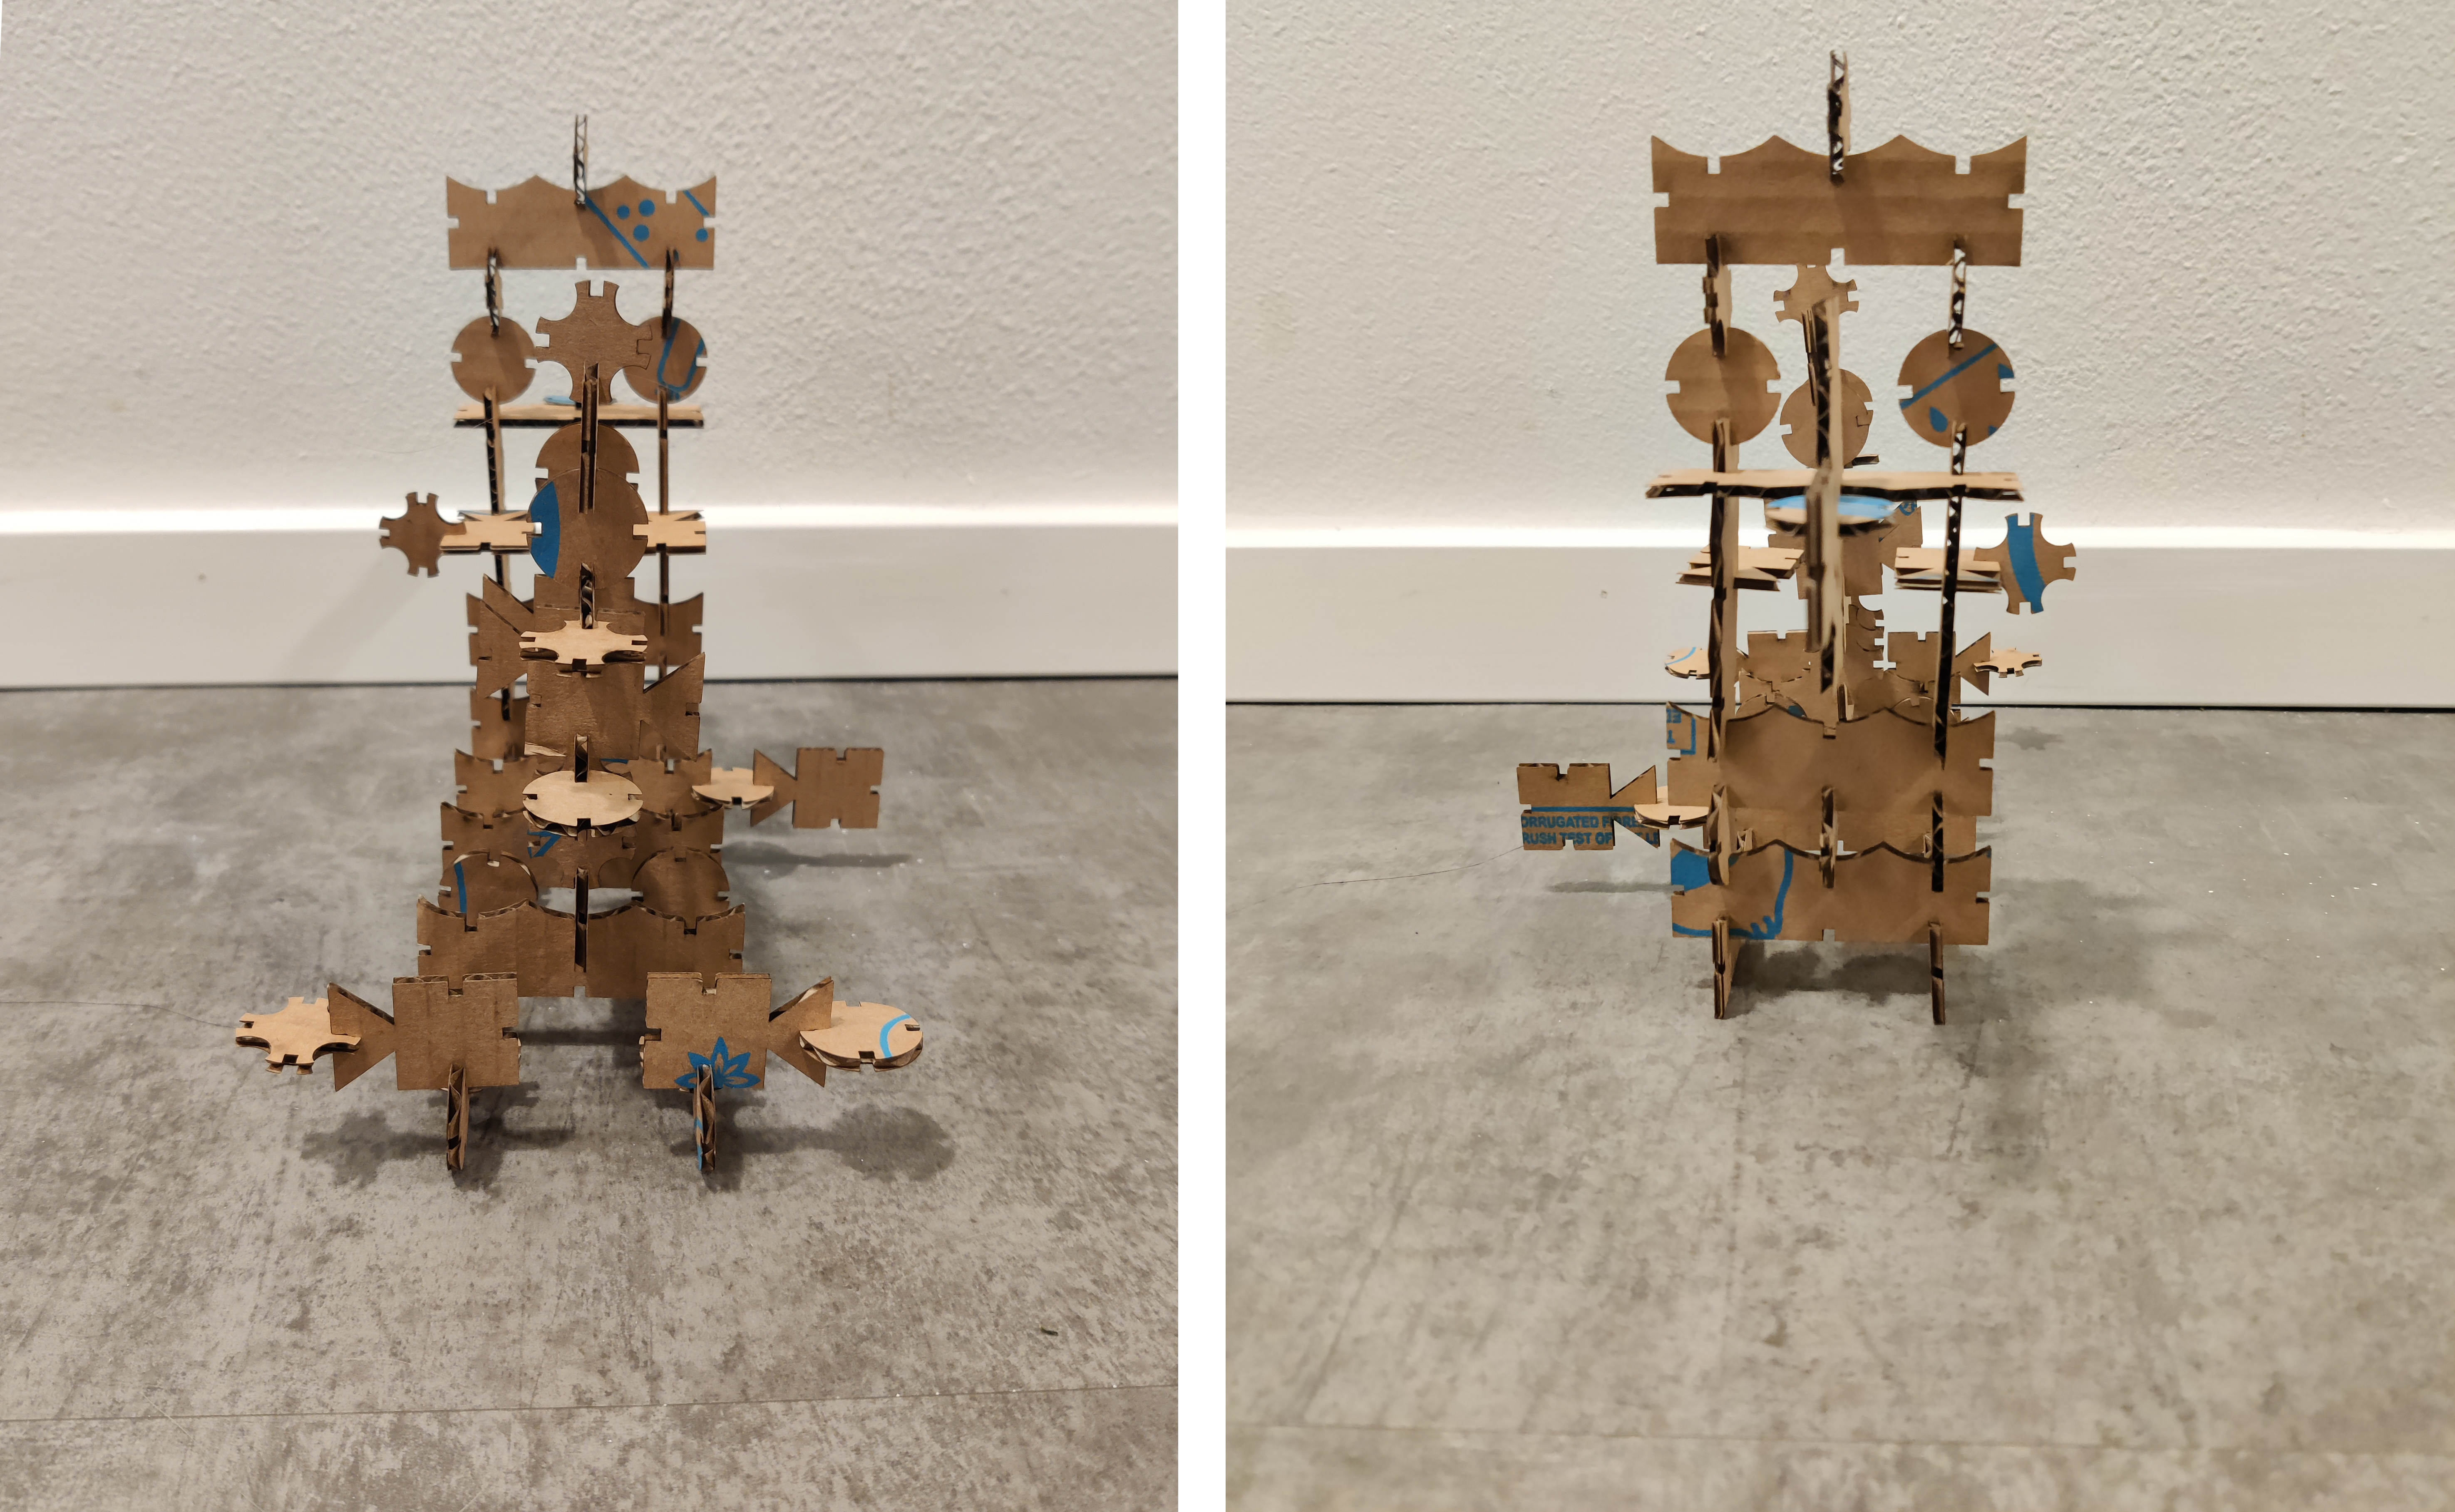
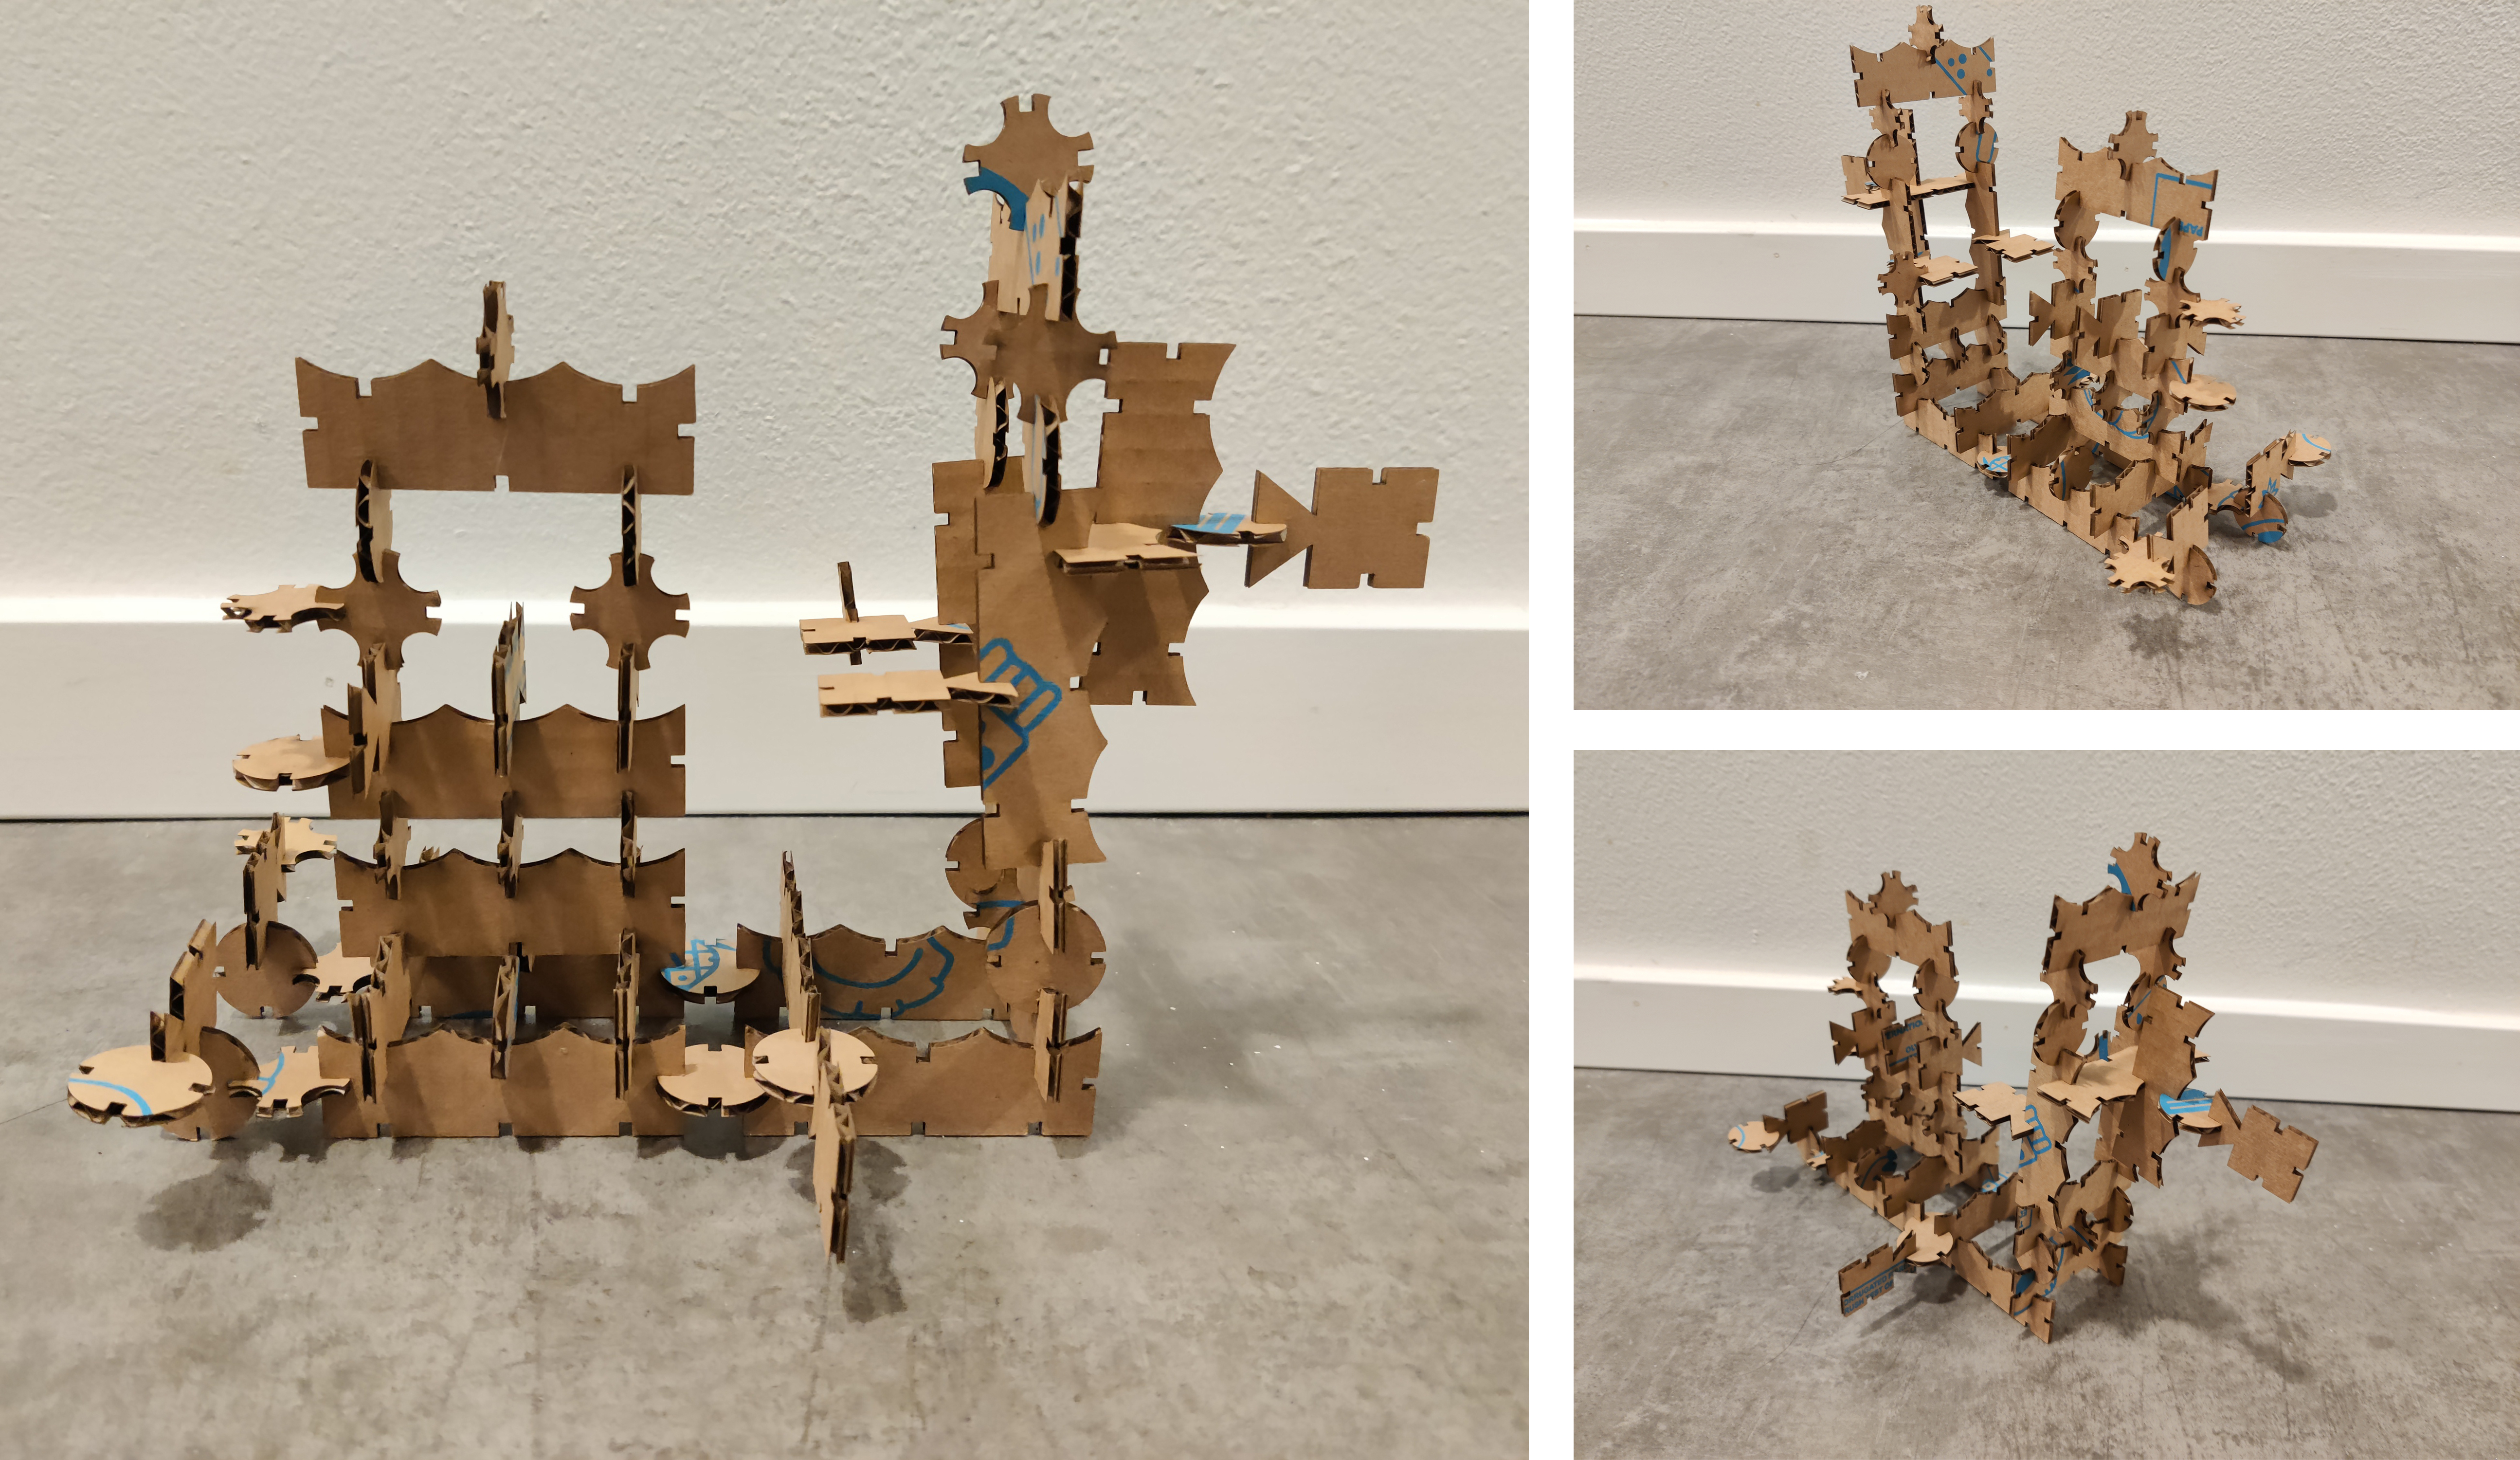
I fit all my pieces from this assignment together with some of the pieces from last time into a random scene/structure.
Things I learned after uploading this assignment:
- You can chage the label/name of the parameters in Grasshopper
- The angle in measured in radians, not degrees
Credit to Noelle for helping me with both of these ^