Assignment 5
Written on November 8th, 2022 by Petrina Chan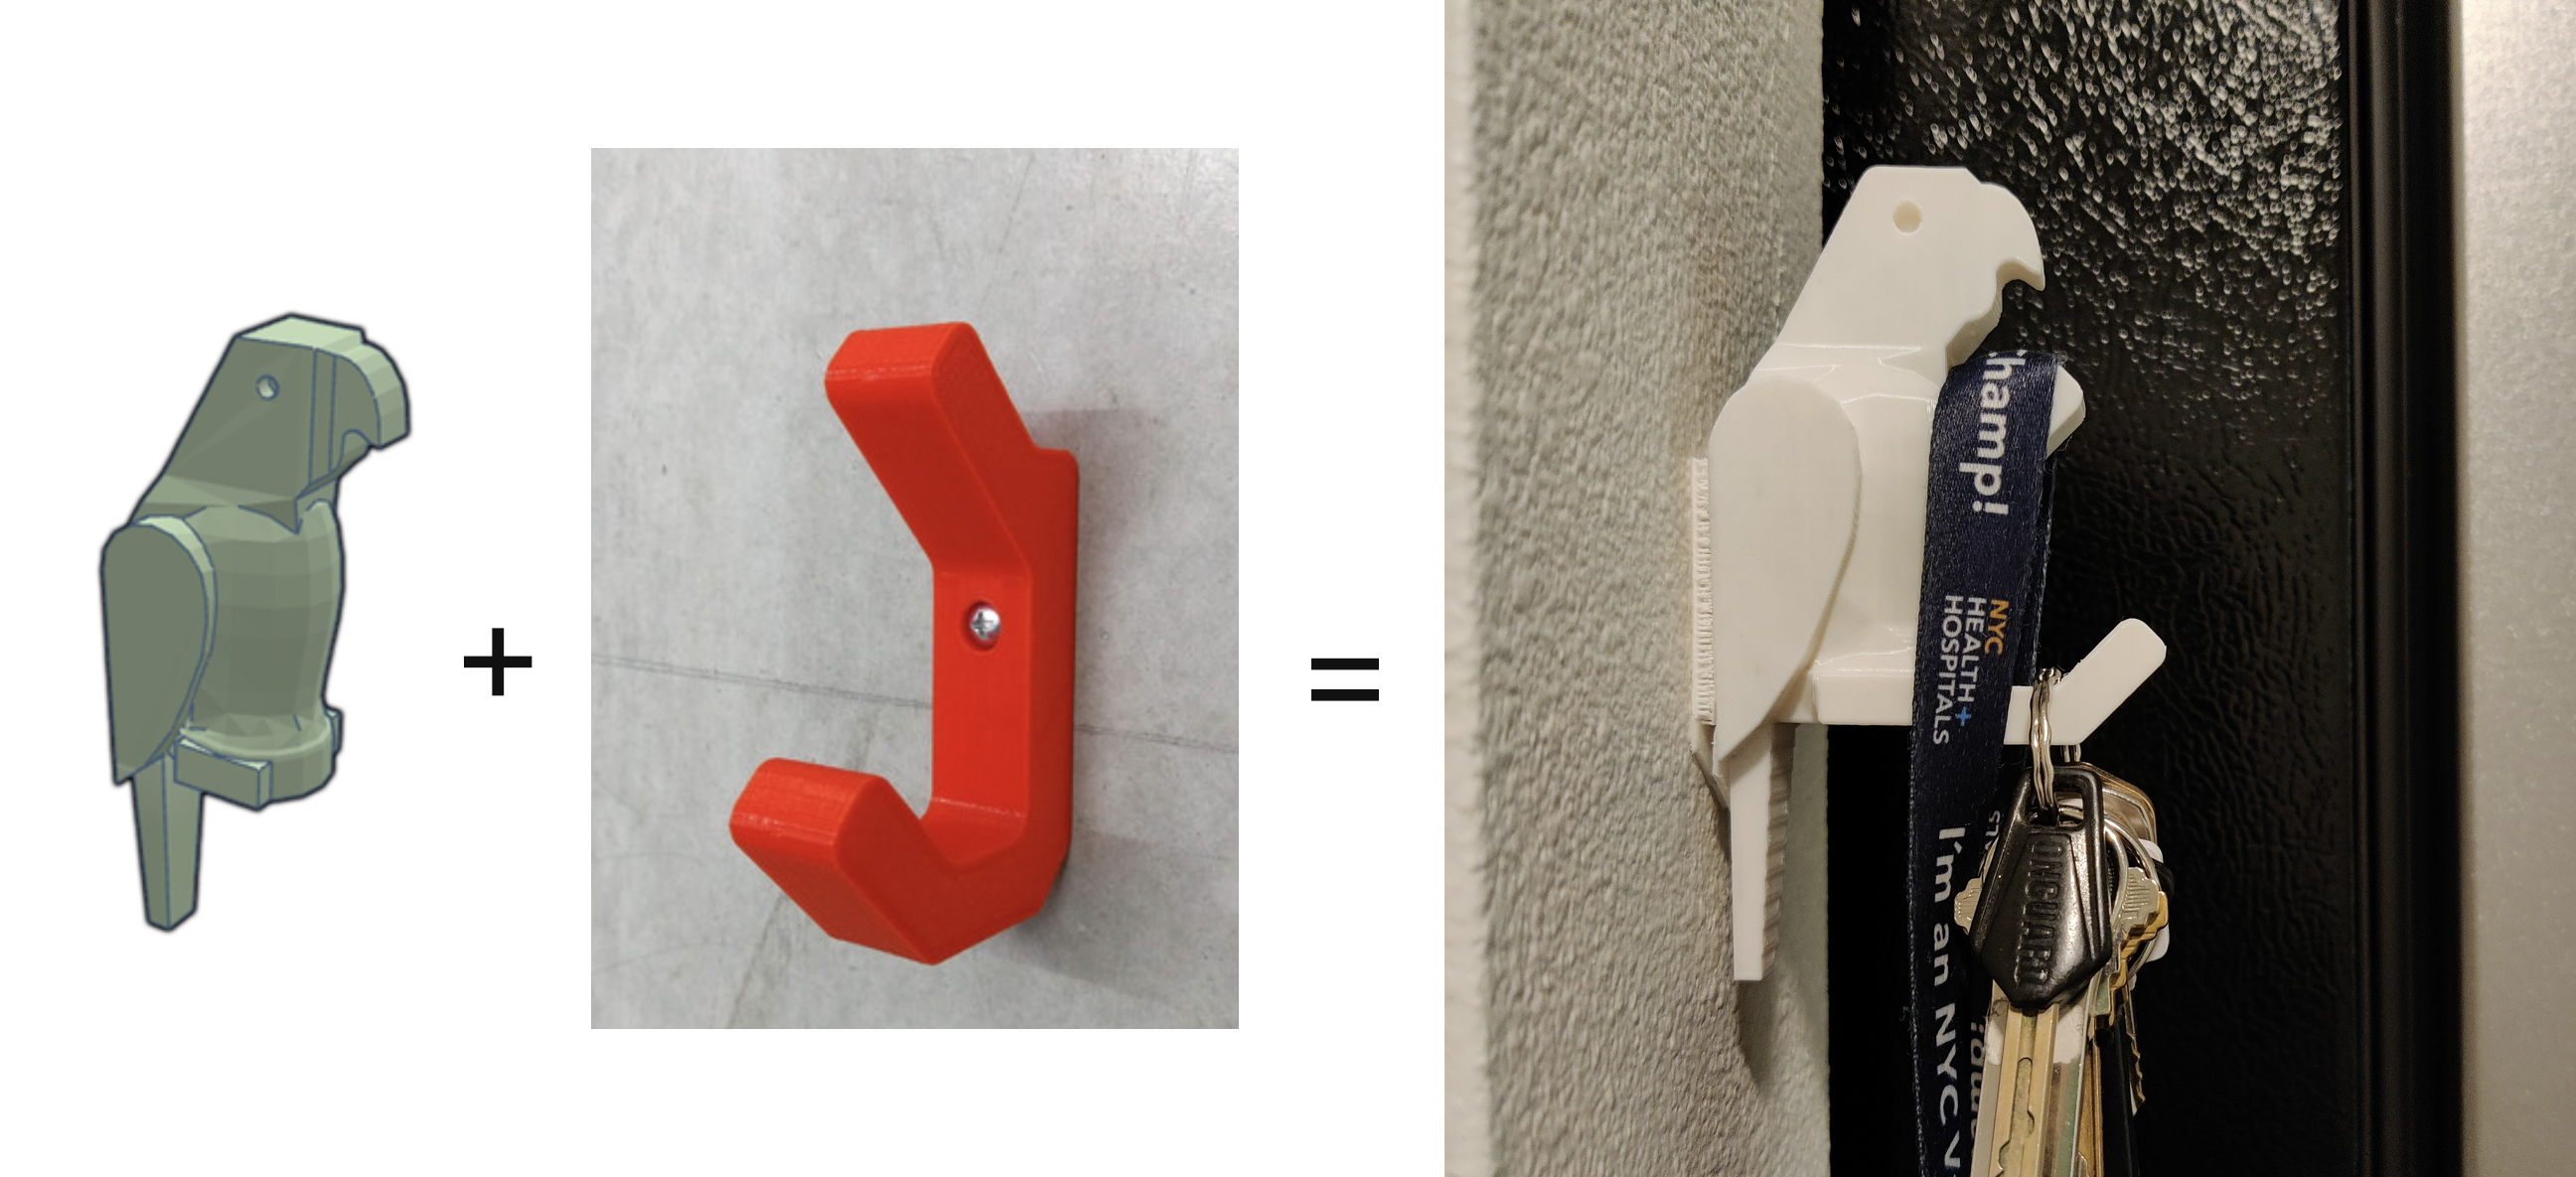
Assignment 5 - Meshes & Lamp p.1
Files
Meshes
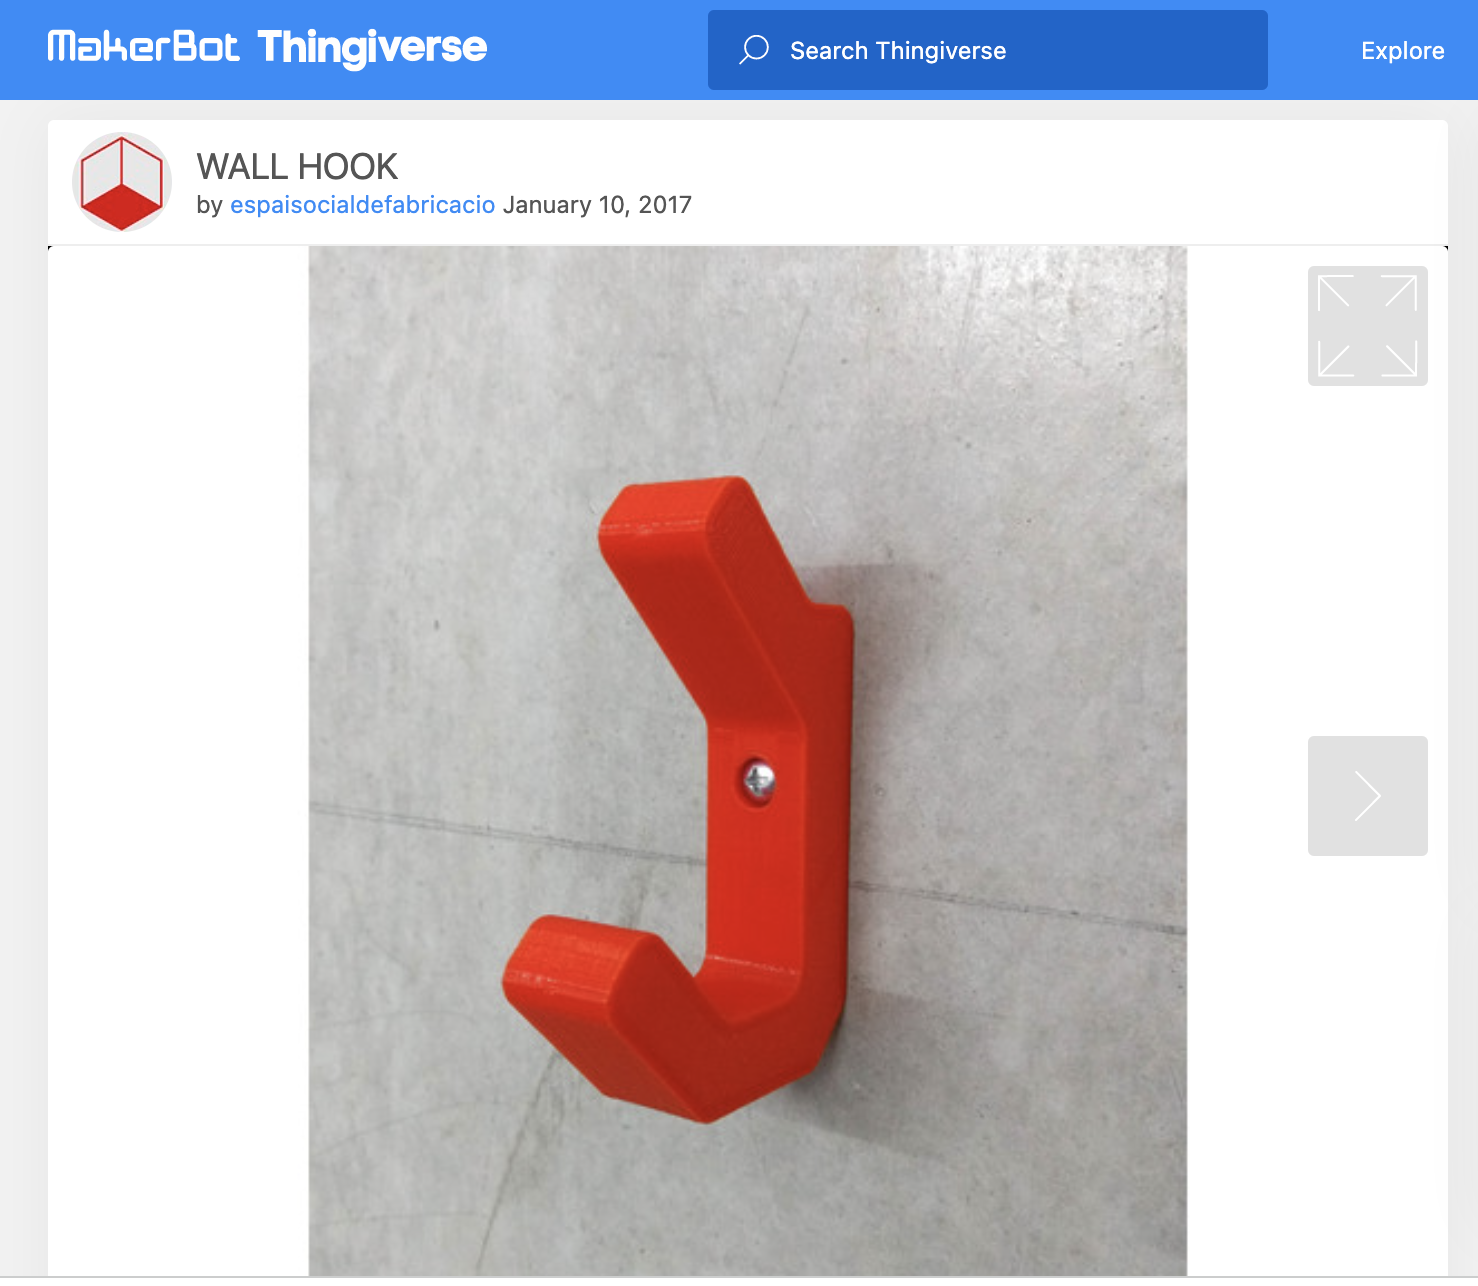
I wanted to make something functional and not just decorative for this assignment. While looking around my apartment for simple things that I used, I noticed the boring command hooks that I have in my entryway.
While browsing Thingiverse for bird related things (just because I like birds, of course I had to look lol), I realized that I could easily combine a bird that stands upright, like a parrot, with a wall hook. This would work well especially if the bird has a flat back that could be pressed against the wall.
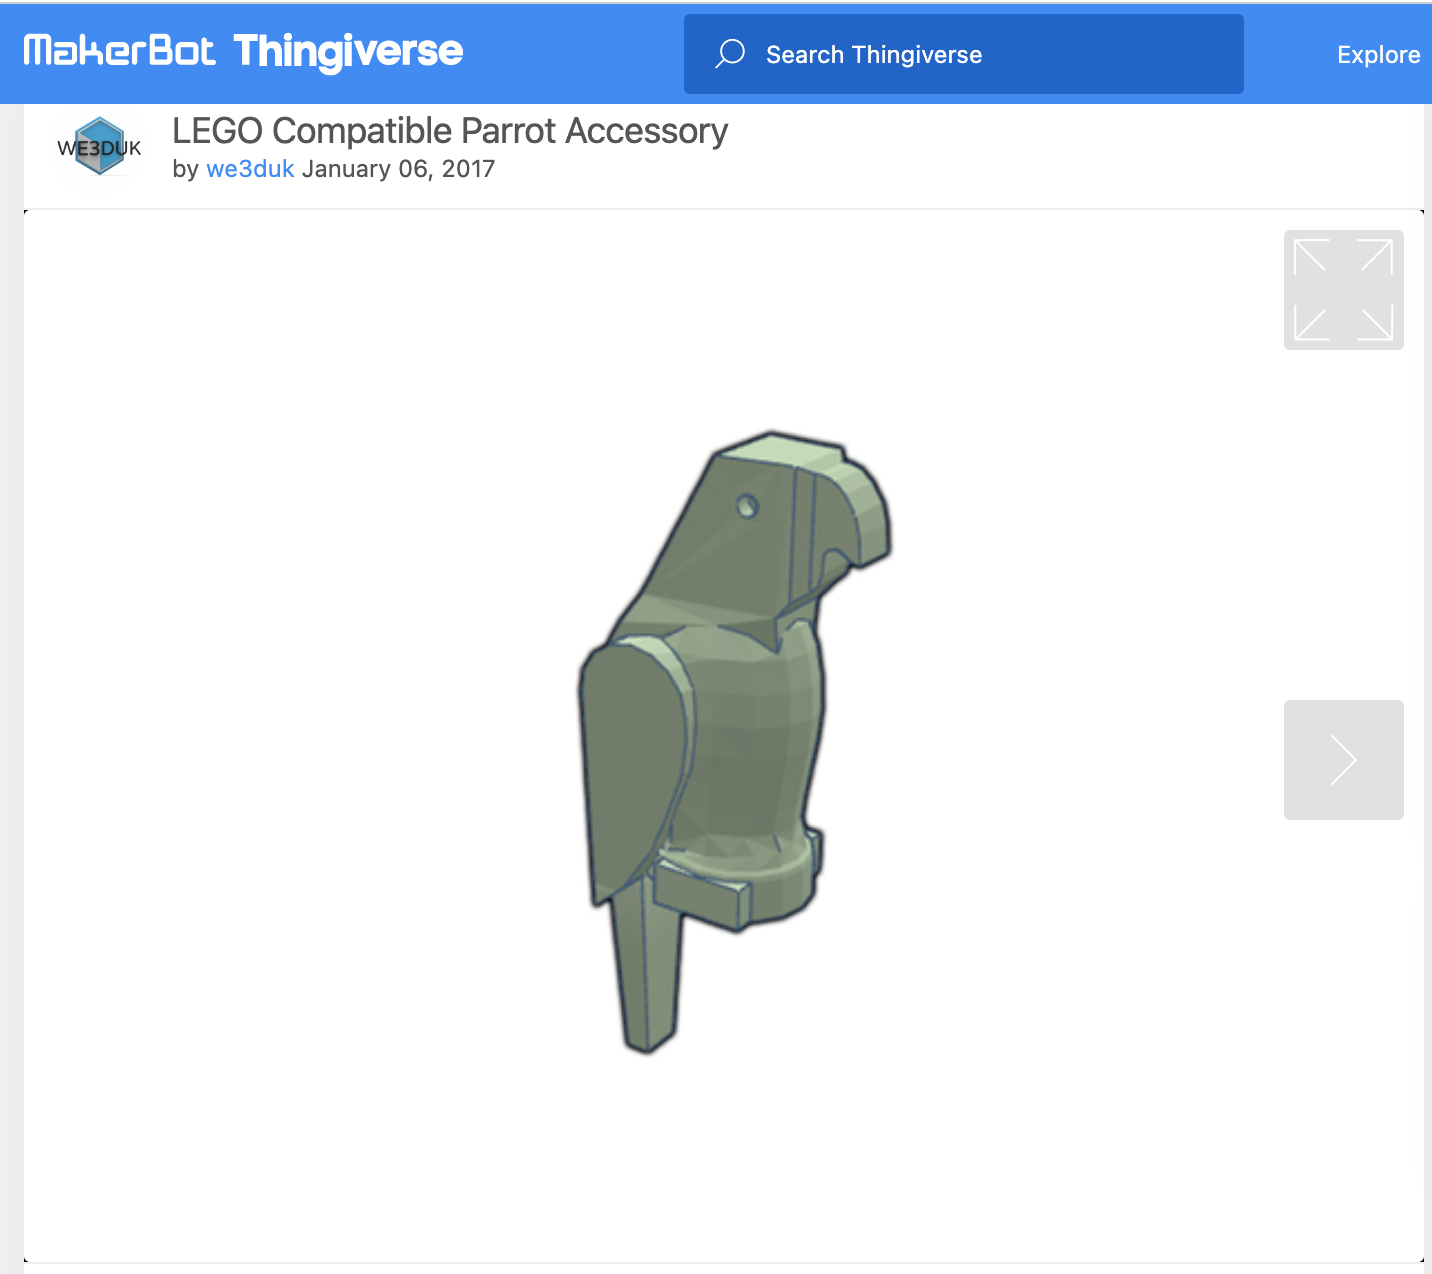
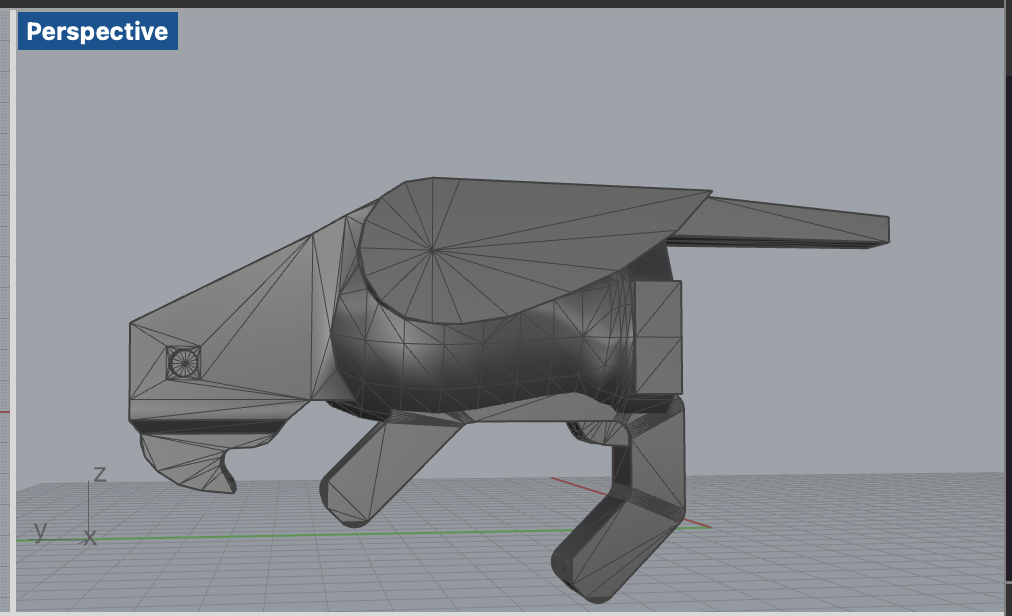
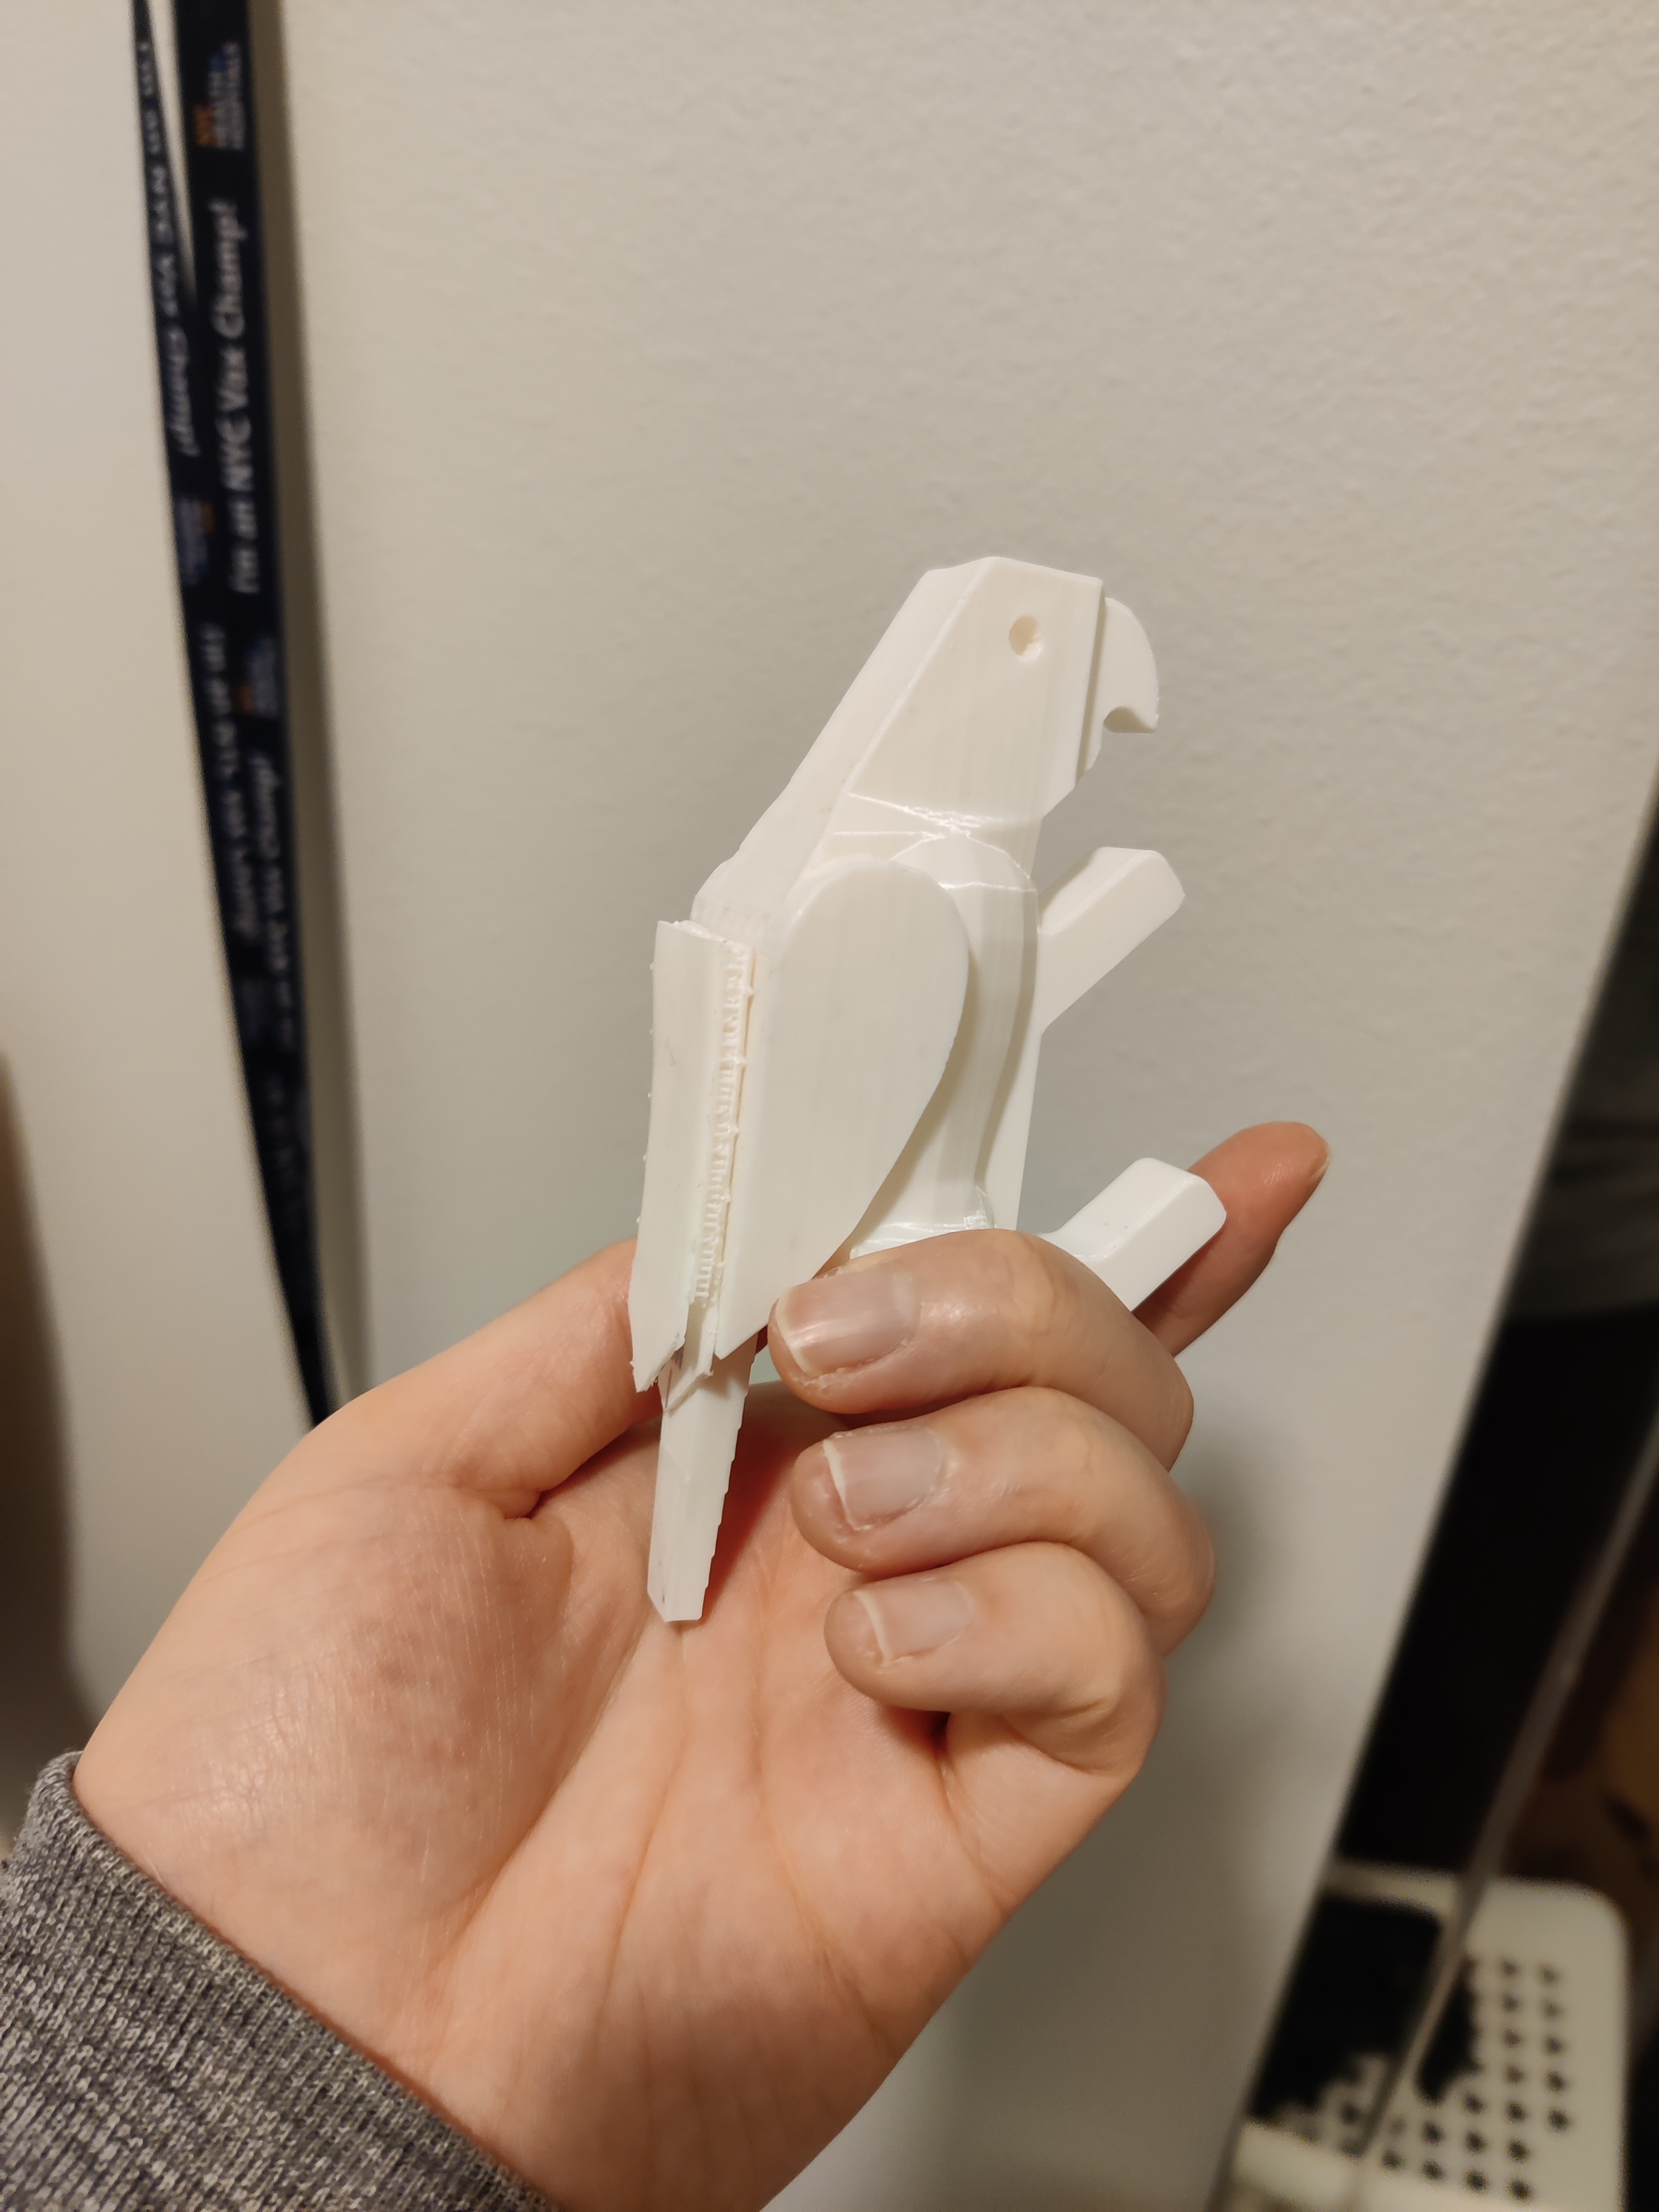
I found this parrot that is apparently LEGO compatible that I thought would be perfect. It’s kind of low poly looking, which would make it look a bit sleek and minimalistic.
Next, I found a hook that would match. I found this two-tiered sort of squared hook that looked like it would fit nicely with the parrot.
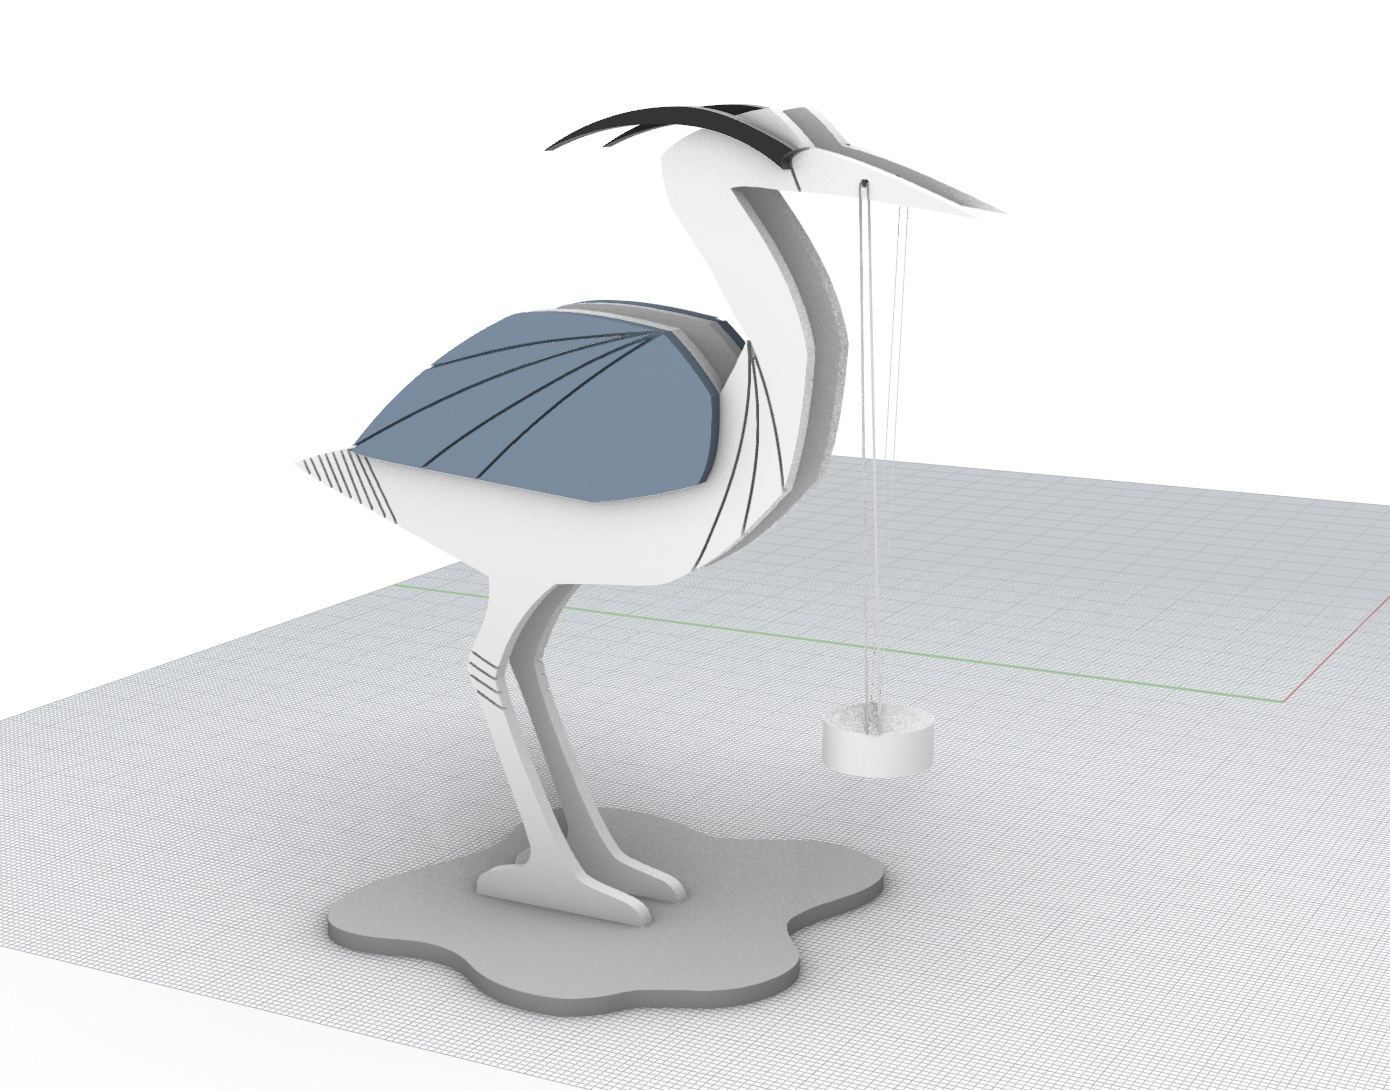
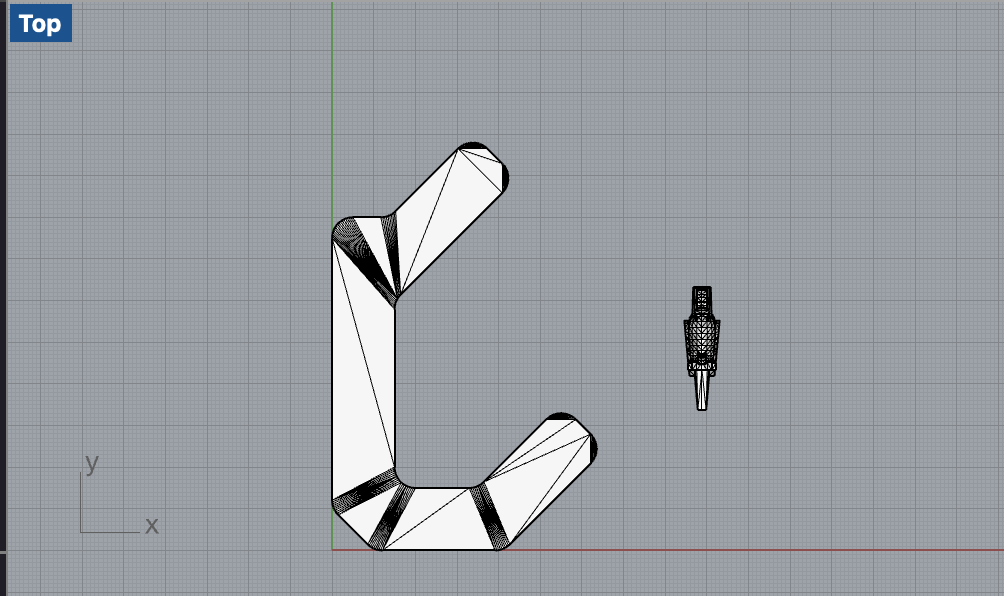
When I imported them into Rhino, I noticed that the parrot is tiny compared to the hook. I guess it made sense for it to be small since it is meant to work with LEGO. I scaled the parrot up just by eyeballing what would look appropriate with the hook. At this point I didn’t realize how large the hook was.
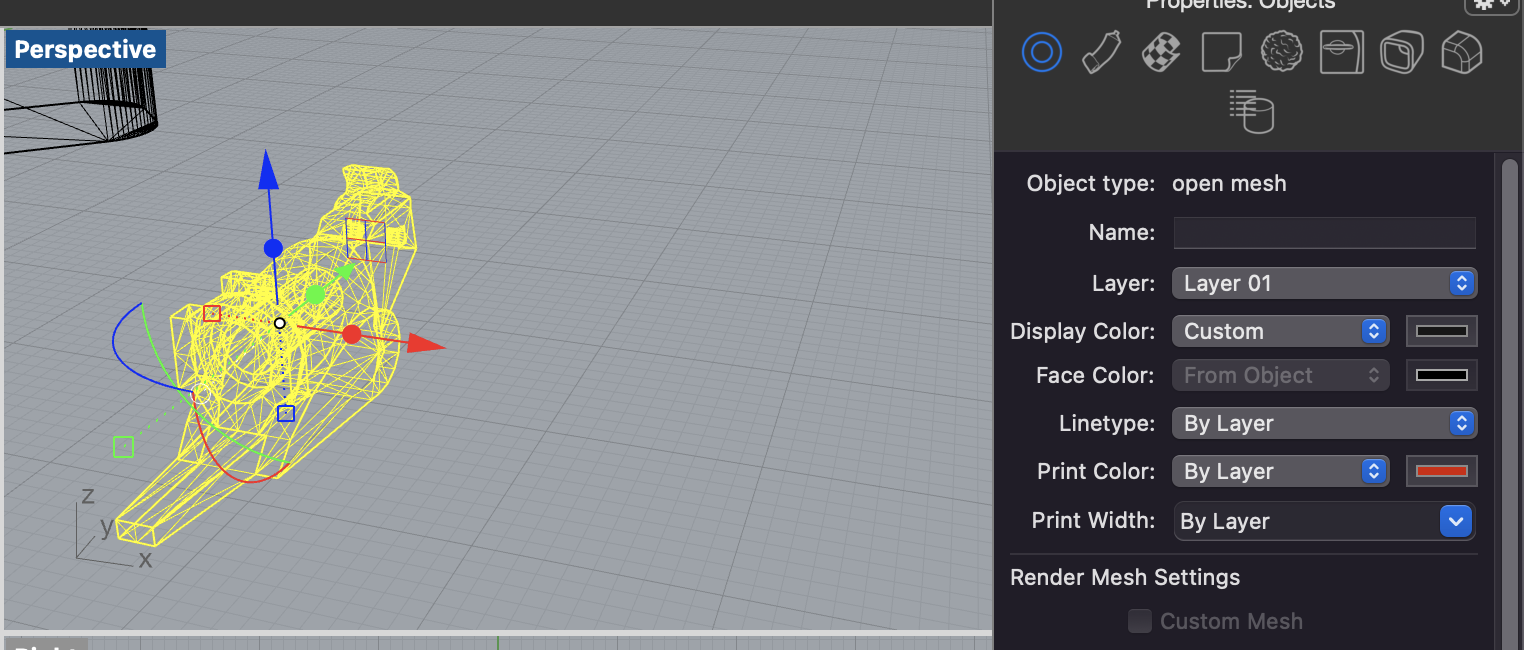
After resizing, I checked to see if the meshes were closed or open. I used the properties panel and also MeshRepair to check this. While the hook was already a good, closed mesh, the parrot seemed to be an open mesh. I ran MeshRepair on it, and it cleaned up the errors.
Next, I put the two pieces together in the positions that I envisioned for the hook. The pieces are both pretty nicely shaped, so they came together pretty nicely already at this point. Once I had the parrot in place, I noticed that there was some excess from the model that was sticking out the other end of the hook. To get rid of this, I used MeshTrim and clicked to remove these bits.
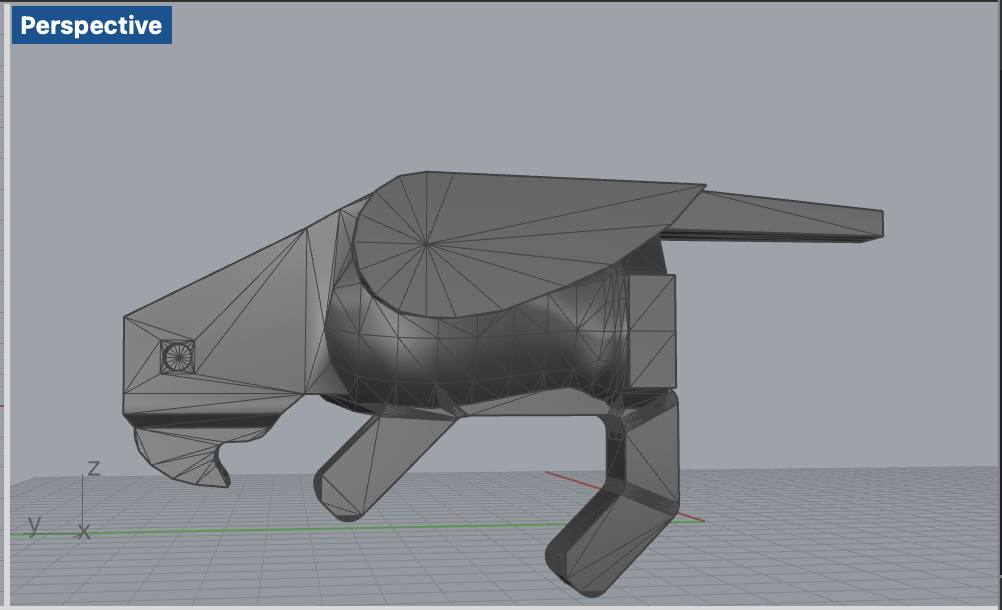
I also noticed that the parrot was hollow, which again makes sense because of LEGOs, but I wanted it to be solid when printed. I created a circle and put it over the opening and joined it to the parrot.
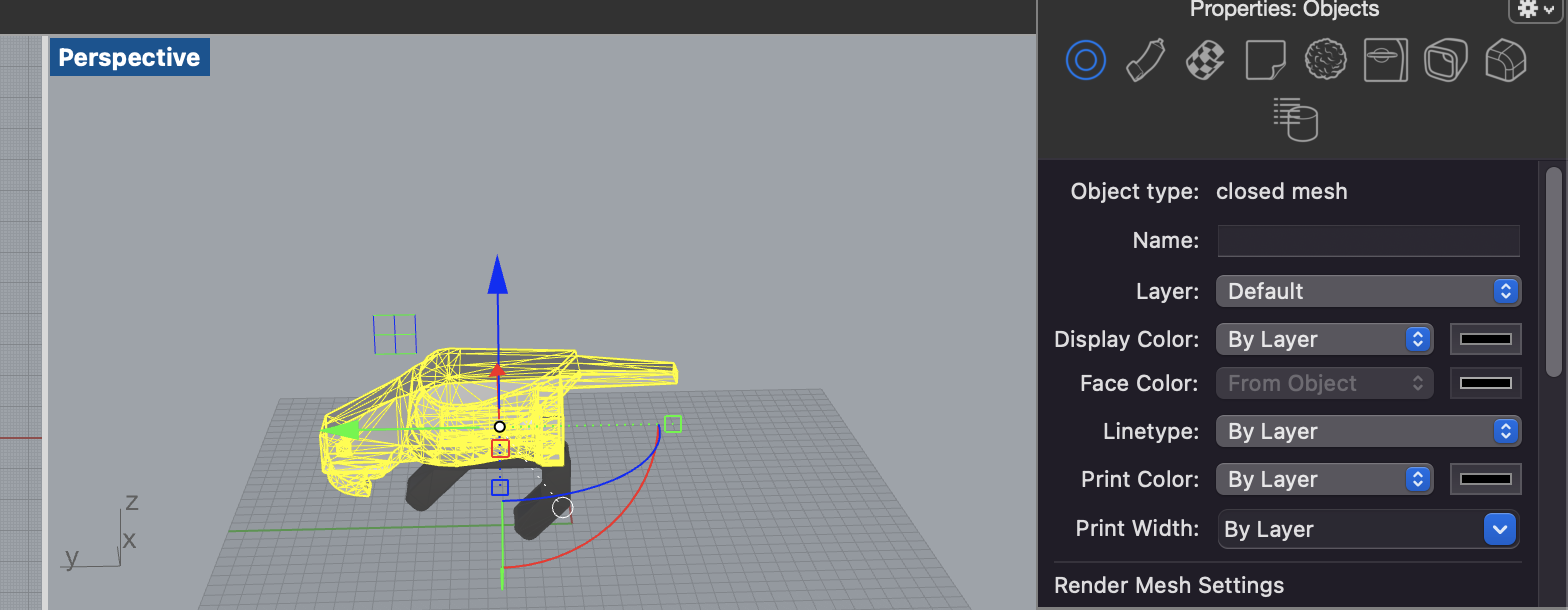
Next, I joined the two objects together and made sure that the resulting object was still a closed mesh.
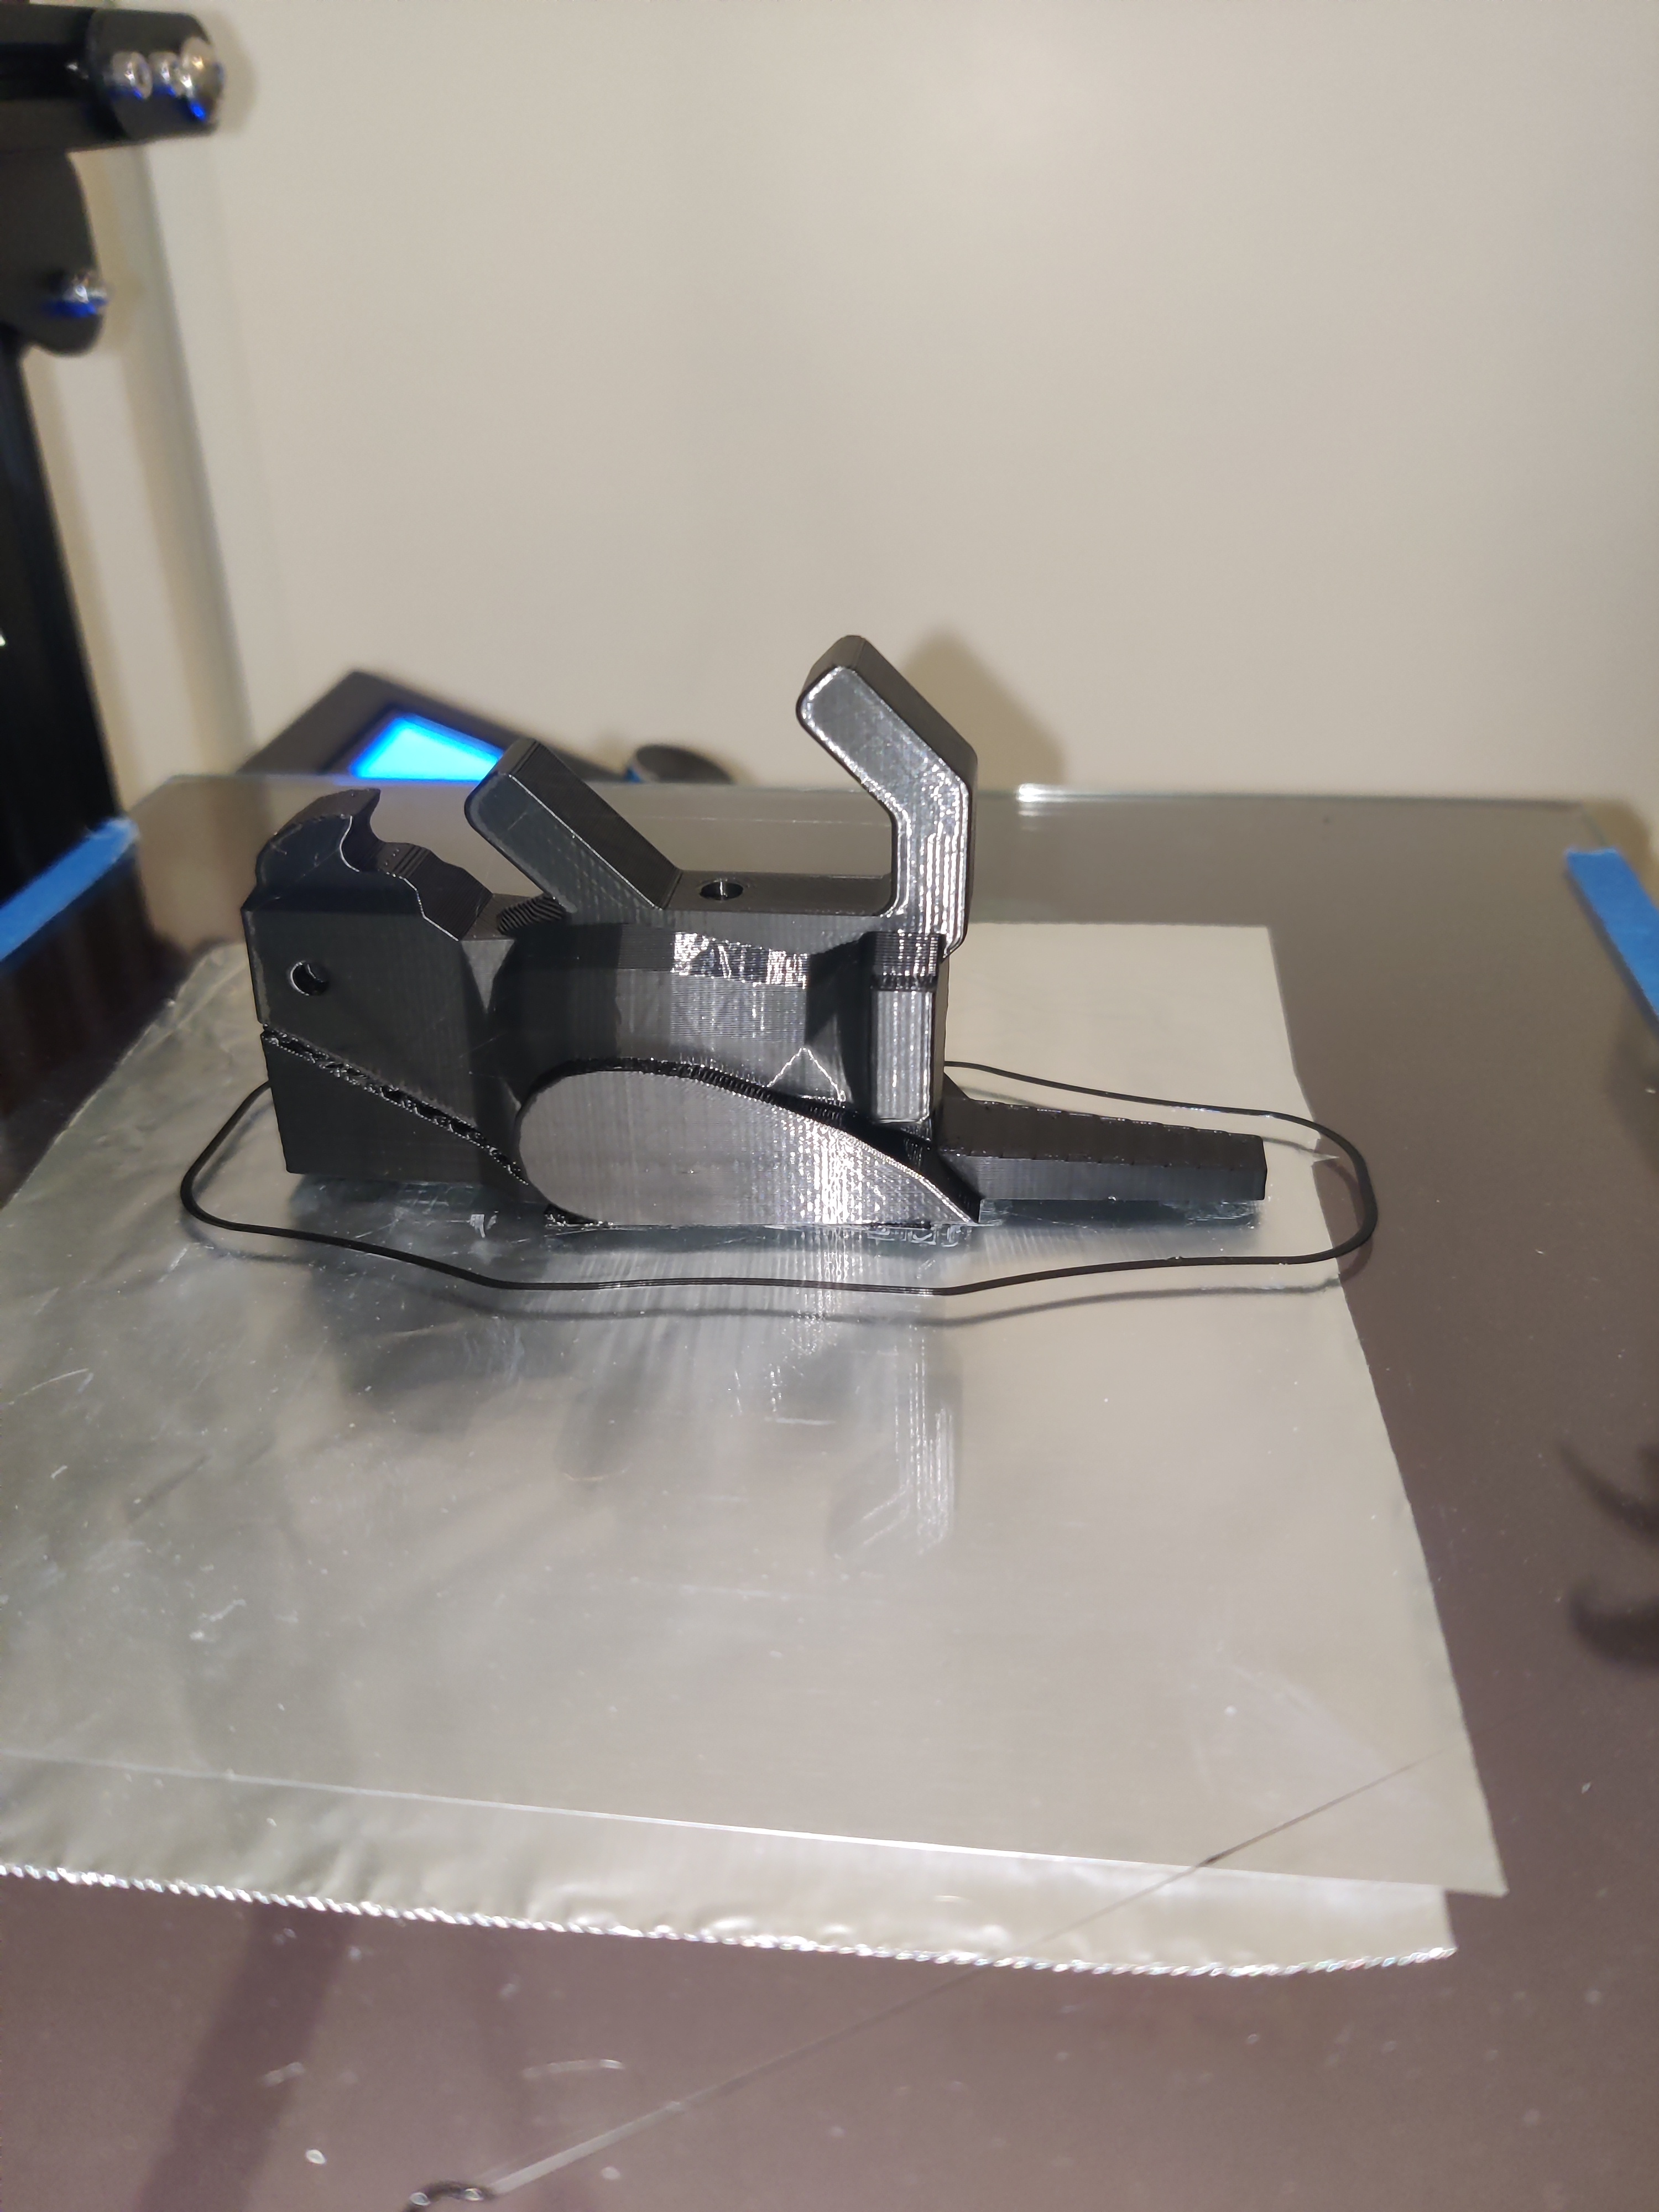
Then, I exported it to STL and prepared it in Cura. This is when I realized that it was kind of huge, so I scaled it down 50%.
I turned supports on since I thought that it needed it for the head at least. Everything else I left at my default settings and I printed.
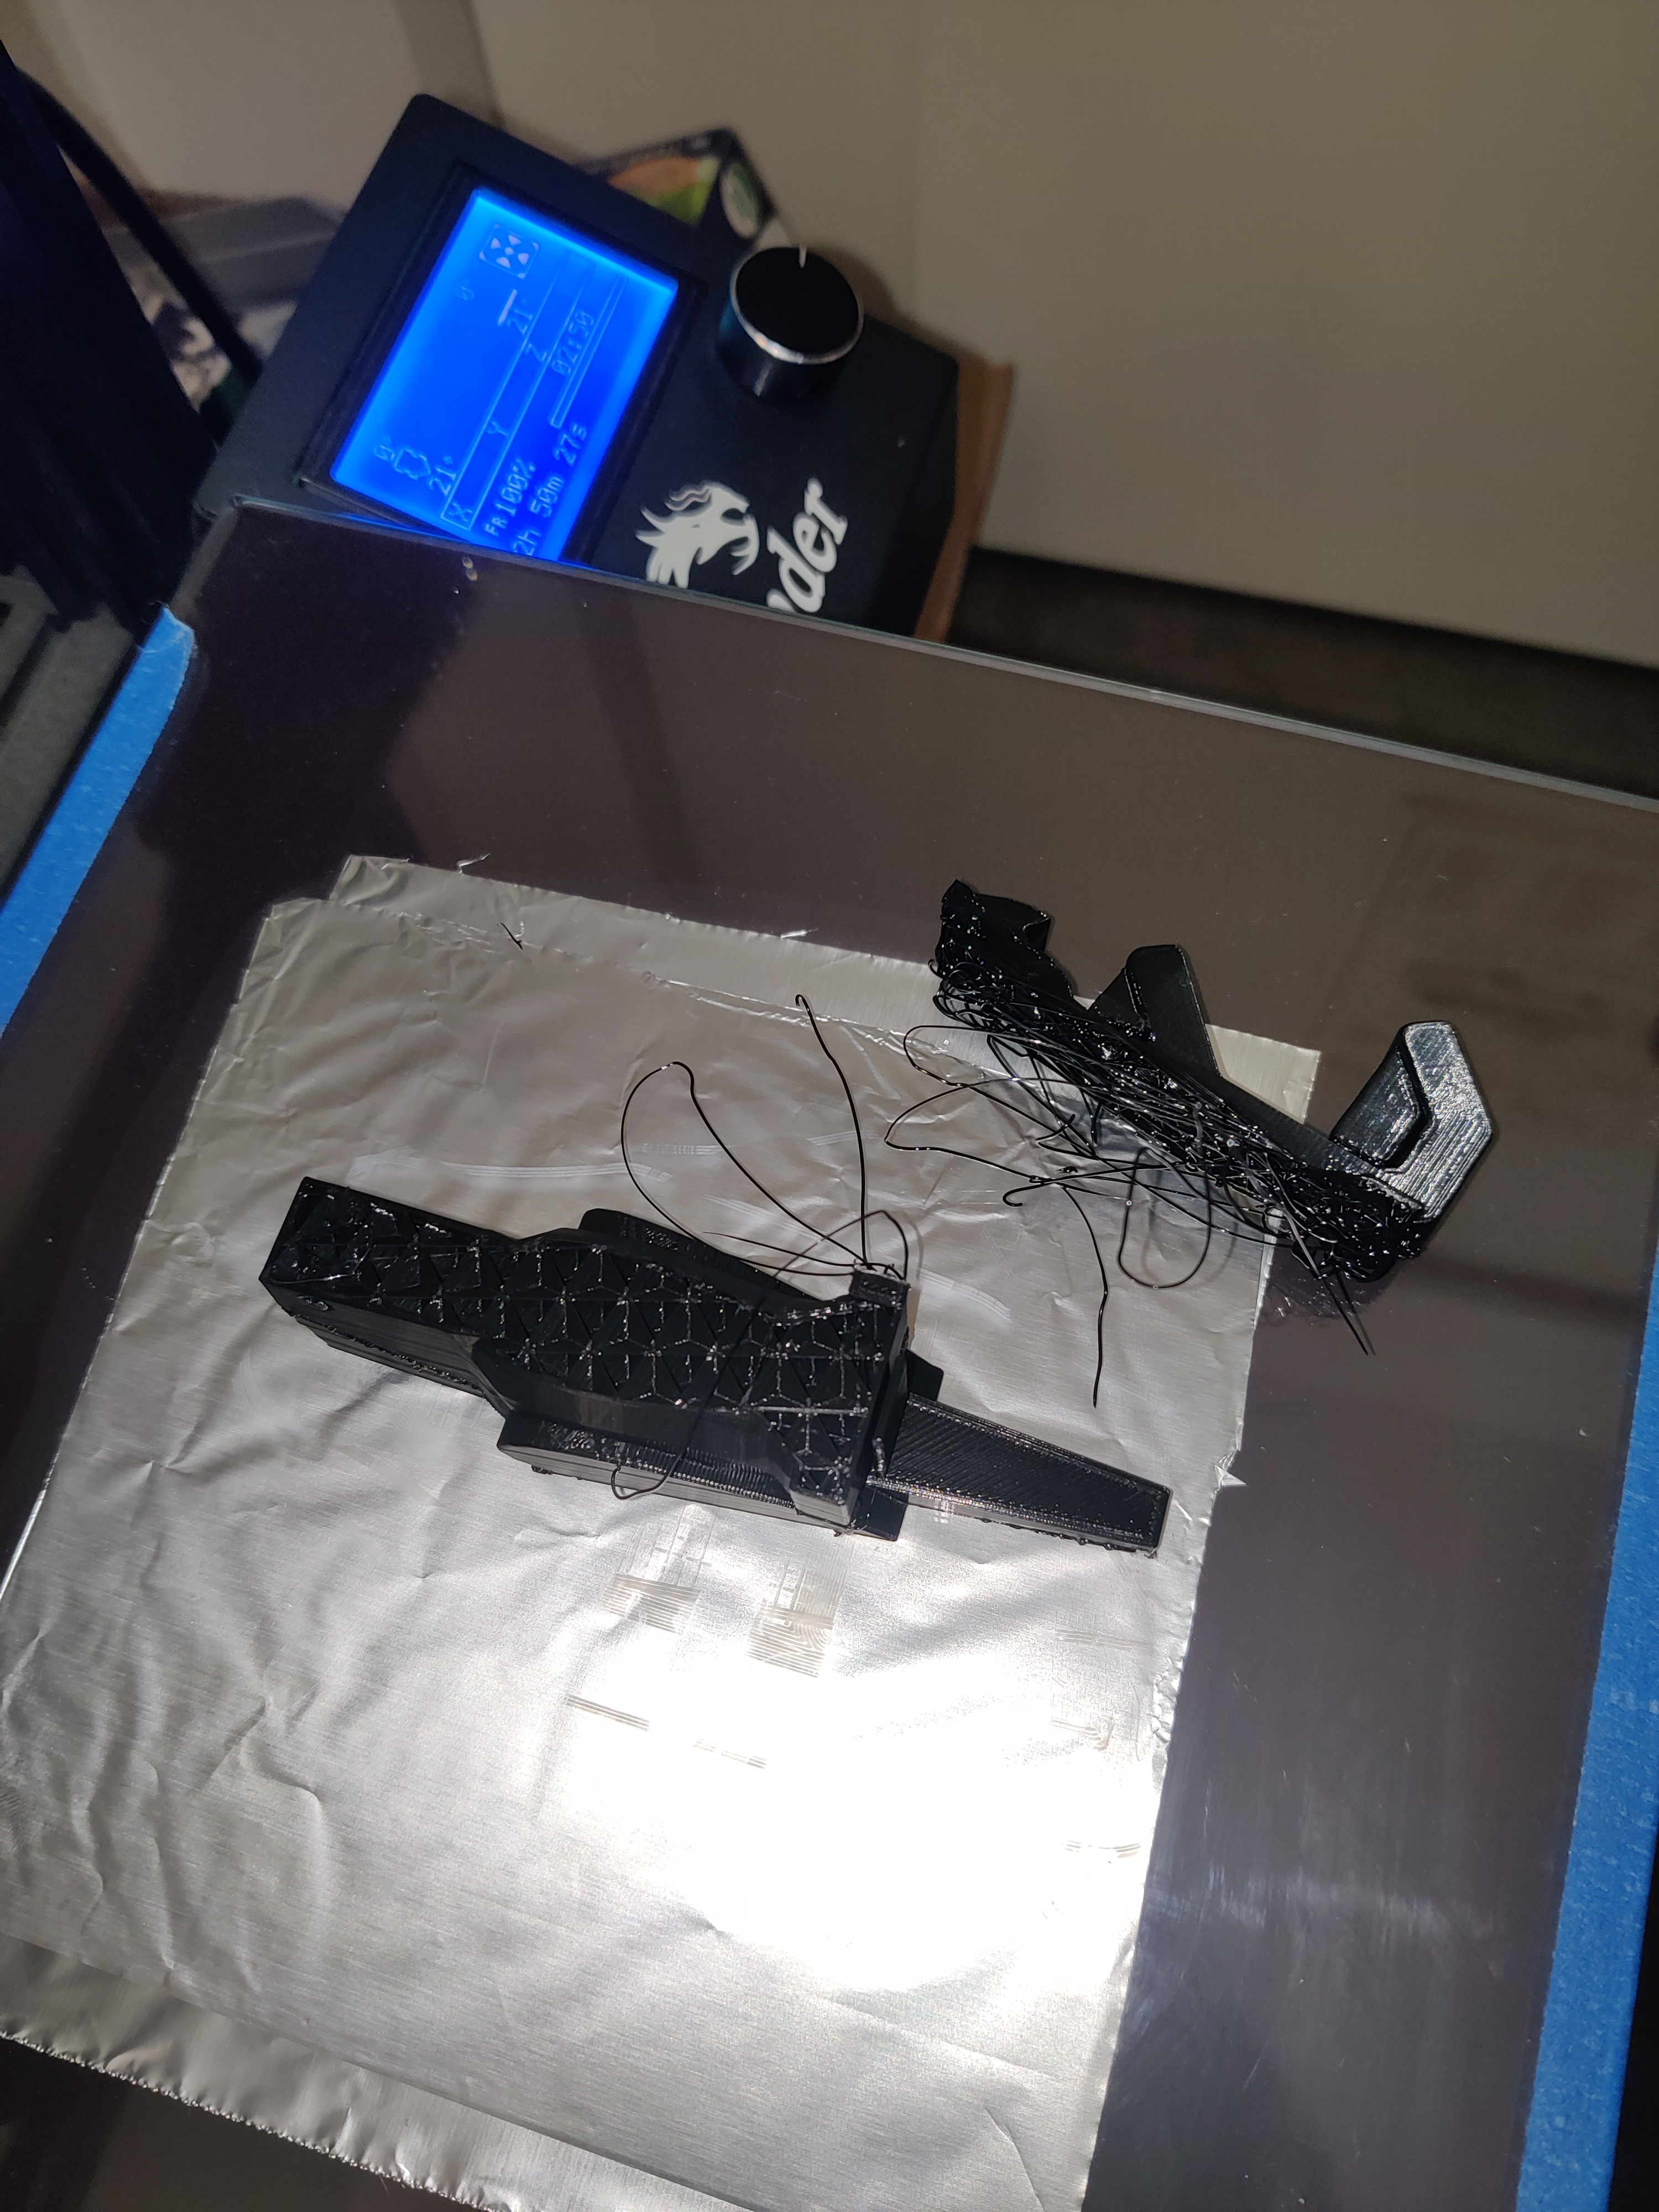
I left the house and let it finish while I was away. I came back to a strange scene on the print bed. The print had finished, but a part of the print had broken off and was hanging off the print? It seemed really odd since even the broken off part was printed seemingly correctly. I could not figure out how this could have happened.
I went back into Cura and Rhino to investigate and see if anything was off. I noticed a couple small things that I could tweak, but nothing that I think would have caused problems, let alone the problem that happened.
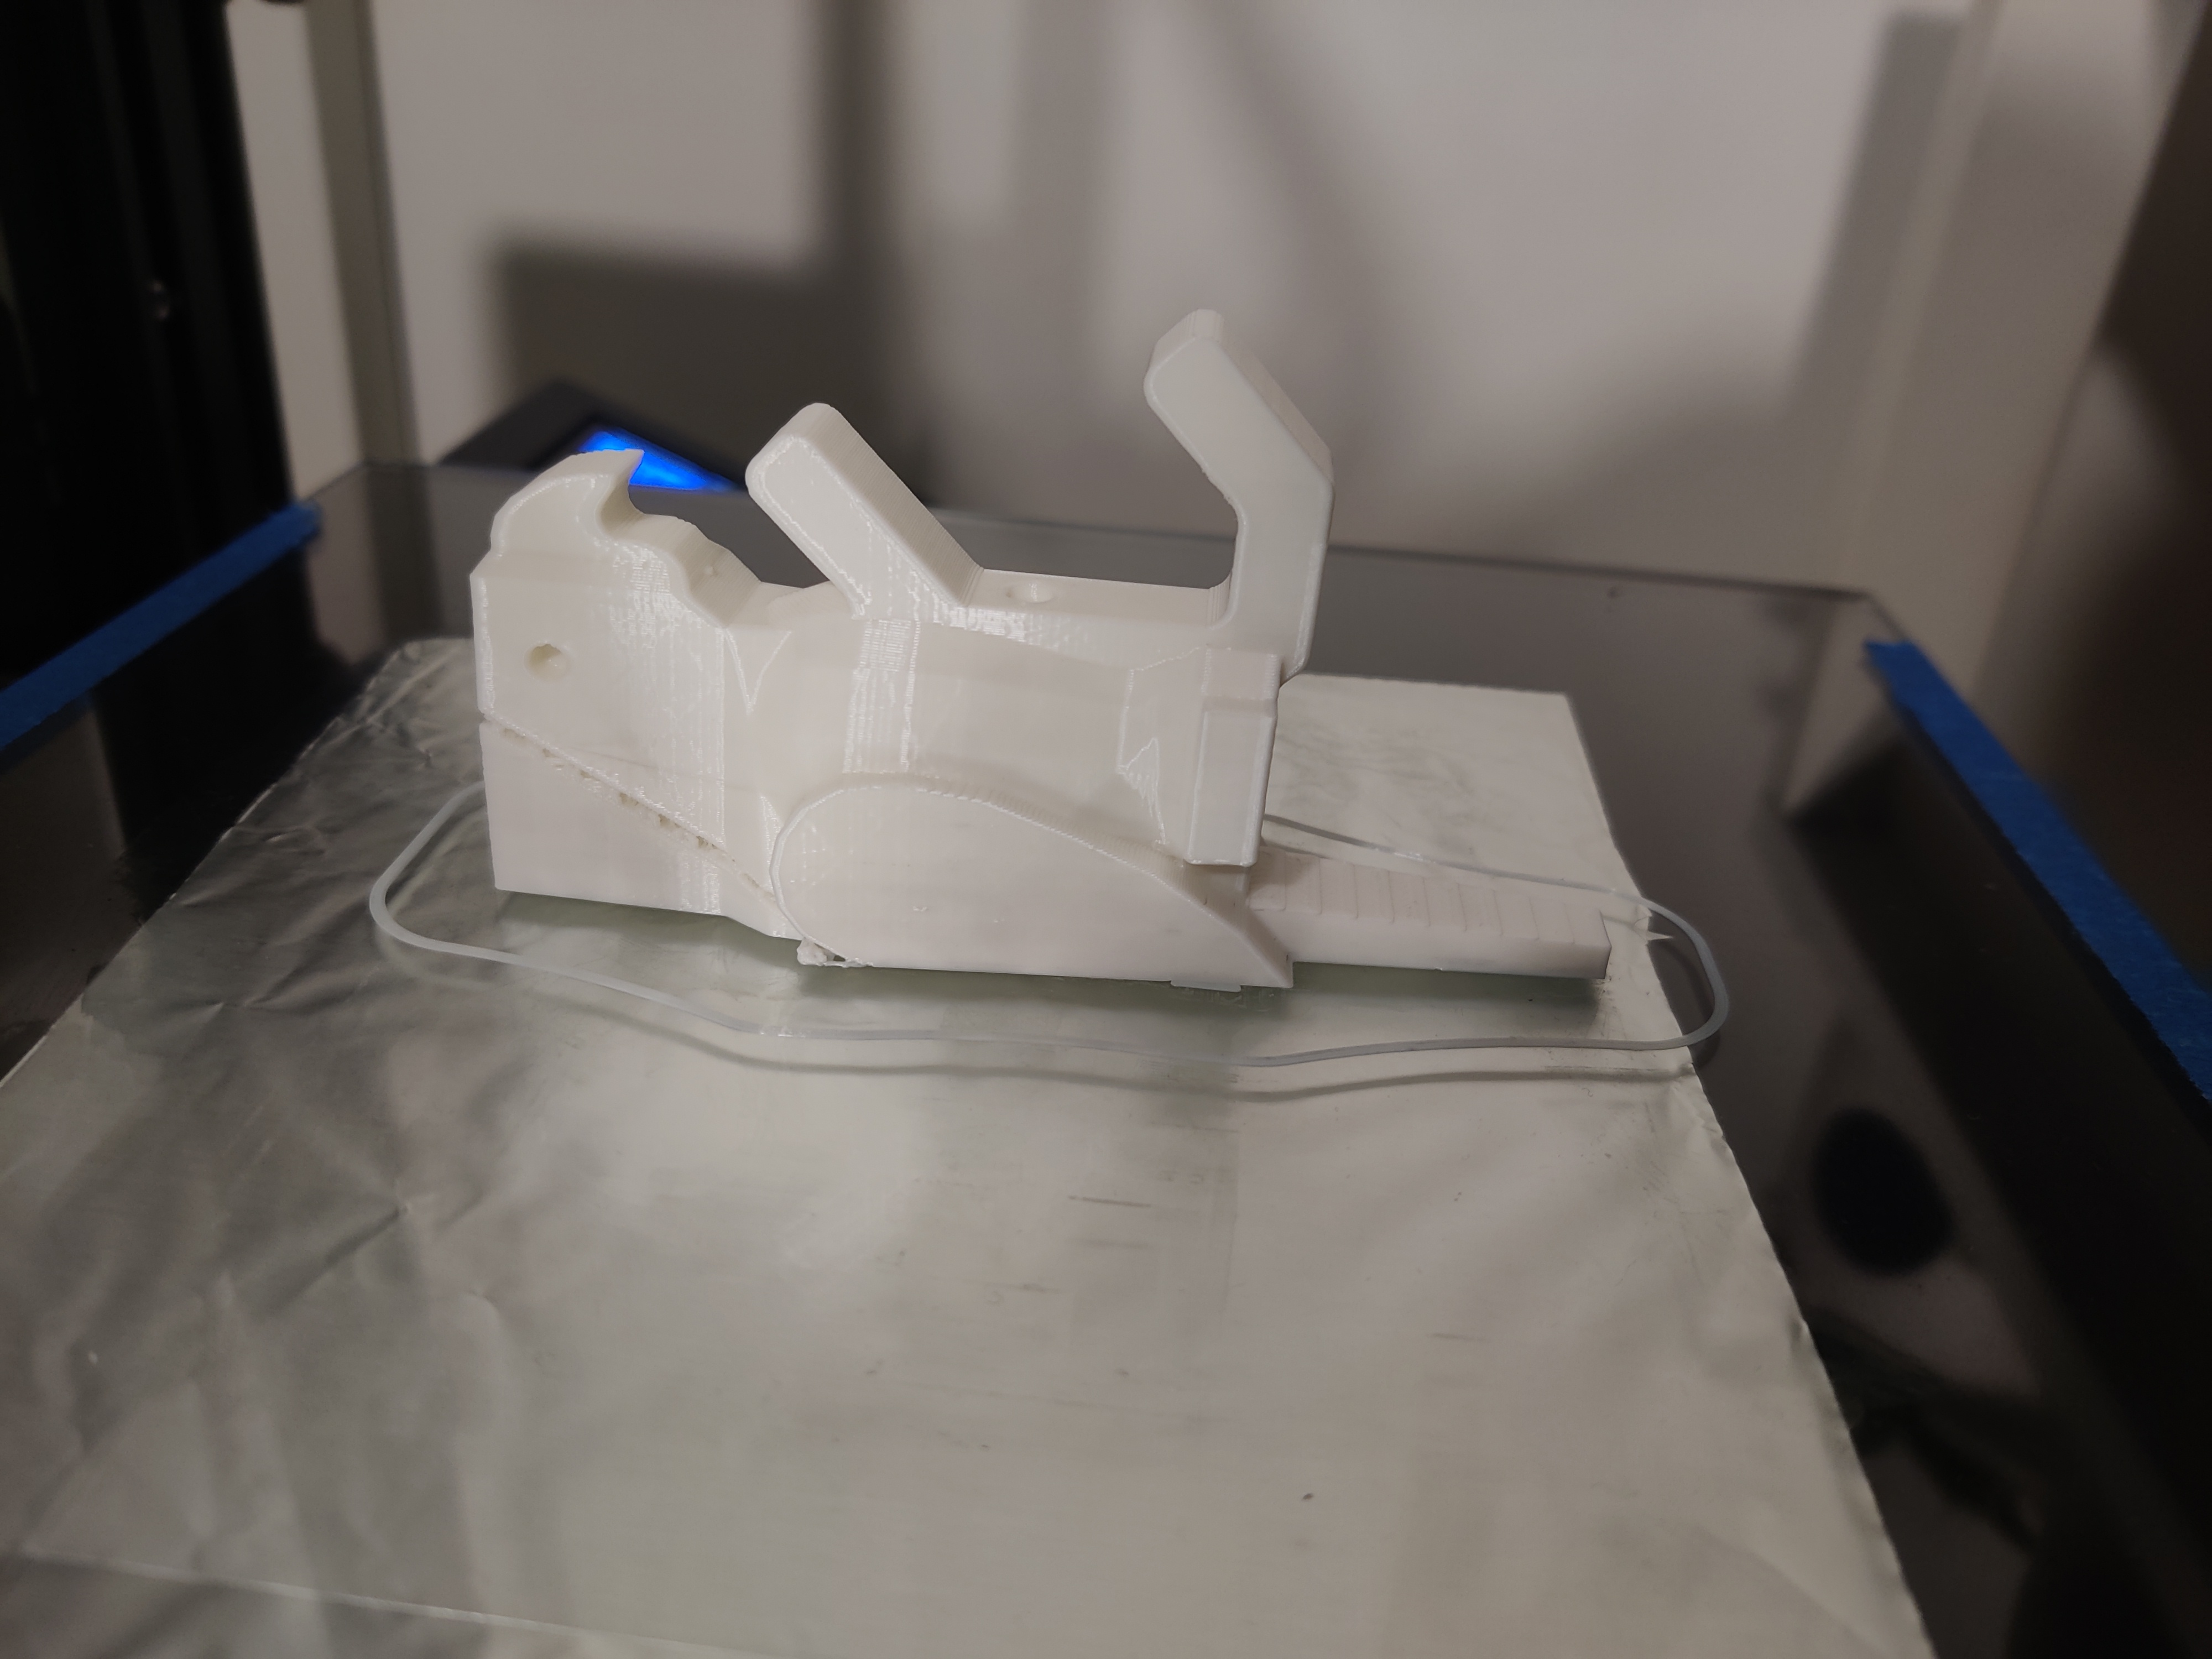
Some things that I tweaked: Changed the angle of the parrot tail so that it sits flat on the bed Changed supports to triangles to be more efficient Changed supports to only generate where it touches the bed
I sliced, printed and let this run again. Not sure what the difference was or what changed, but it printed out just fine!
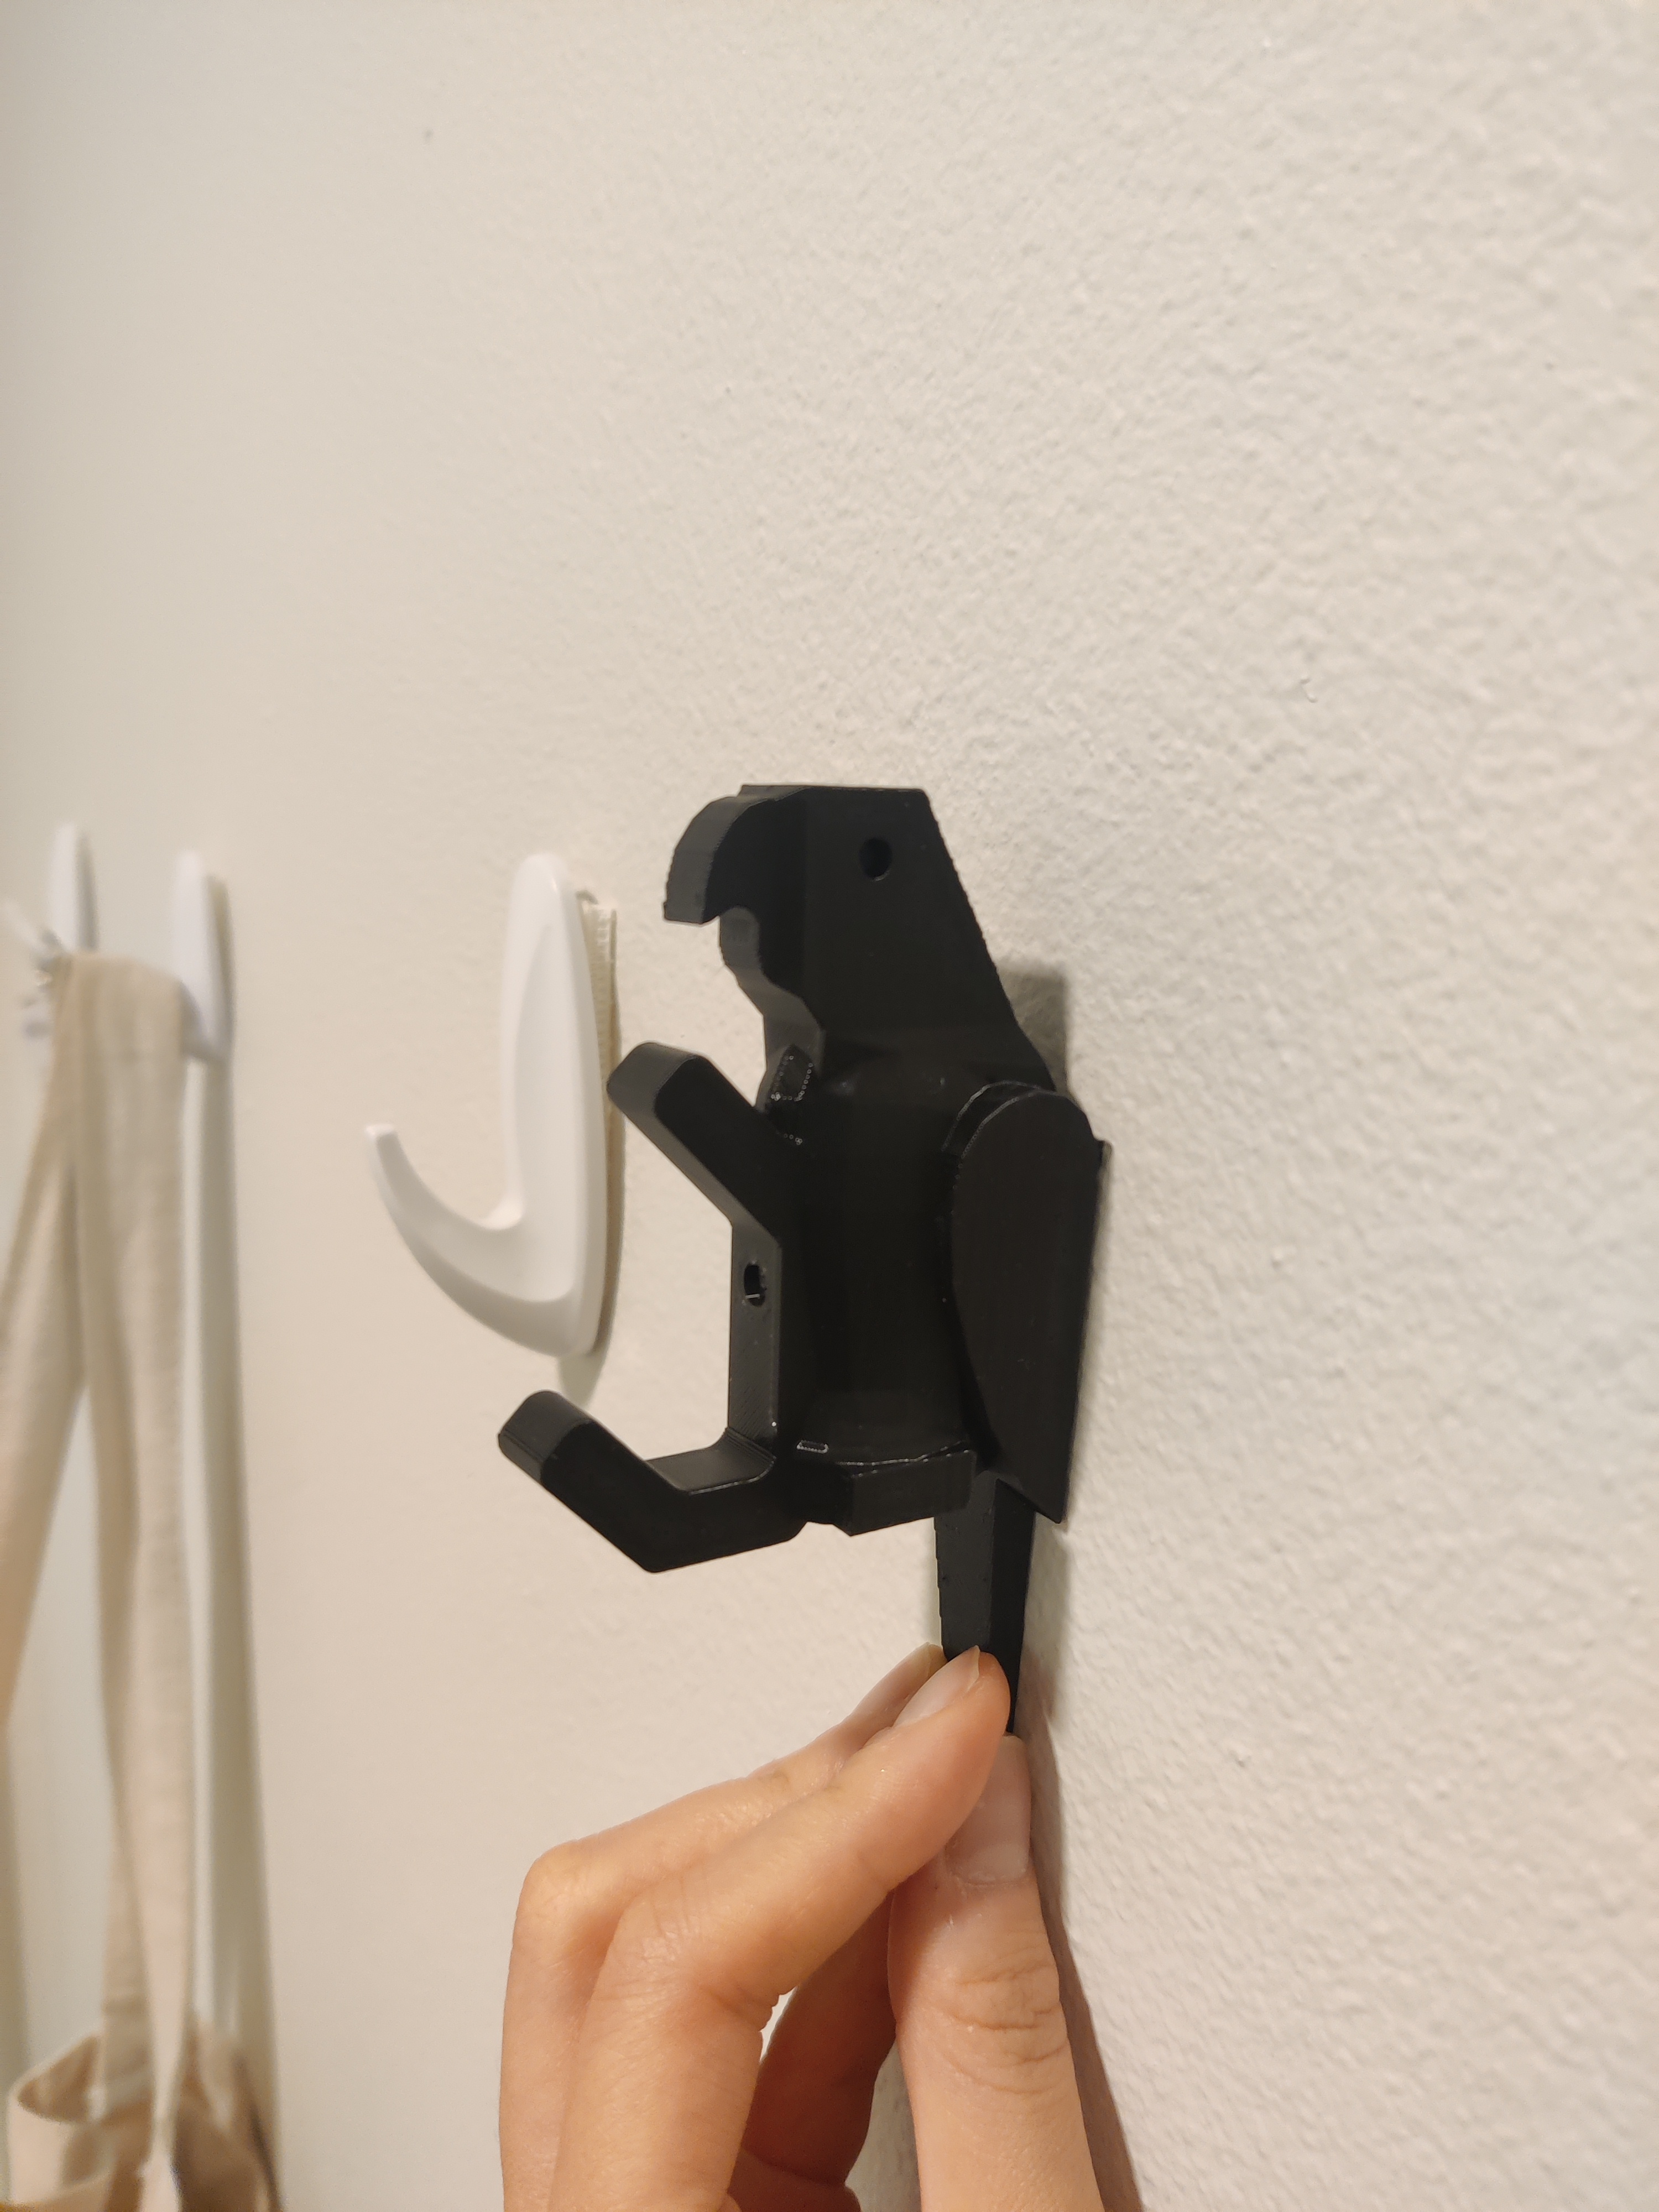
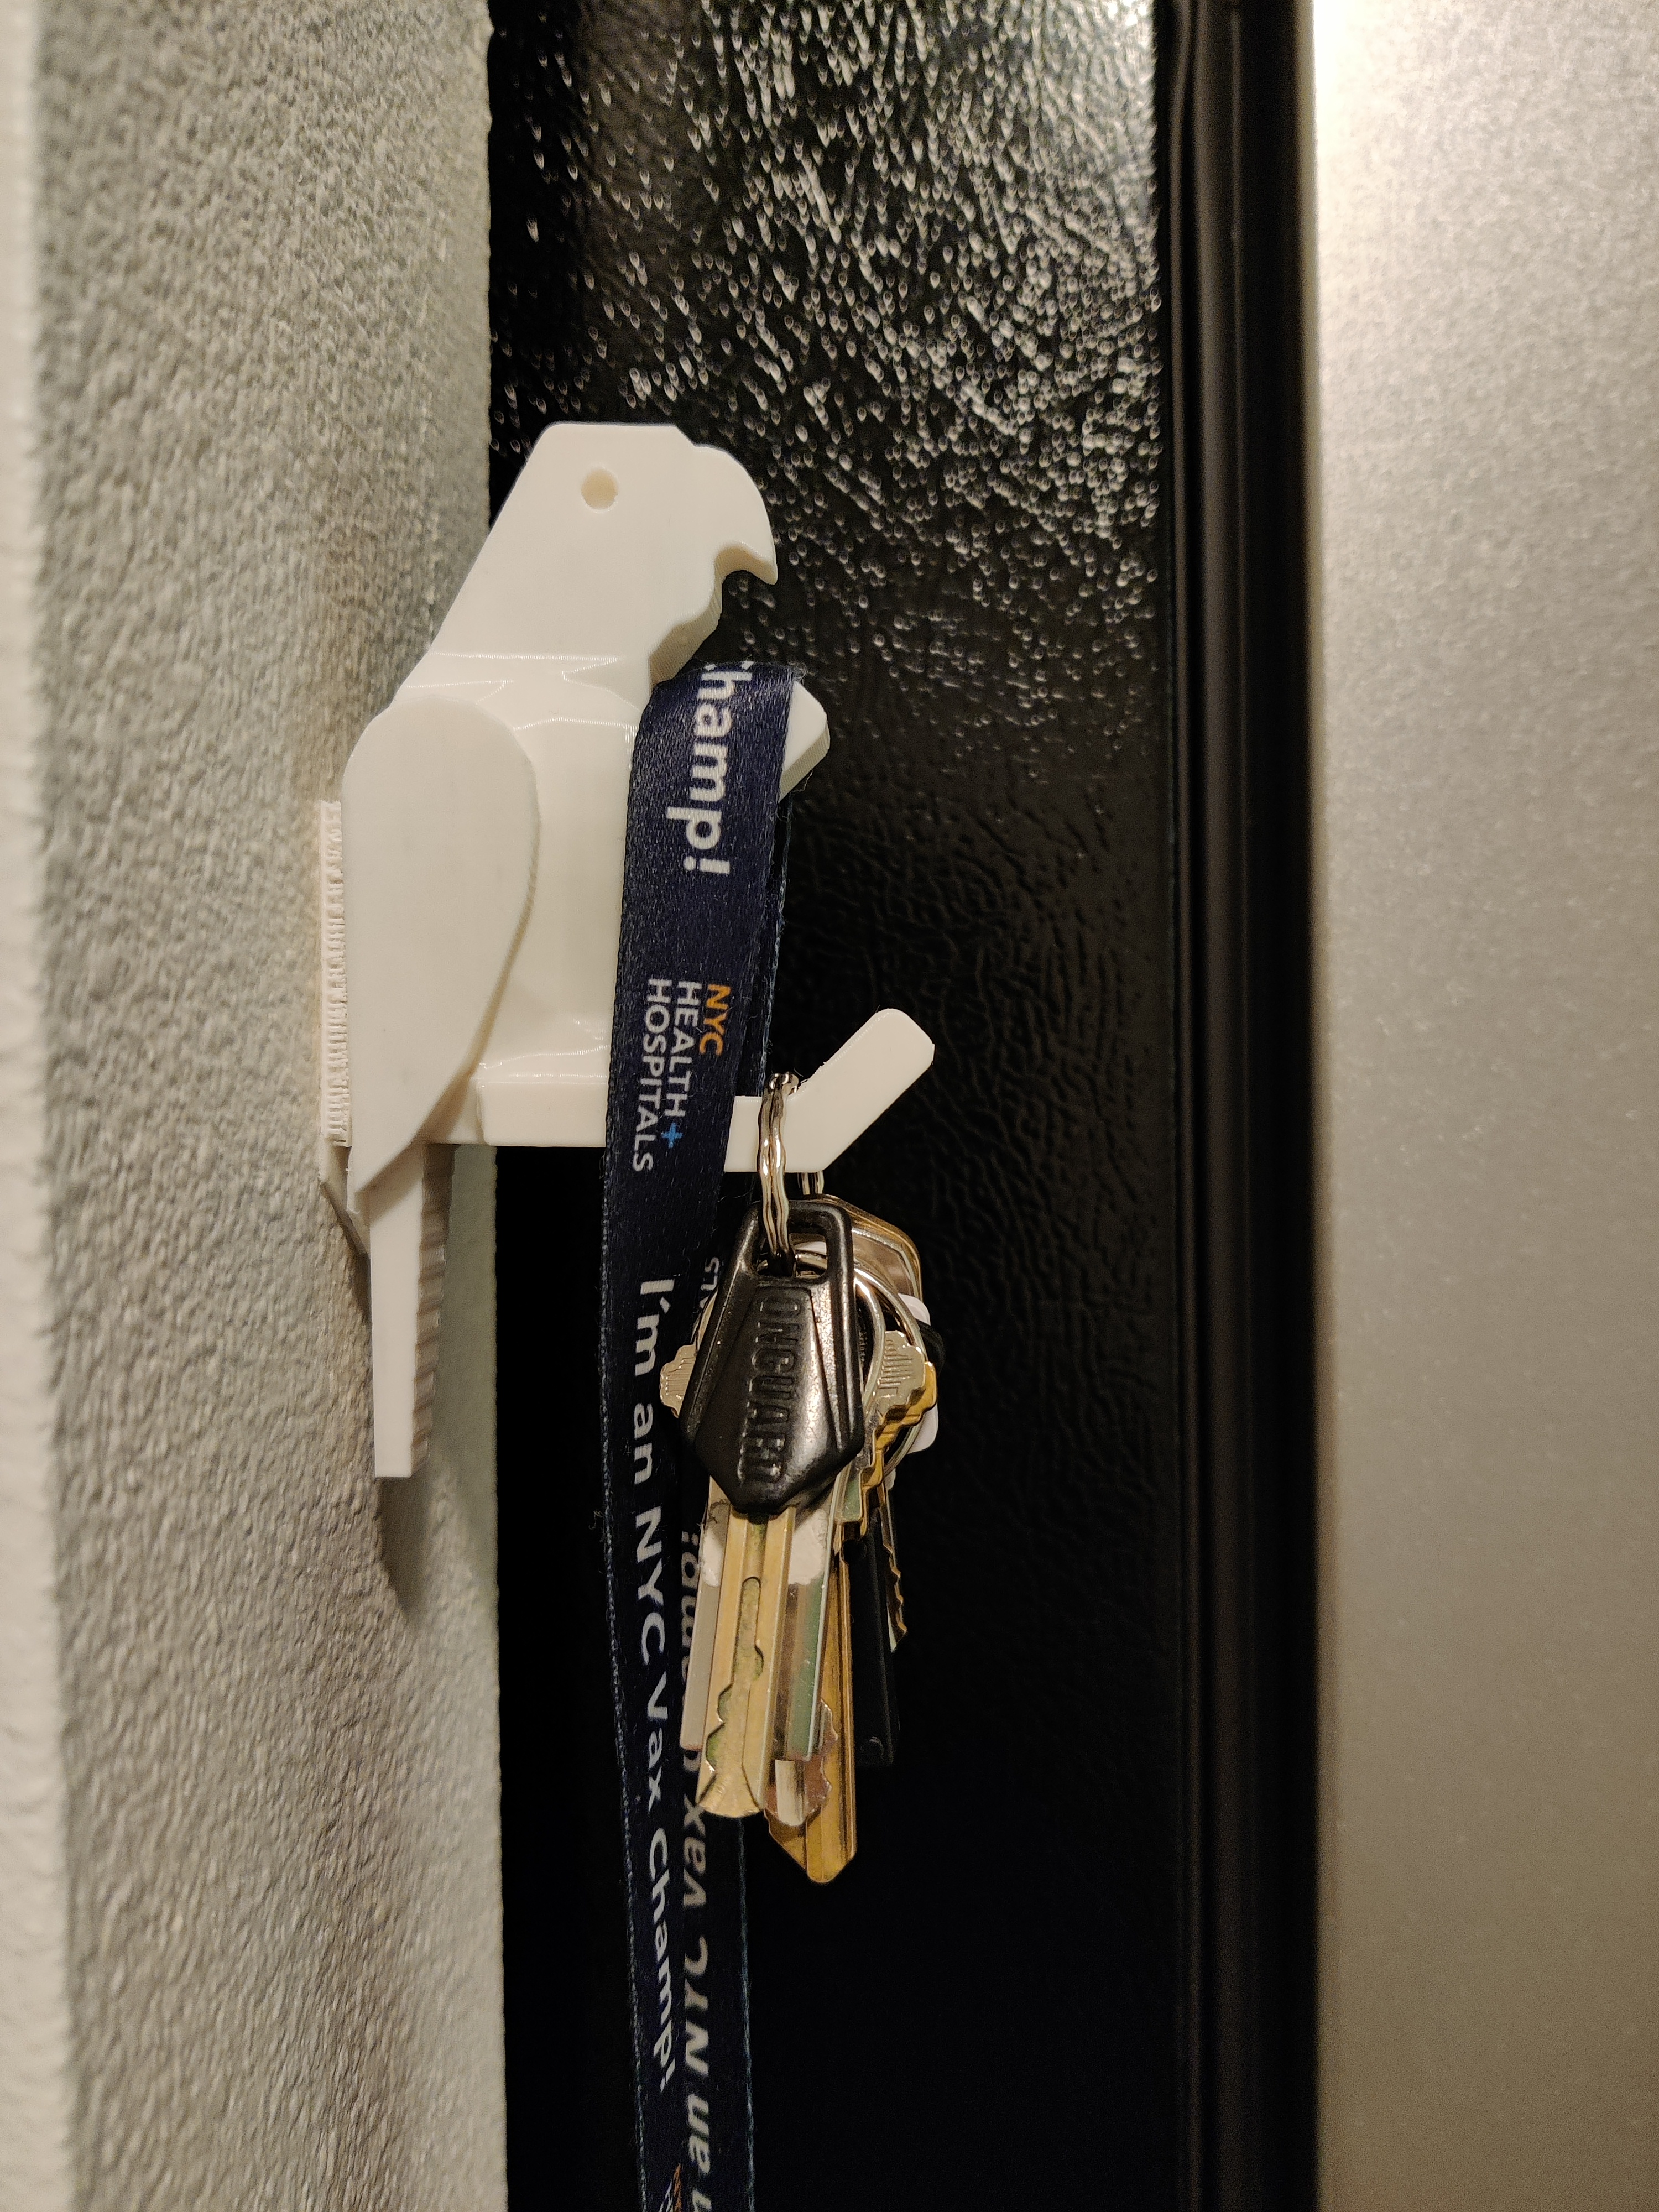
After seeing that it worked, I wanted to print a white version since I thought that would look better in general and it would fit my apartment more.
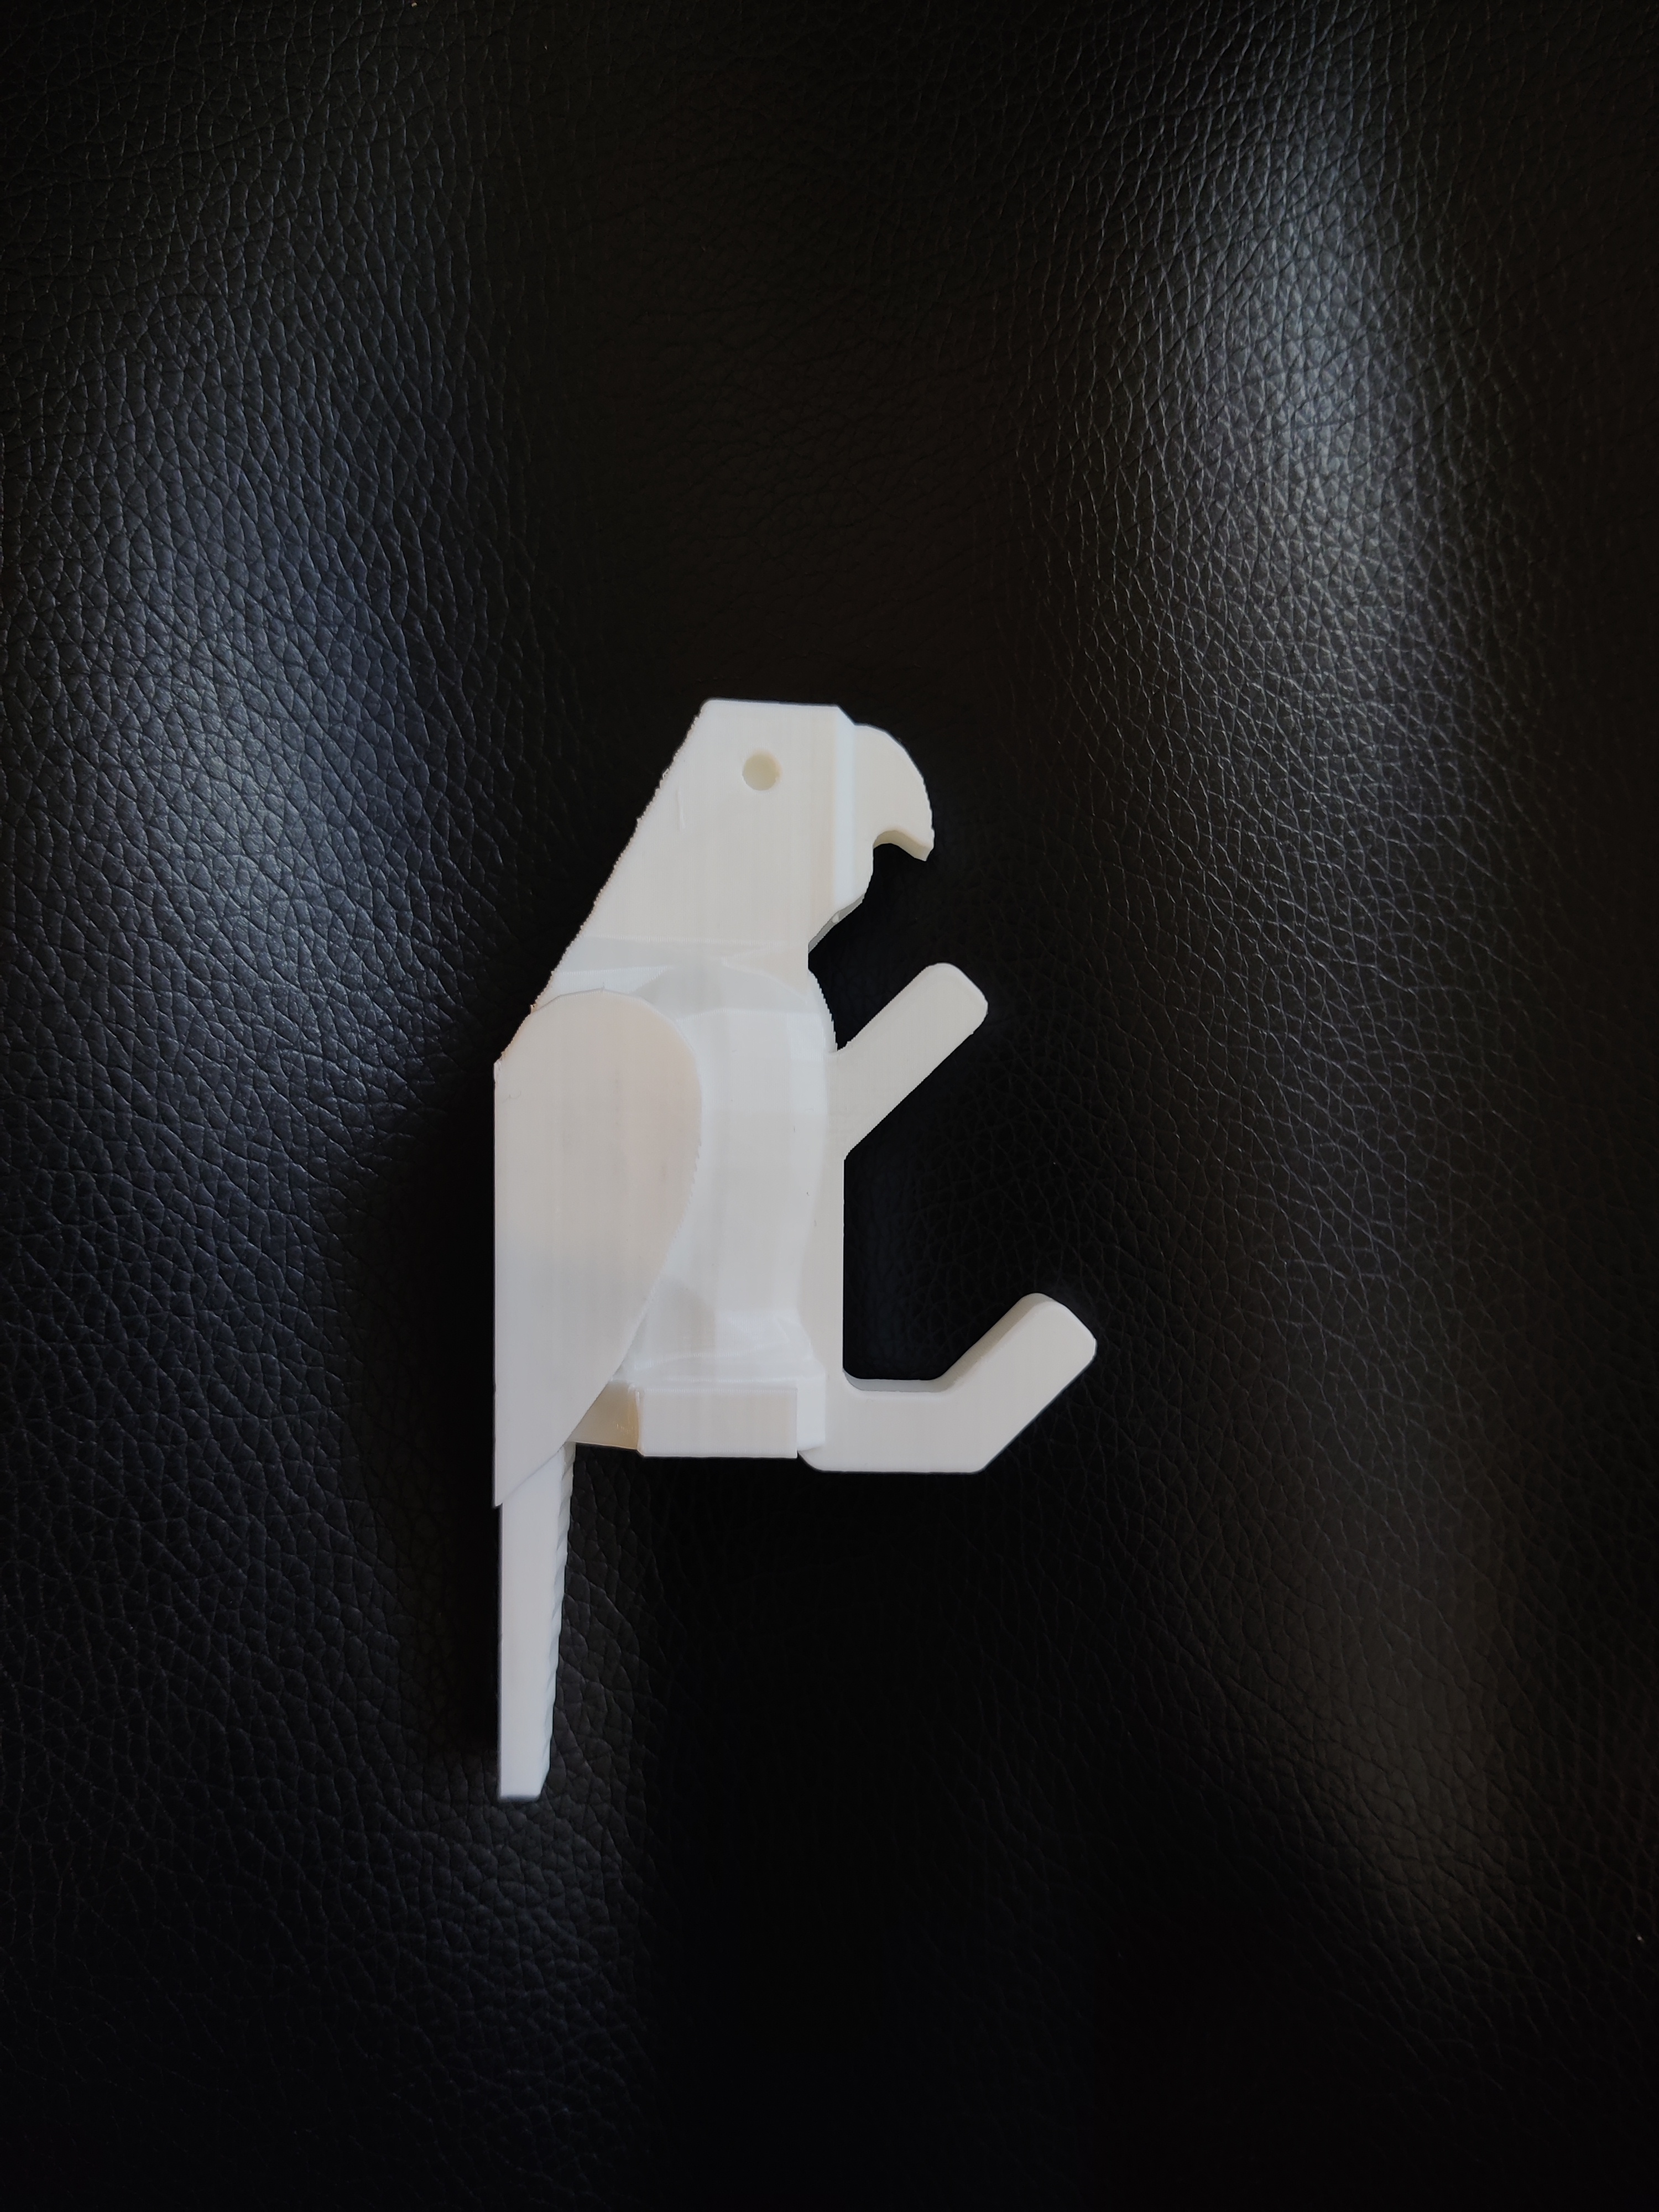
I stuck a command strip on the back of him and hung him up!
Lamp p.1
I didn’t get to printing or making anything directly for my lamp this week, but I did sketch out a plan and practice making the types of shapes and objects in Rhino that I want to print.
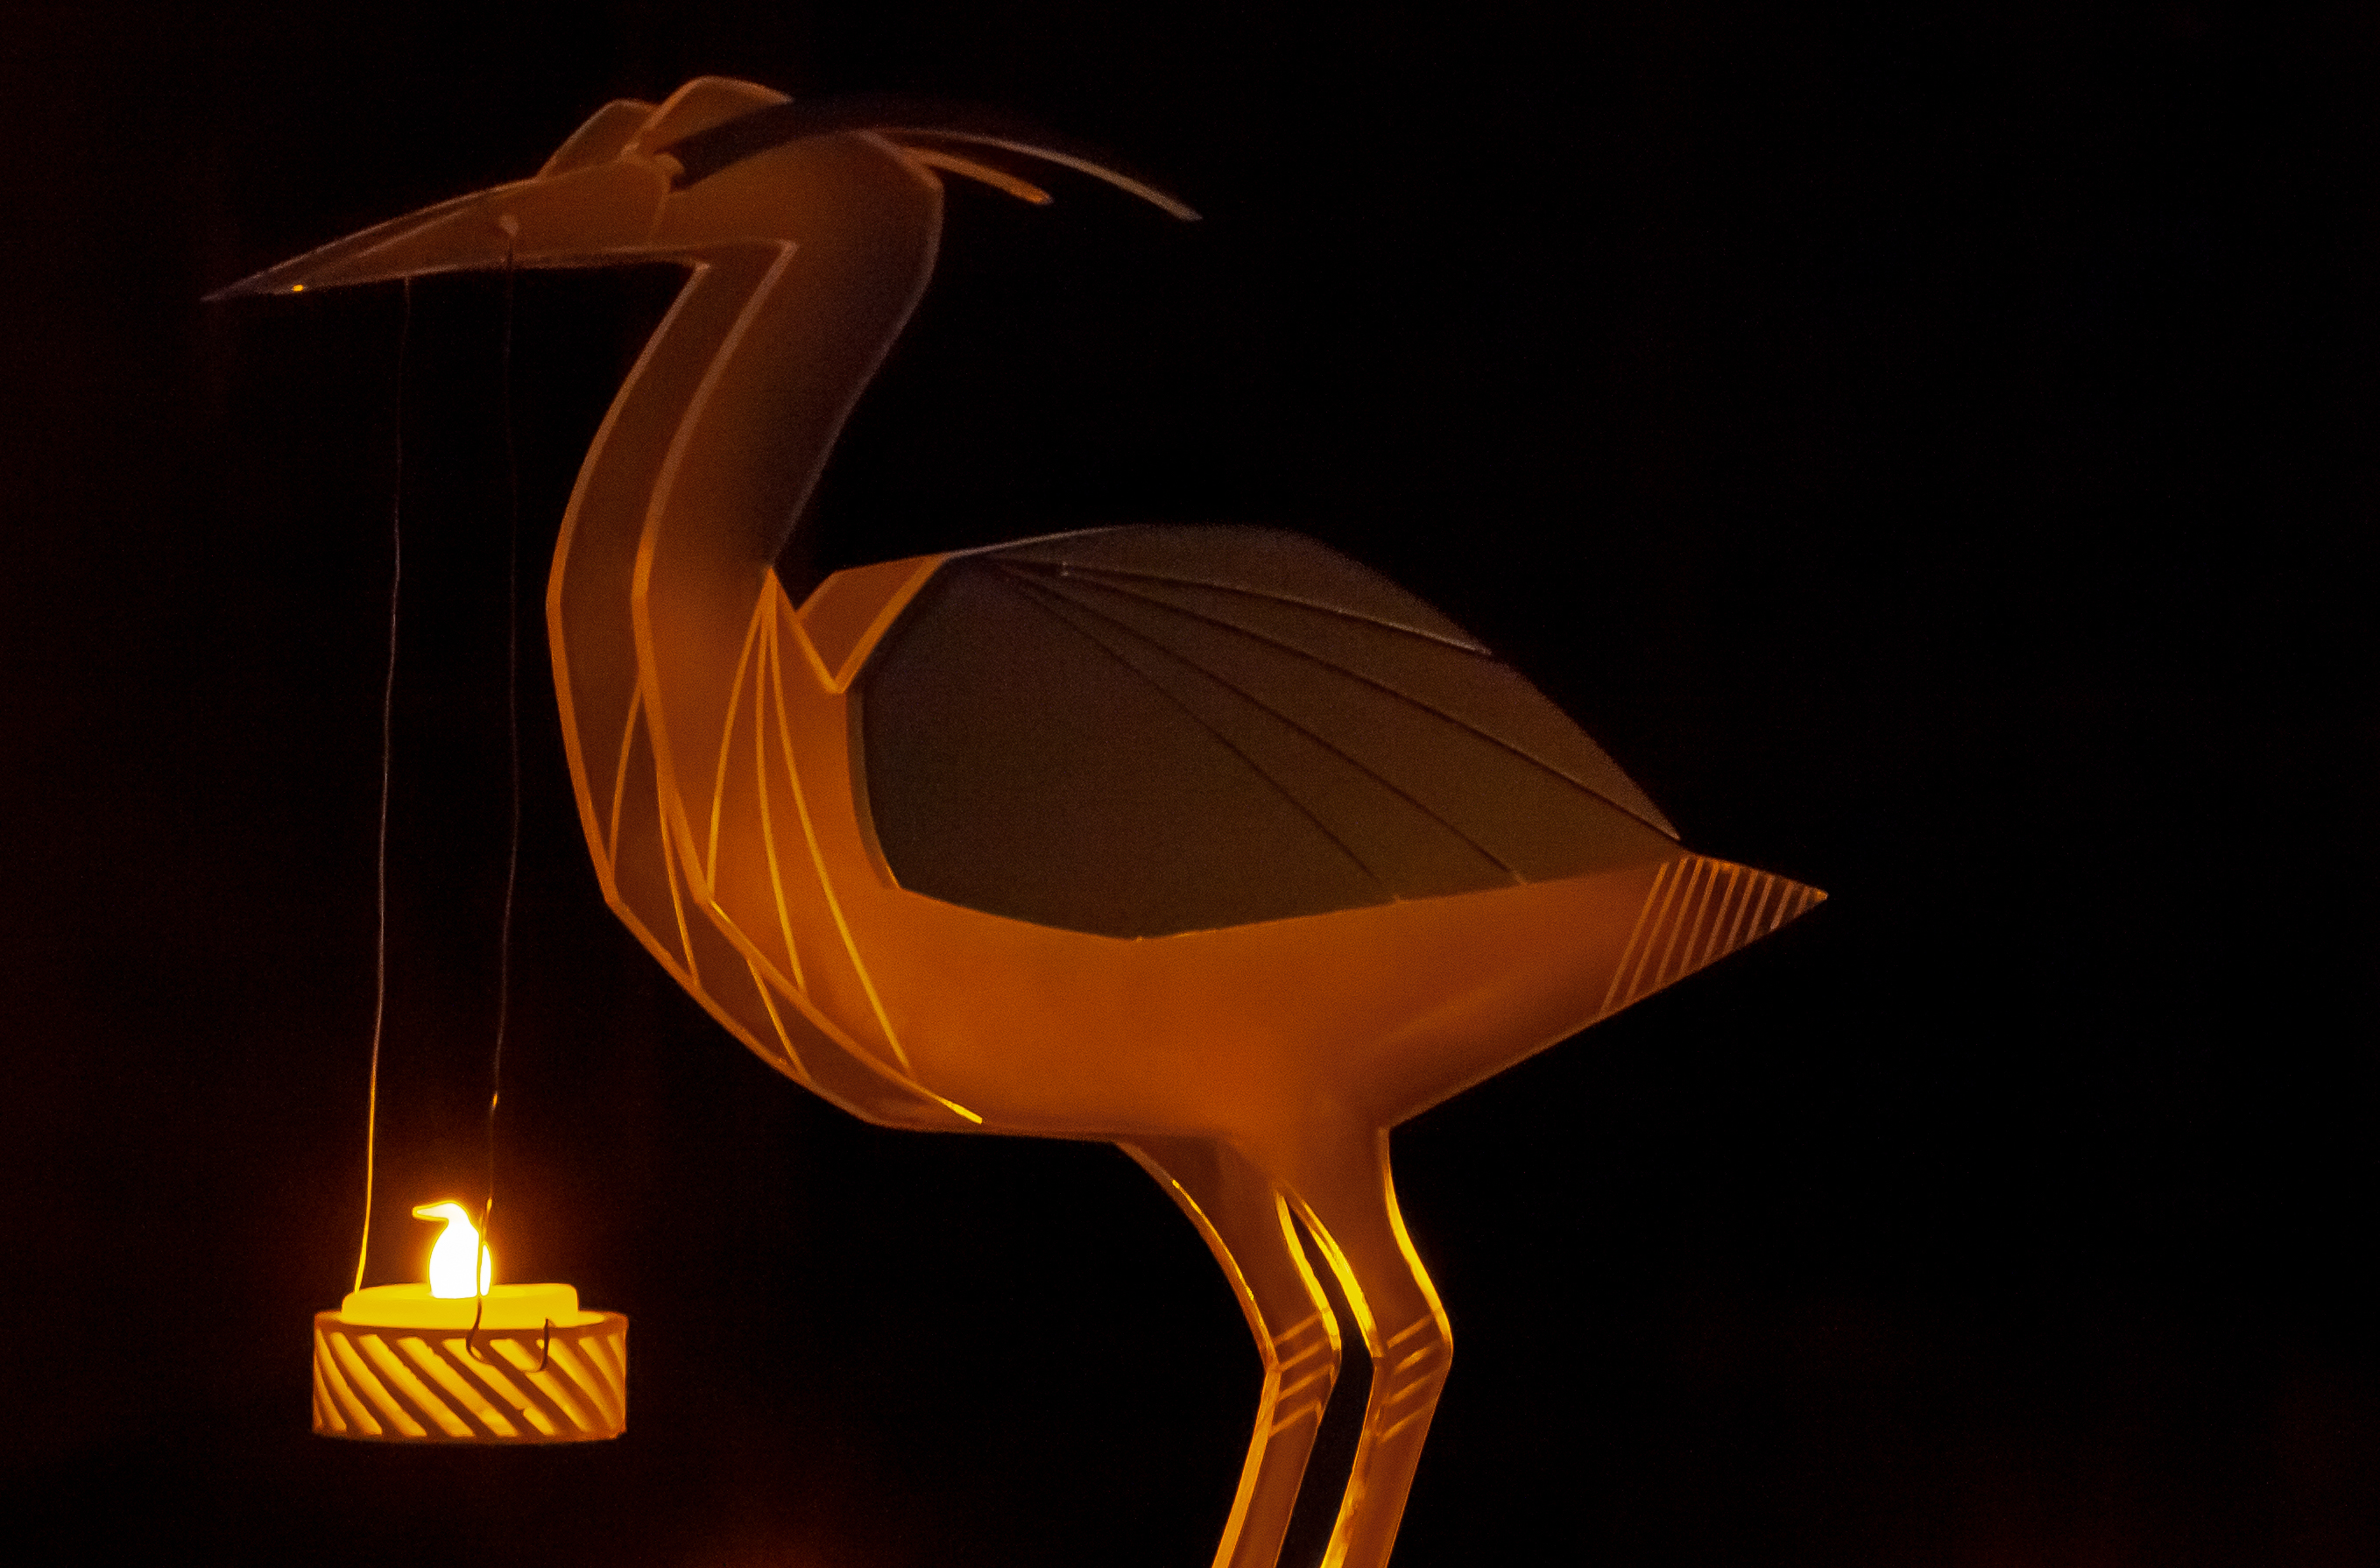
There are a few artists that I follow that have made lamps using organic things and shapes such as twigs and leaves. I wanted to do something similar, incorporating something perhaps from nature. I was browsing through pictures of other 3d printed lamp structures and thought that some of them looked sort of bone-like, which I thought was cool.
Eventually, my idea arose, a fish skeleton lamp! My vision is for the bones and housing to be 3d printed (in pieces, then glued together), and potentially wrapped in a thin paper (like rice paper) so that the light will shine through them.
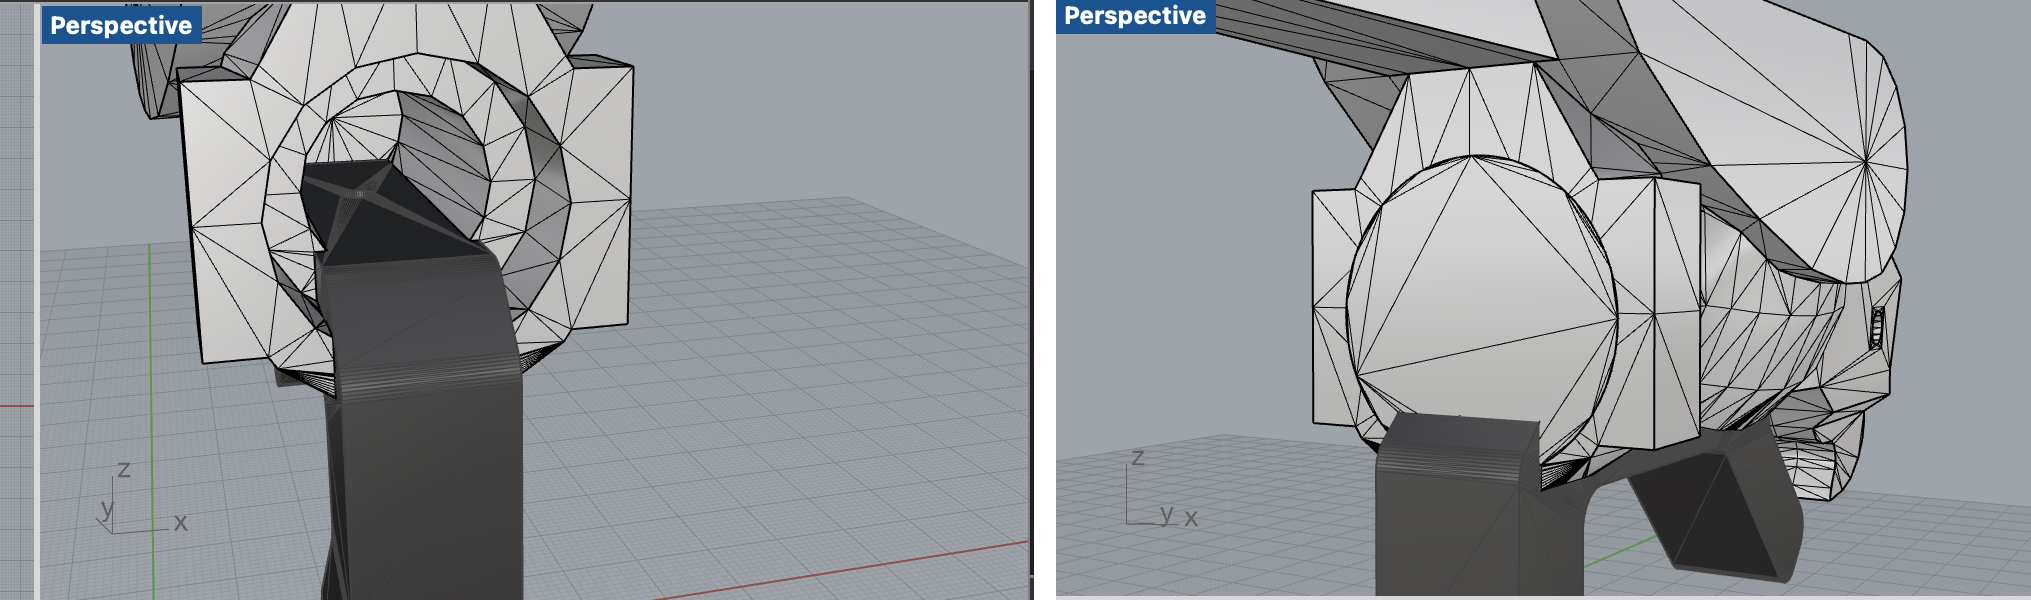
Looking at the lamp innards, the bulb housing has two holes at the top that look like they could be used to attach the lamp shade. If I made ring with two prongs to stick inside those holes, that might be able to hold and stablize the structure.
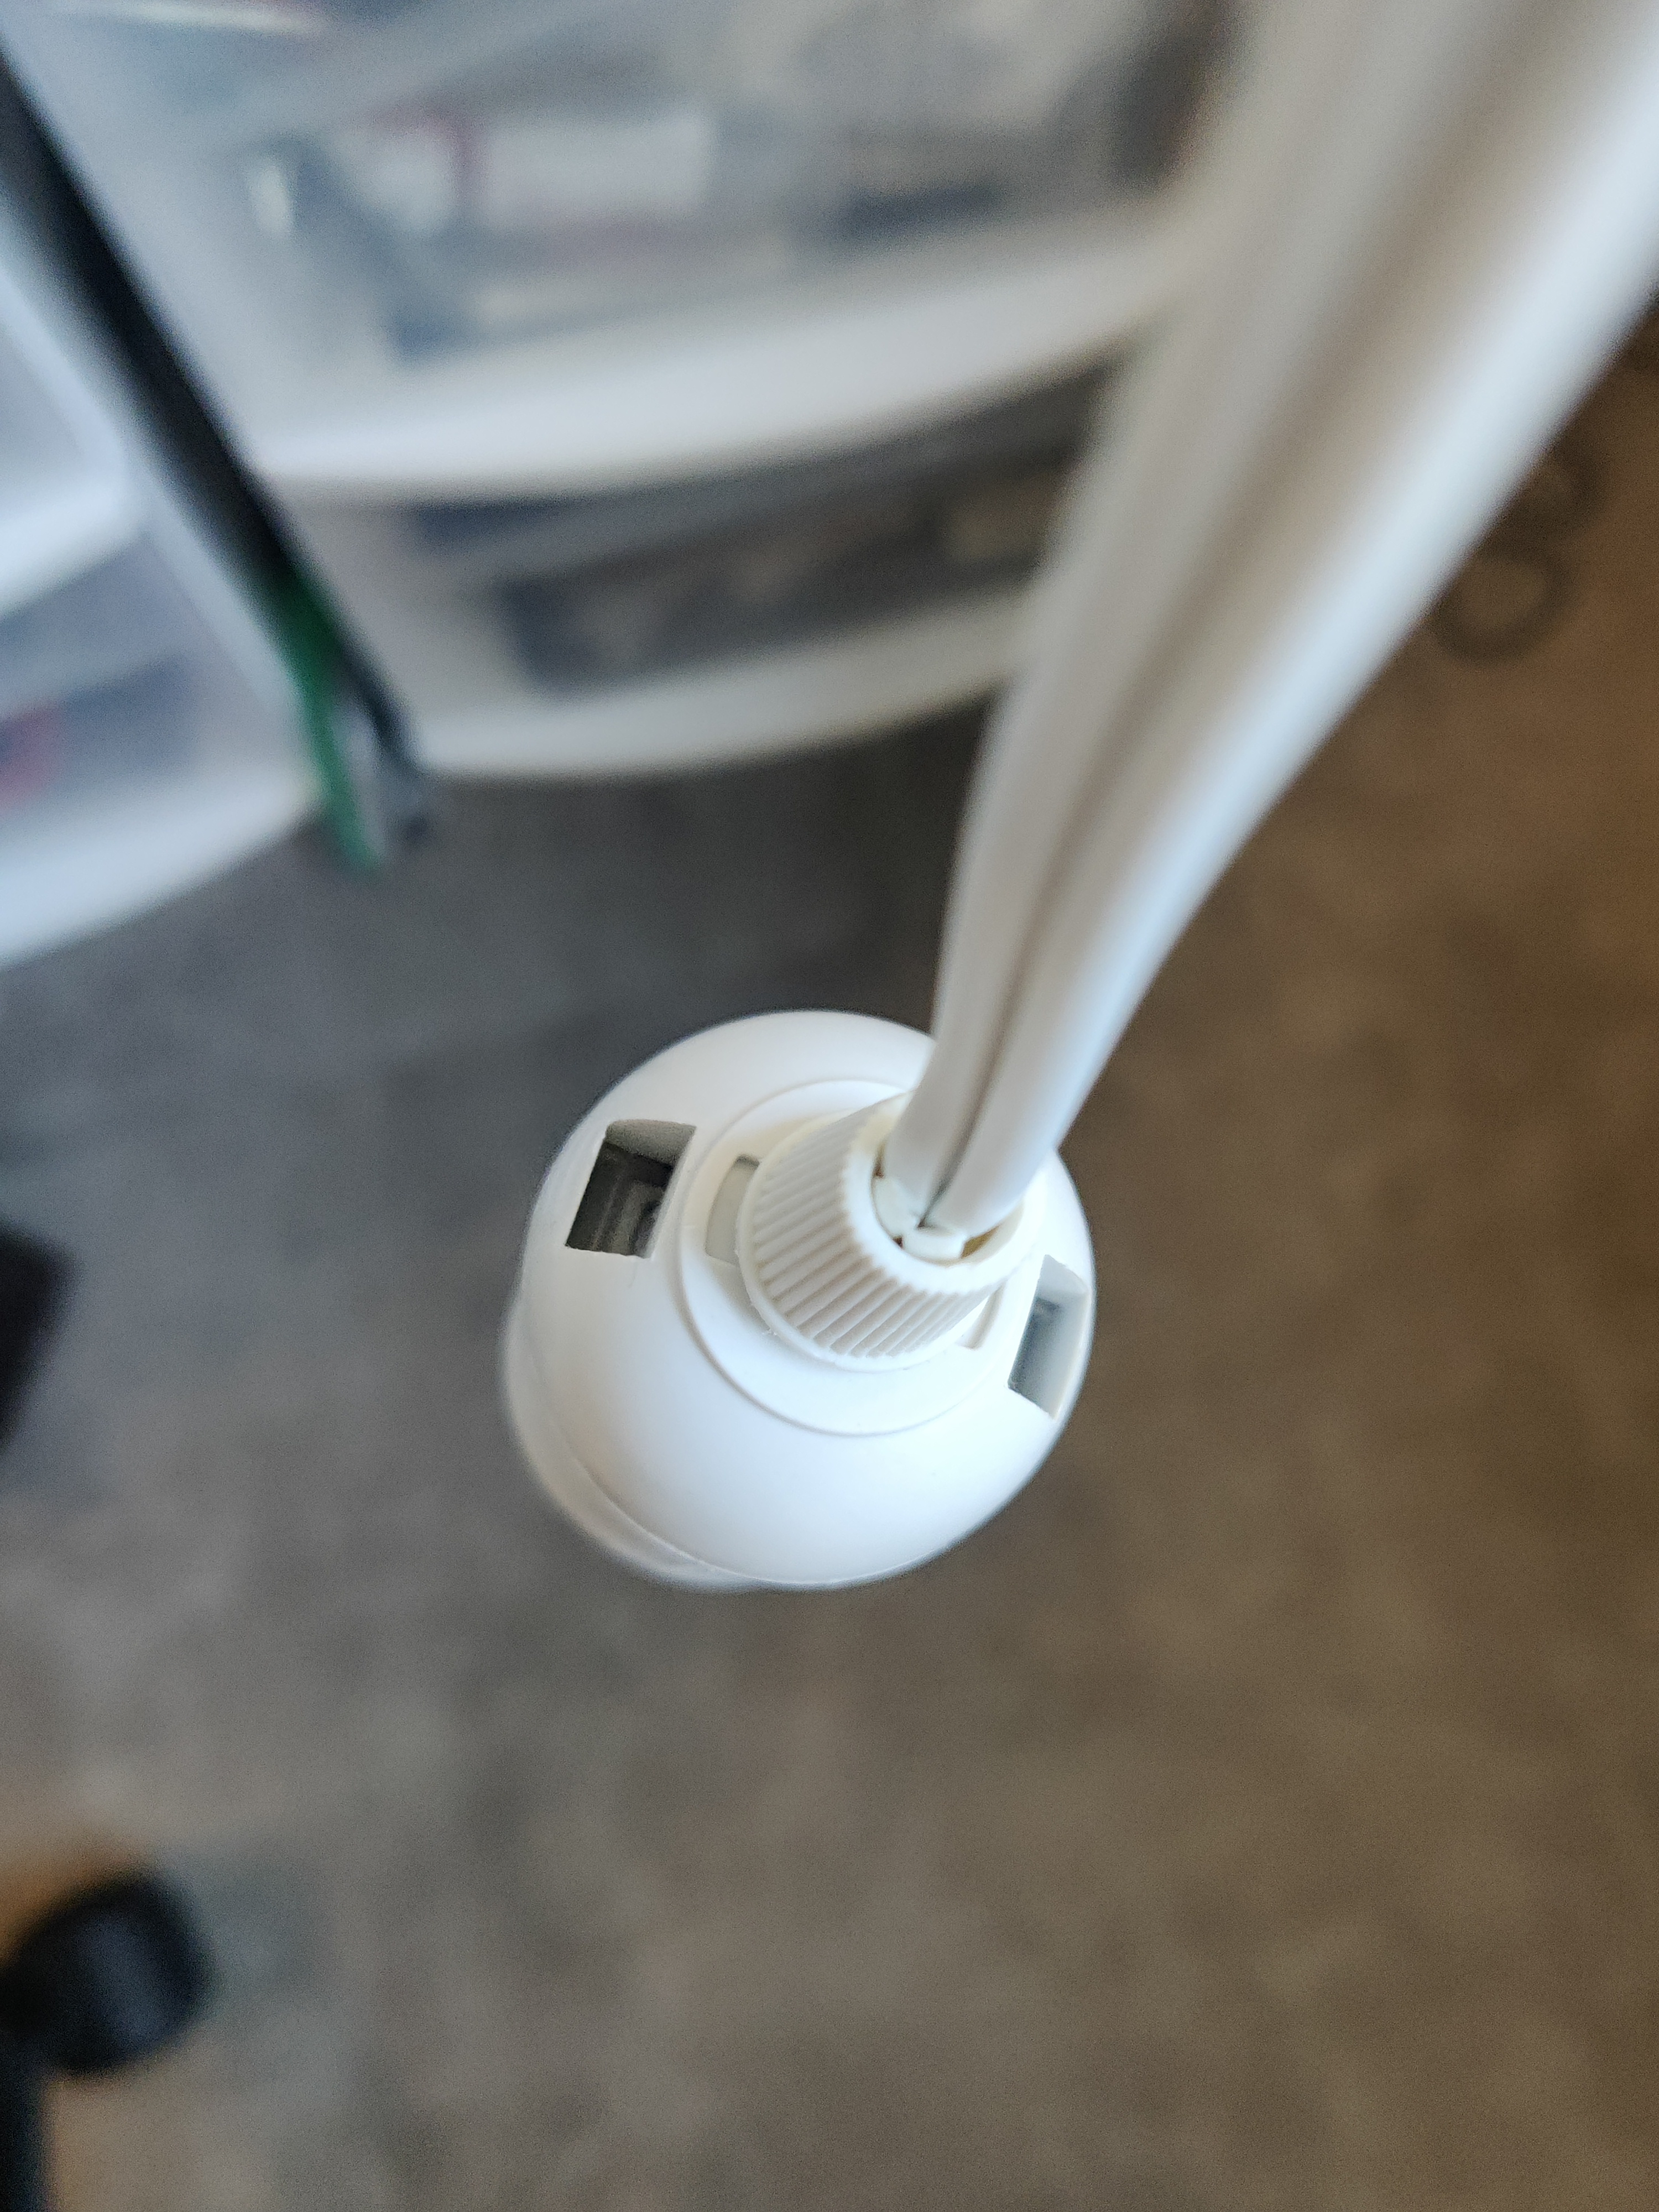 Holes in bulb housing
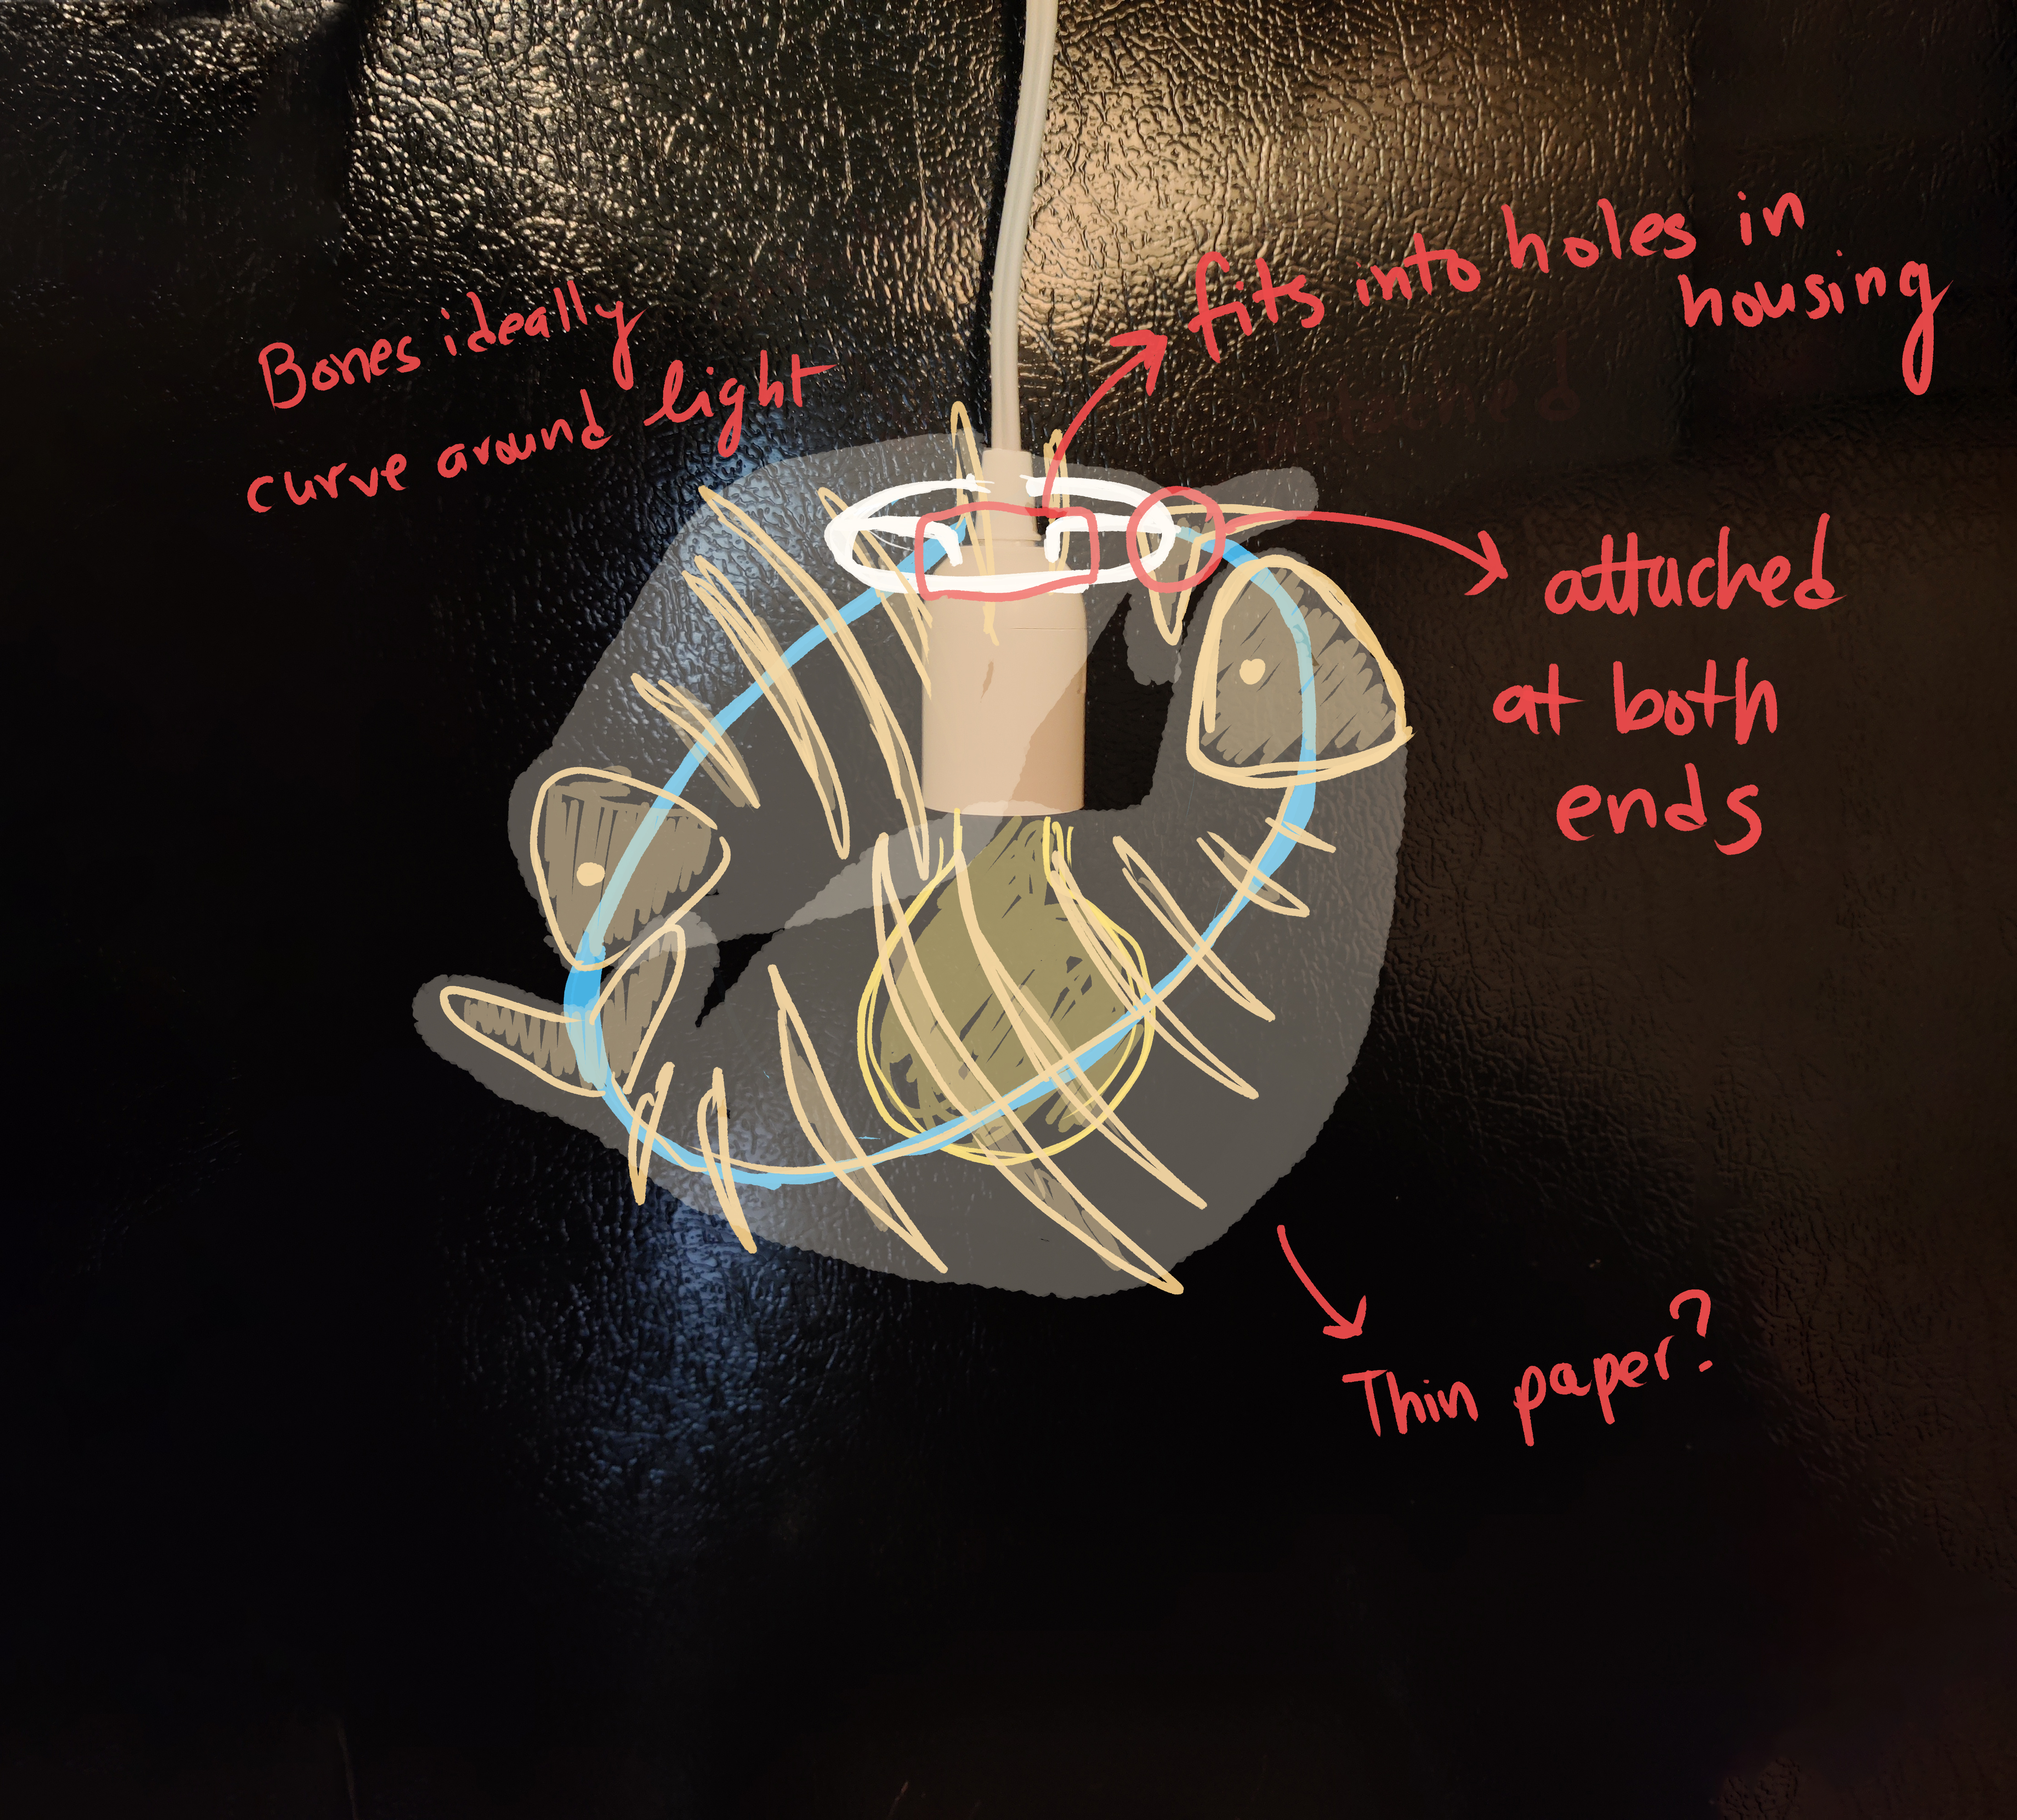 Lamp plan sketch
I have the option of making the bones more minimalistic or more realistic in terms of texture. If I went more realistic, I would have to learn how to make the organic little bumps and divets of a bone to give it a more organic look. I searched for some tutorials on how to make organic shapes in Rhino and came across some good ones. This is one of the best that I found.
I wanted to try my hand at make some organic objects, so I played around with a few techniques and printed some of my test models. I learned about:
- Making surfaces from curve networks
- Making surfaces from planar curves
- Blending surfaces (BlendSrf)
- DupMeshHoleBoundary (using it to close an open mesh)
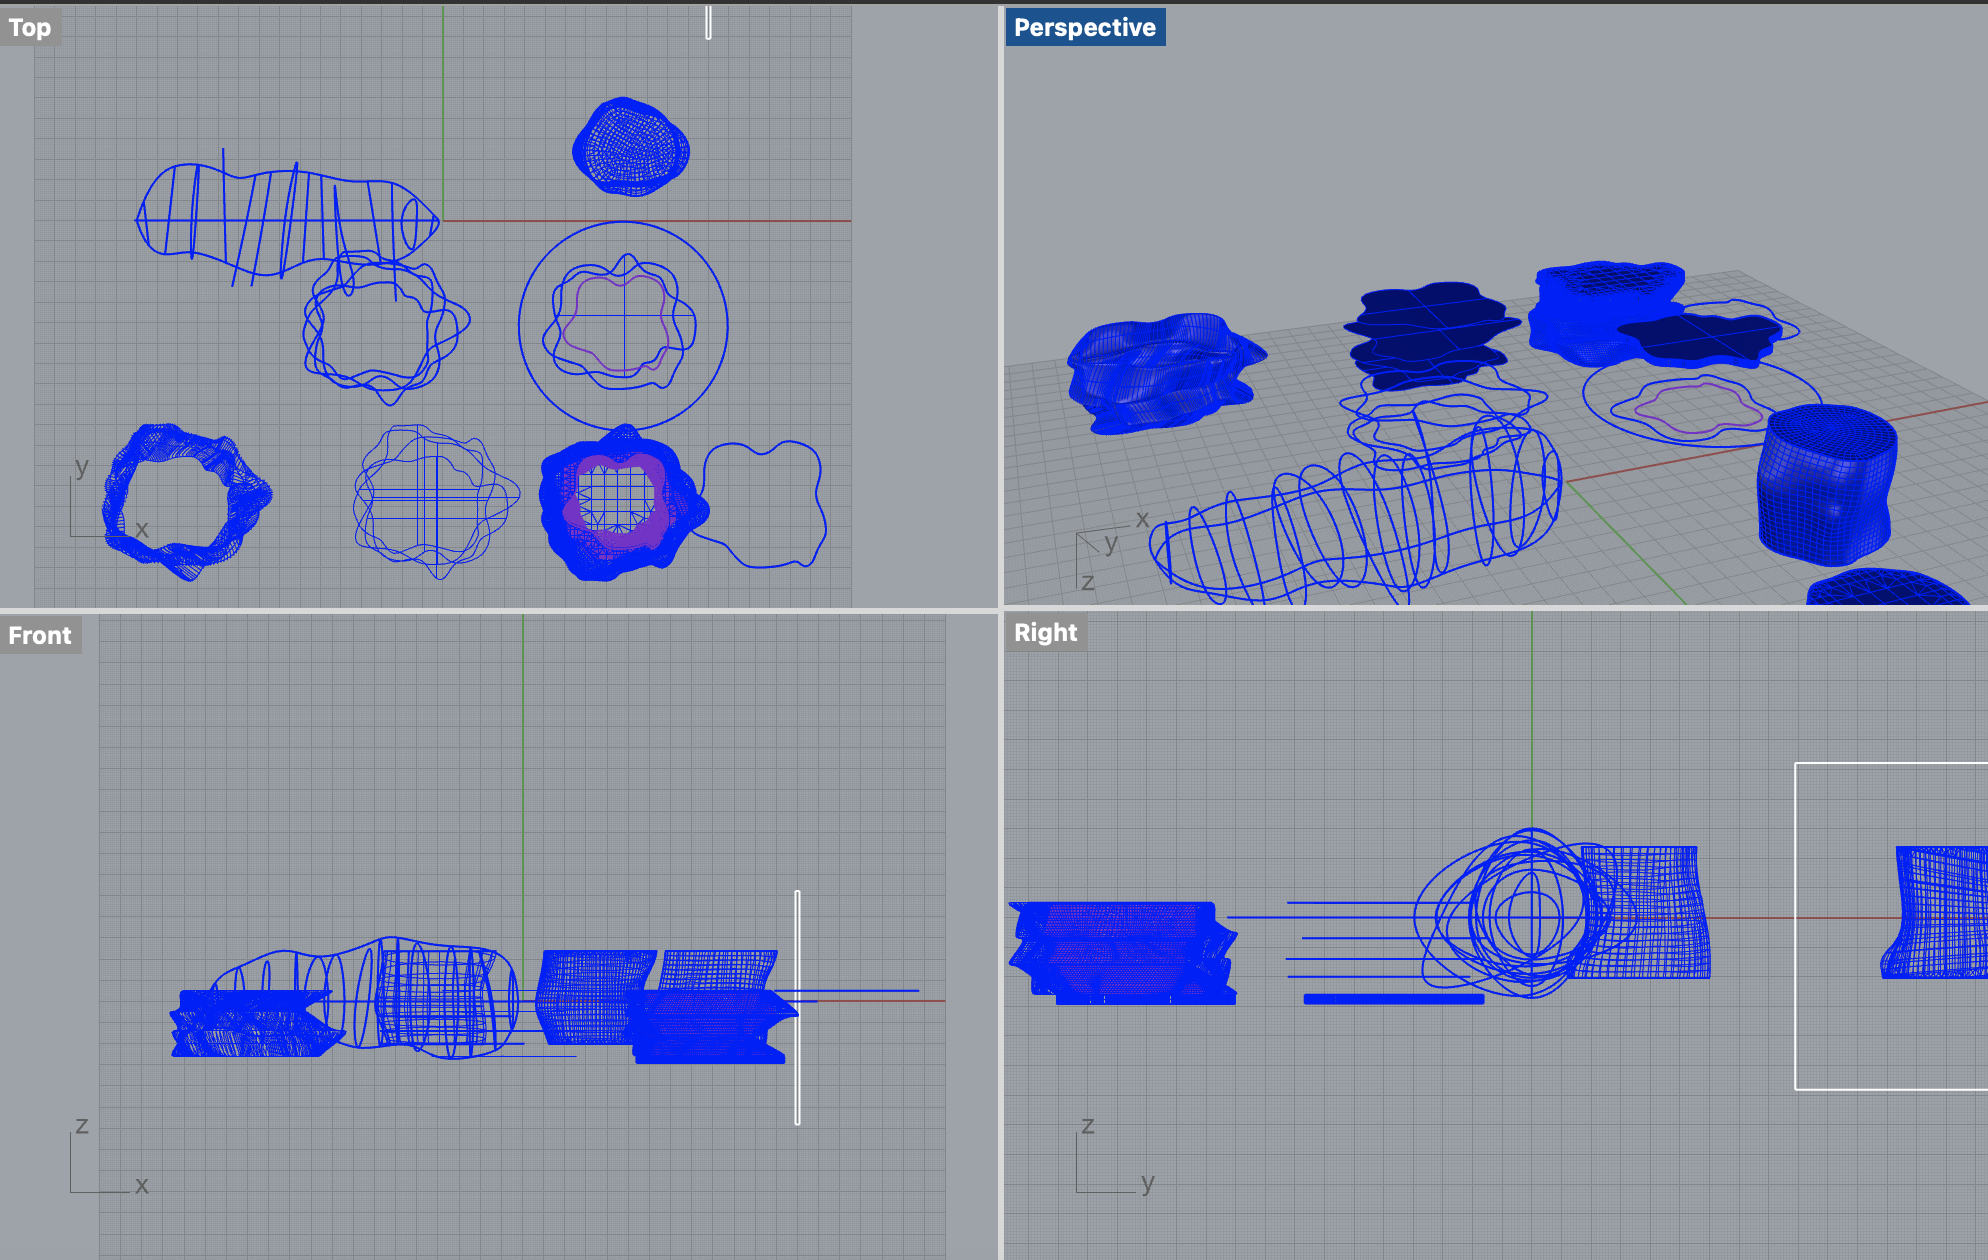
I eventually made this blobby pedestal-like thing that I thought might be actually useful for displaying figurines and trinkets. Because I was just experiementing and playing around, I didn’t organize my work or document things very well, but here is a glimpse of my chaotic sandbox file
First, I tried printing a mini version of the pedestal and then a larger one.
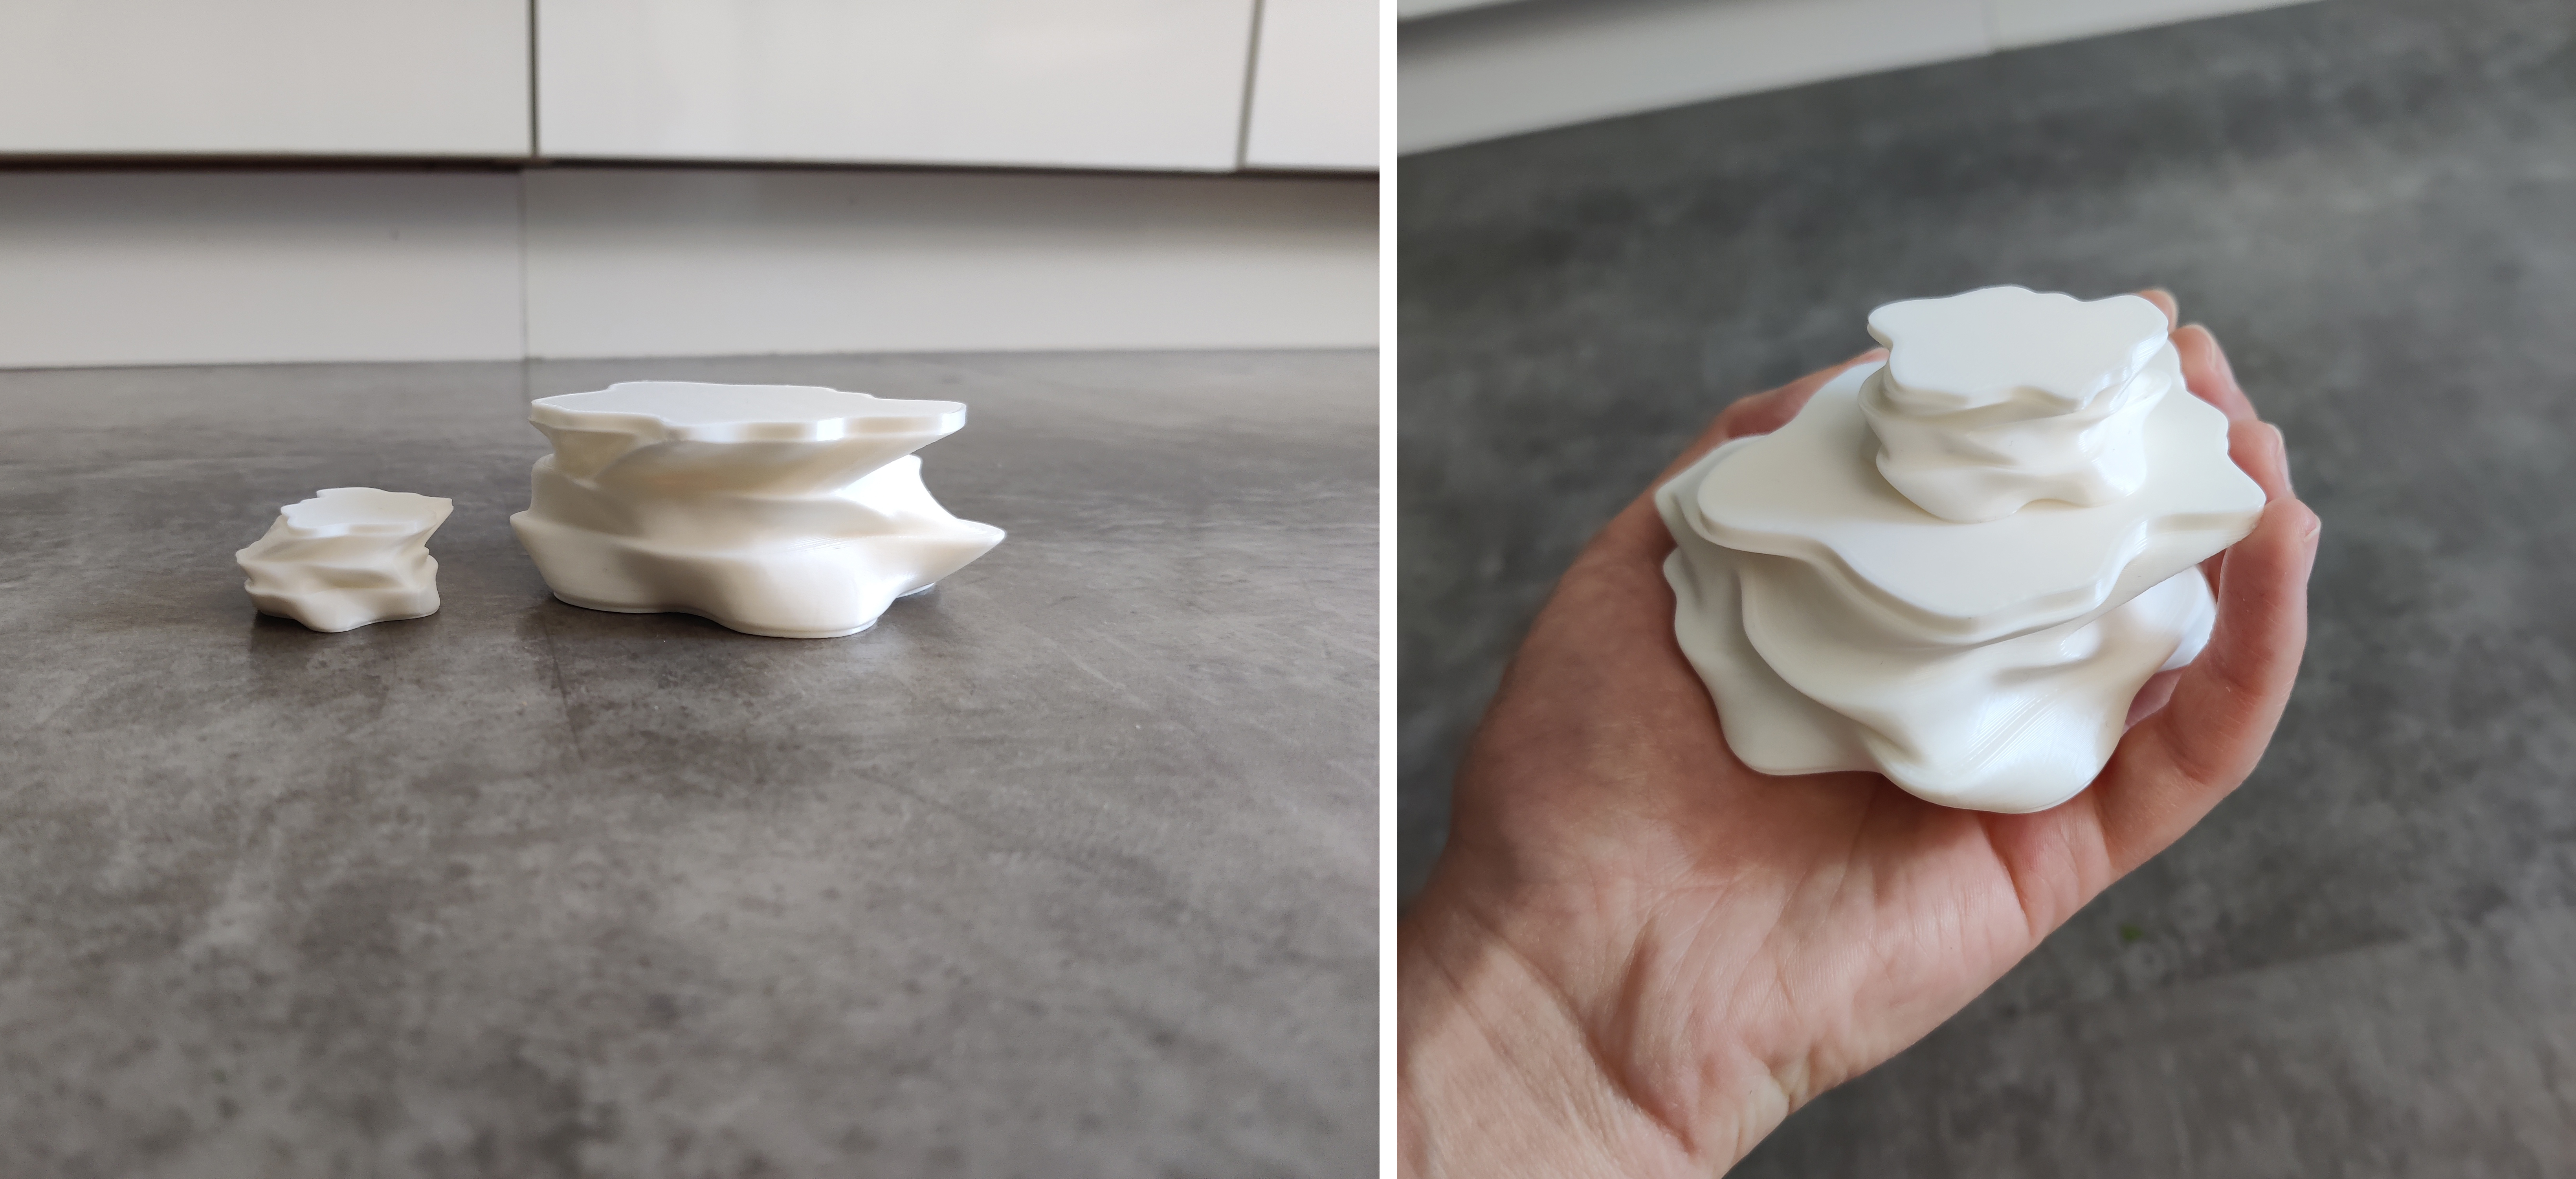 Both pedestals
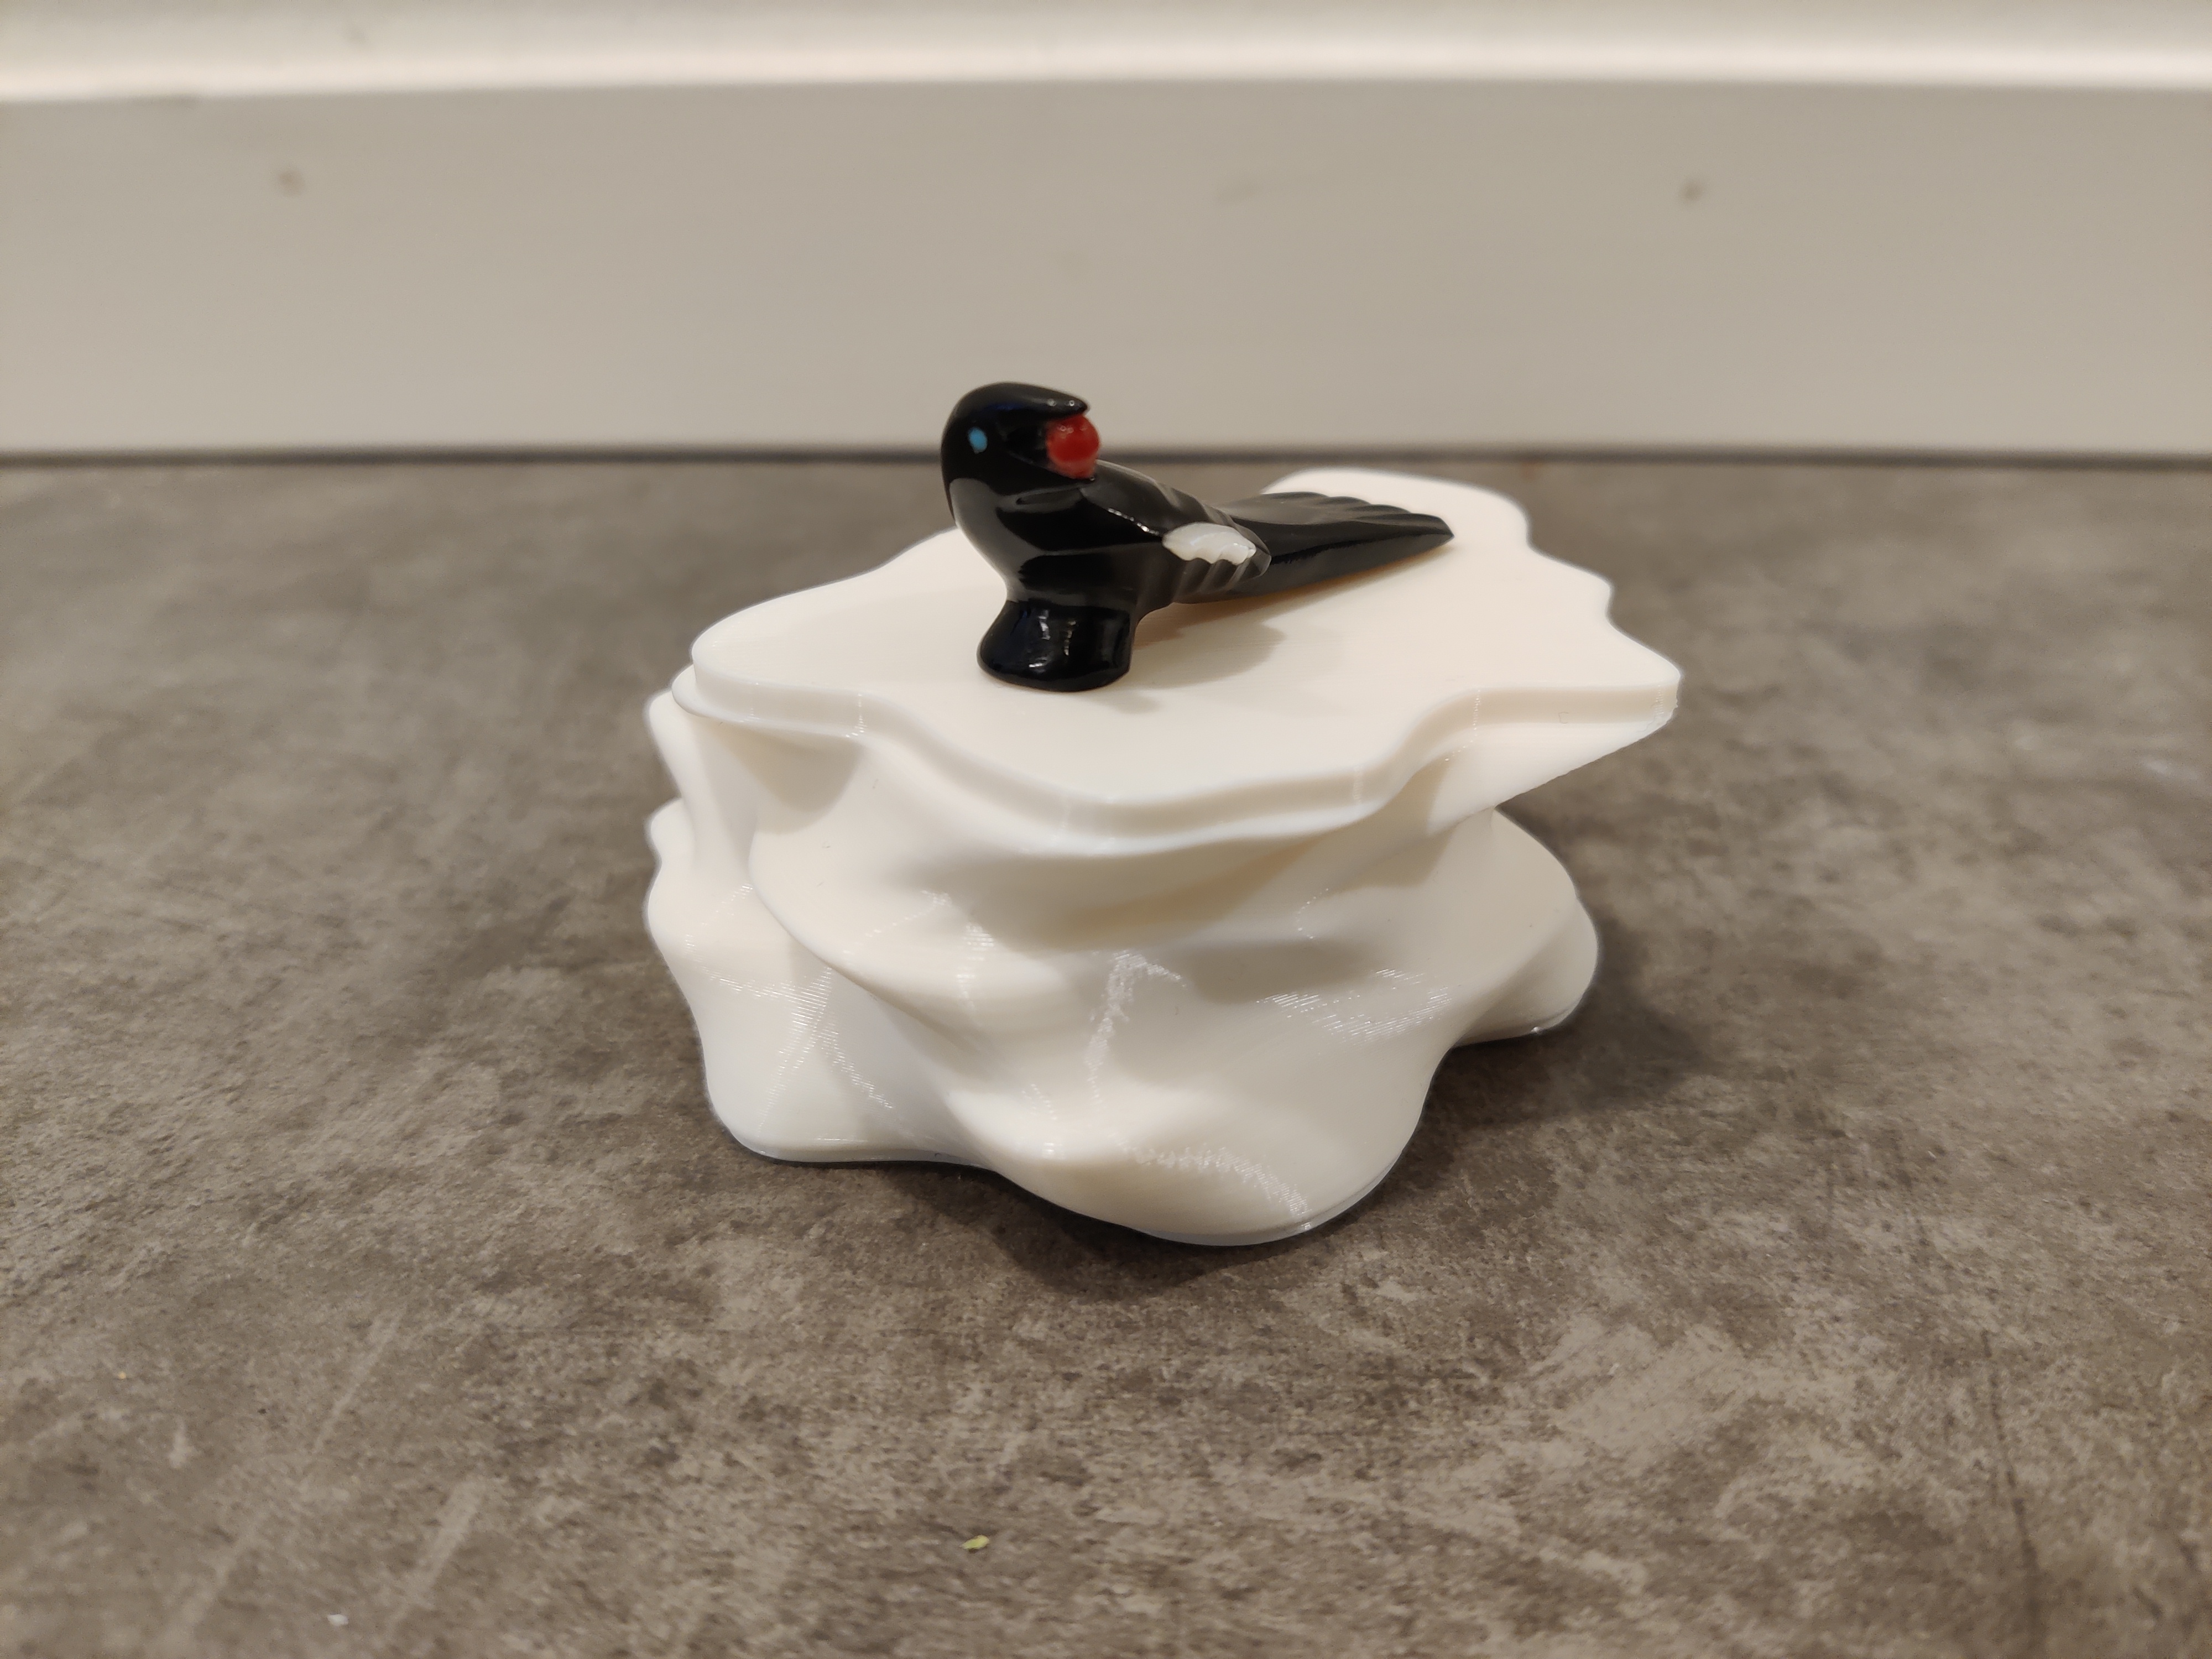 Large pedestal with figurine
Npw that I’m more confident making organic solids, I can build my sketleton next week!