Assignment 5.5
Written on November 13th, 2022 by Petrina Chan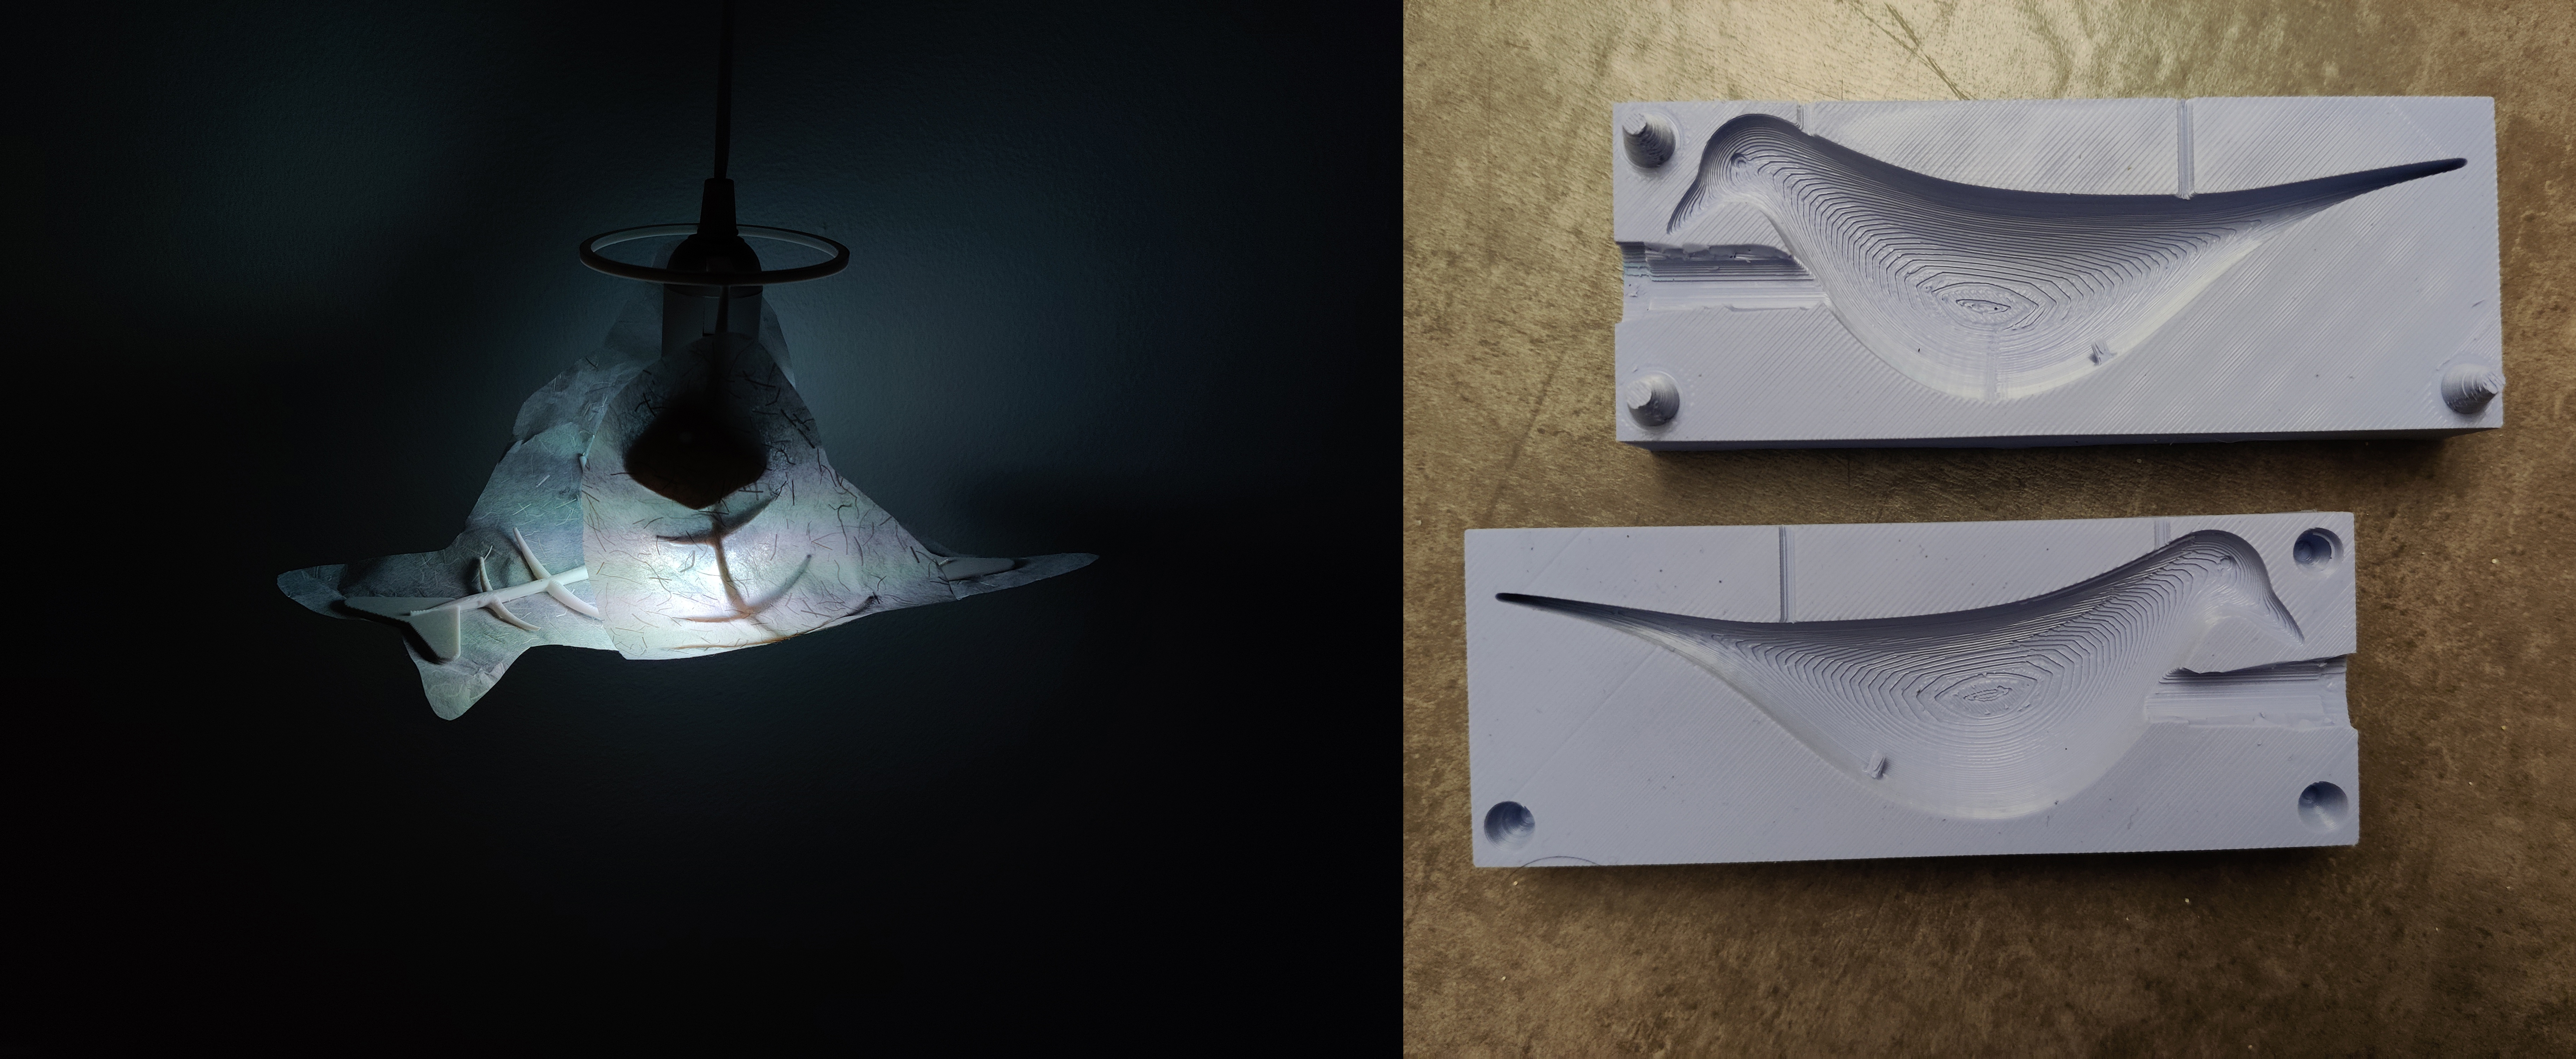
Assignment 5.5 - Lamps p.2 Molding & Casting p.1
Files
Lamp p.2
Continuing where I left off last time, it was time for me to start modeling and the parts for my lamp. The first thing that I needed to make was the ring I was going to use to attach my main lamp shade parts to the existing bulb housing.
As a reminder, I wanted to make a ring with prongs that fit into the holes on the top of the bulb housing.

First, I took measurements of the relevant parts (distance between holes, hole width, hole depth, desired ring diameter & radius). I sized down by .02mm for the hole measurements to account for tolerance noise.
Next, I made my pronged ring in Rhino. Here are the steps I took to make the object:
Make rectangles for the inserted end of the prongs using hole dimensions
- Extrude up
- Create arms of the prong using the same dimensions but rotated 90 deg
- Line up arms and inserts
- BooleanUnion
- Make circle curve for ring
- Offset
- Extrude
- Move and place around arms
- Trim excess arms sticking outside of ring
- BooleanUnion entire shape

This was relatively simple! I printed the ring, and it fit right into the holes exactly how I planned. It was a smooth and snug fit while coming in and out with ease. (Forgot to take a photo of this!)
Next was the challenge of making the fish bones. I ended up deviating a little from the original plan because of impatience, a mistake or two, and lack of time. Instead of having two fish in opposite directions, I printed two of the same fish in the same direction. It still turned out nice!
The fish are made up of 4 types of parts: a head, tail, spine, and ribs. The head and tail seemed like the easiest to make shapes, so I saved those for last.
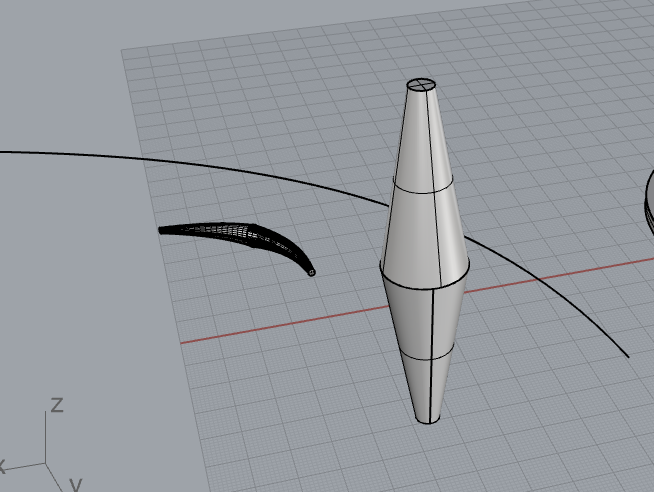
The first thing I made was the spine. I wanted some organic “bone-like” variation and nuances in these, so I didn’t just make a smooth tube. Steps for making the spine:
- Draw curve that I wanted the spine to follow
- Draw randomly shaped closed curves in general desired thickness, tapering toward the ends
- Loft (make sure there are no twisted parts — some trials and error required here)
There aren’t many steps, but it took me a while to get everything aligned and looking the way I wanted to. Most of it was tinkering around and trial and error, so I don’t have concrete steps to report on for these tweaks.
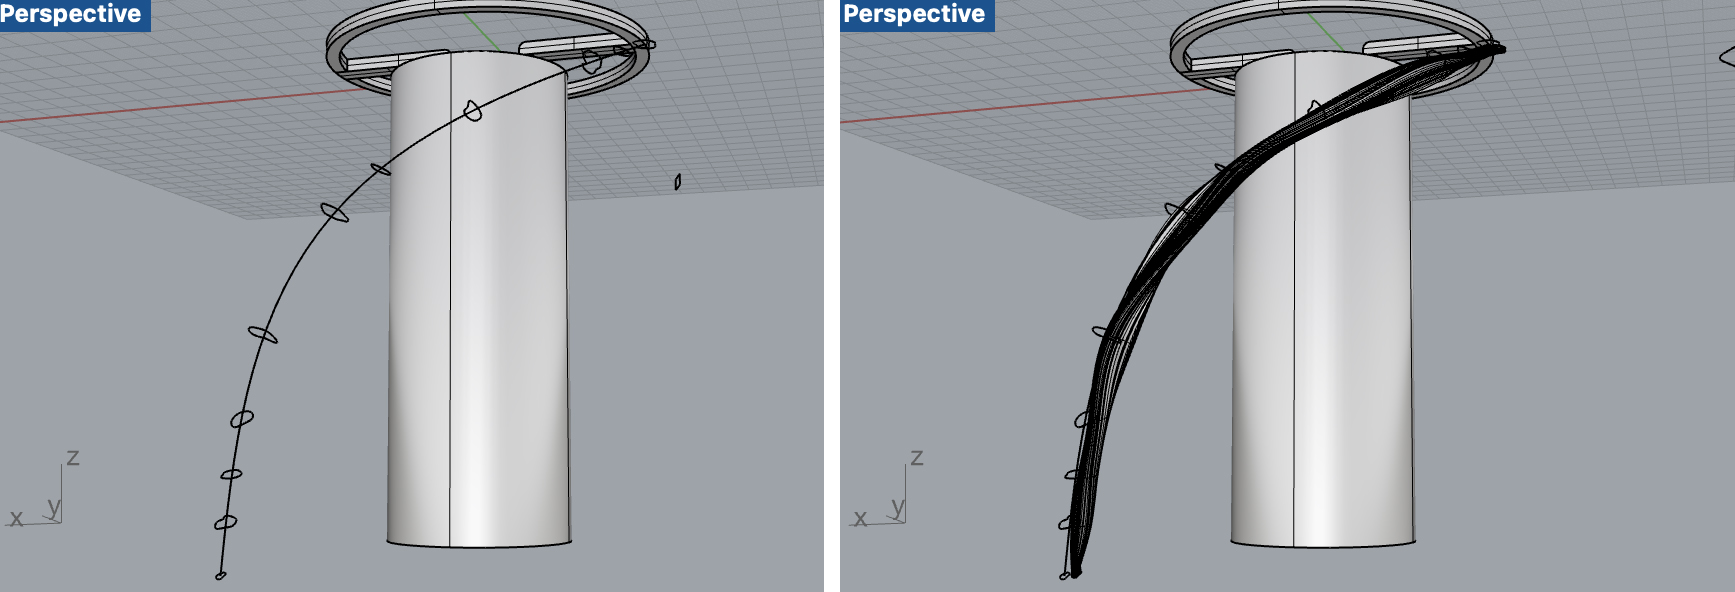 Before and after loft
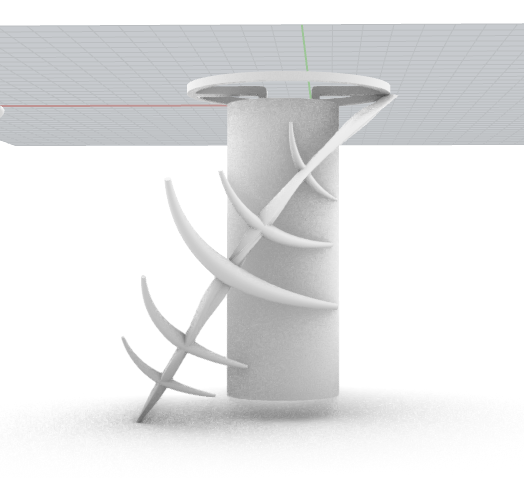
Next, I made the ribs:
- Stack two truncated cones with the large base touching
- BooleanUnion these cones
- Make a rib shaped curve
- Flow along curve (turn on stretch)
- Scale
- Copy & paste and scale for different sized ribs
- Move ribs in place, intersecting with the spine.
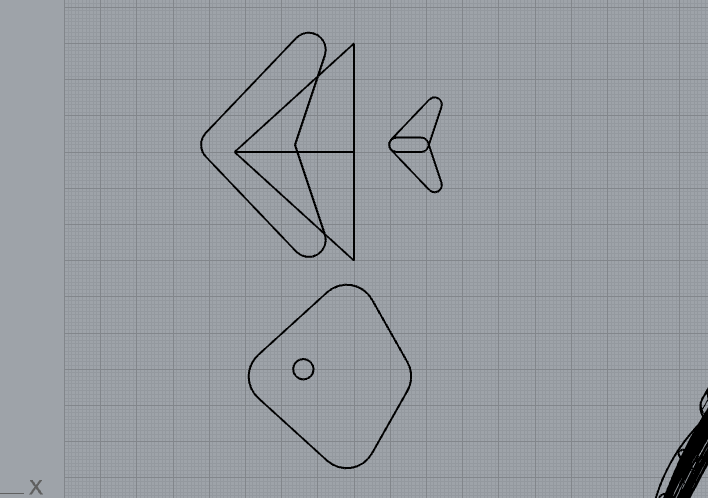
With the ribs in place, I could make my head and tail. These were relatively simple, made of BooleanUnioned rounded triangles that are extruded. I filleted the edges of the tail and one side of the head to give them a slightly smoother look. I forgot to take progress shots of the process, but here you can see a glimpse through the curve artifacts from making the tail.
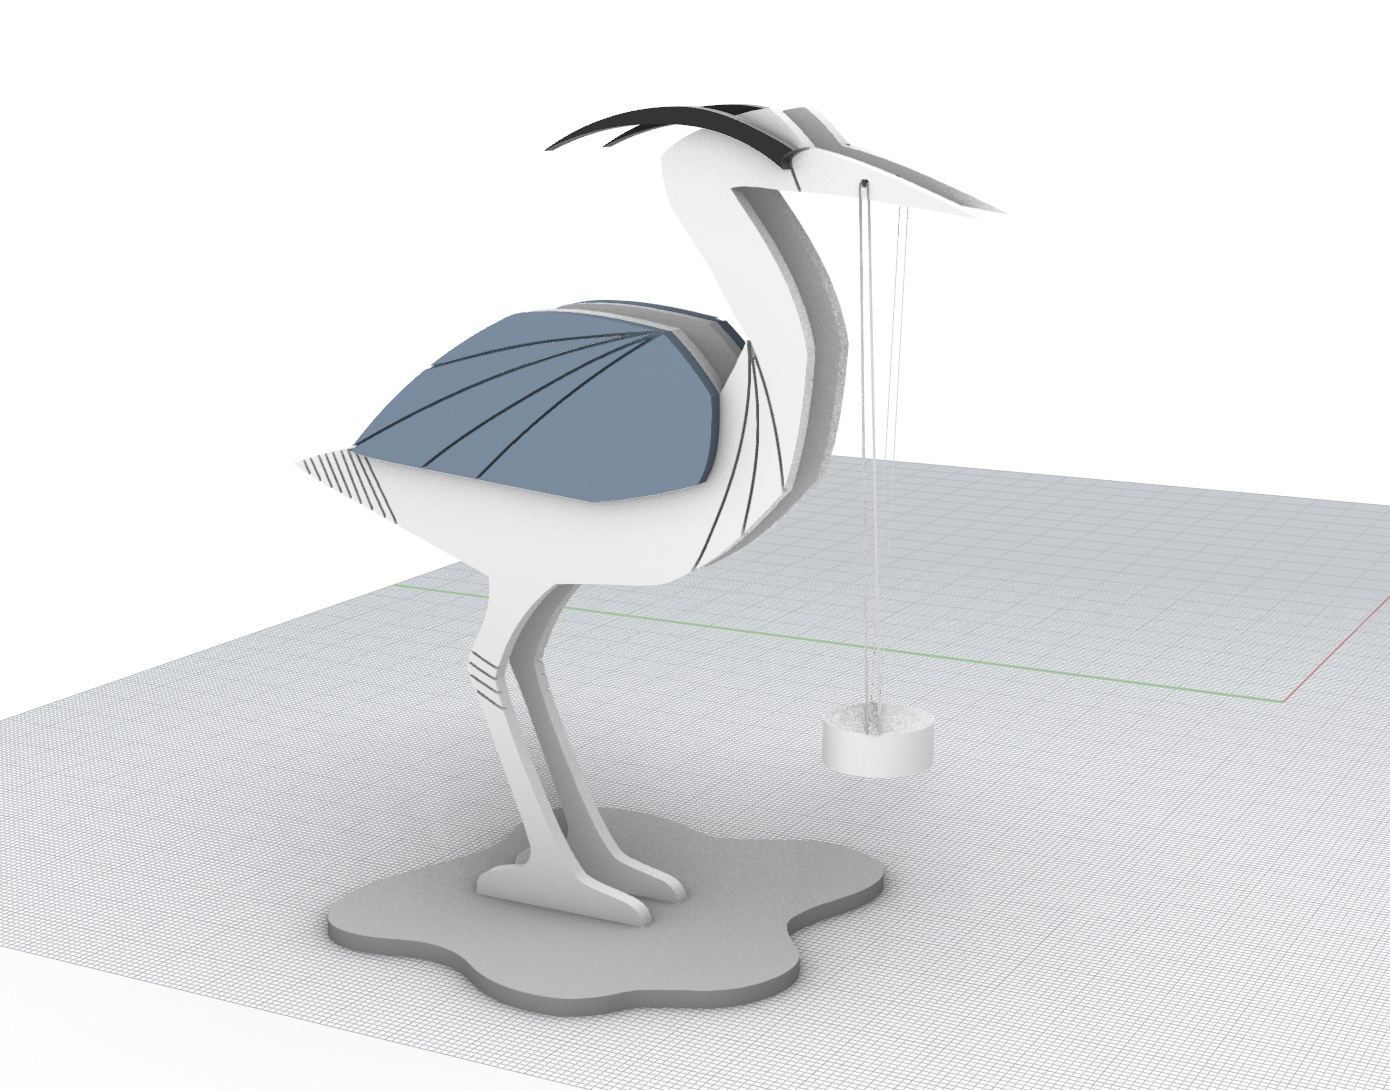
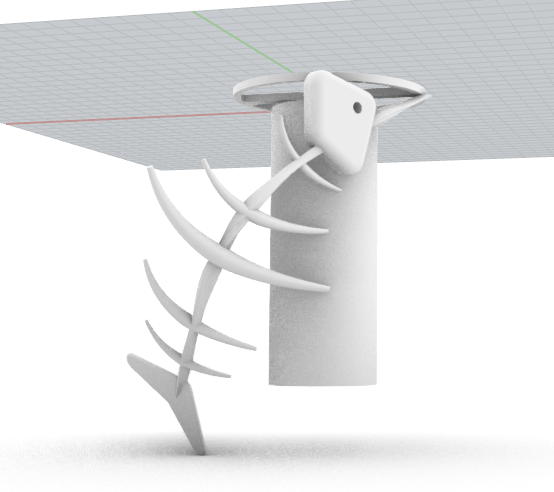
After placing the head and tail in the appropriate places on the spine, this is what the fish looked like in Rhino.
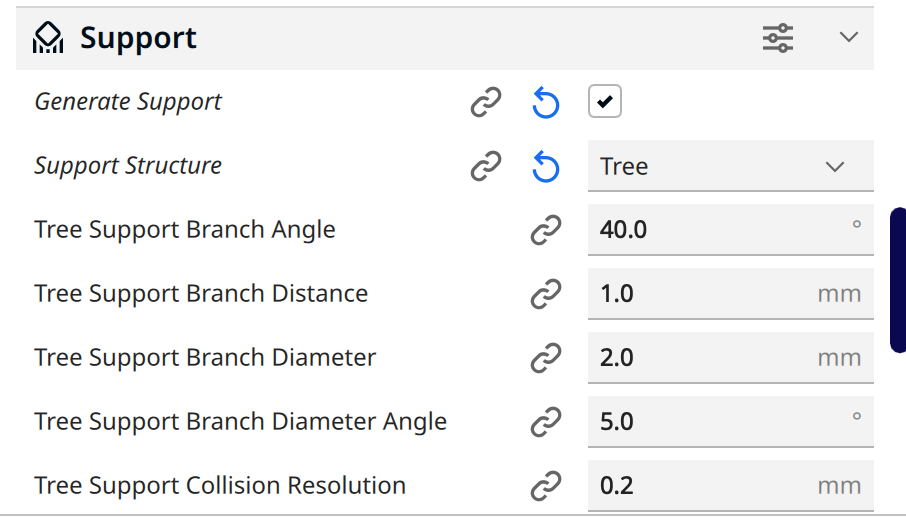
Next was to print the fish, which was kind of intimidating. I knew it would need some crazy supports because of the odd shape and things coming off of it. I remember seeing some images of prints that used supports that were different from the block shaped supports that take a lot of time and filament to print, so I wanted to find out if Cura was able to generate these types of supports. I found out about tree supports, and that Cura can generate these. These supports were hollow and have a unique structure so that they offer appropriate support while supposedly being easier to remove and quicker to print.
So, I brought the fish into Cura and turned on tree supports. It looked so interesting! It really looked like a tree grew around it.
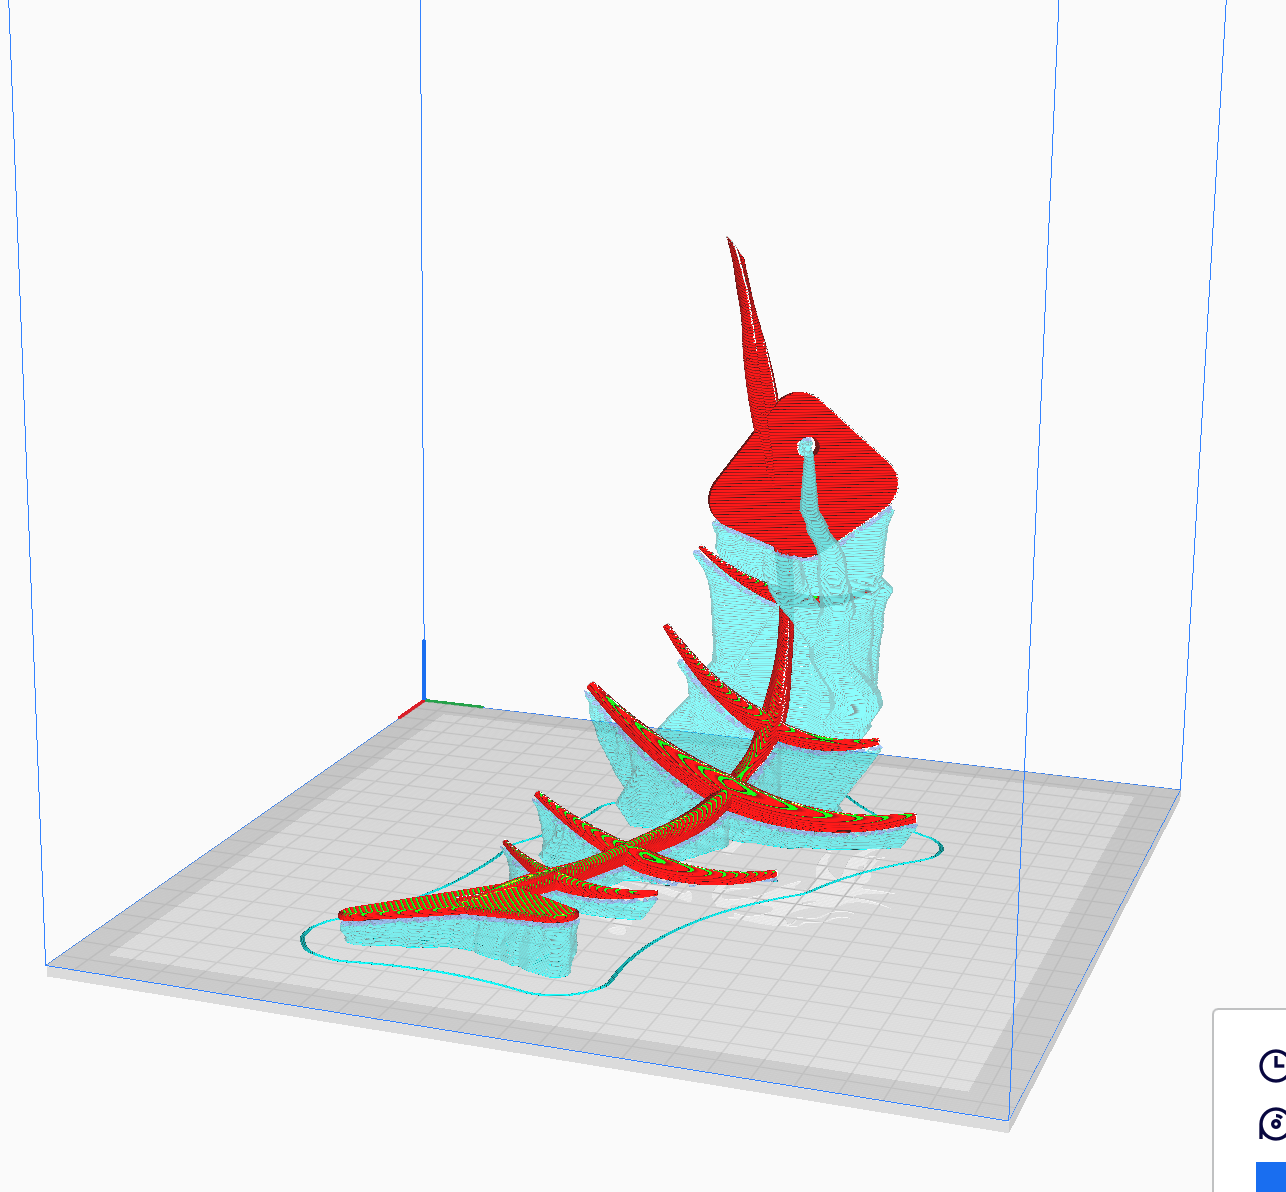
Print time was ~6 hours. It was quite interesting to watch the support structure build up.
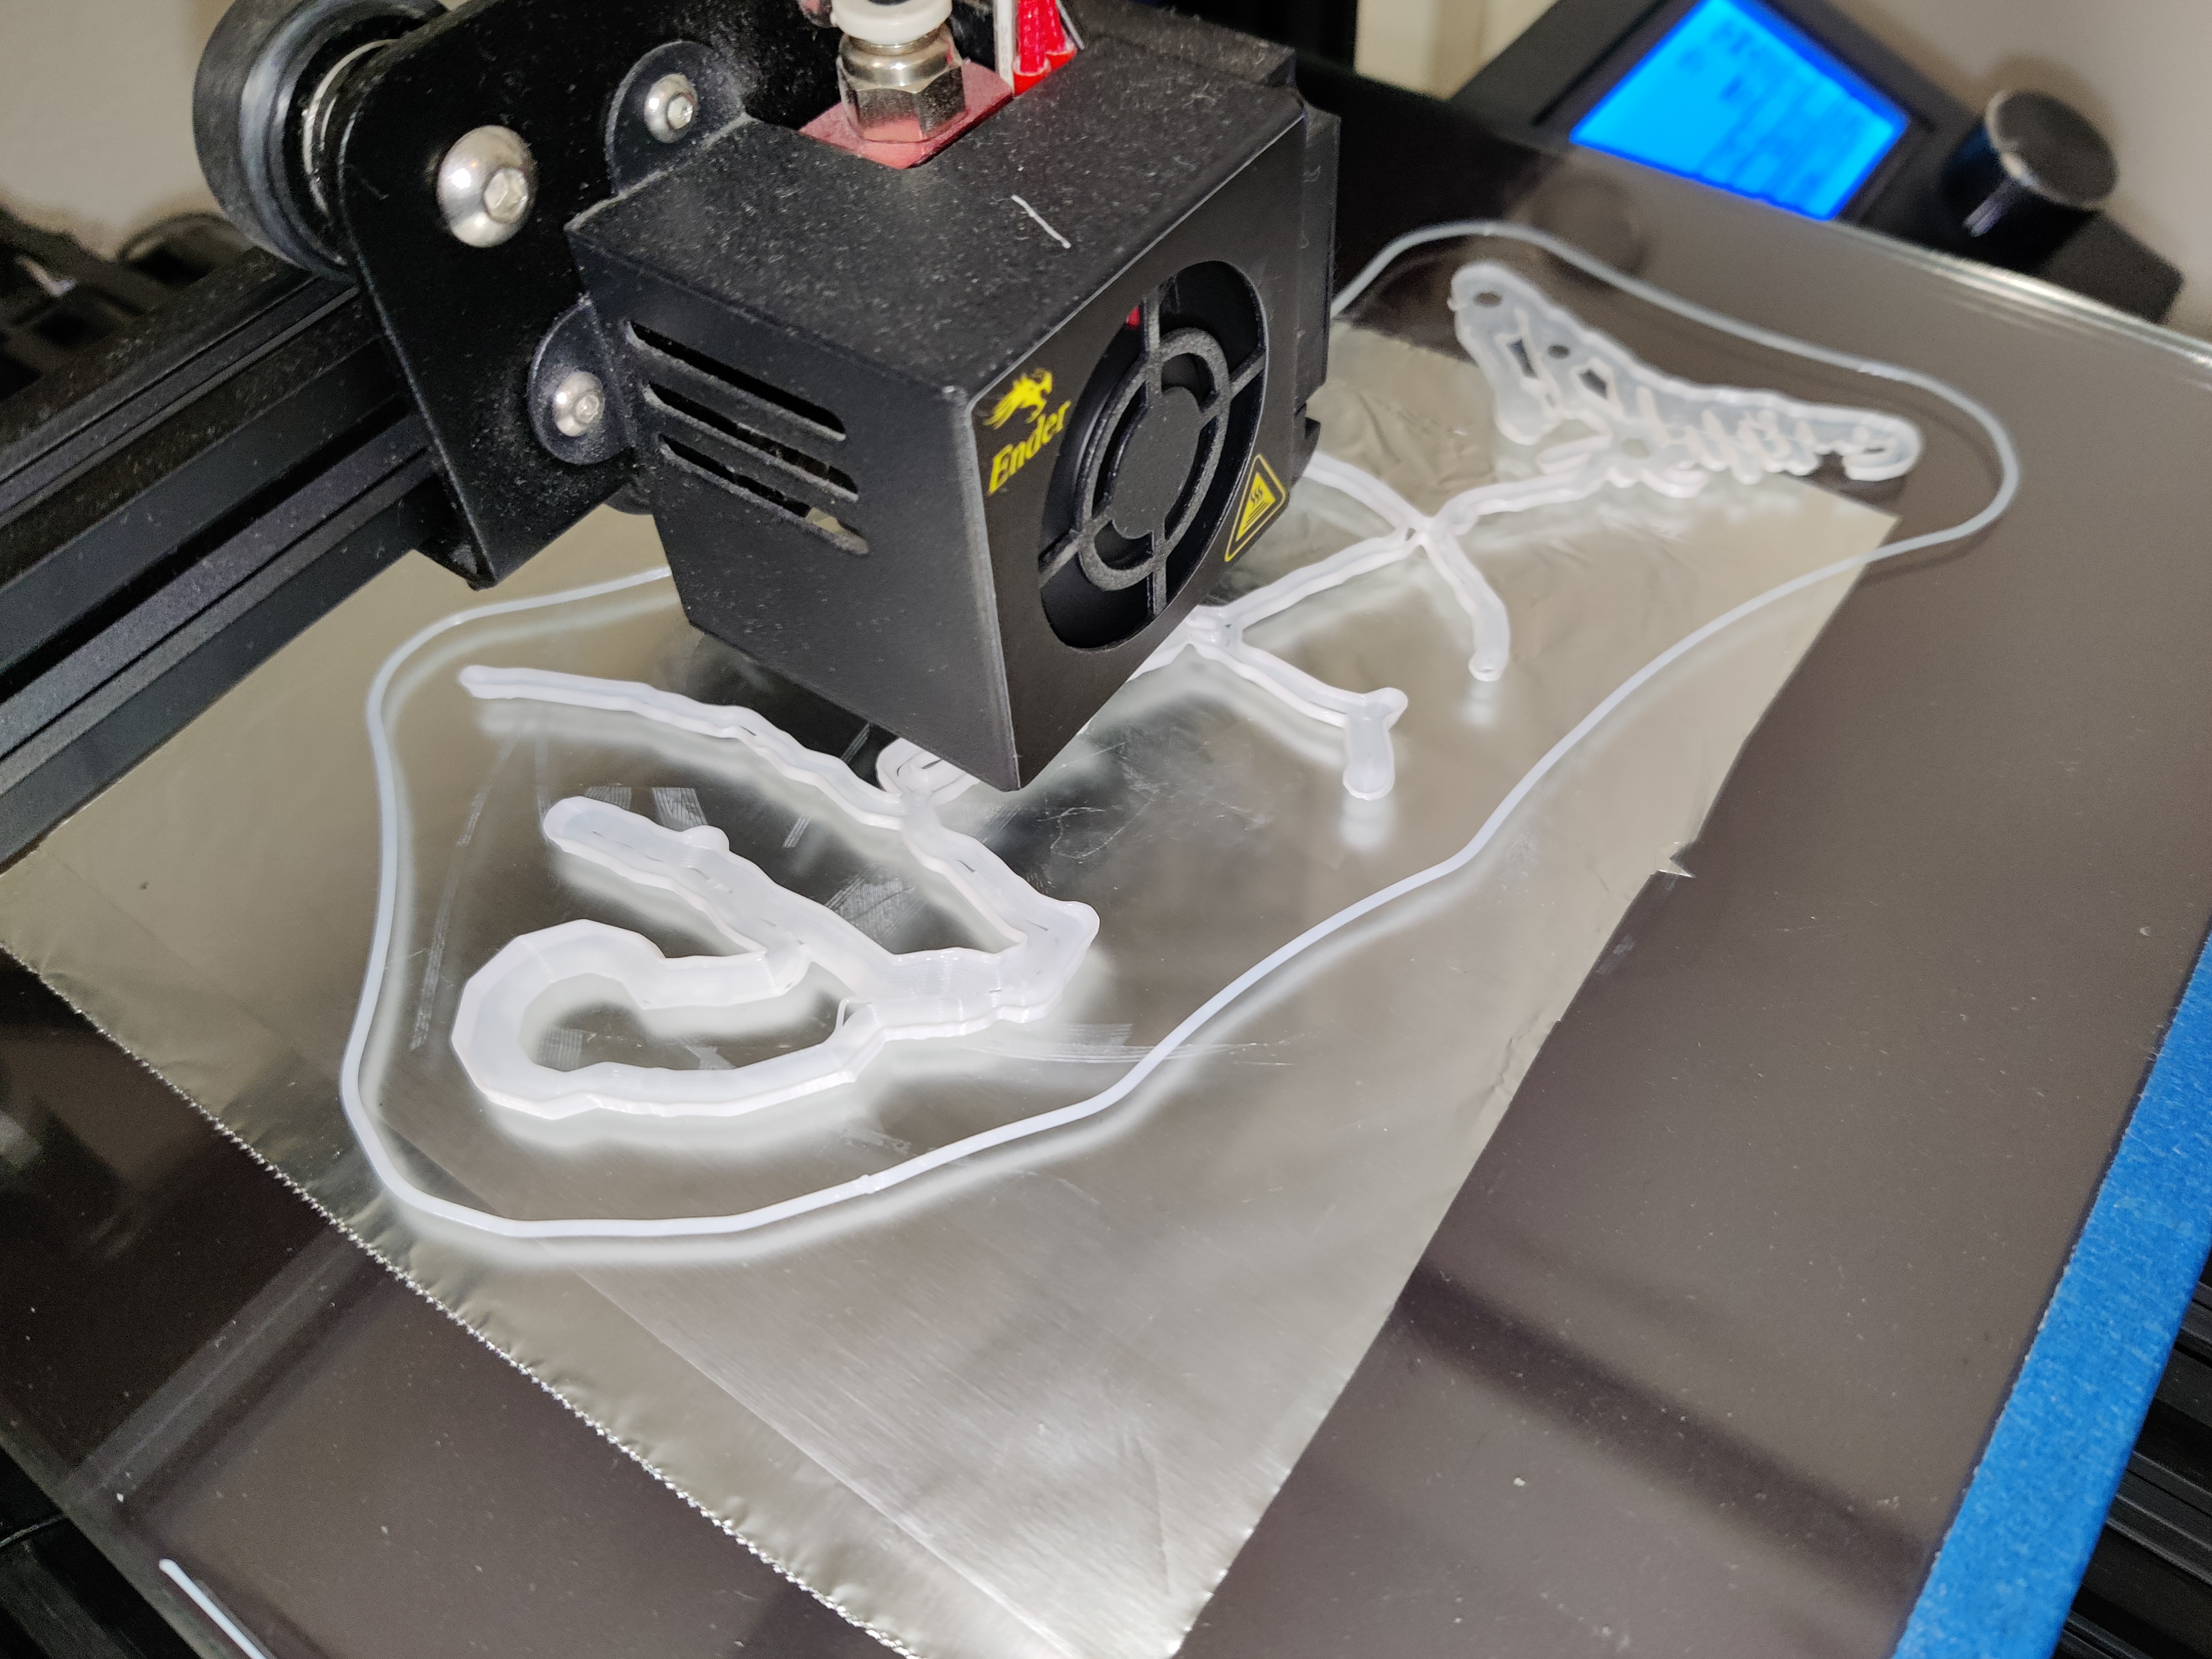
When it came time to remove the supports, I ran into some trouble. I broke my print! I was so angry since it was 4am and took 6 hours to print. There was one part of the print that was enclosed in the “tree” and I didn’t realize that and snapped it while pulling the support off. It was in a weird position and couldn’t be easily fixed with glue. Next time, I will be cutting the supports to help get them off. The good thing is that this broken print came in handy. I used it as a reference to measure other pieces later when assembling the lamp.
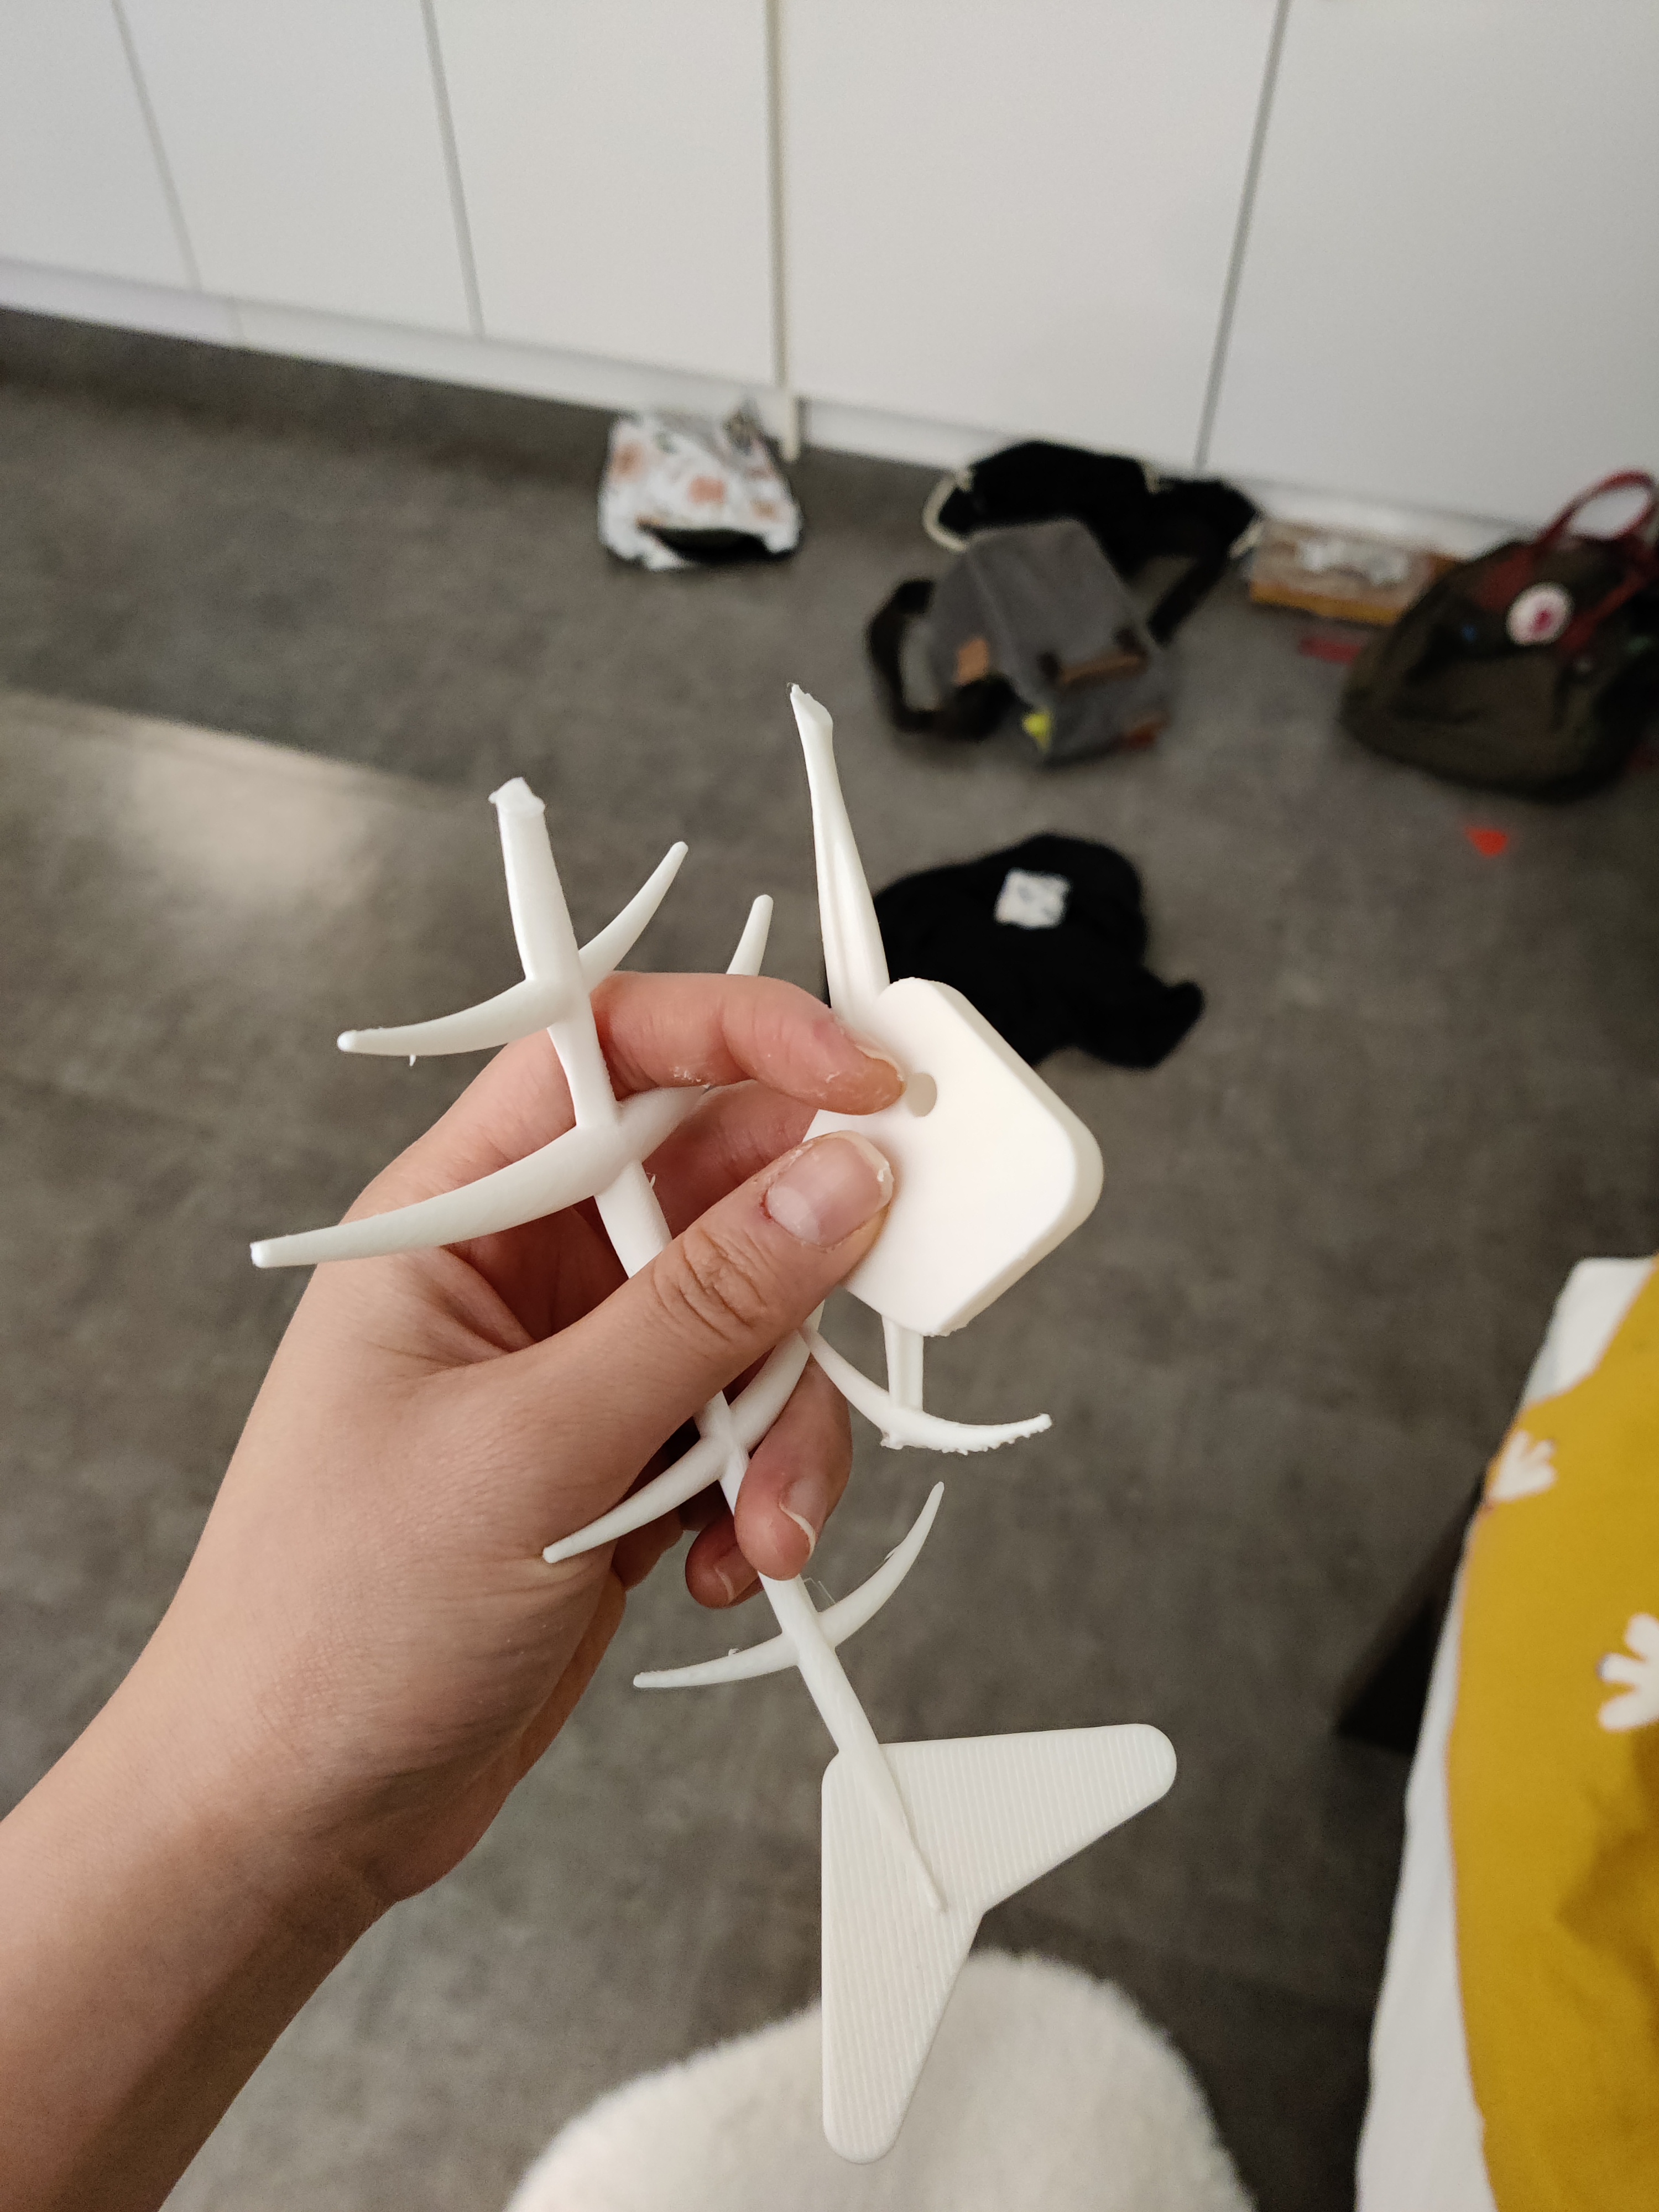 *:( Ignore messy floor! *
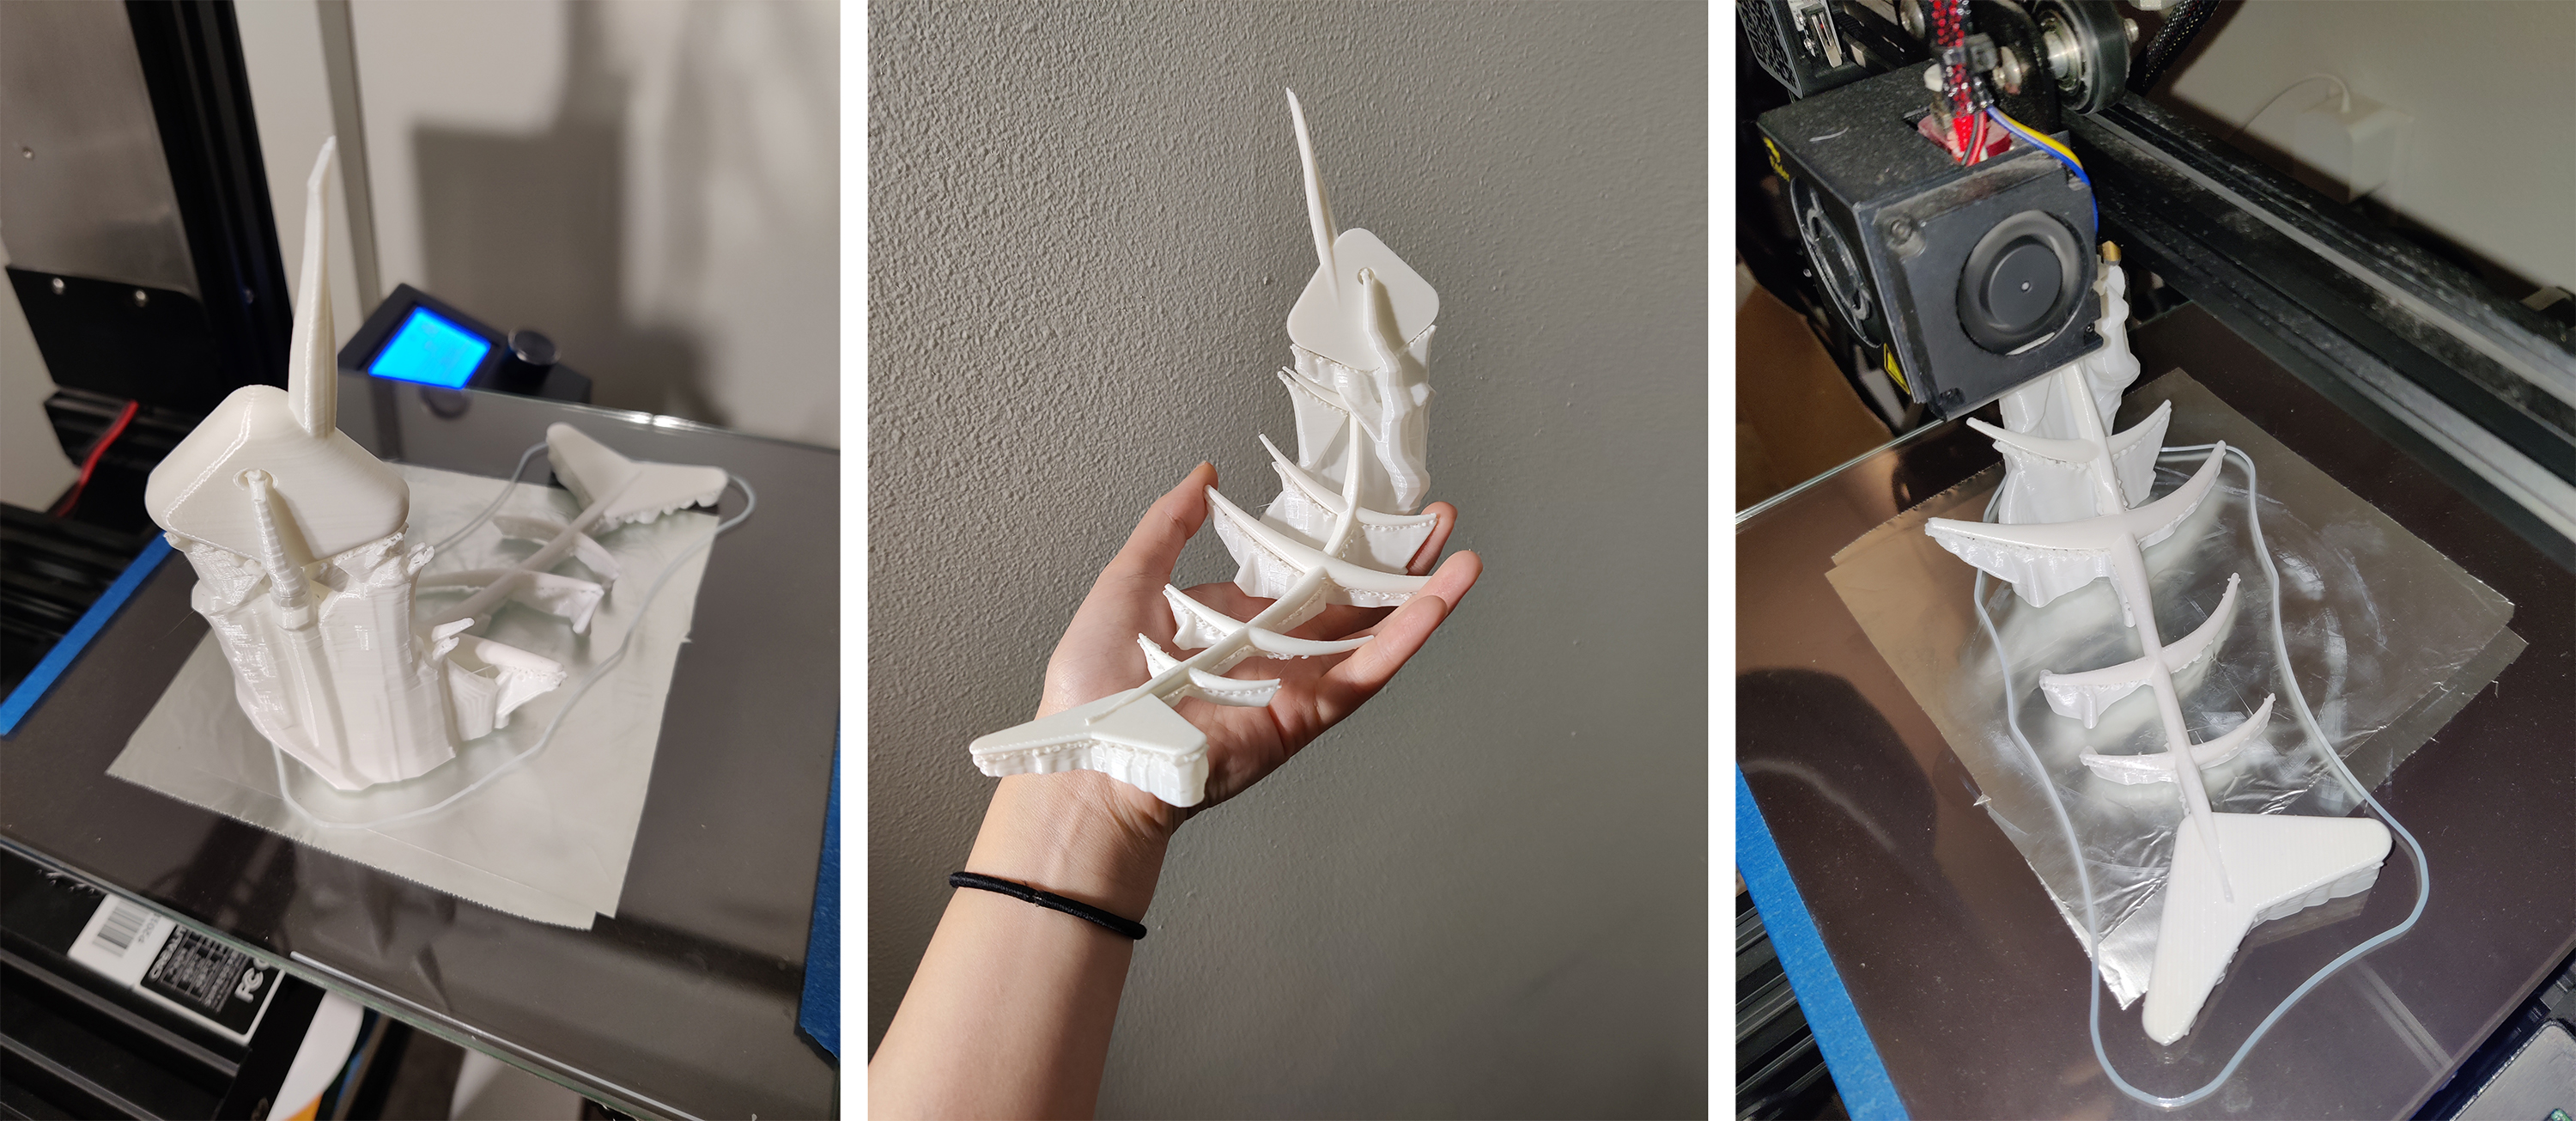
So after print #2 finished, I took scissors and cutters to more carefully remove the supports, and luckily it did not break. Rinse and repeat with print #3 – This is when I decided to just reuse the same model rather than make a new one in a different orientation for the other fish on the light. (18 hour printing time total for these 3 fish @_@).
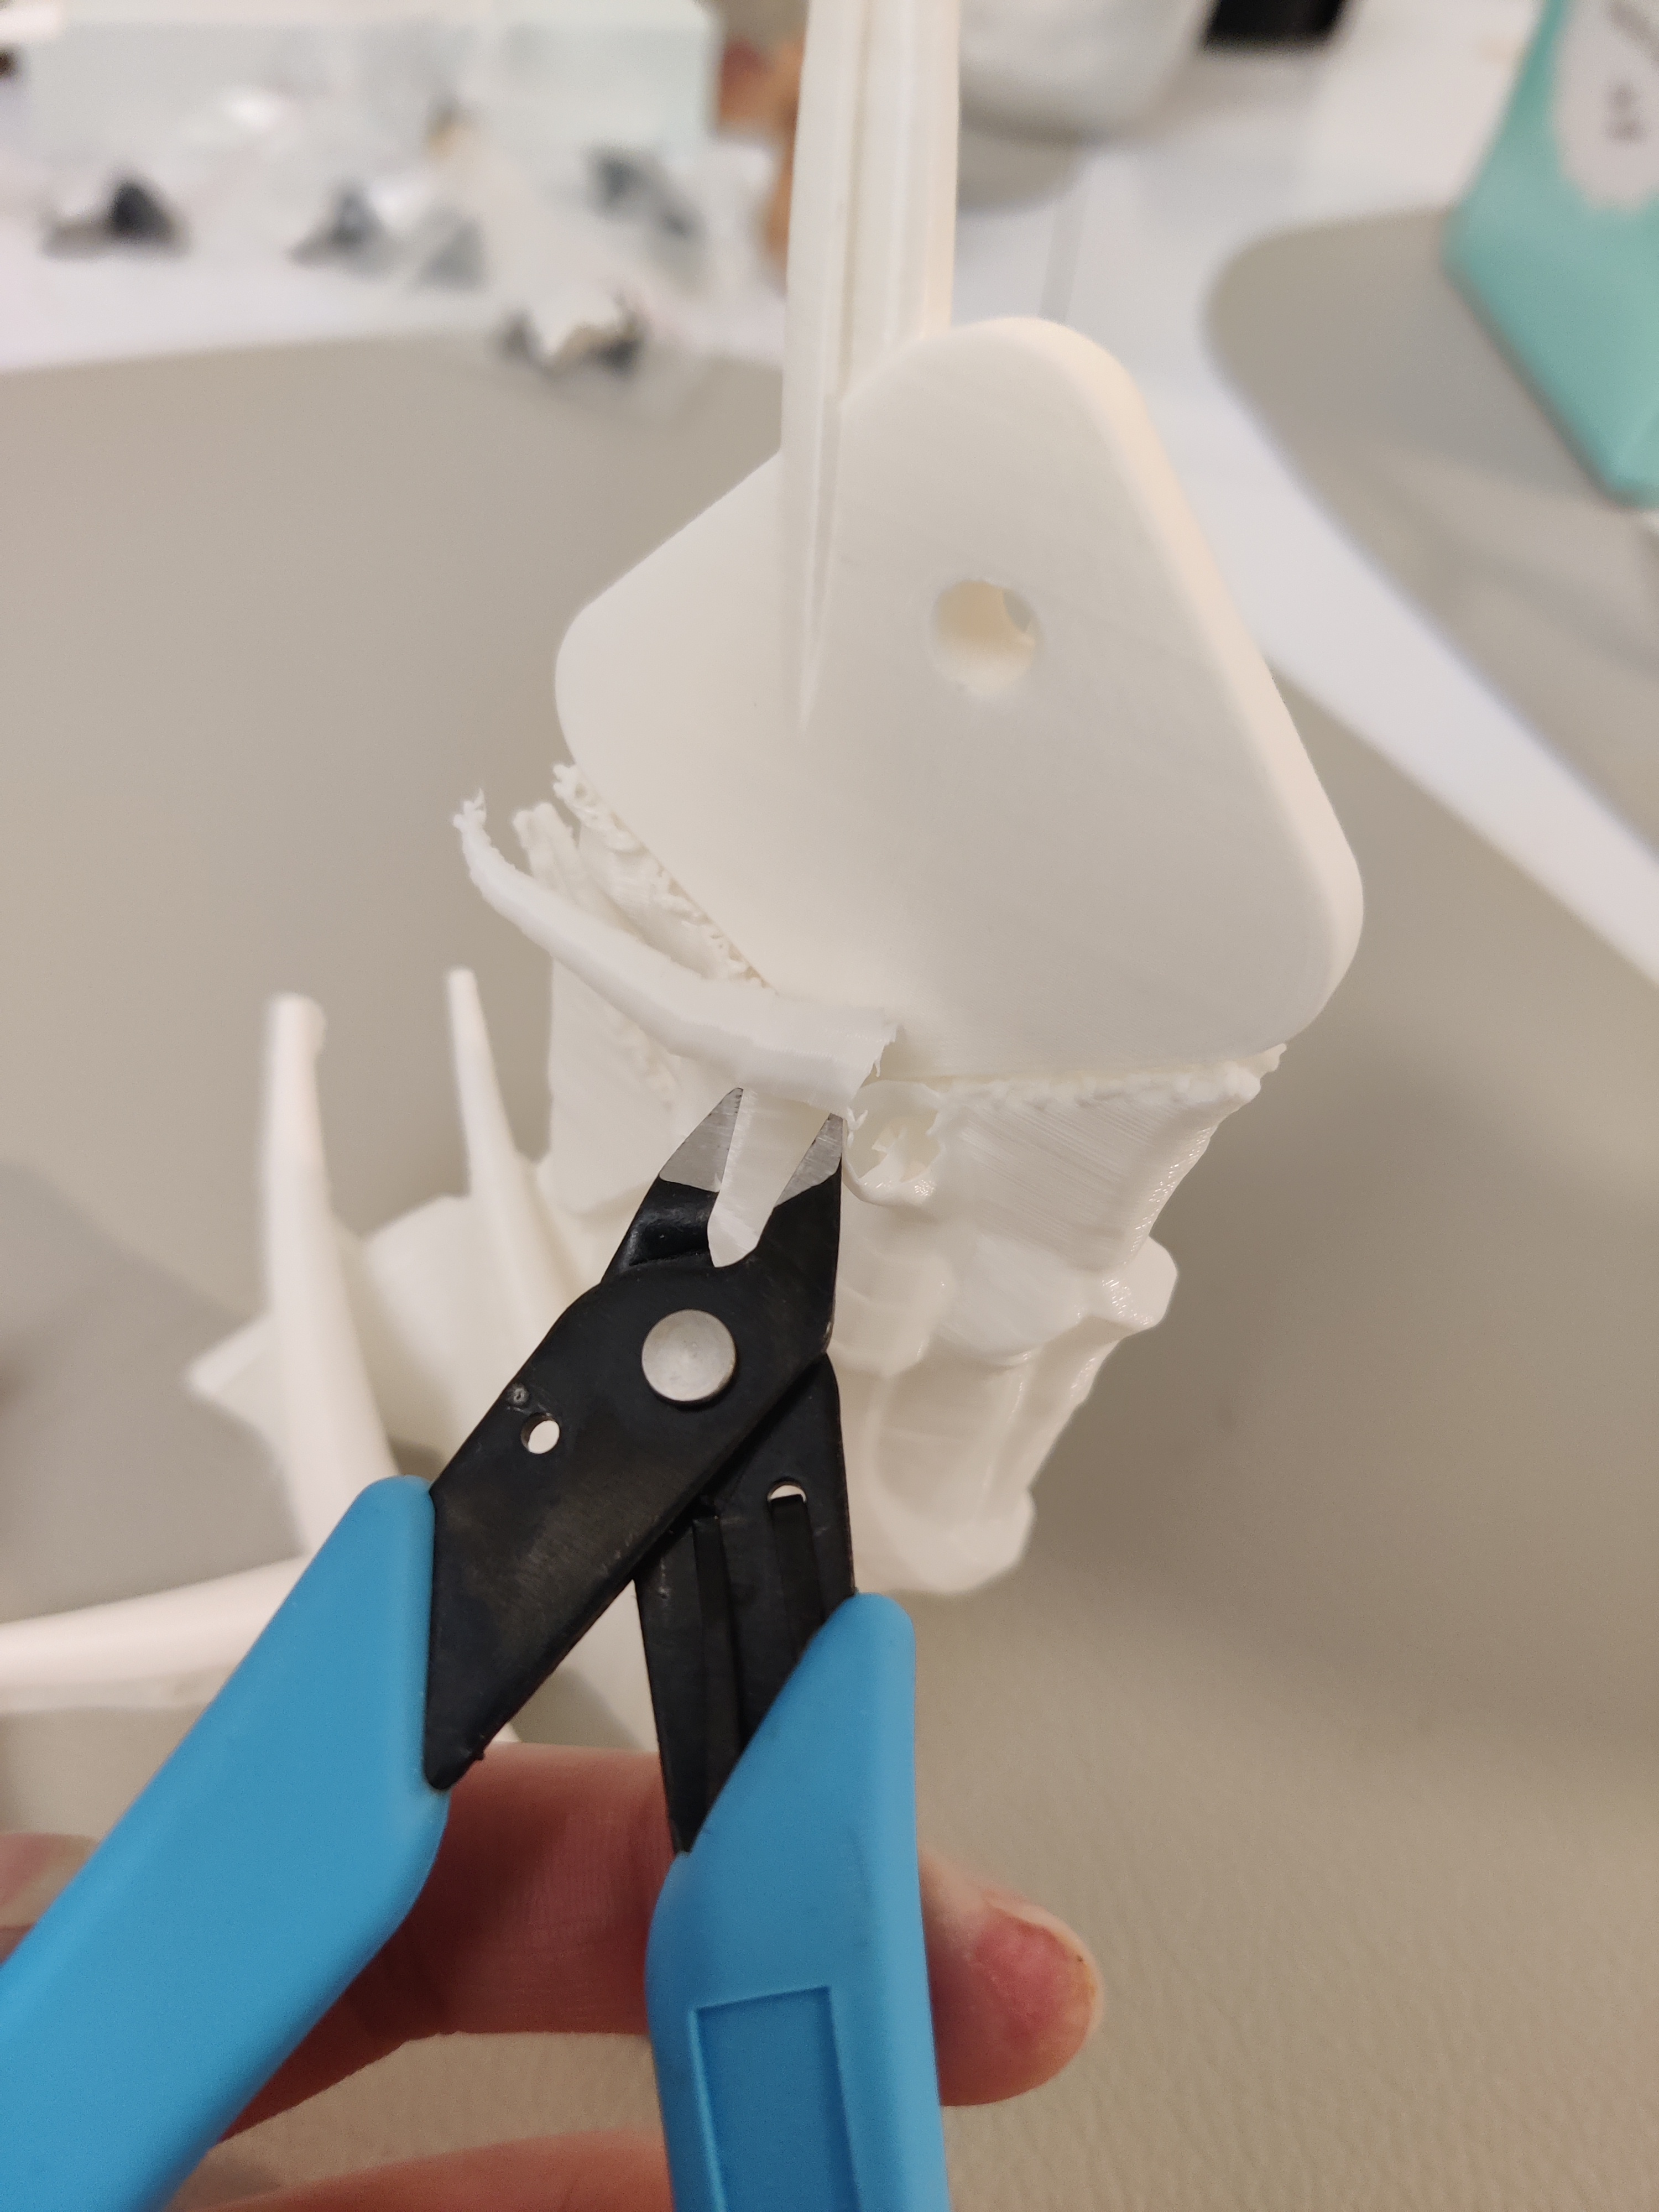 Cutting supports out
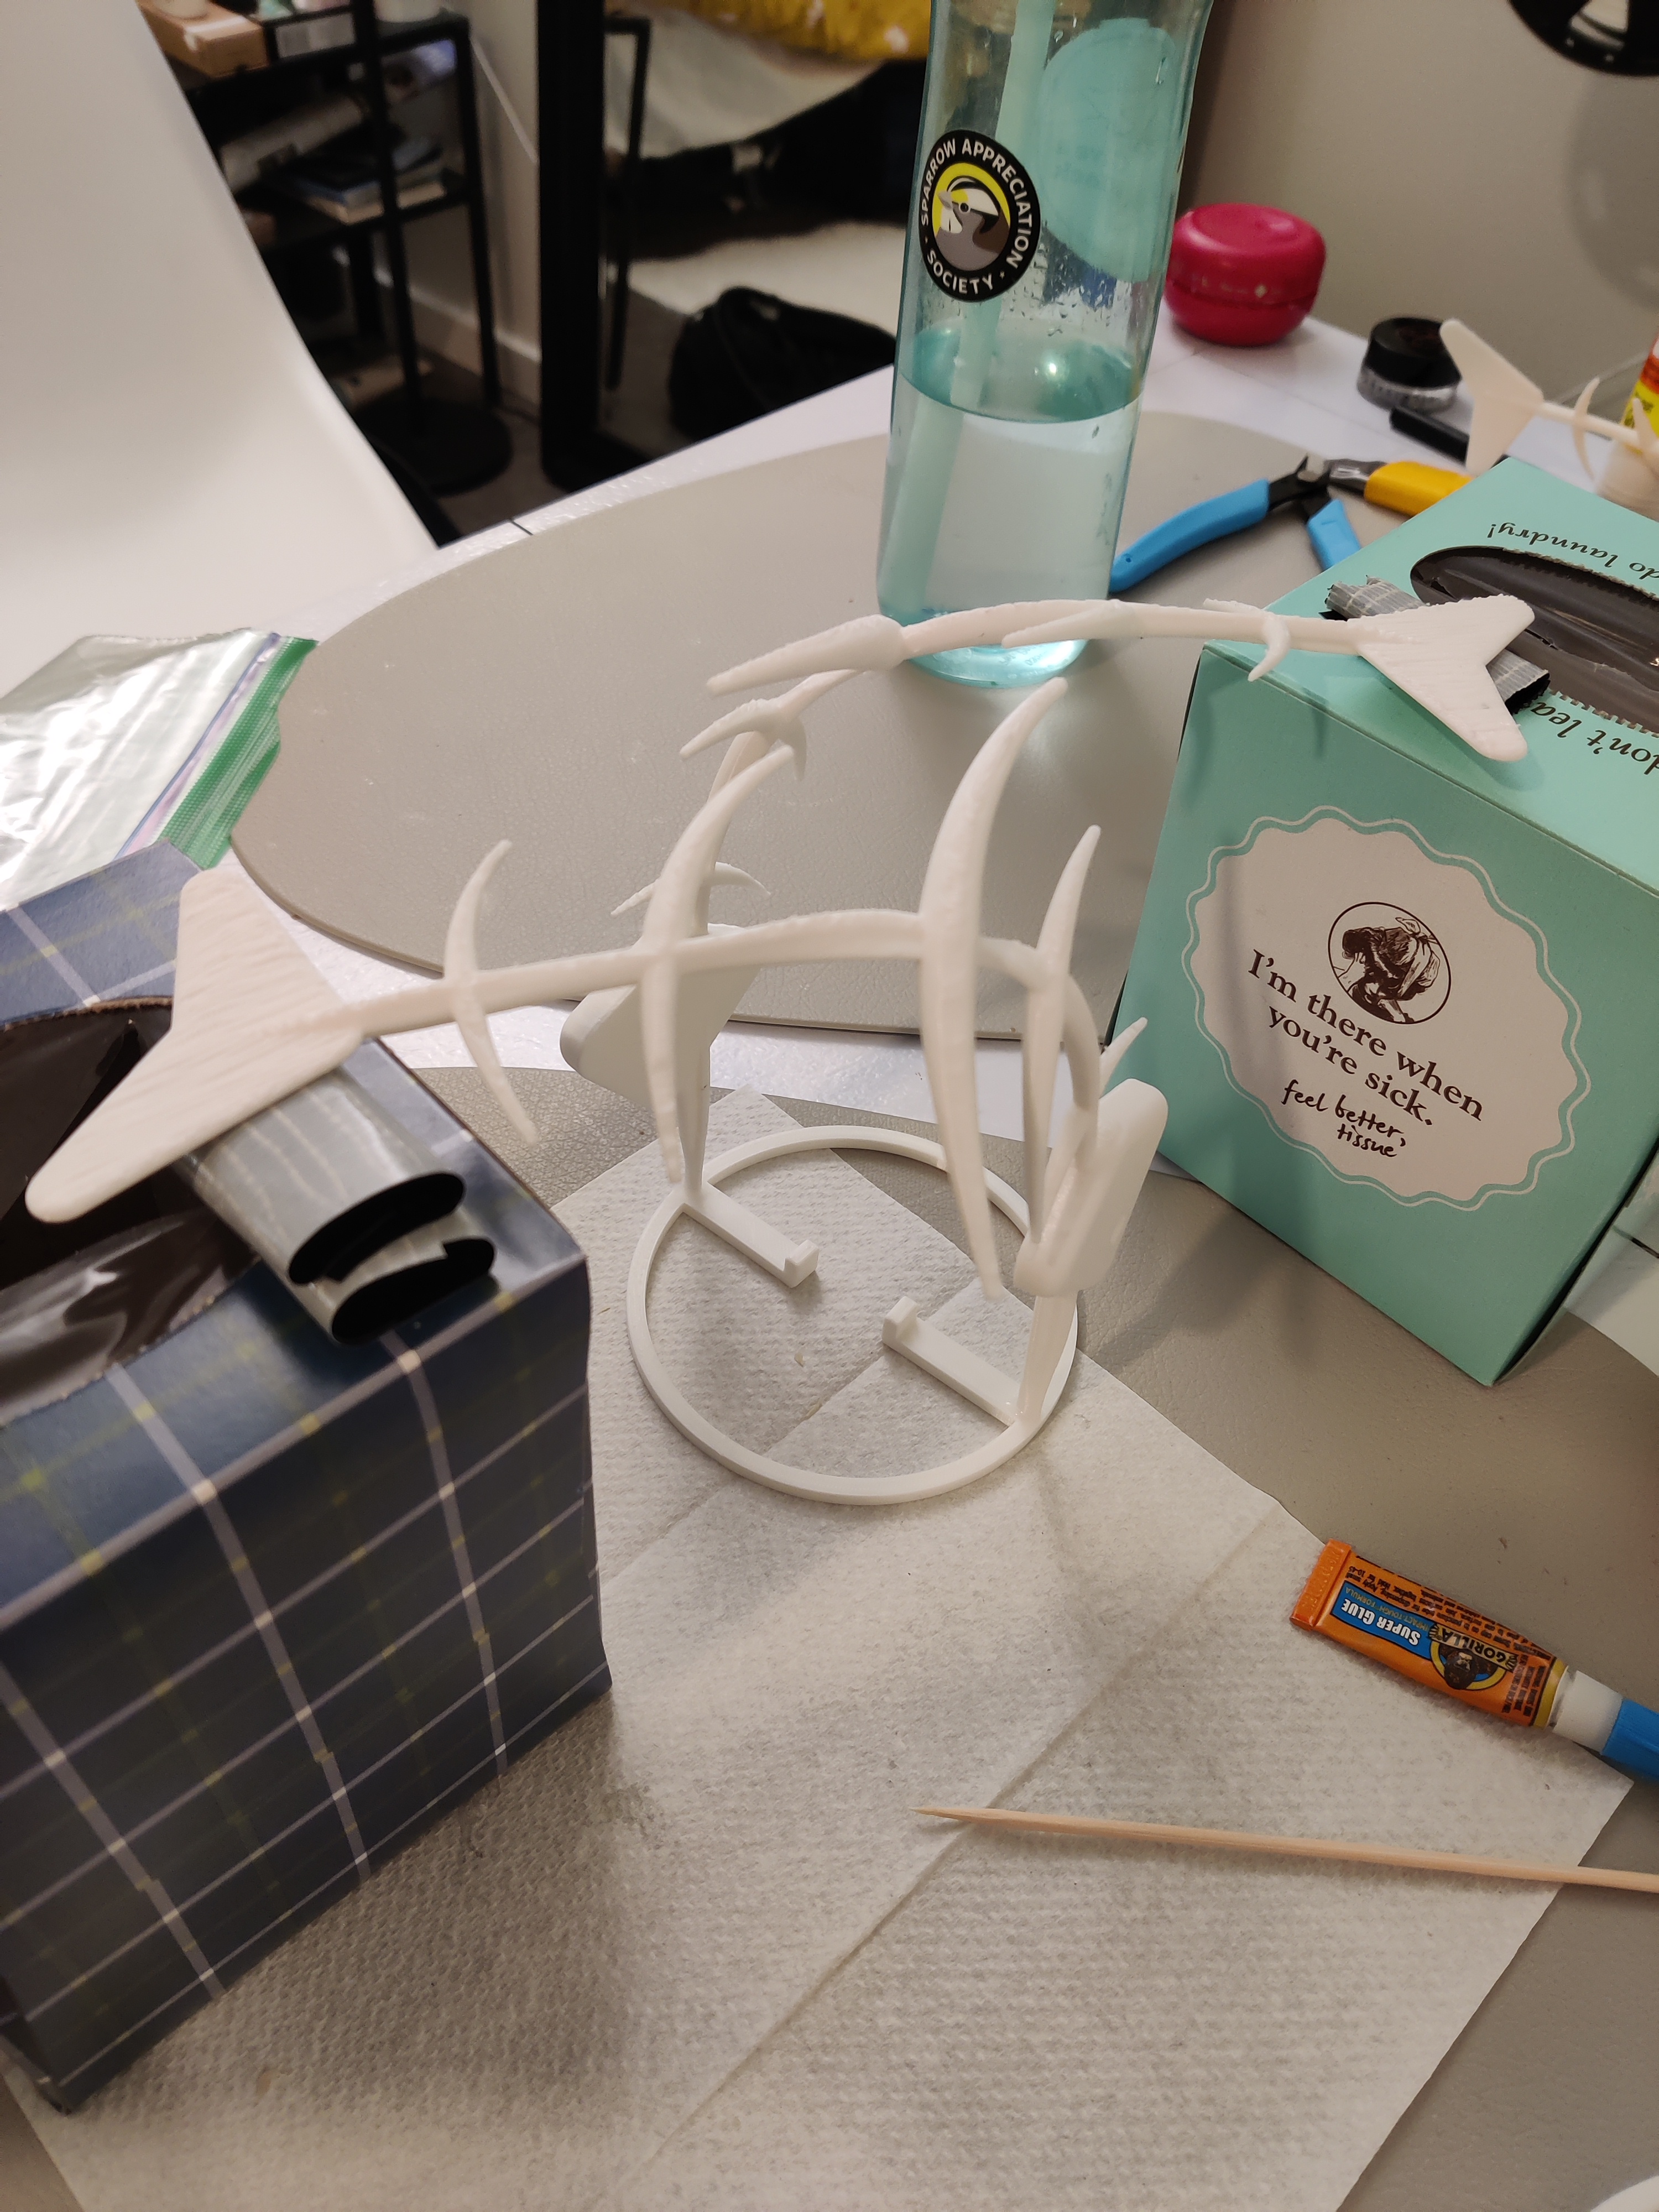
To attach the two fish to the ring, I super glued them and let them dry overnight. I supported them by resting them on duct tape rolls on top of a couple tissue boxes, which worked surprisingly well.
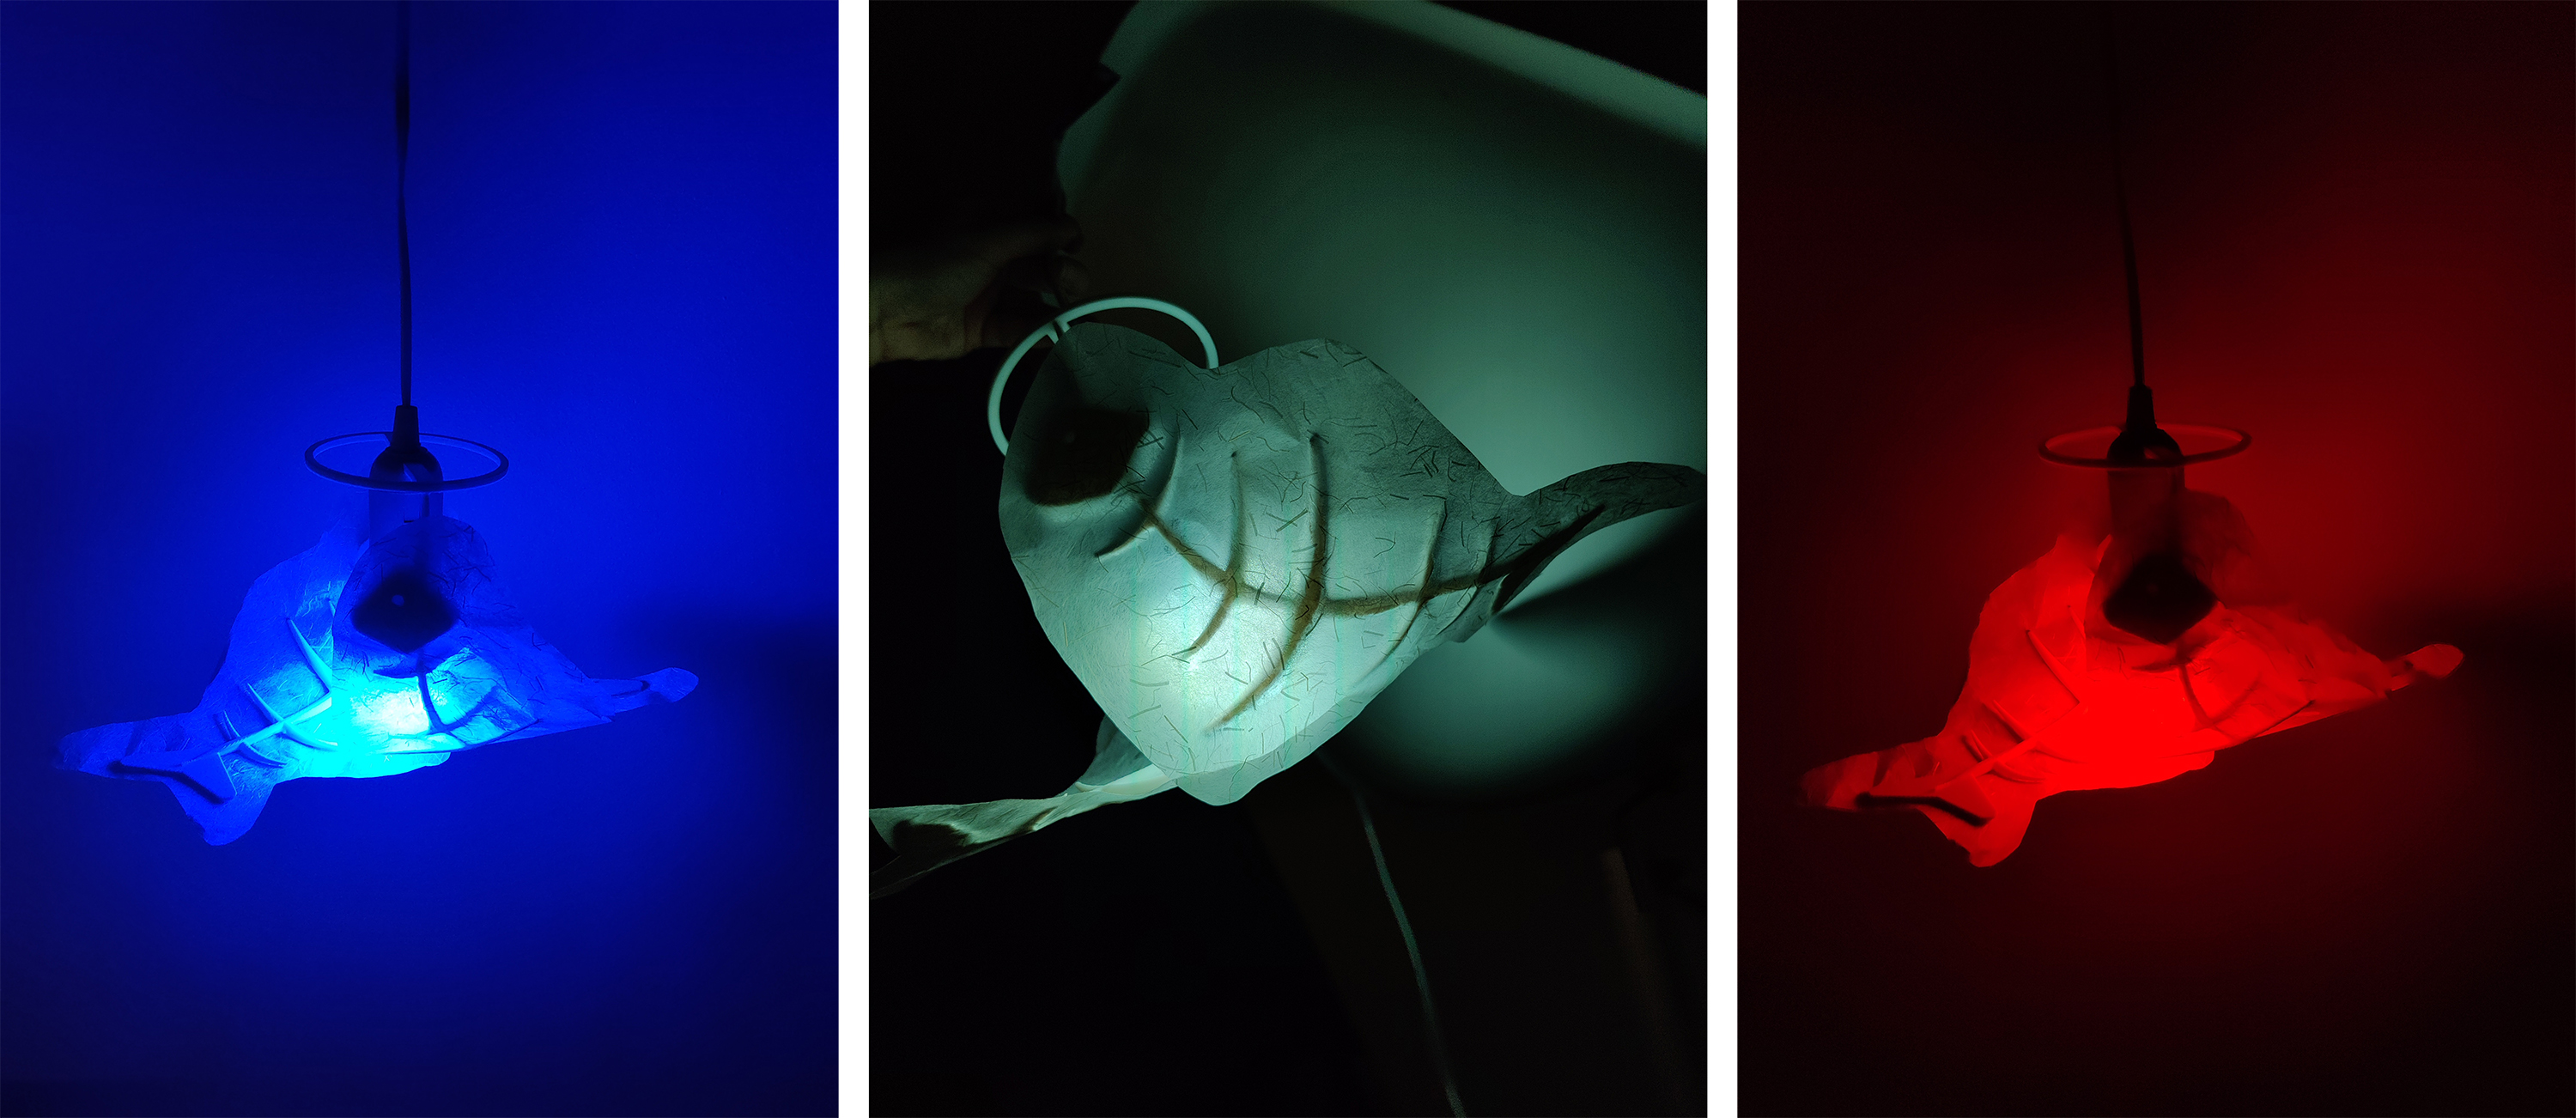
The next day, the fish had dried and seemed sturdy! I was worried that they wouldn’t stick correctly; they did take longer to dry than I thought they would. I tested how they looked like on the light:
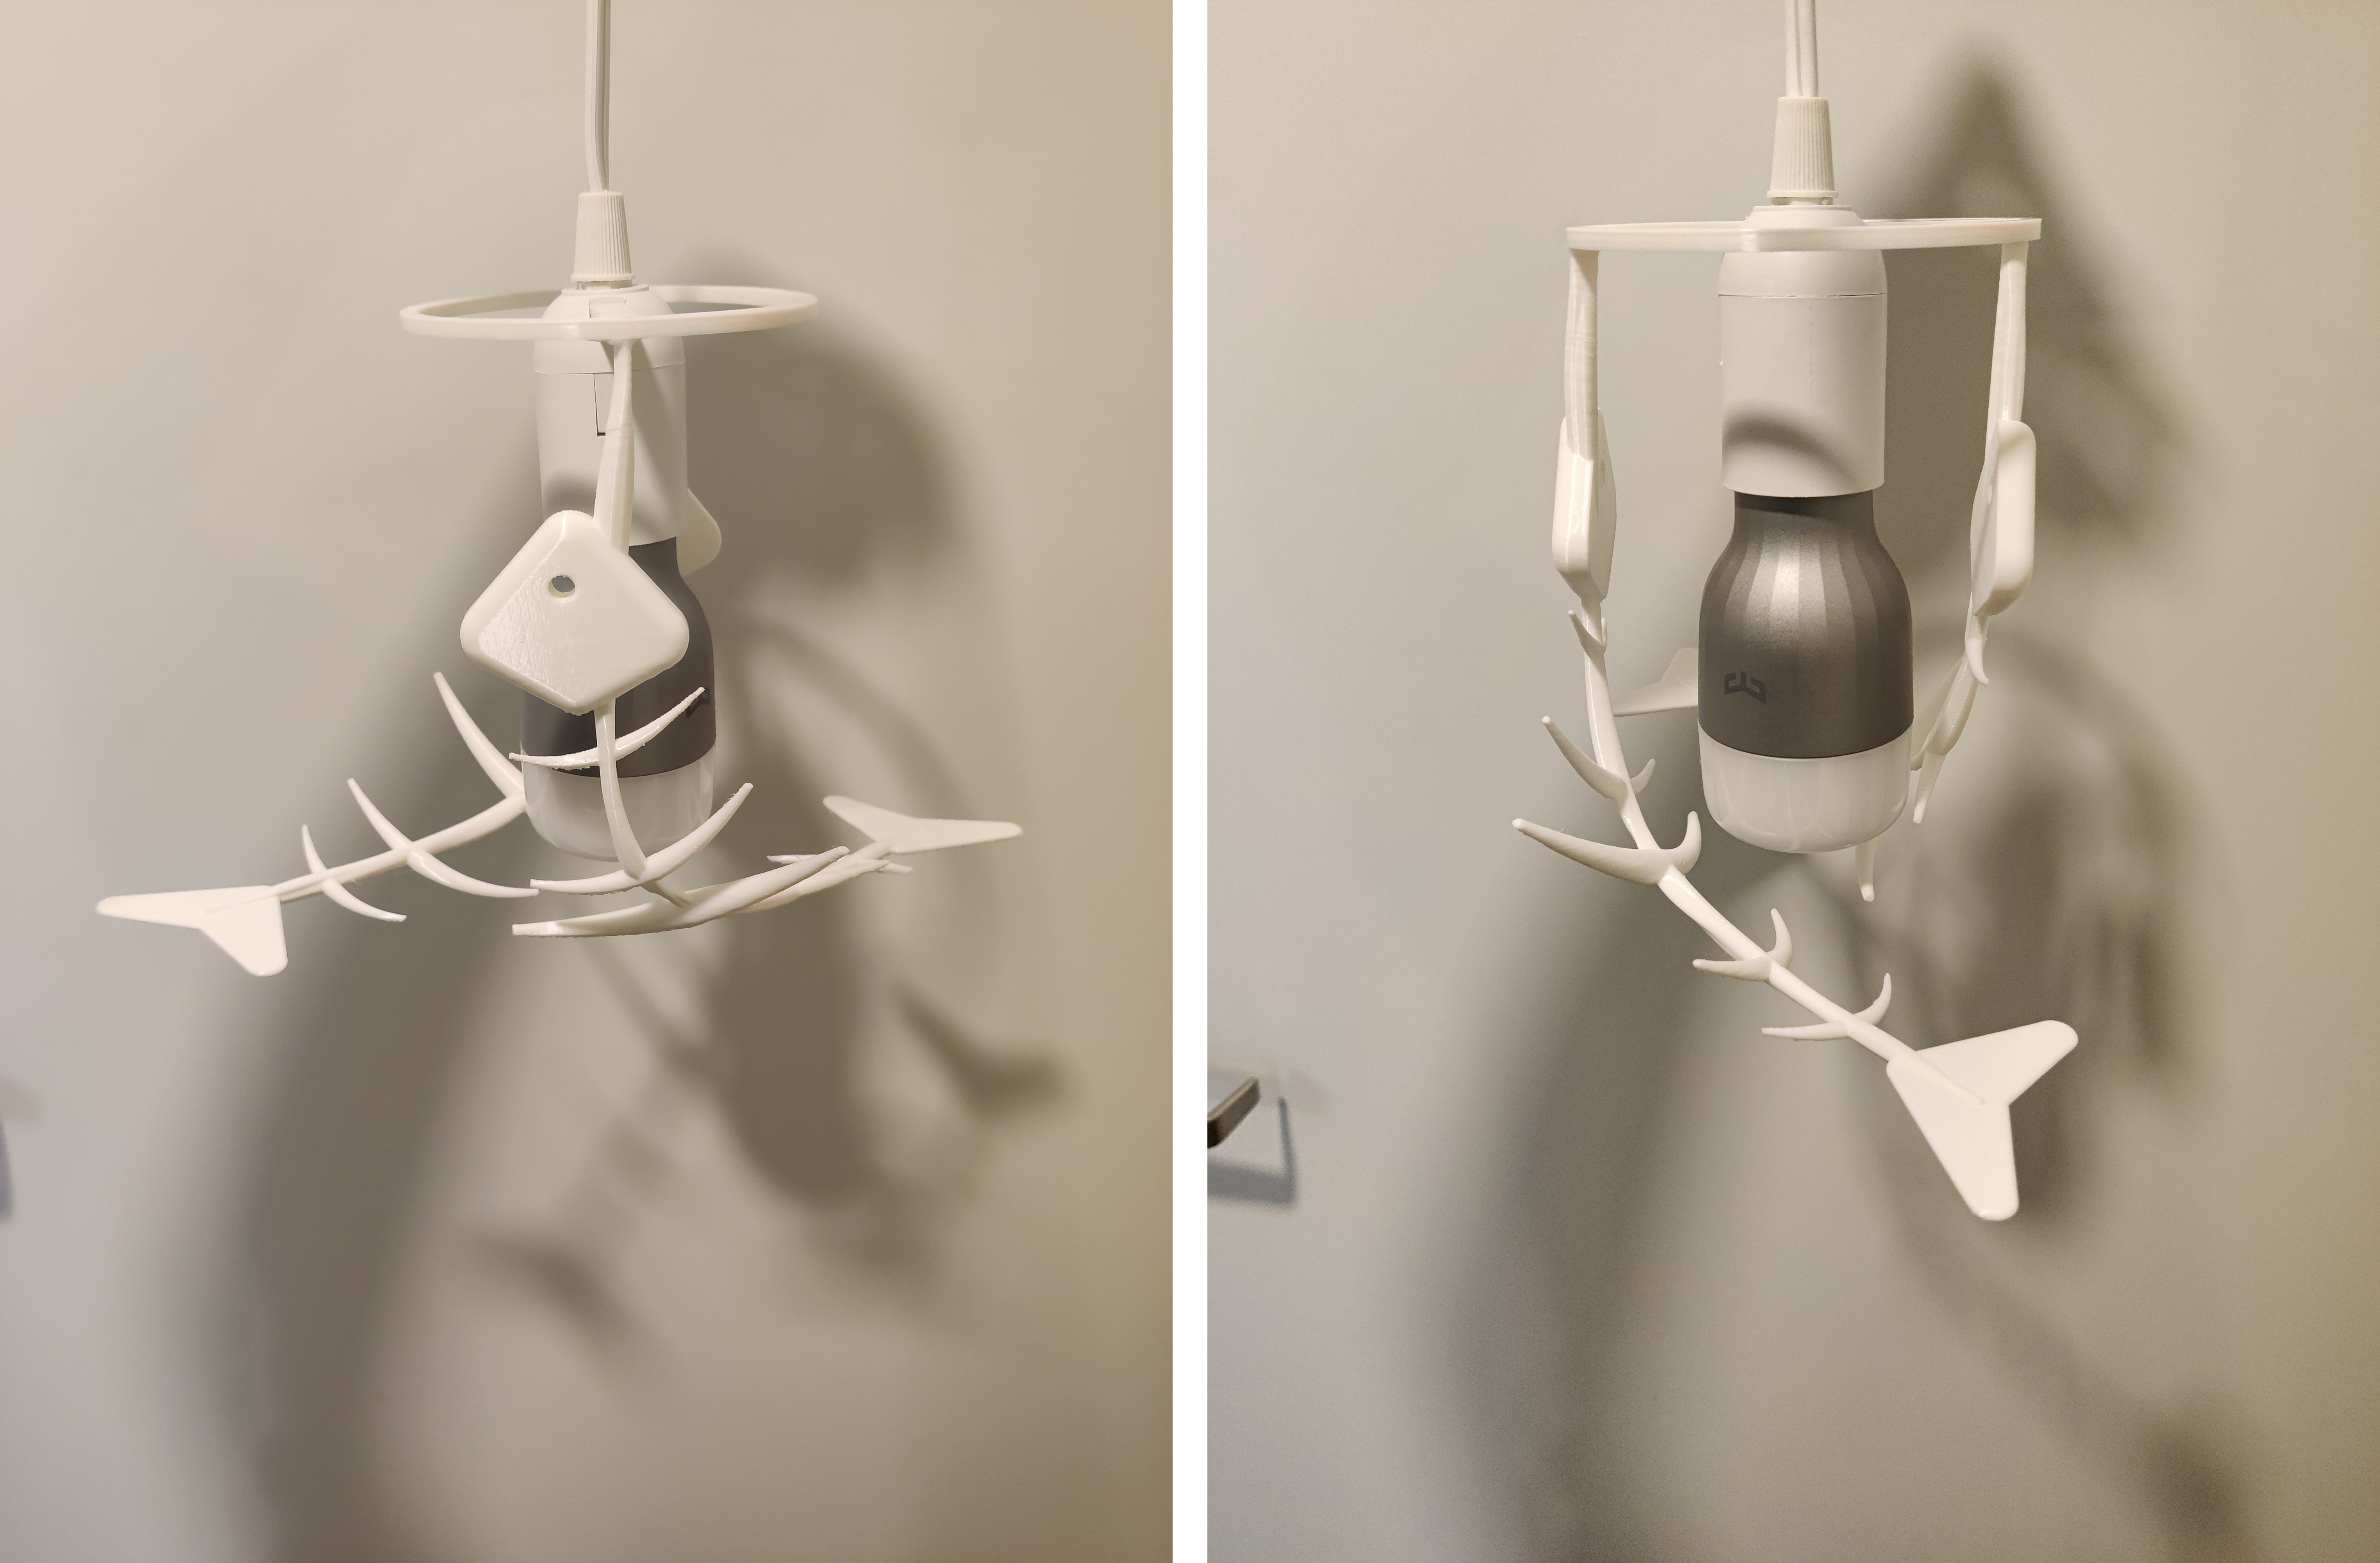
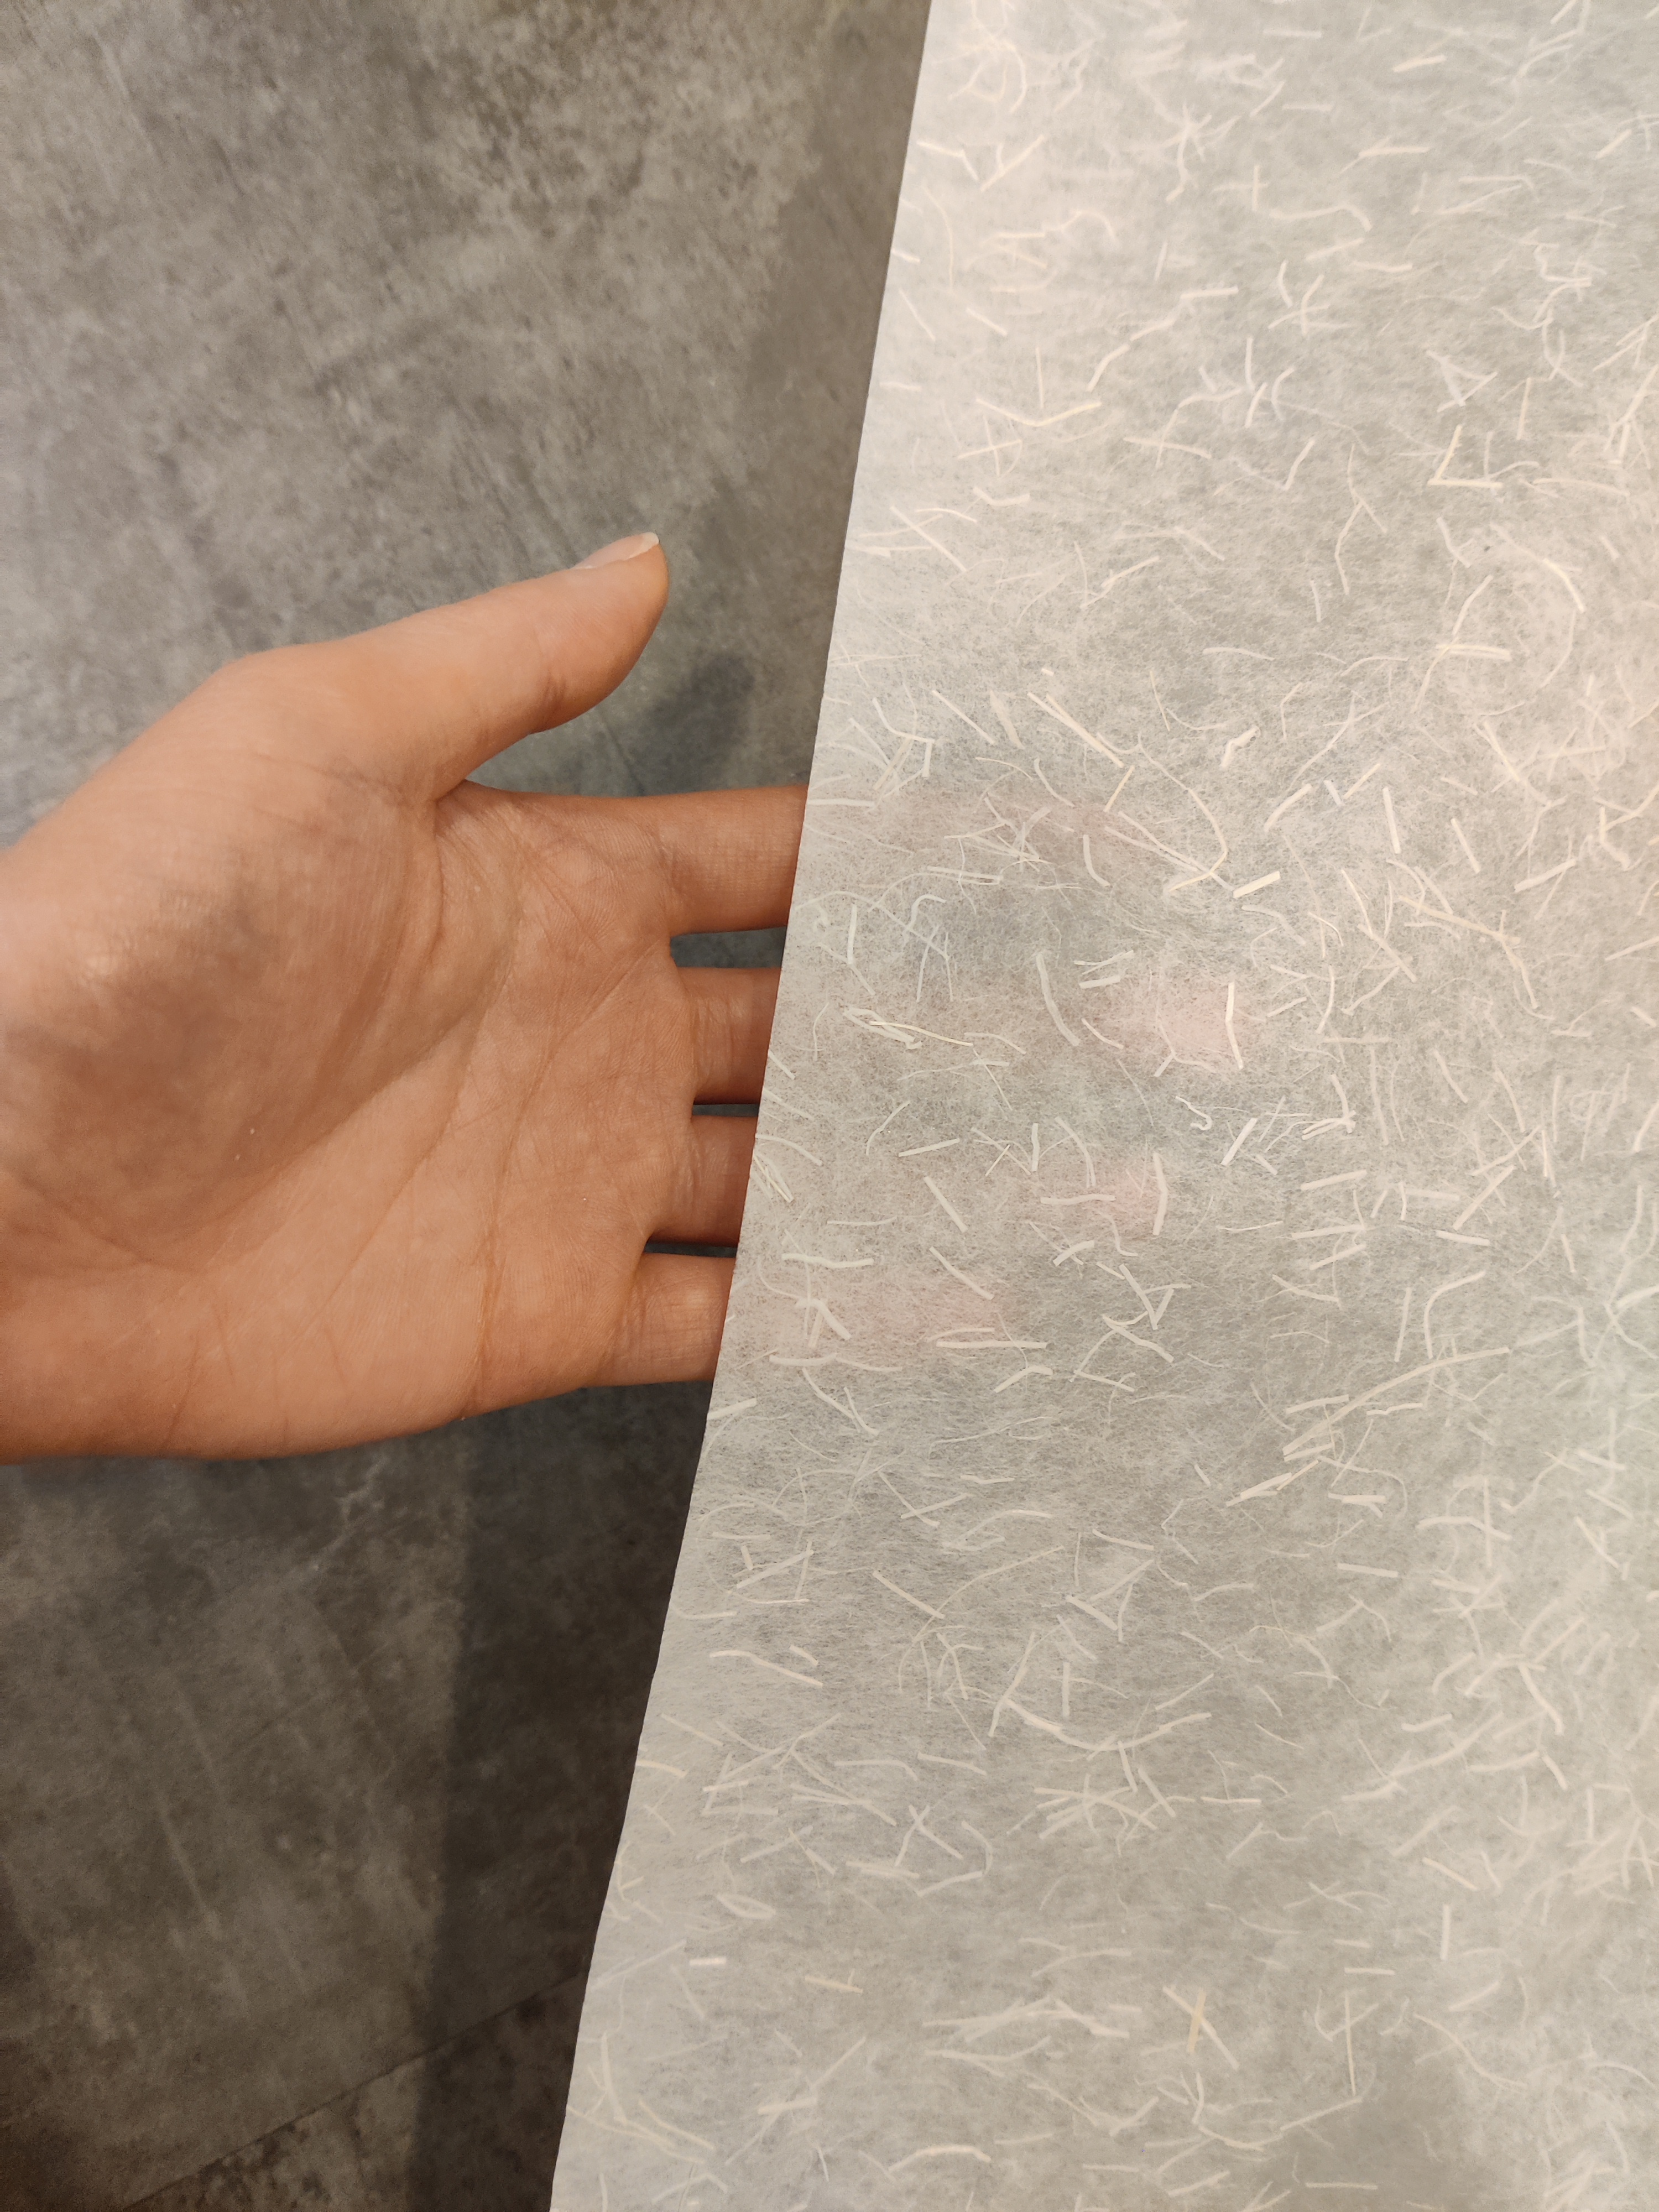
Looked pretty good! For the finishing touch, I needed to add some thin paper to diffuse the light and give the fish a “body” as planned. I picked up this interesting translucent paper that had some cool texture at the art store. I planned to stick it to the fish with some Mod Podge.
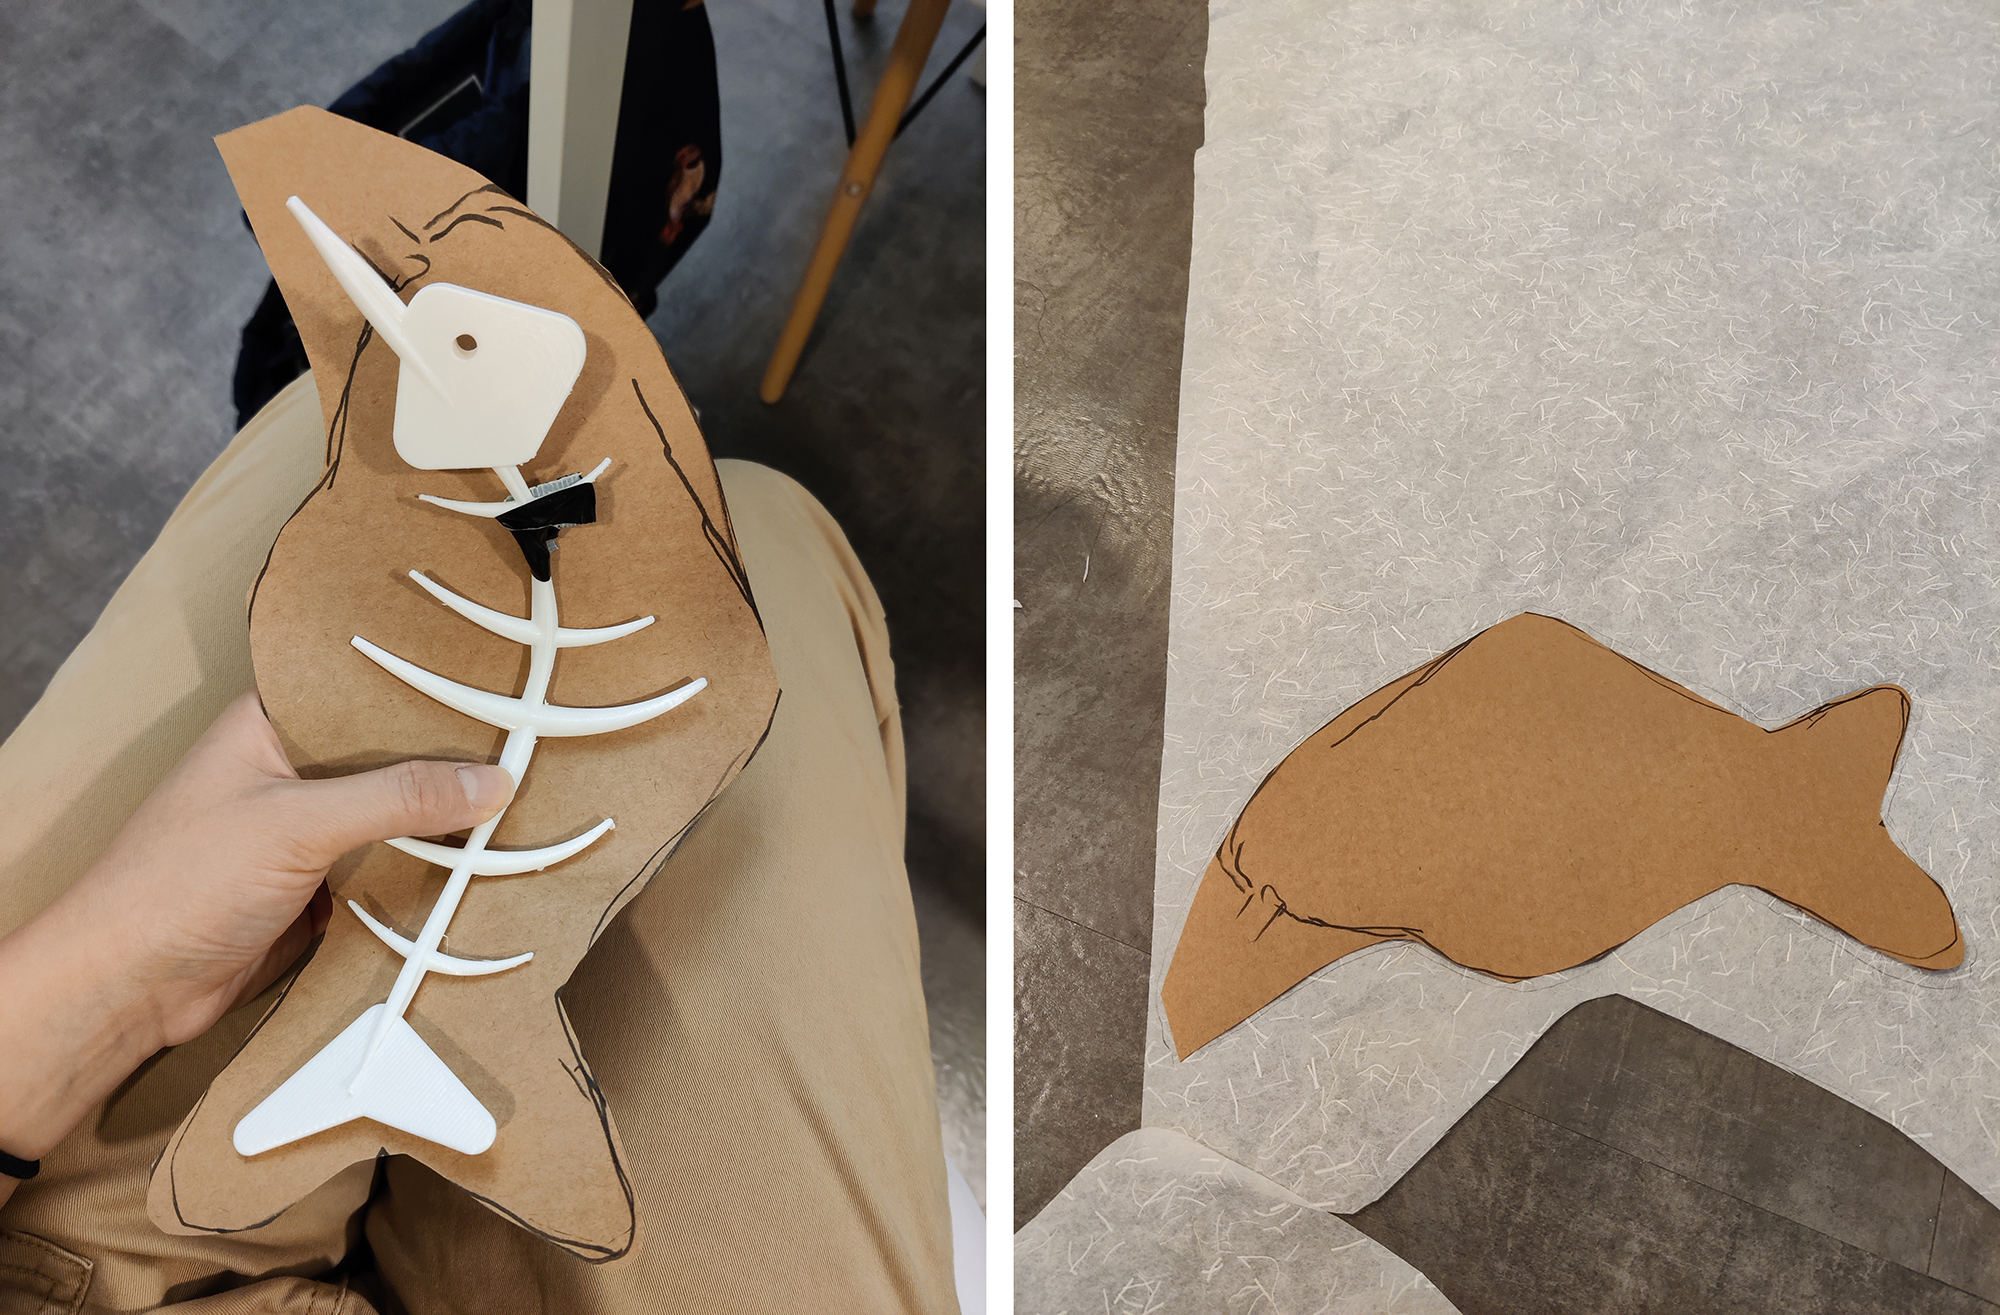
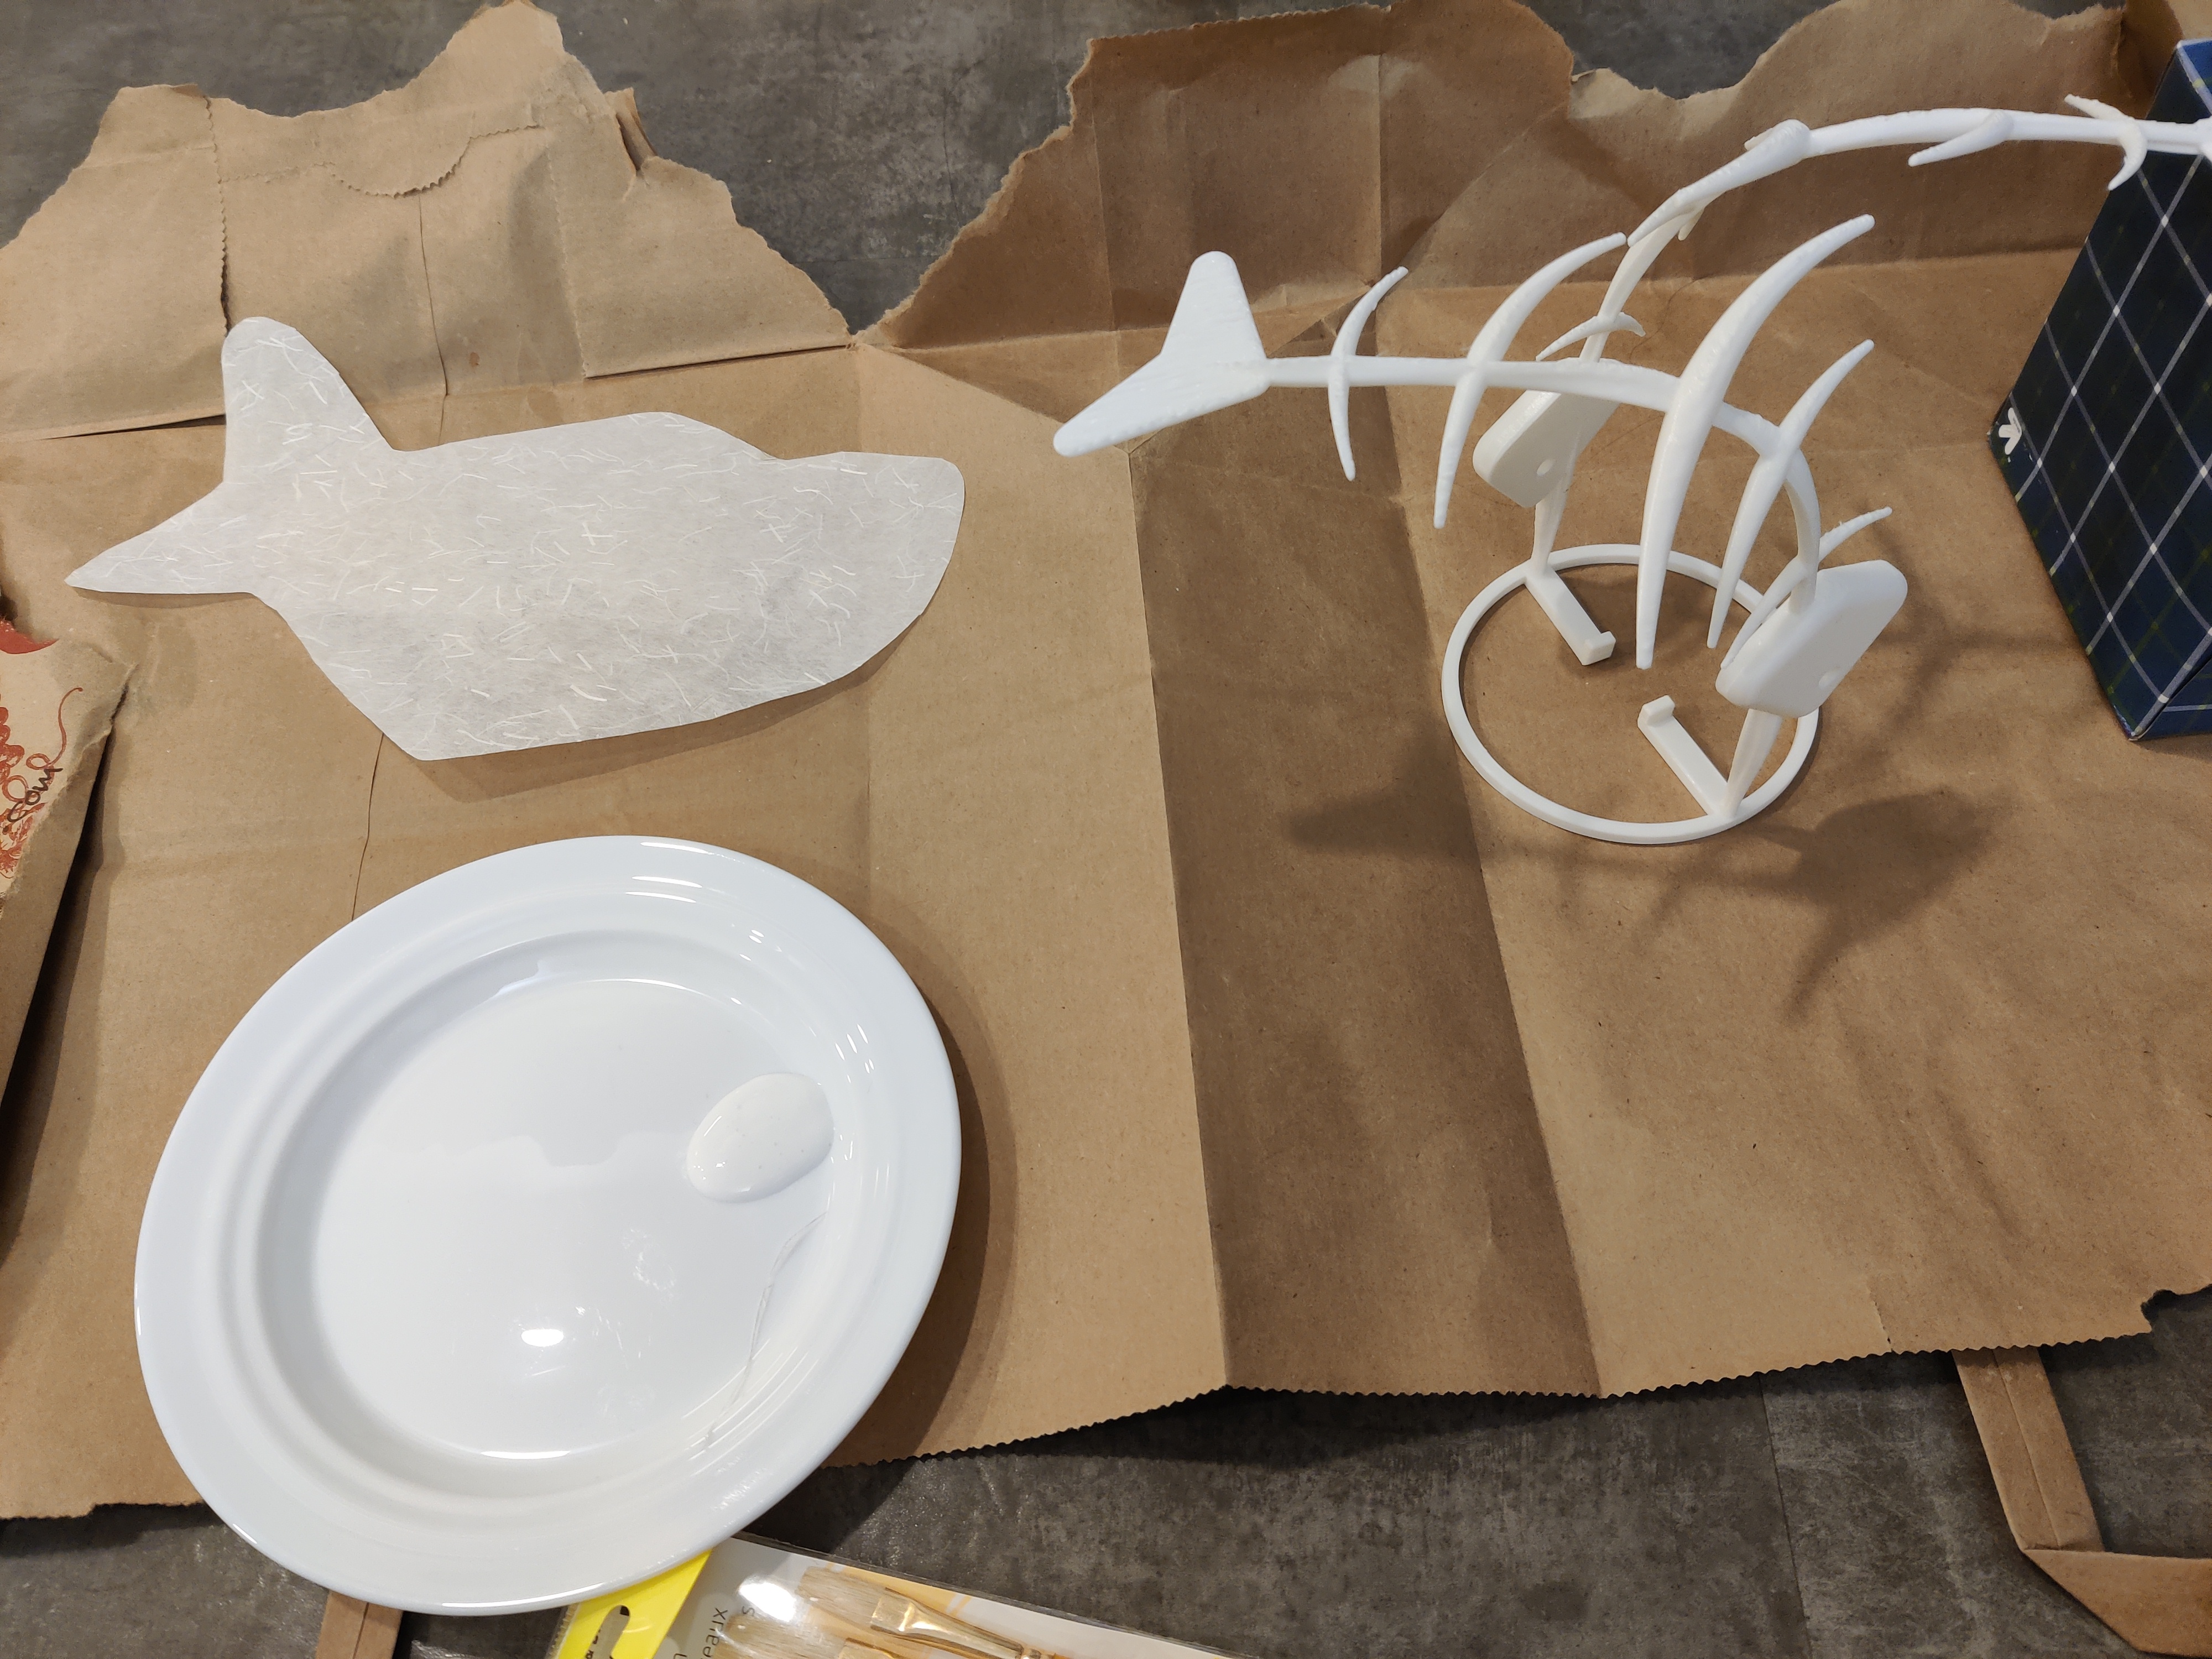
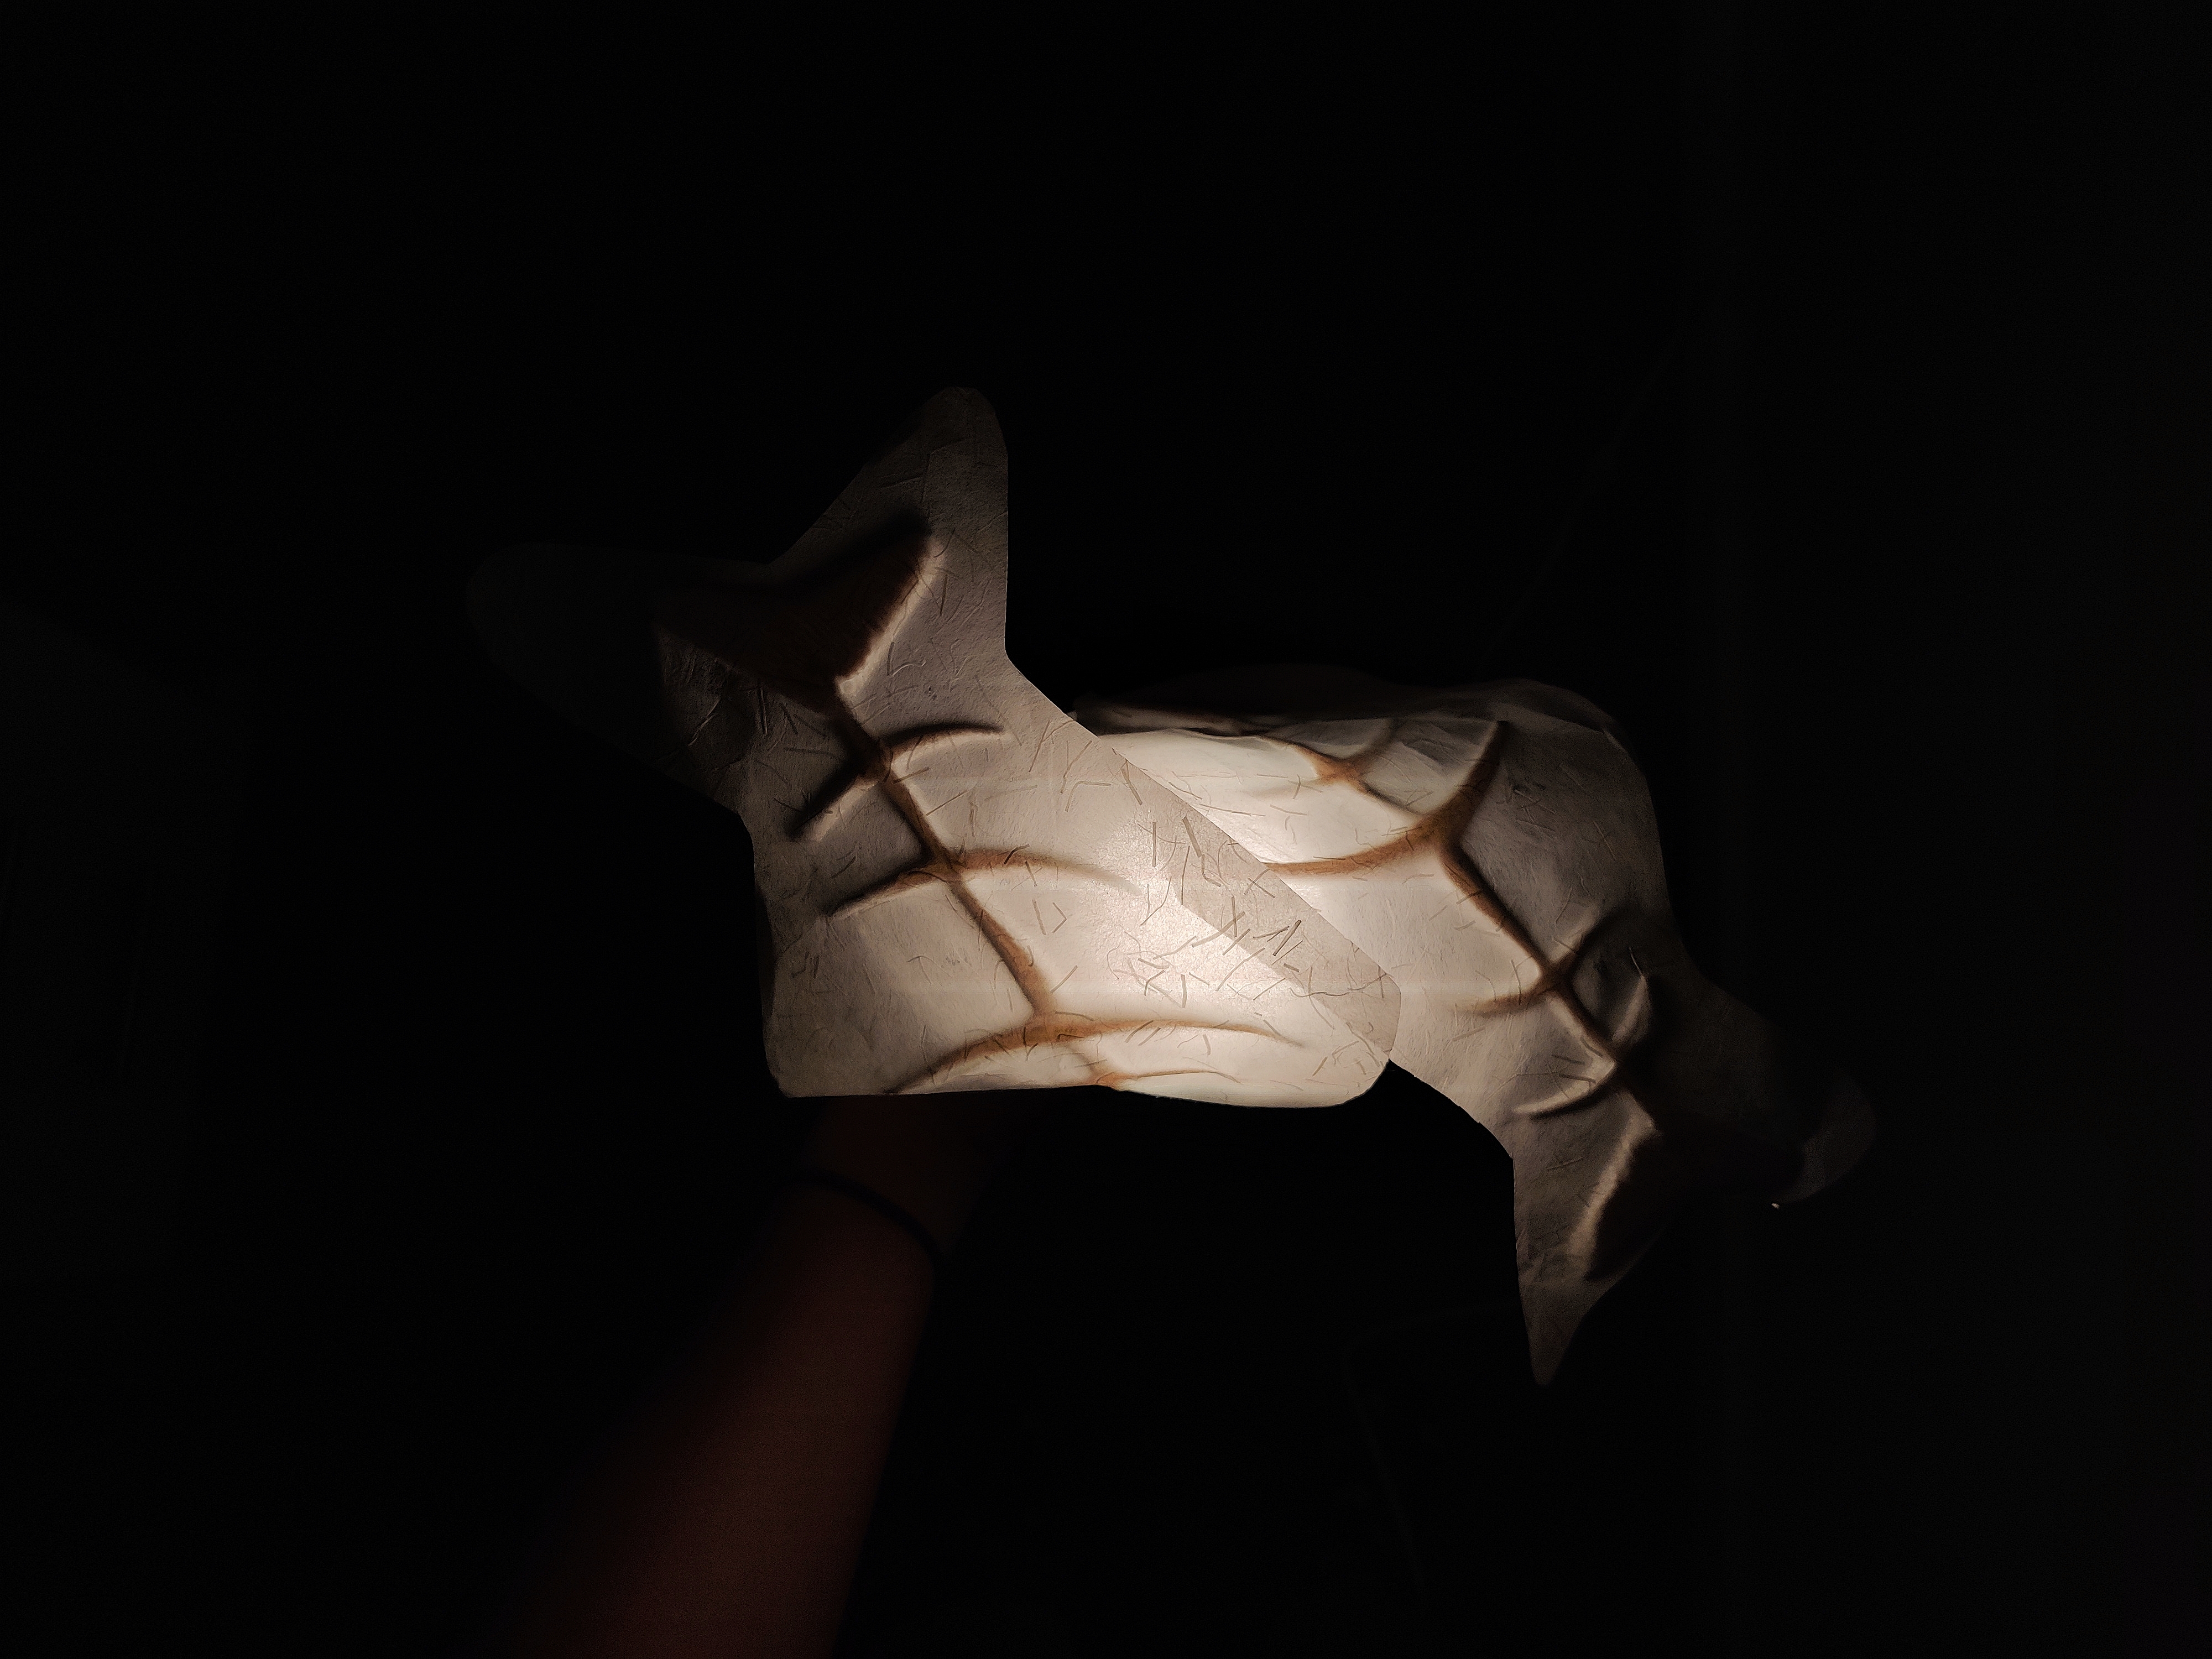
Using the broken fish from earlier, I drew out a fish shape on a piece of paper to use as a template. I cut the shapes out of the special paper and glued them to the fish.
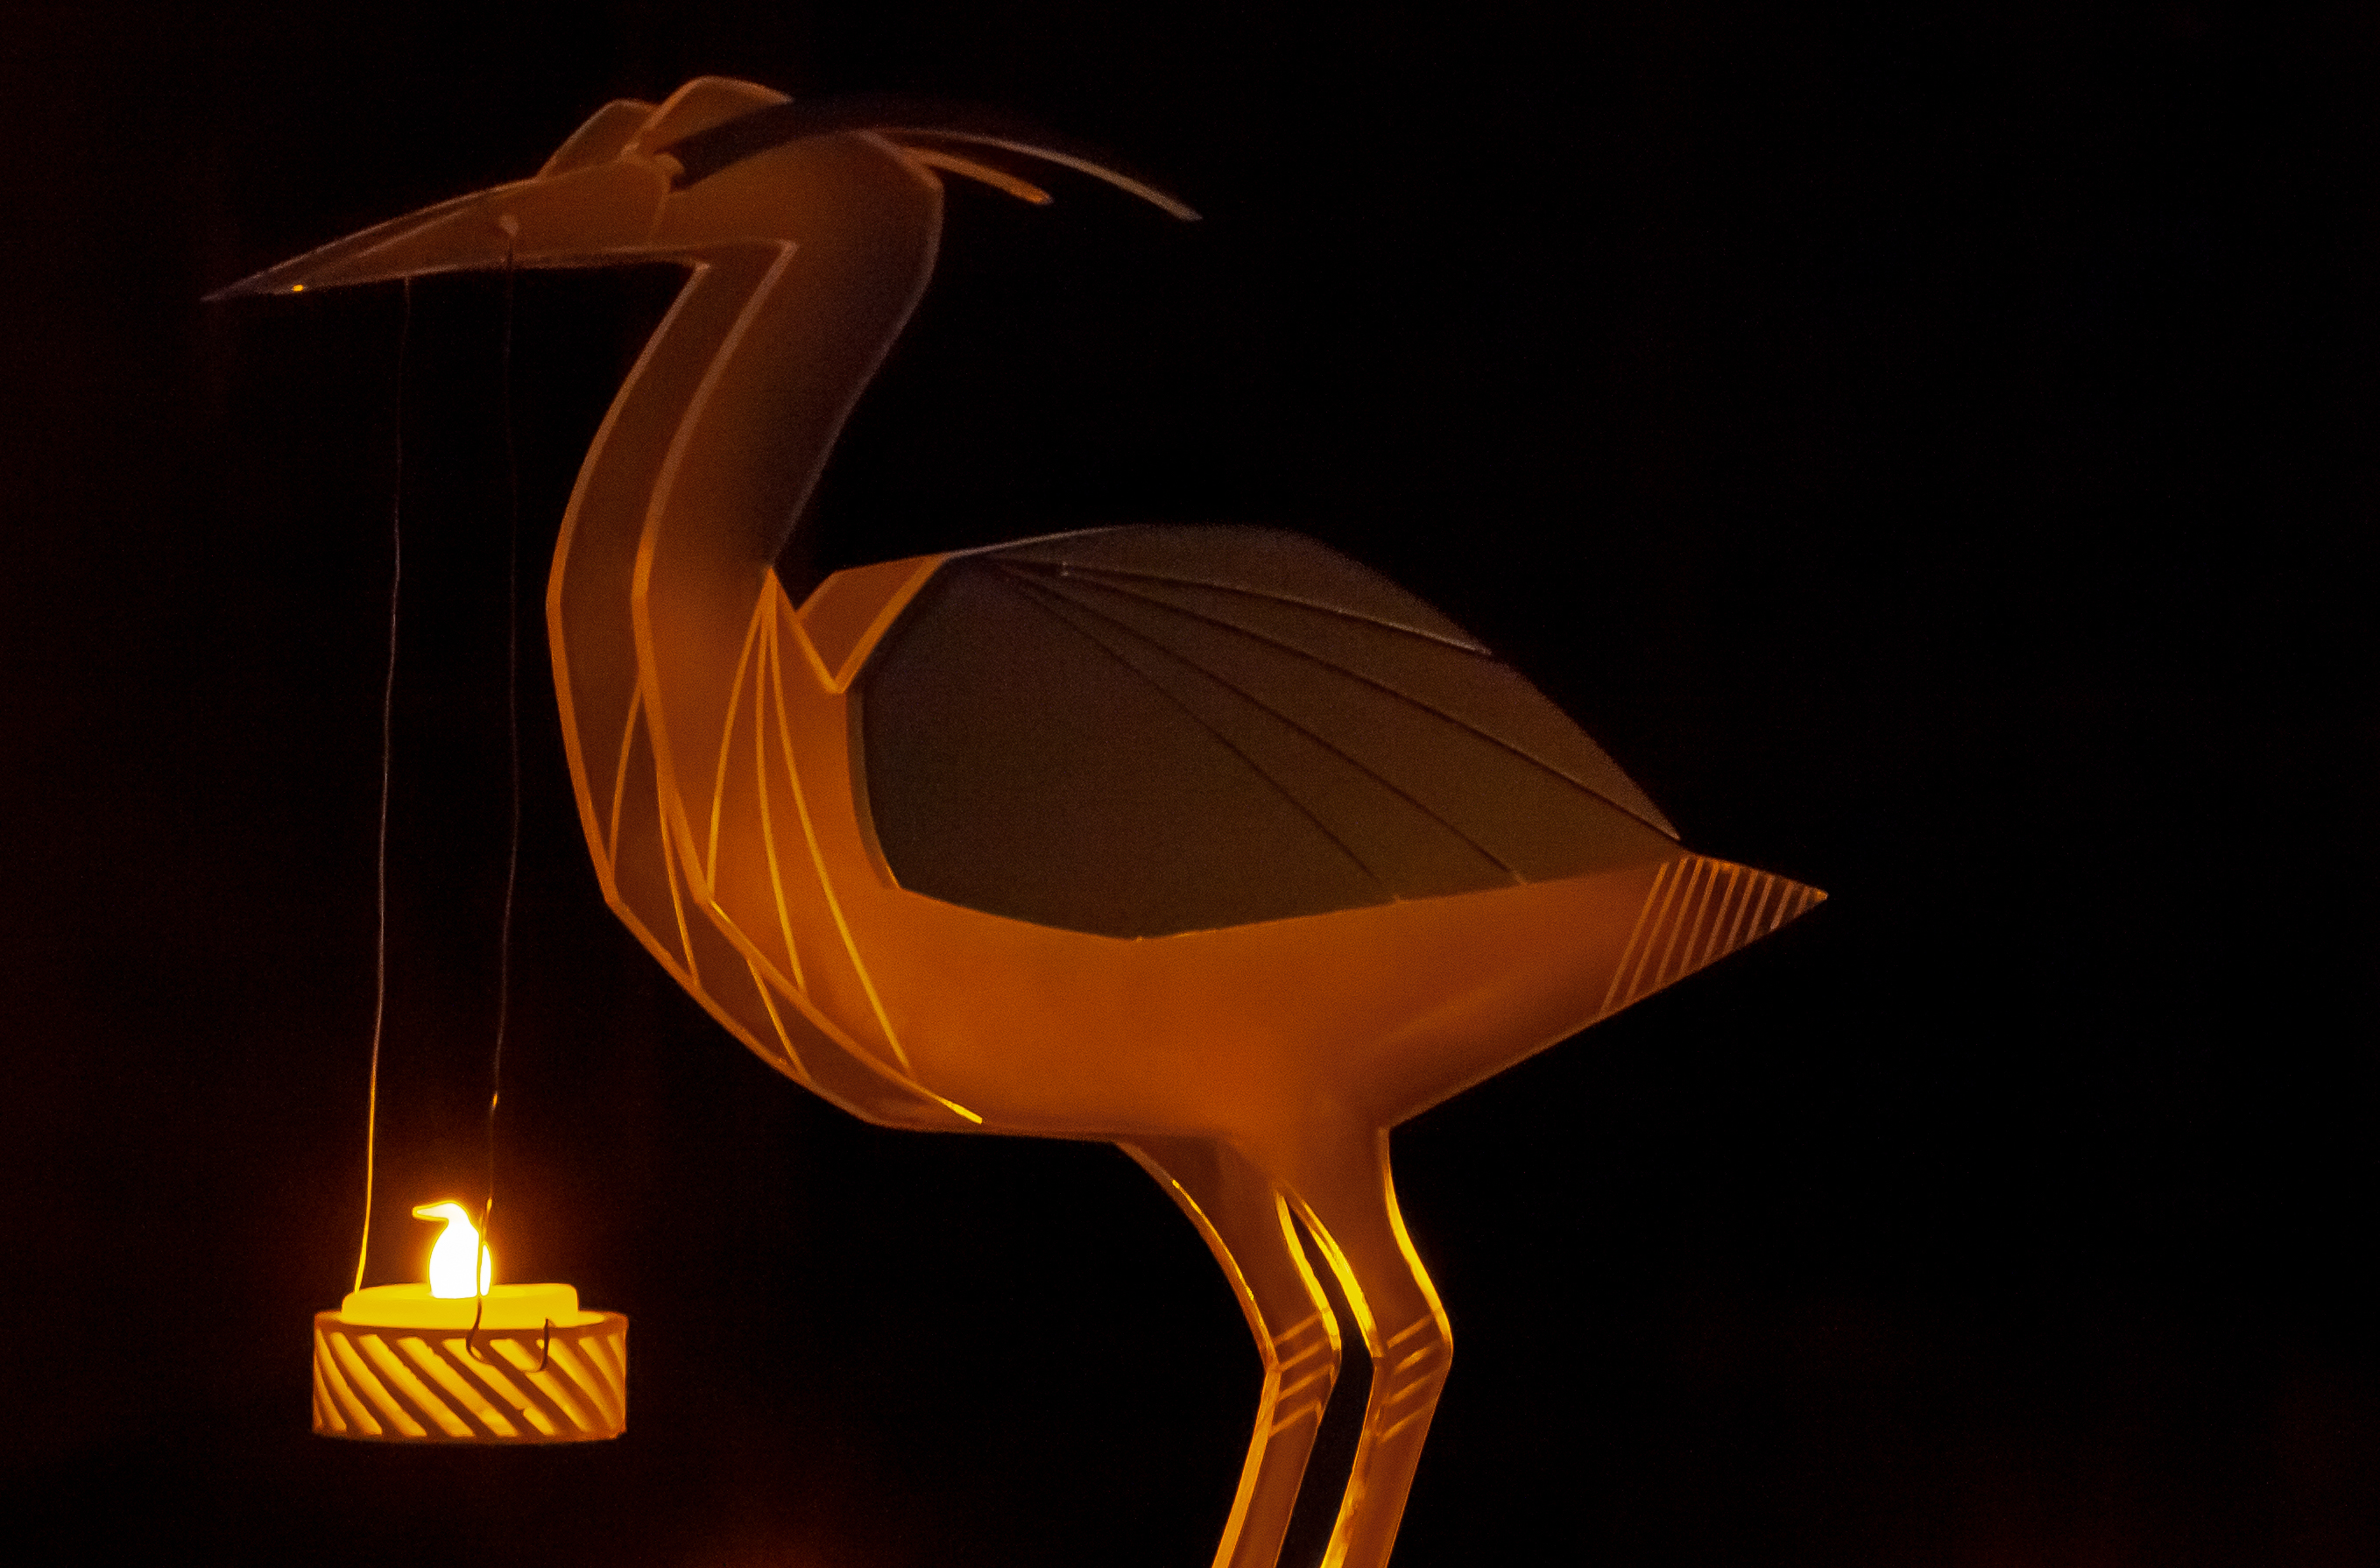
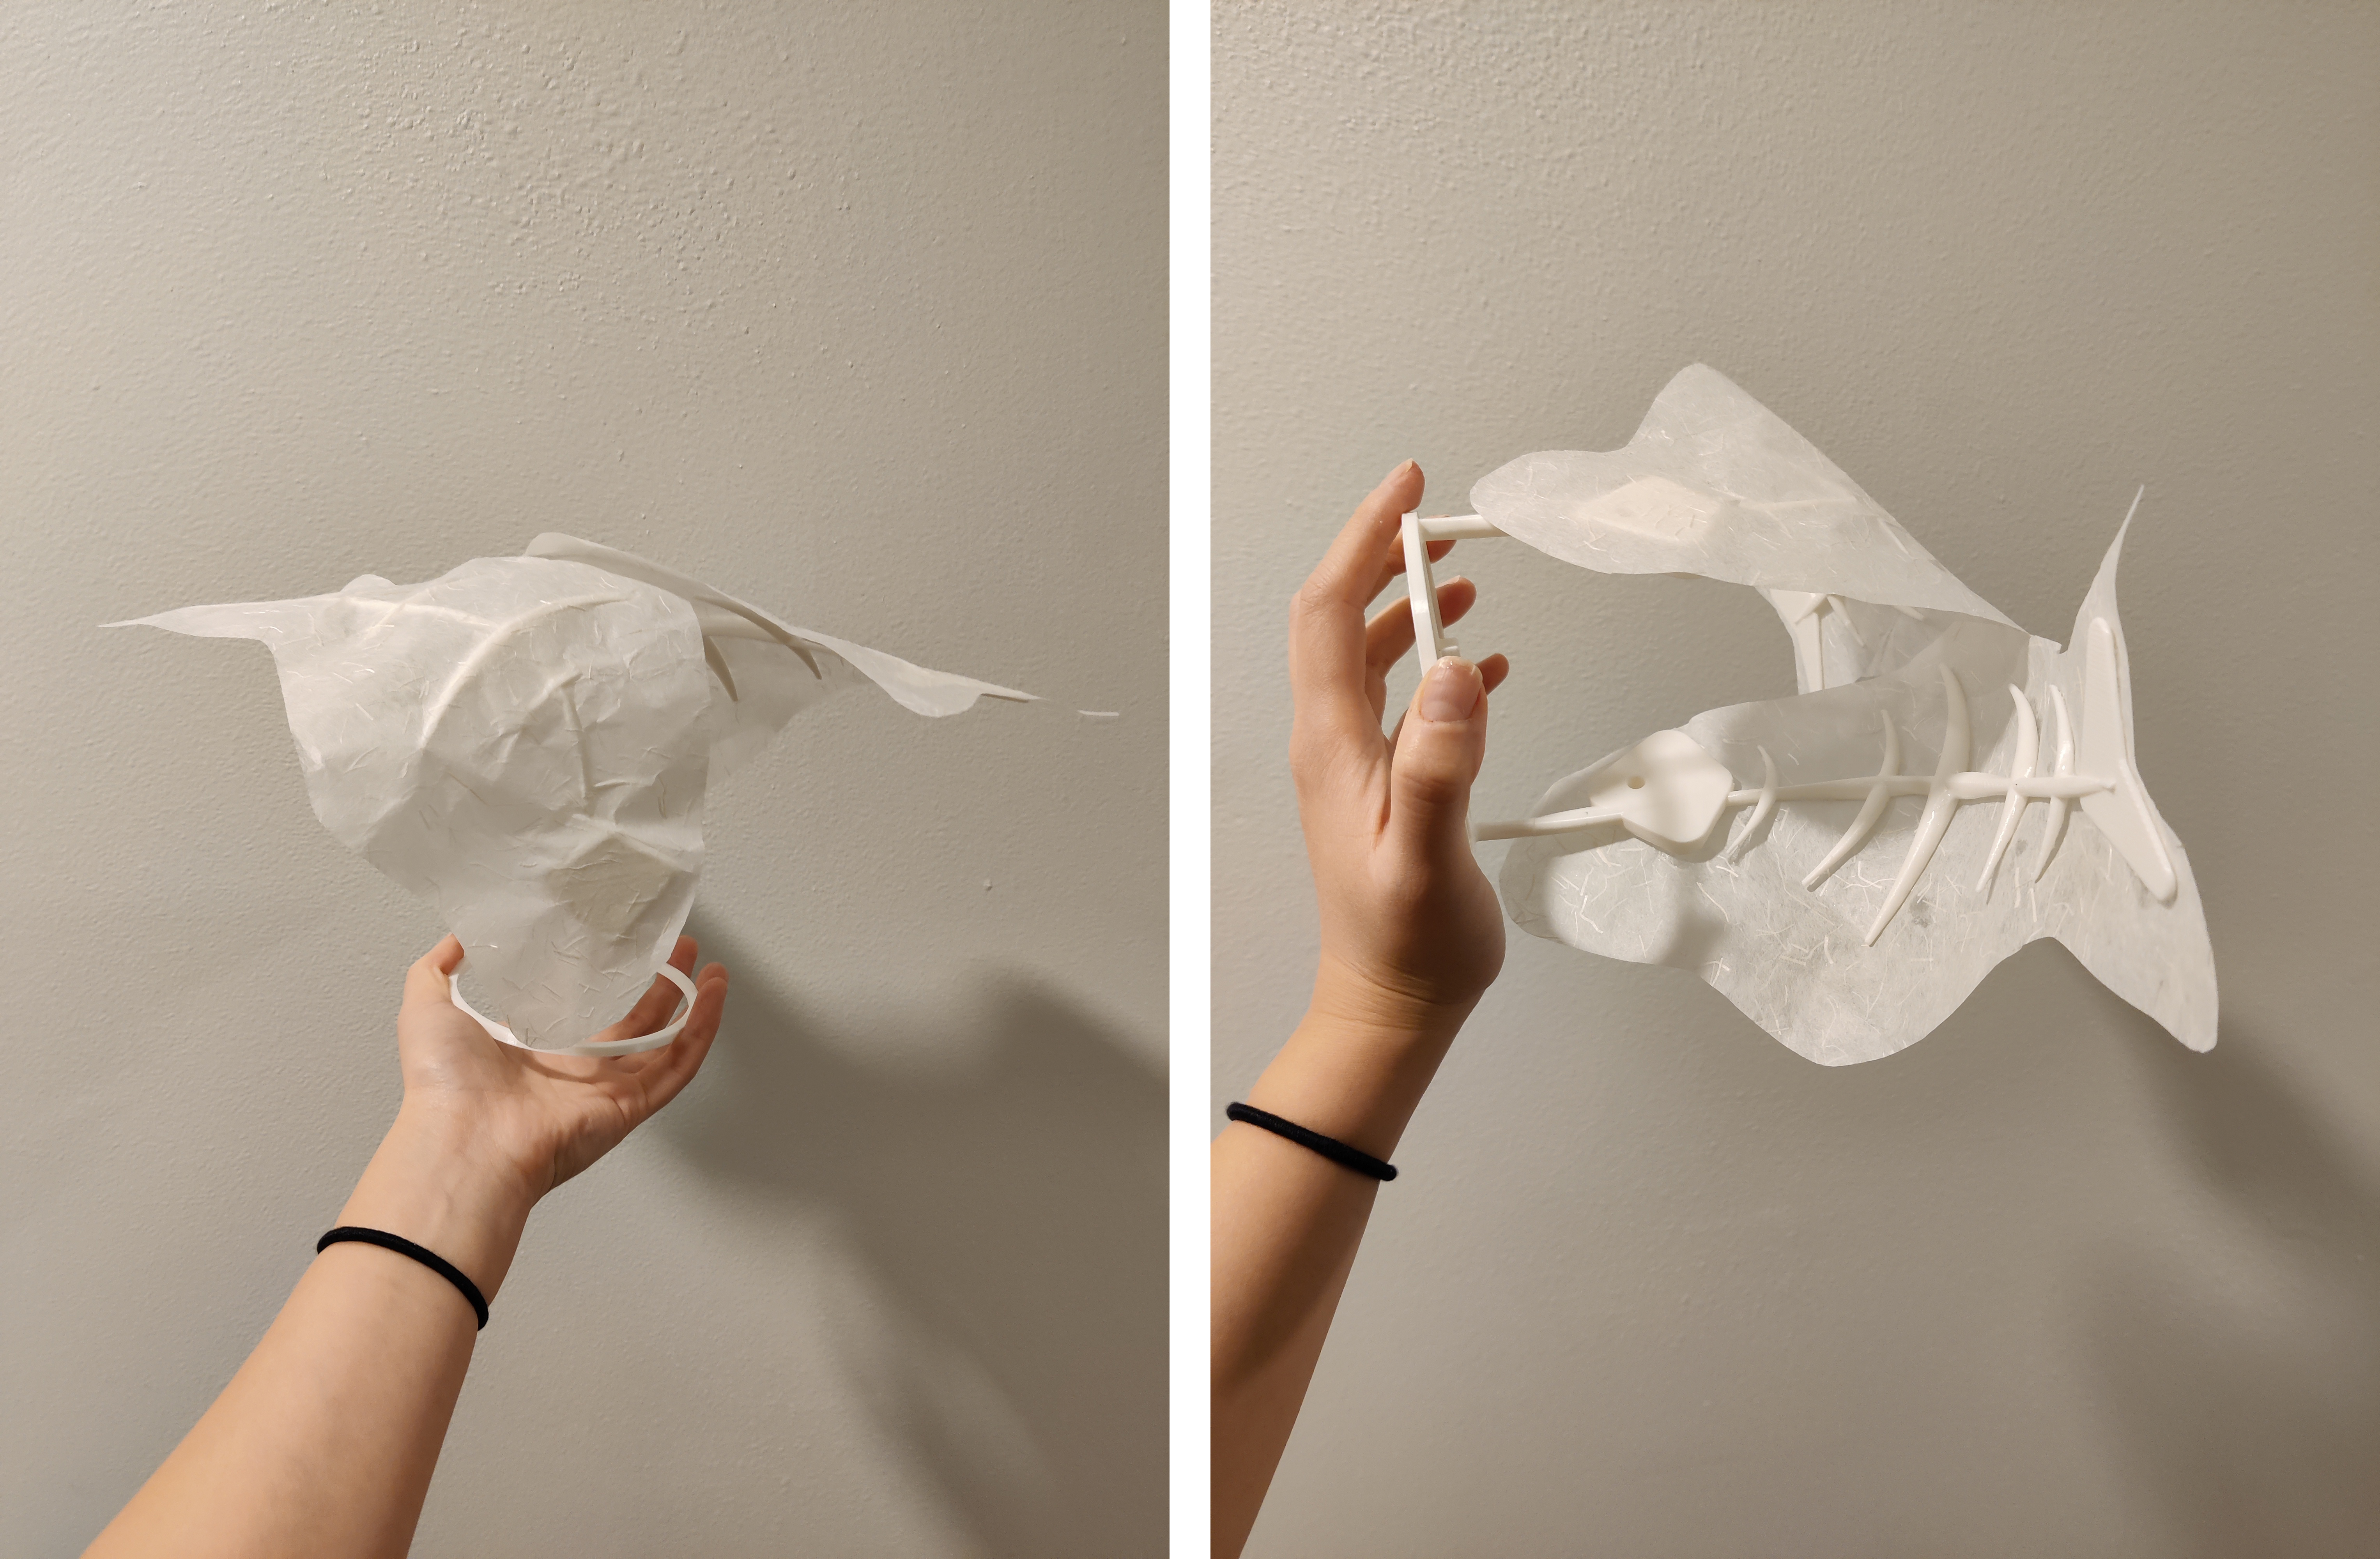
After letting it dry for a few minutes, the lamp was ready!
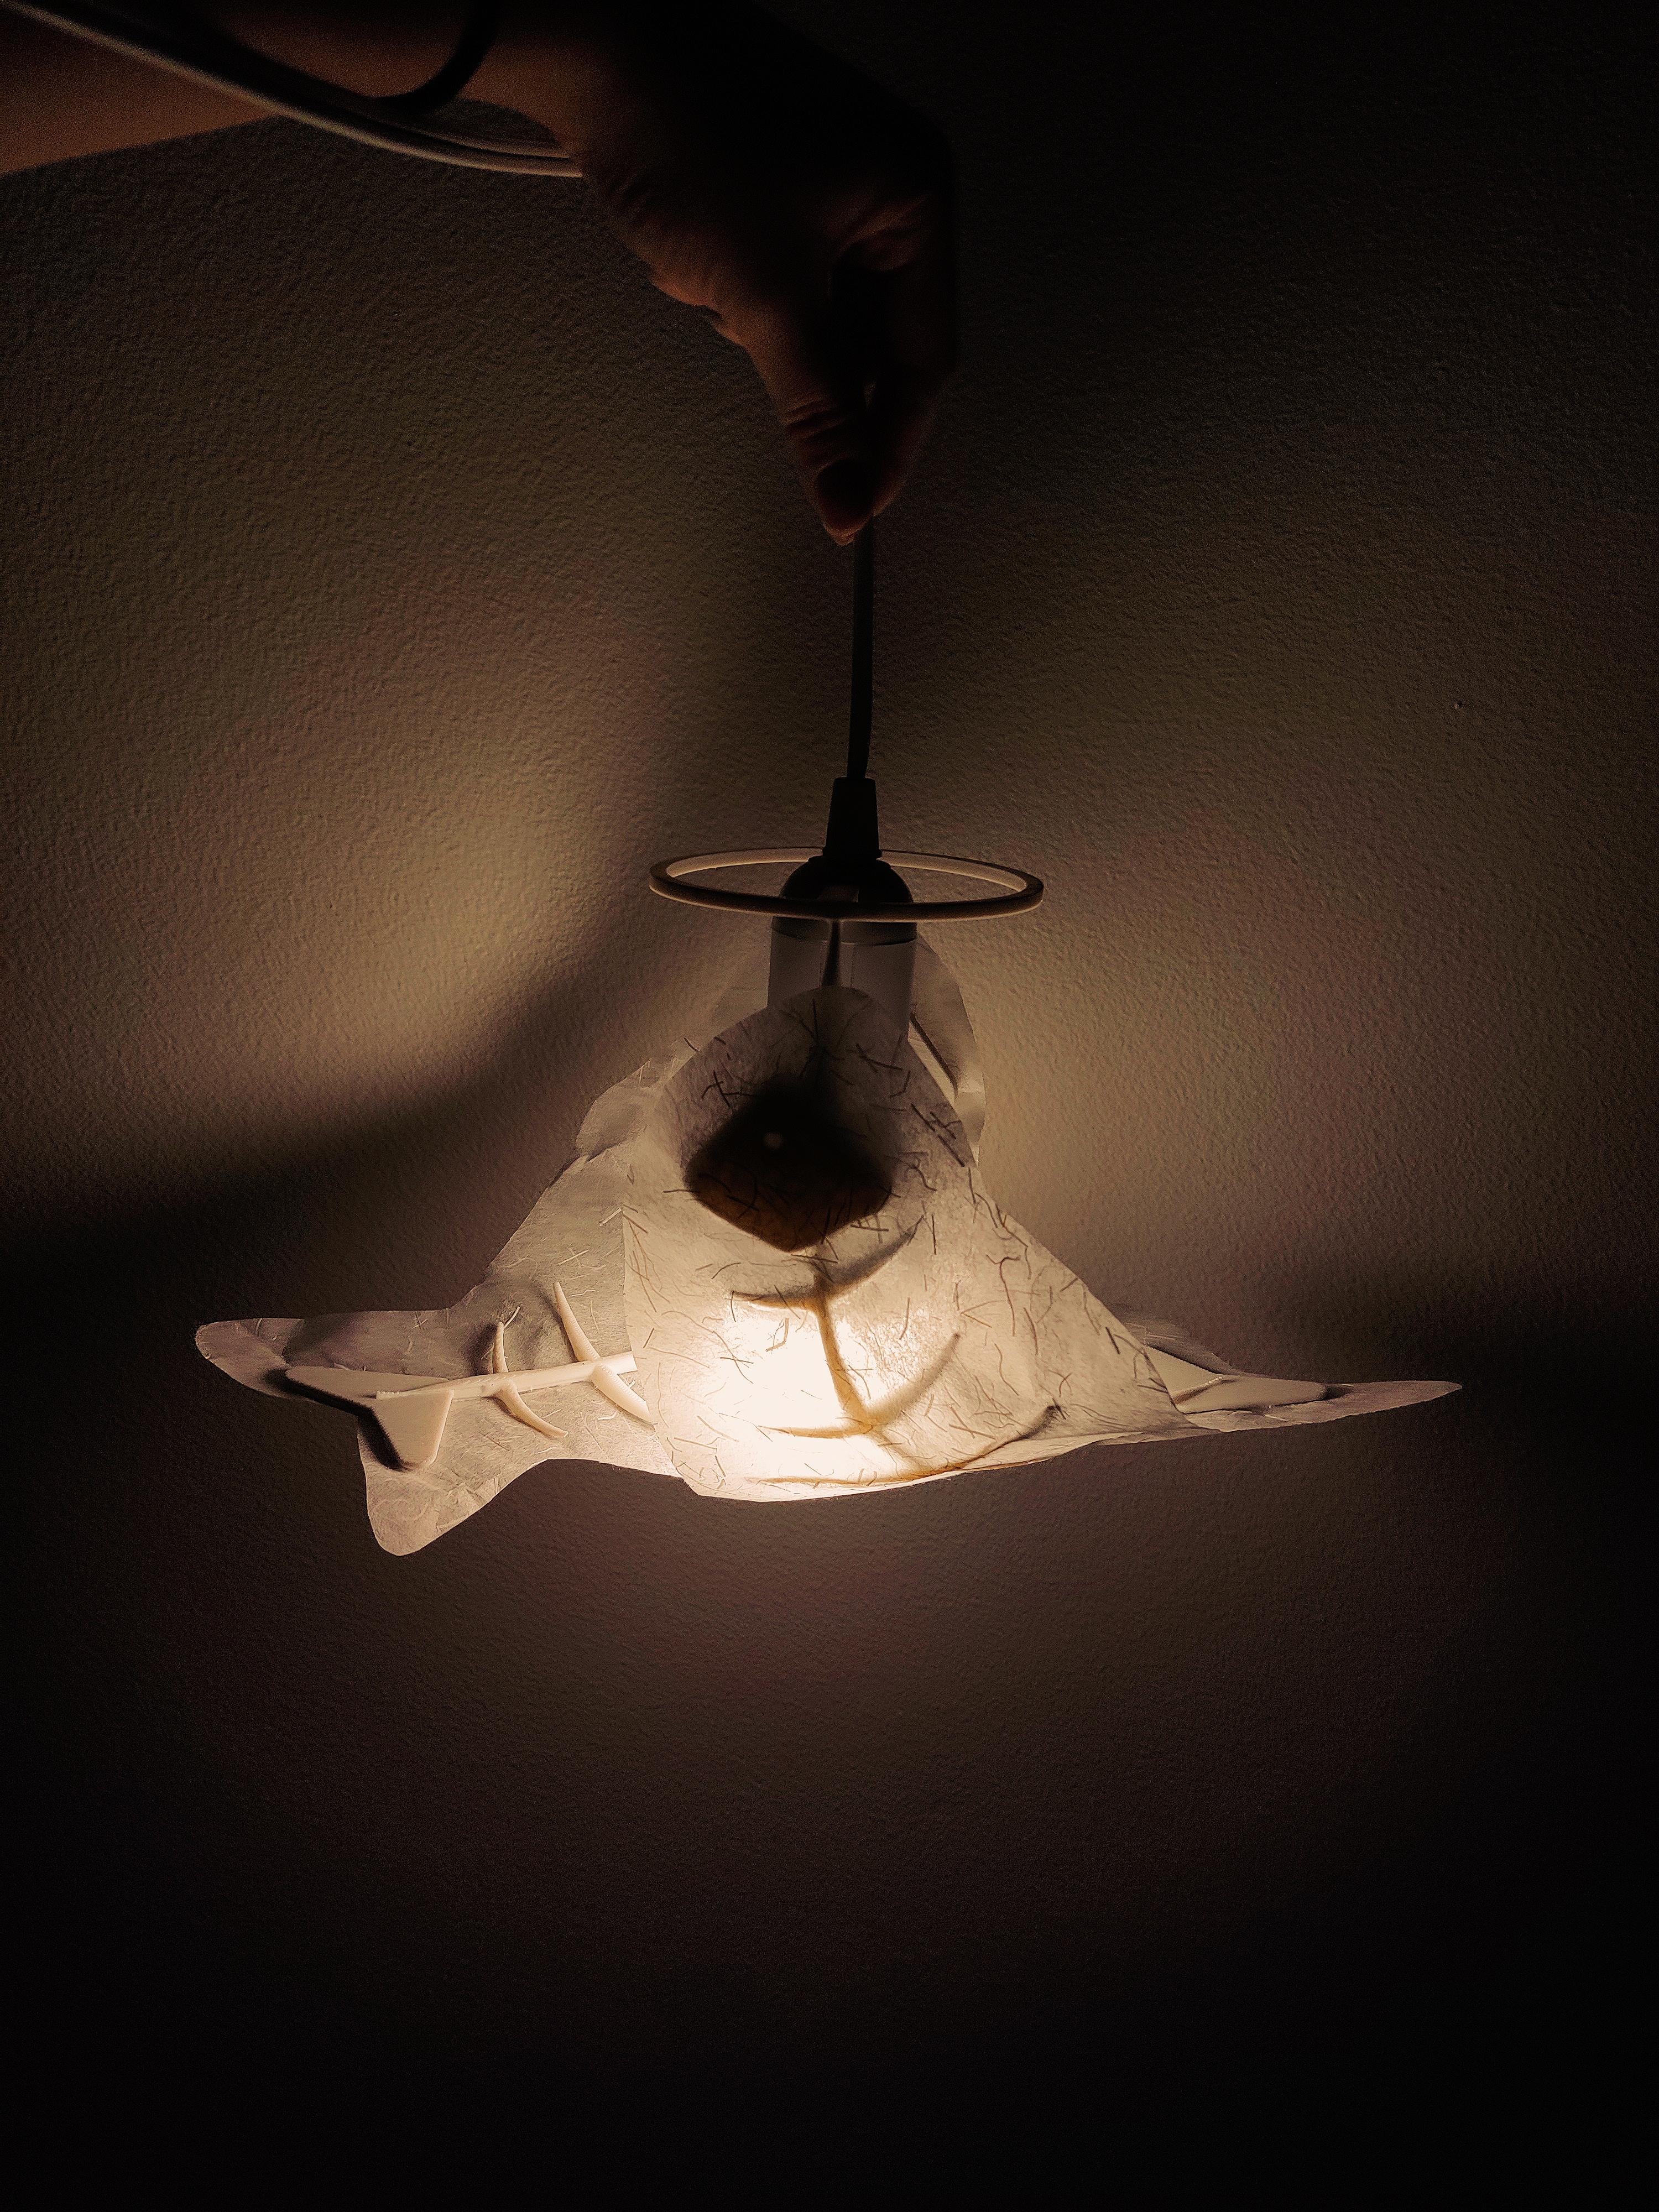
The ring still comes on and off cleanly.
I’m pretty happy with the result; even though it was not ideally what I envisioned, it still looks pretty neat. Maybe someday I will re-attempt. : )
Molding & Casting p.1
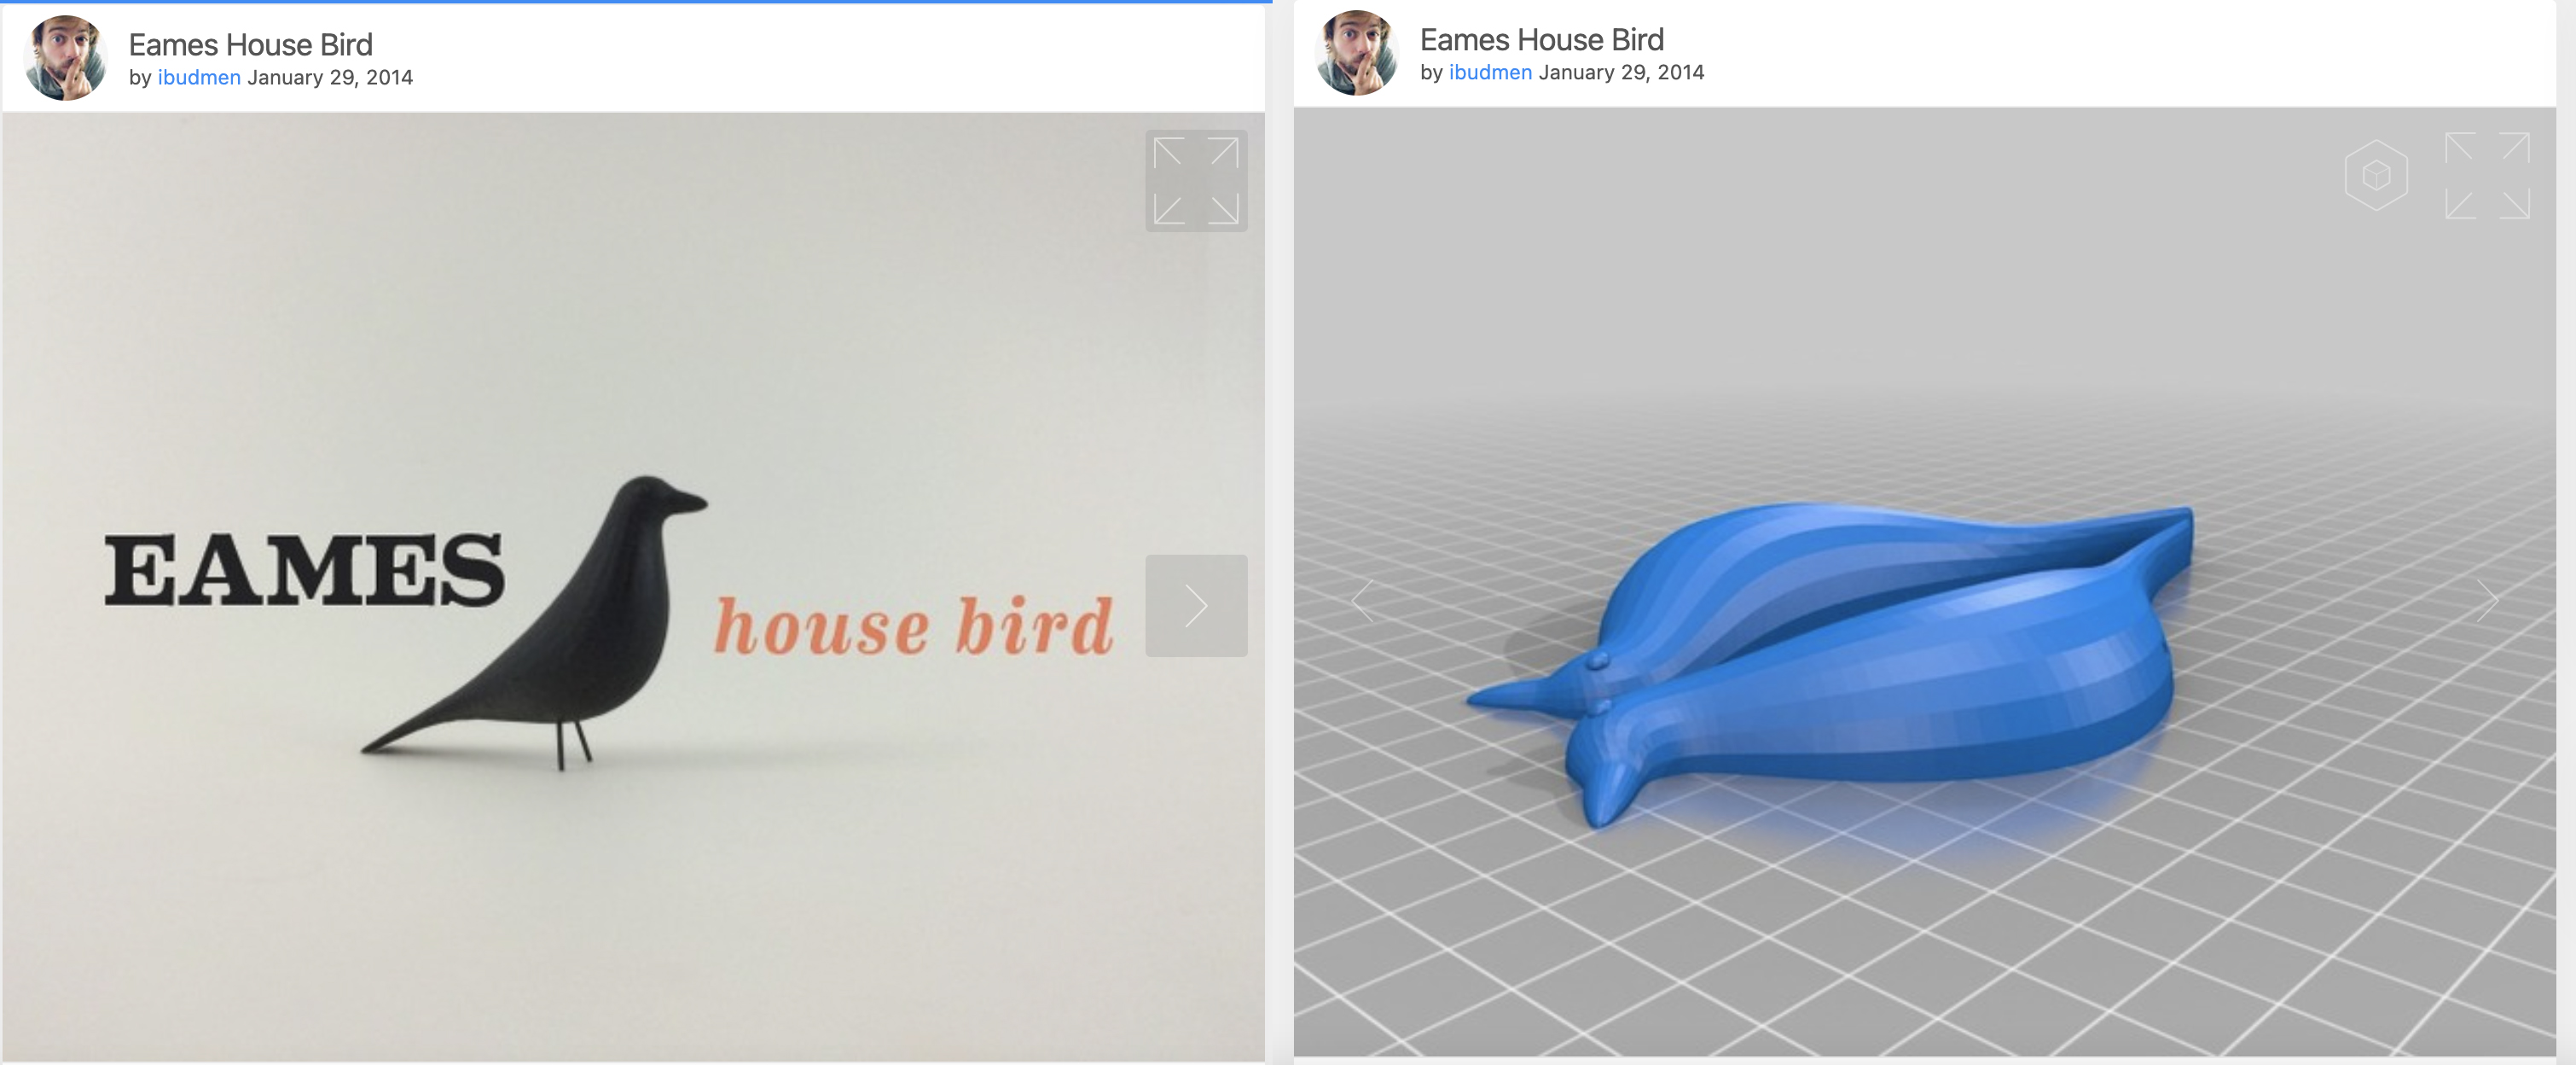
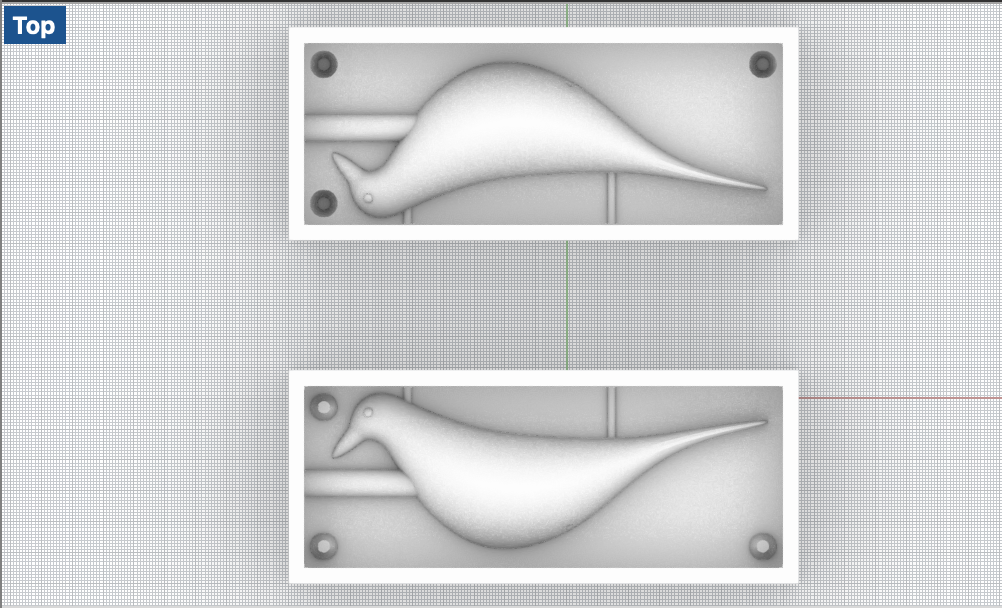
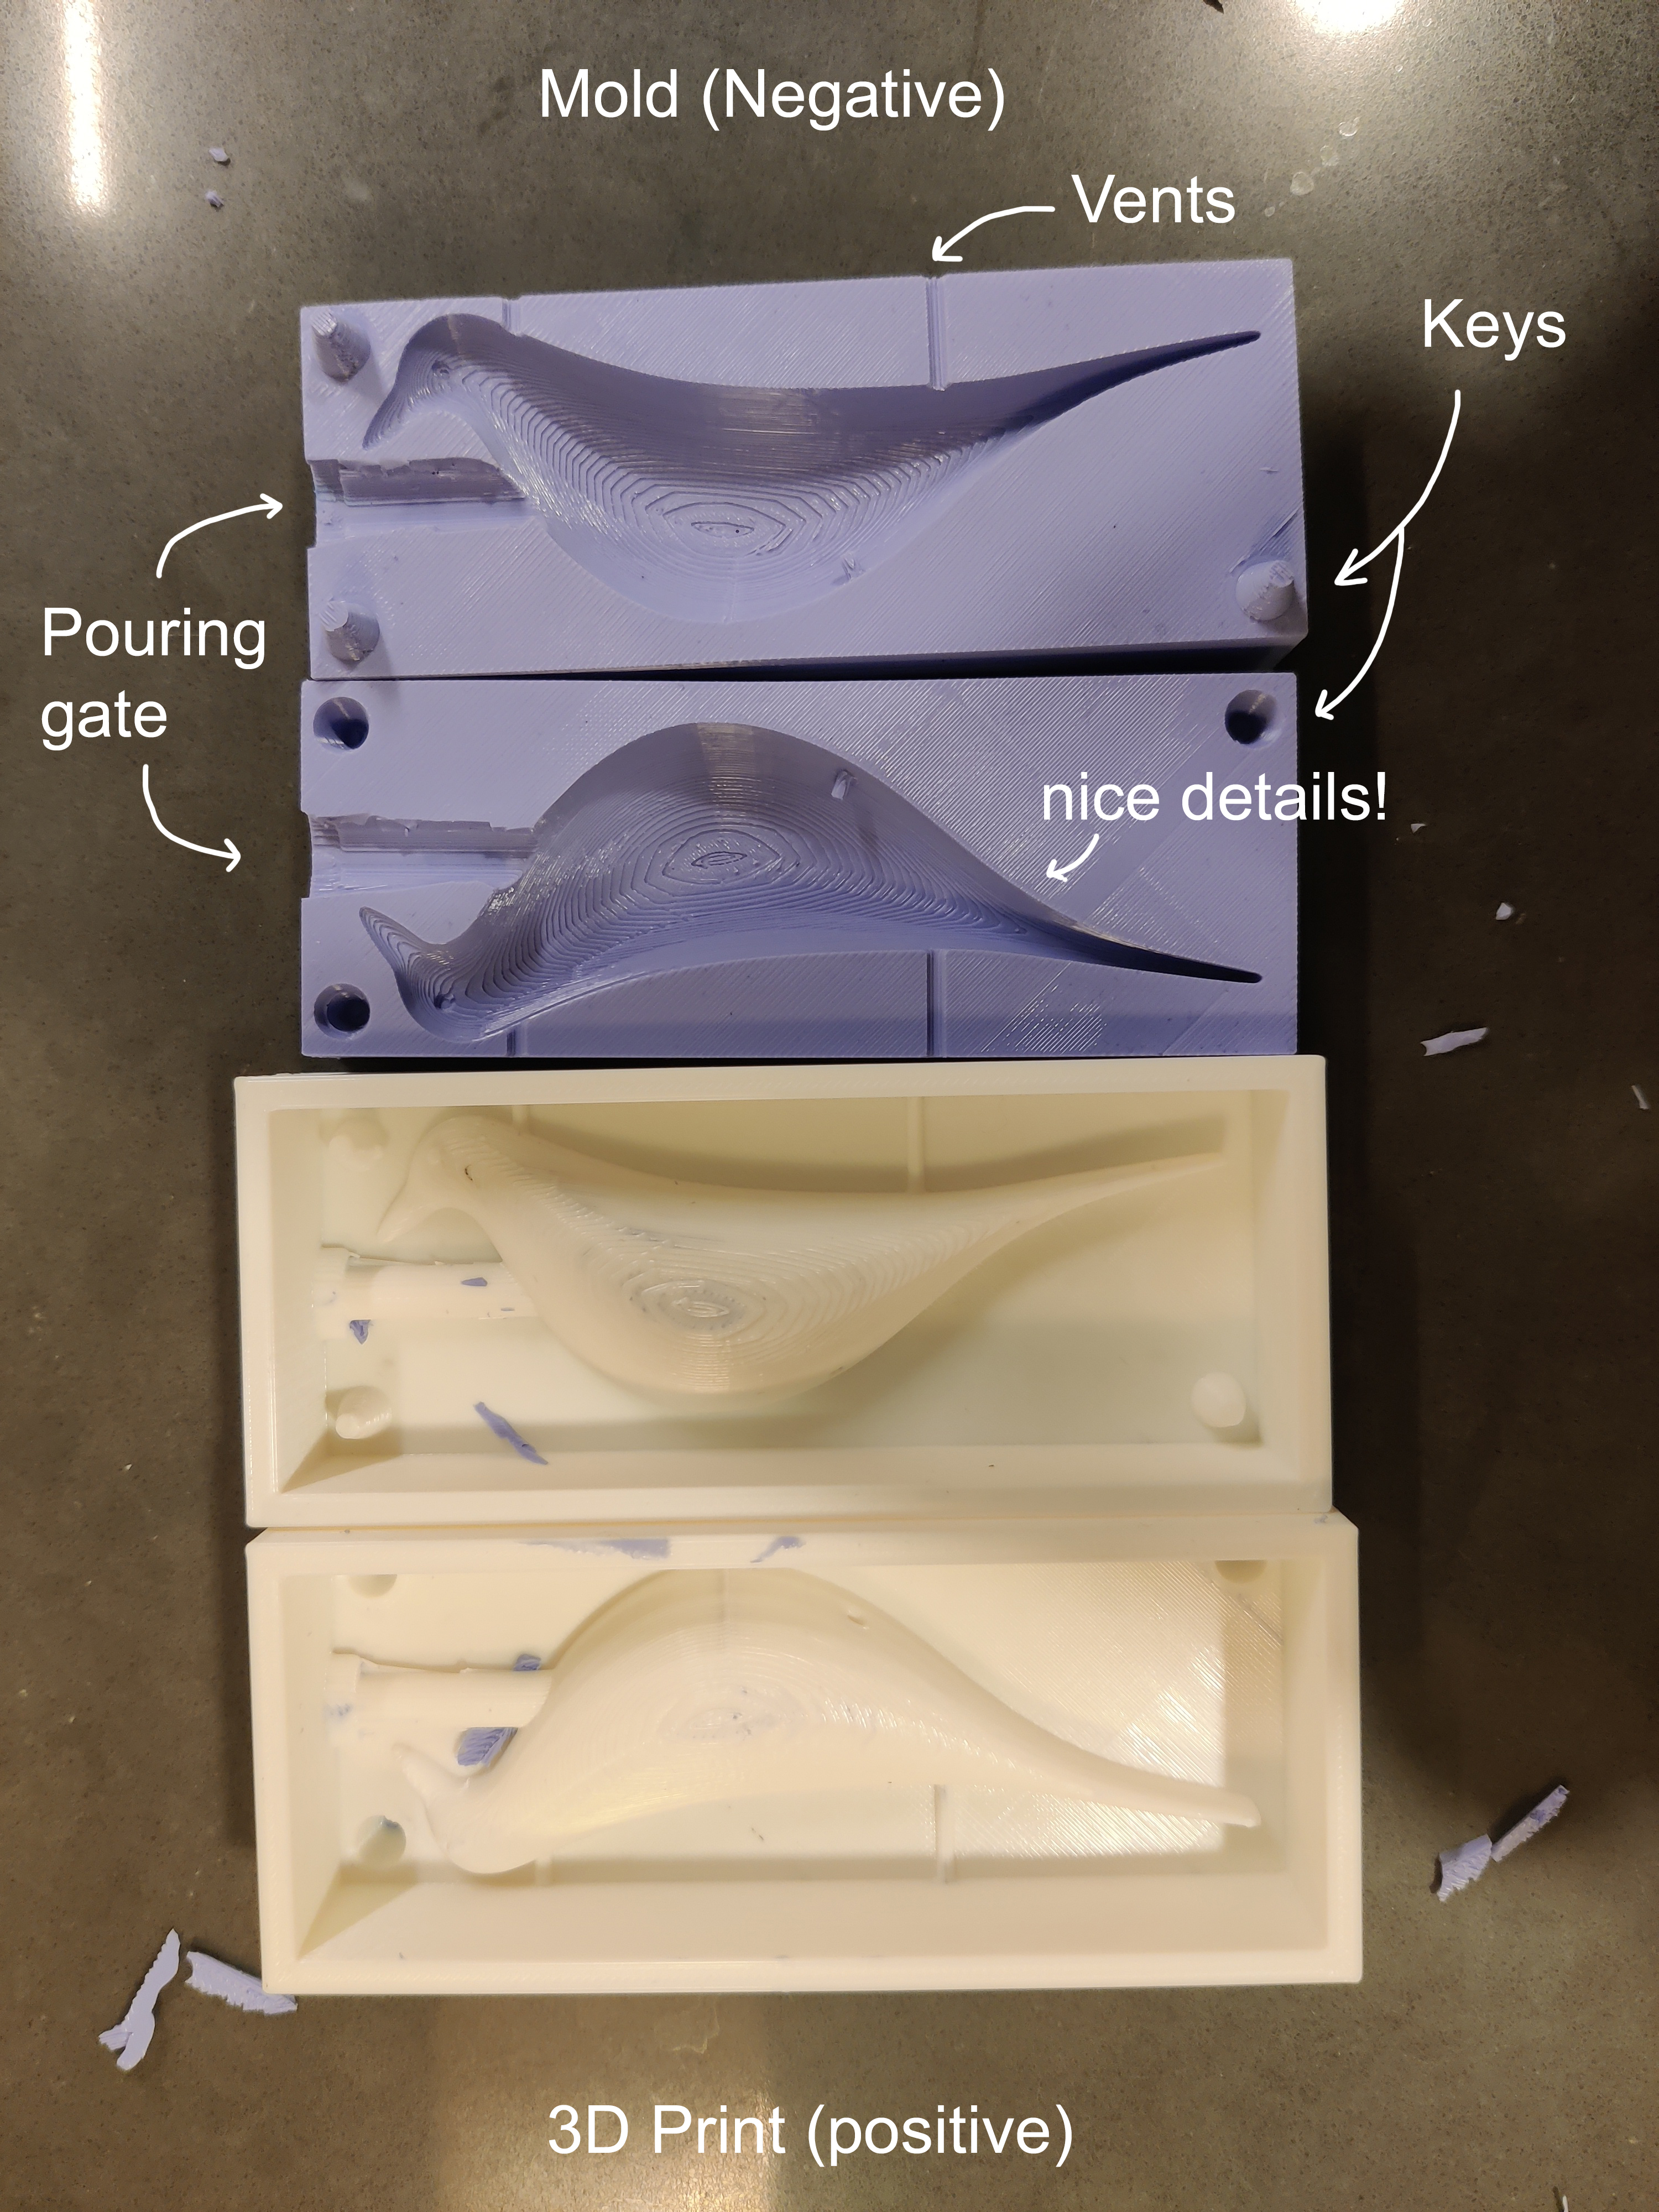
The other week, I found this model on Thingiverse of the Eames House Bird. It was already split in half for printing, so I thought it would be nice to make a mold from it.
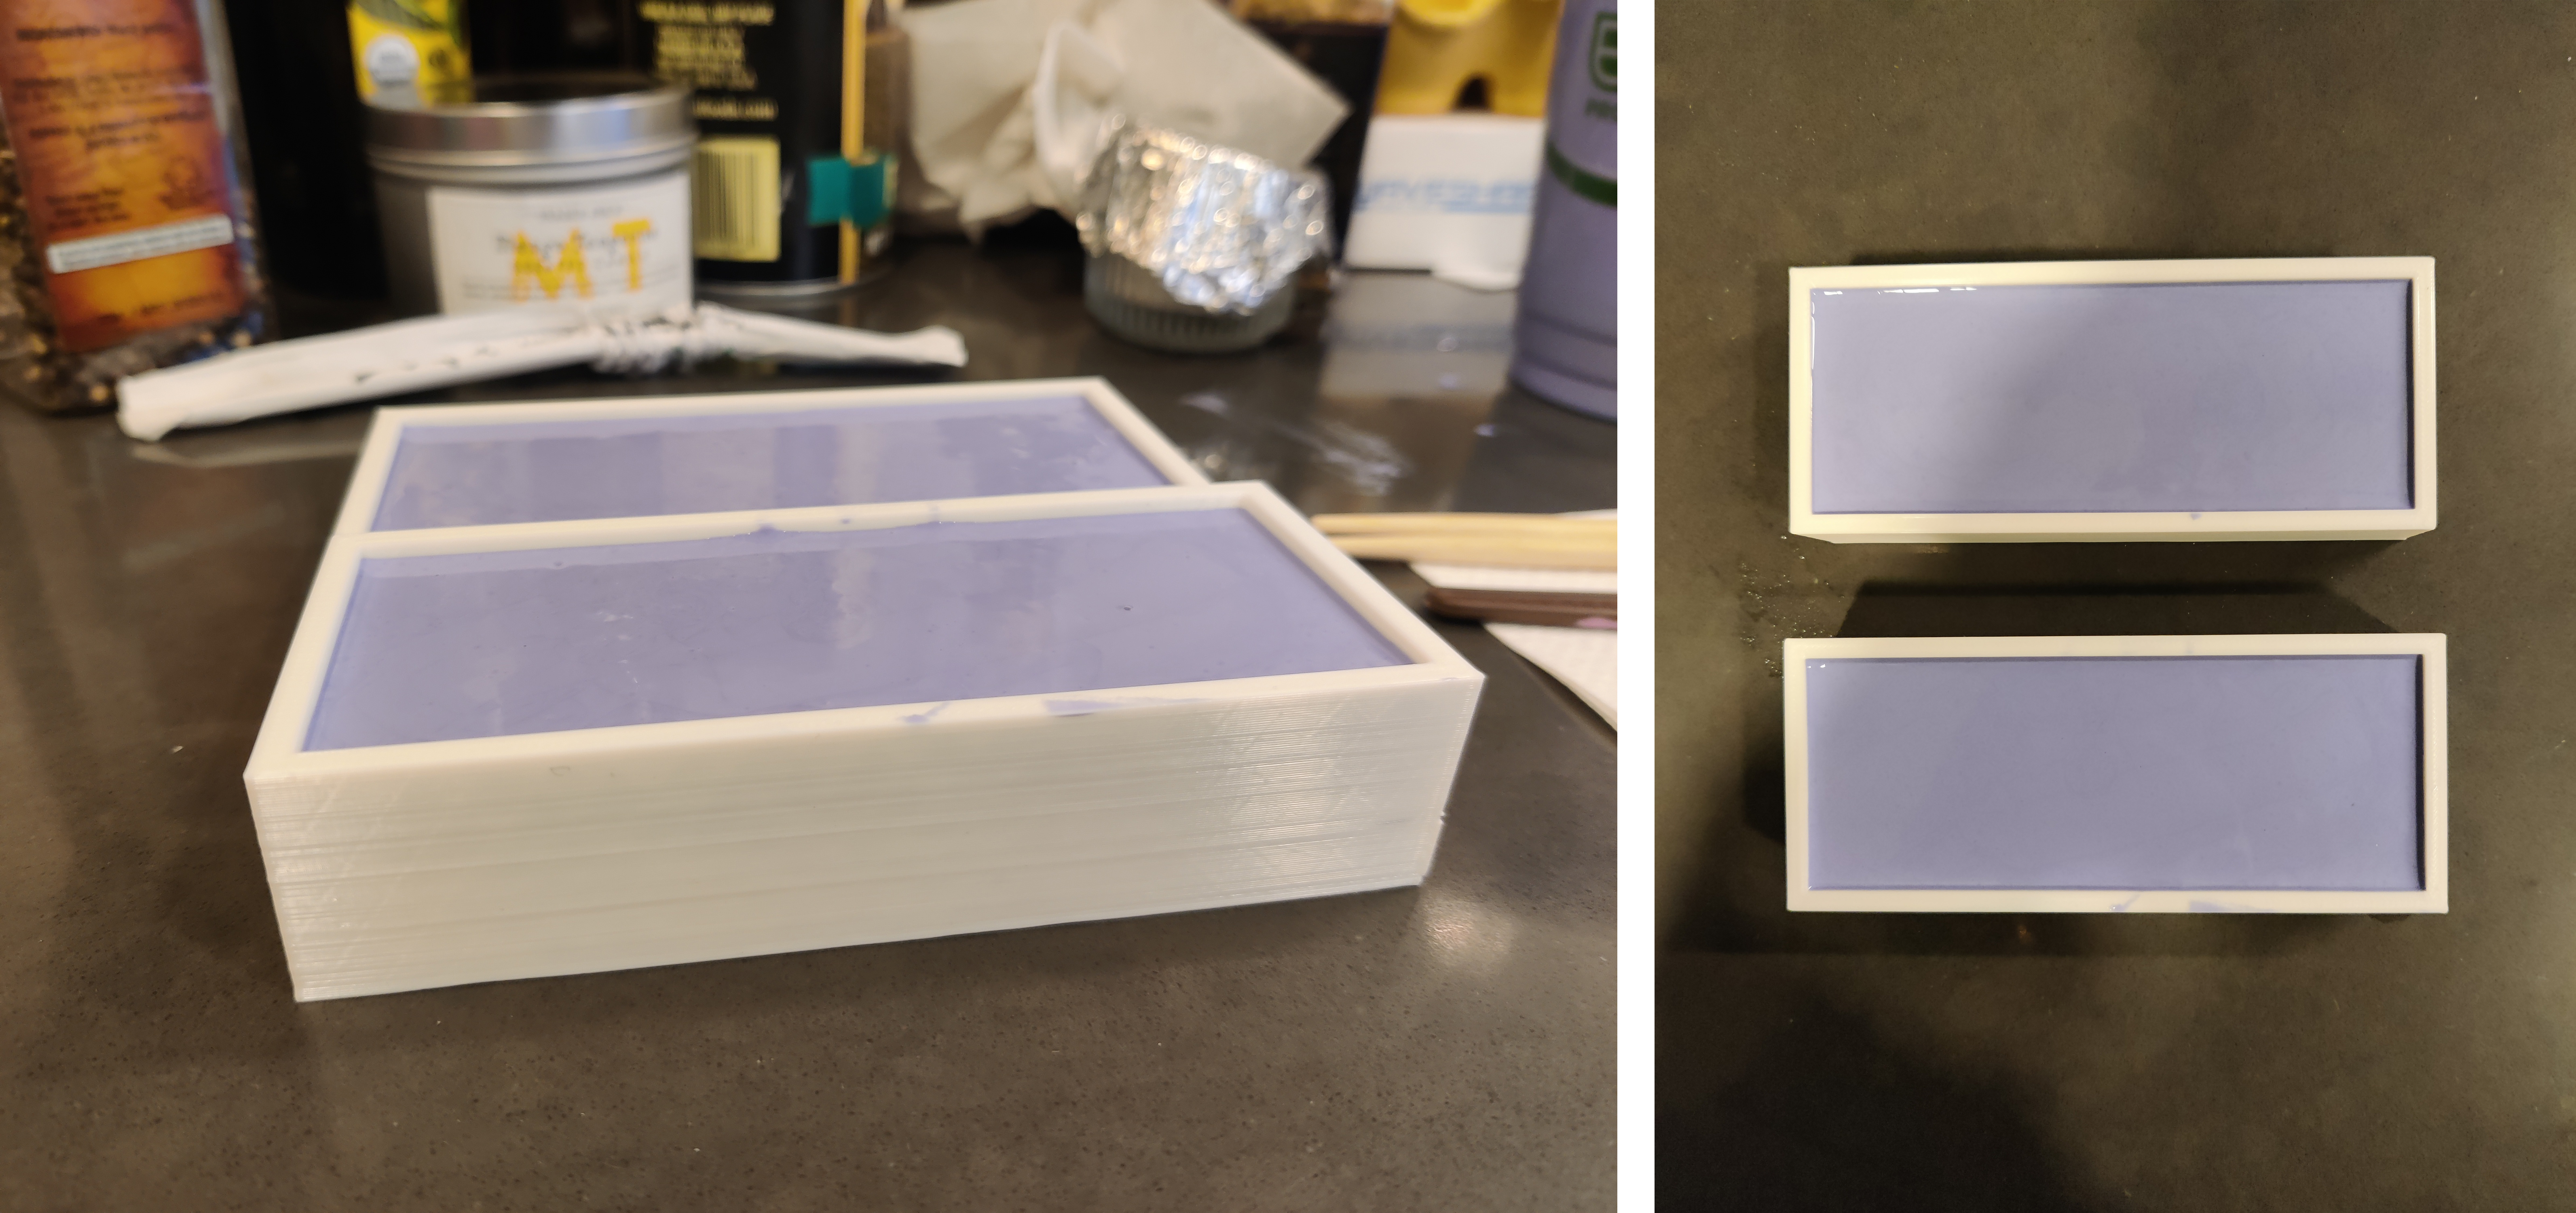
The plan was to put each half into an corresponding “box” (more like a coffin?) with a few keys, a pour hole, and a vent or two. I made one box/half first
To make the box:
- Make rectangle
- Offset
- Extrude high enough to have enough structural support at protruding belly of bird
- Add a base to the box by extruding the same initial rectangle
- BooleanUnion
To make the protruding keys:
- Make truncated cones
- Place & align on top of box
- Boolean Union
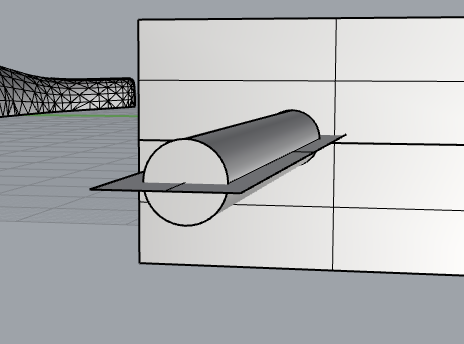
To make pour hole and vents:
- Make cylinder
- Trim in half with rectangular plane
- Position in place in box
- Trim excess
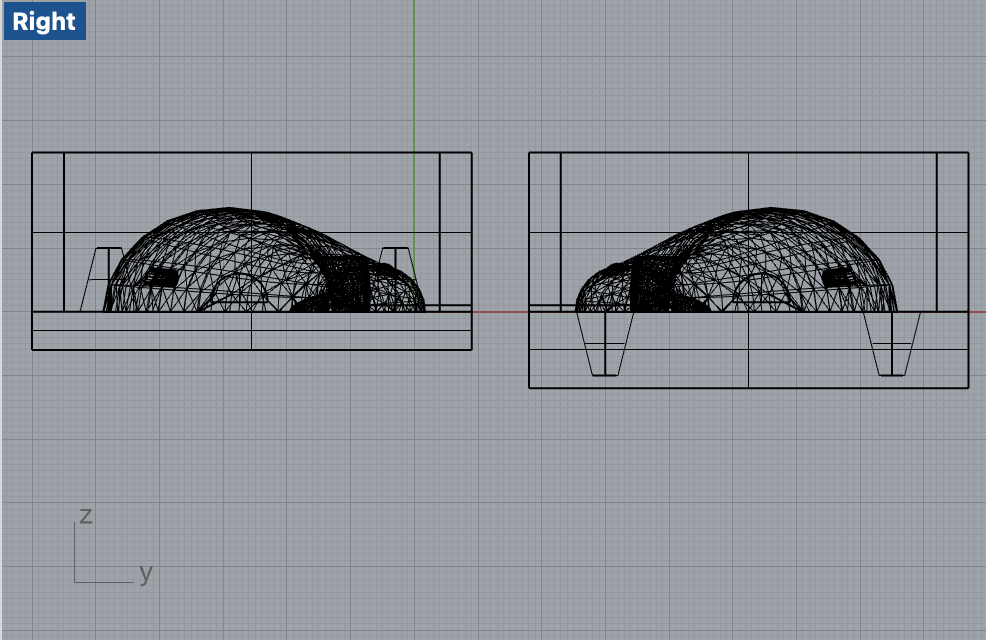
Next, I mirrored the entire box structure and aligned it to the other bird half. Since everything was aligned to the grid, it was easy to line up exactly for the other half.
The difference here is that the keys had to be sunken holes instead of protruding. To make sunken keys:
- Rotate keys so that the large side is facing upwards
- Move downward until aligned underneath the surface
- BooleanDifference
I also had to extend the base to compensate for the hole depth.
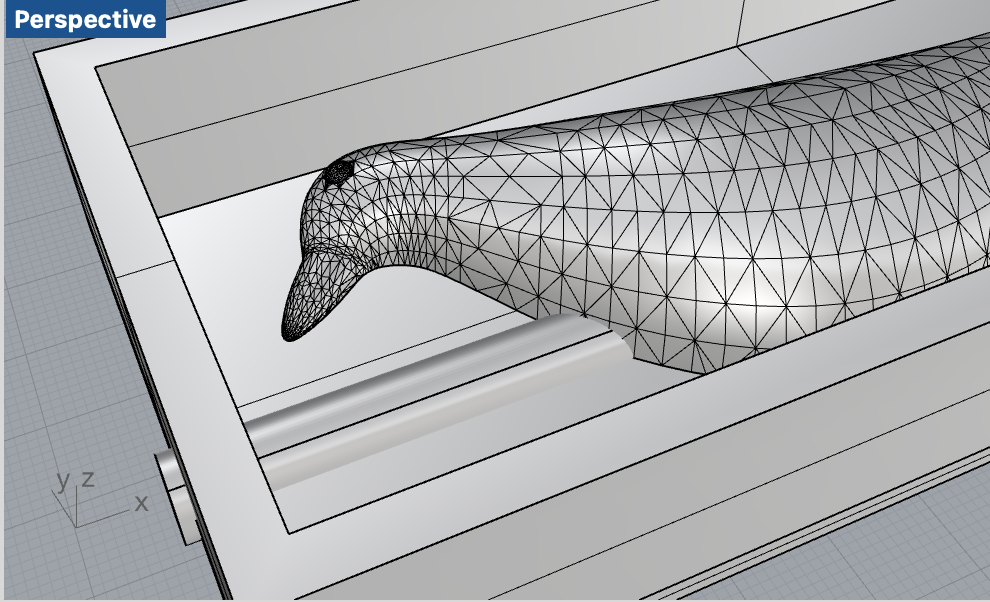
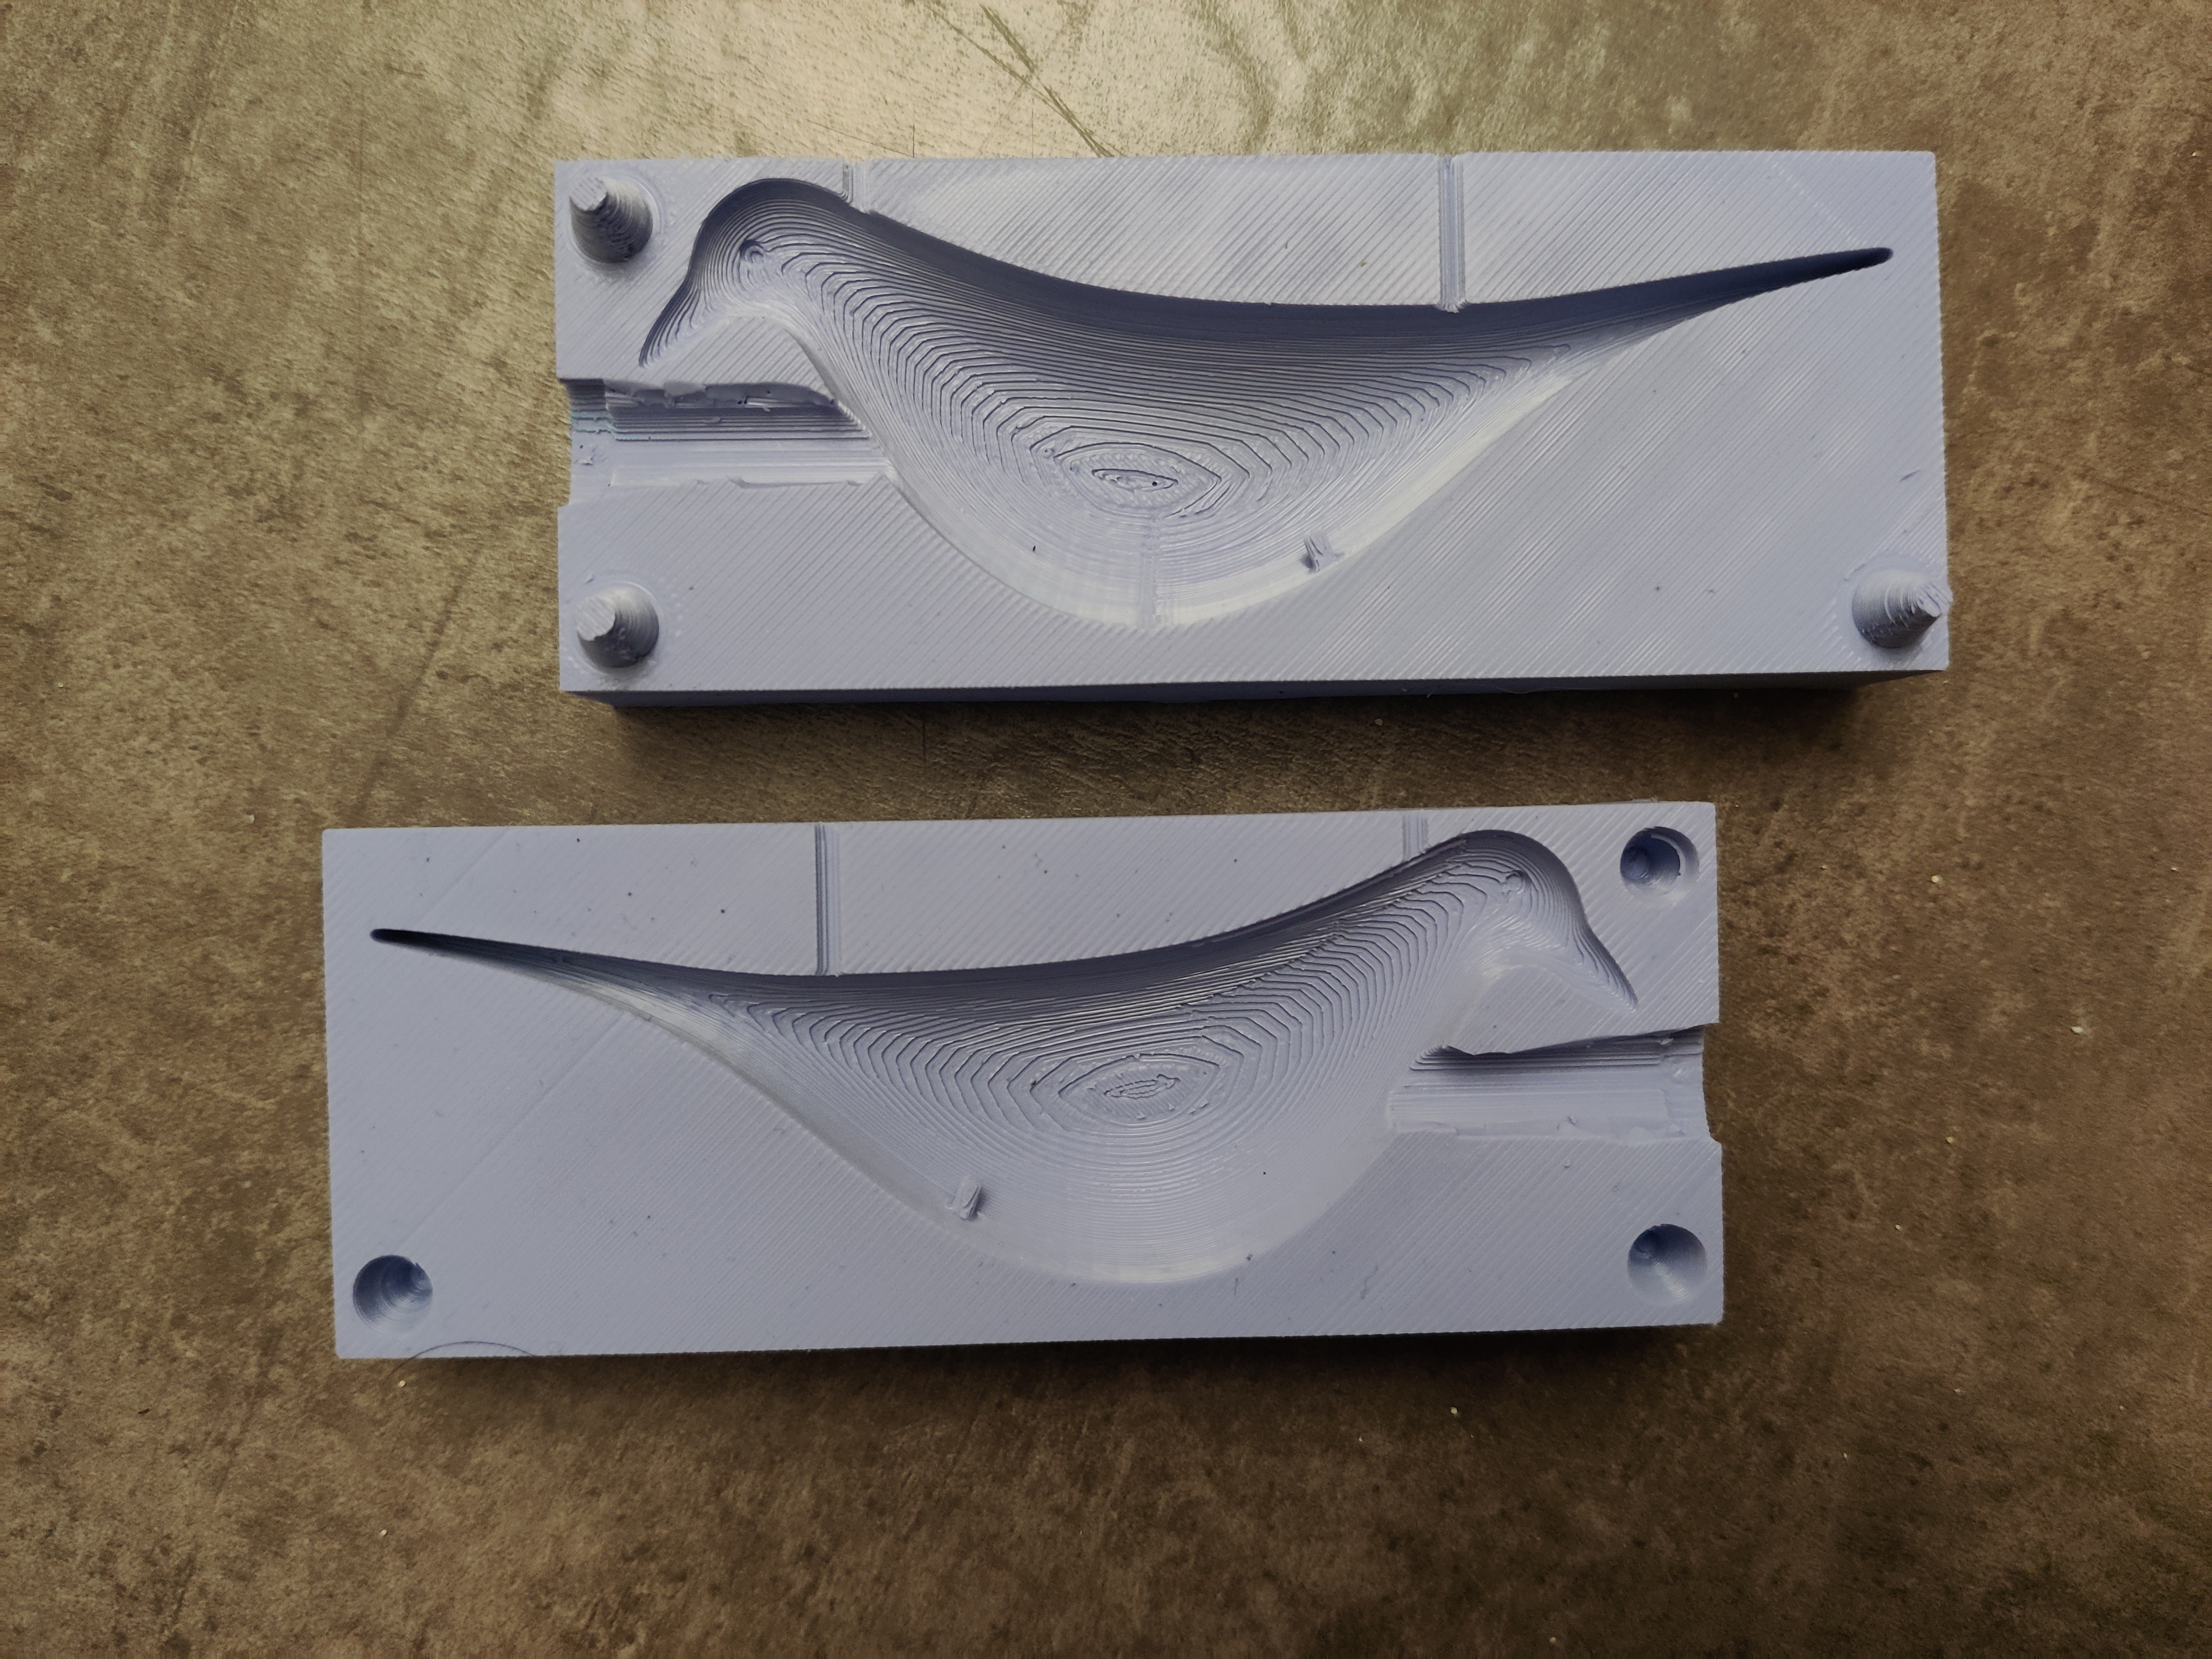
Molds looked good, so I put them in Cura and printed them. I printed with low quality settings to speed up the print, since it was going to take ~9-10 hours. I didn’t mind a bit lower quality for this because I wanted to see the texture on the final product.
I let this print over night and woke up to some nice half birds!
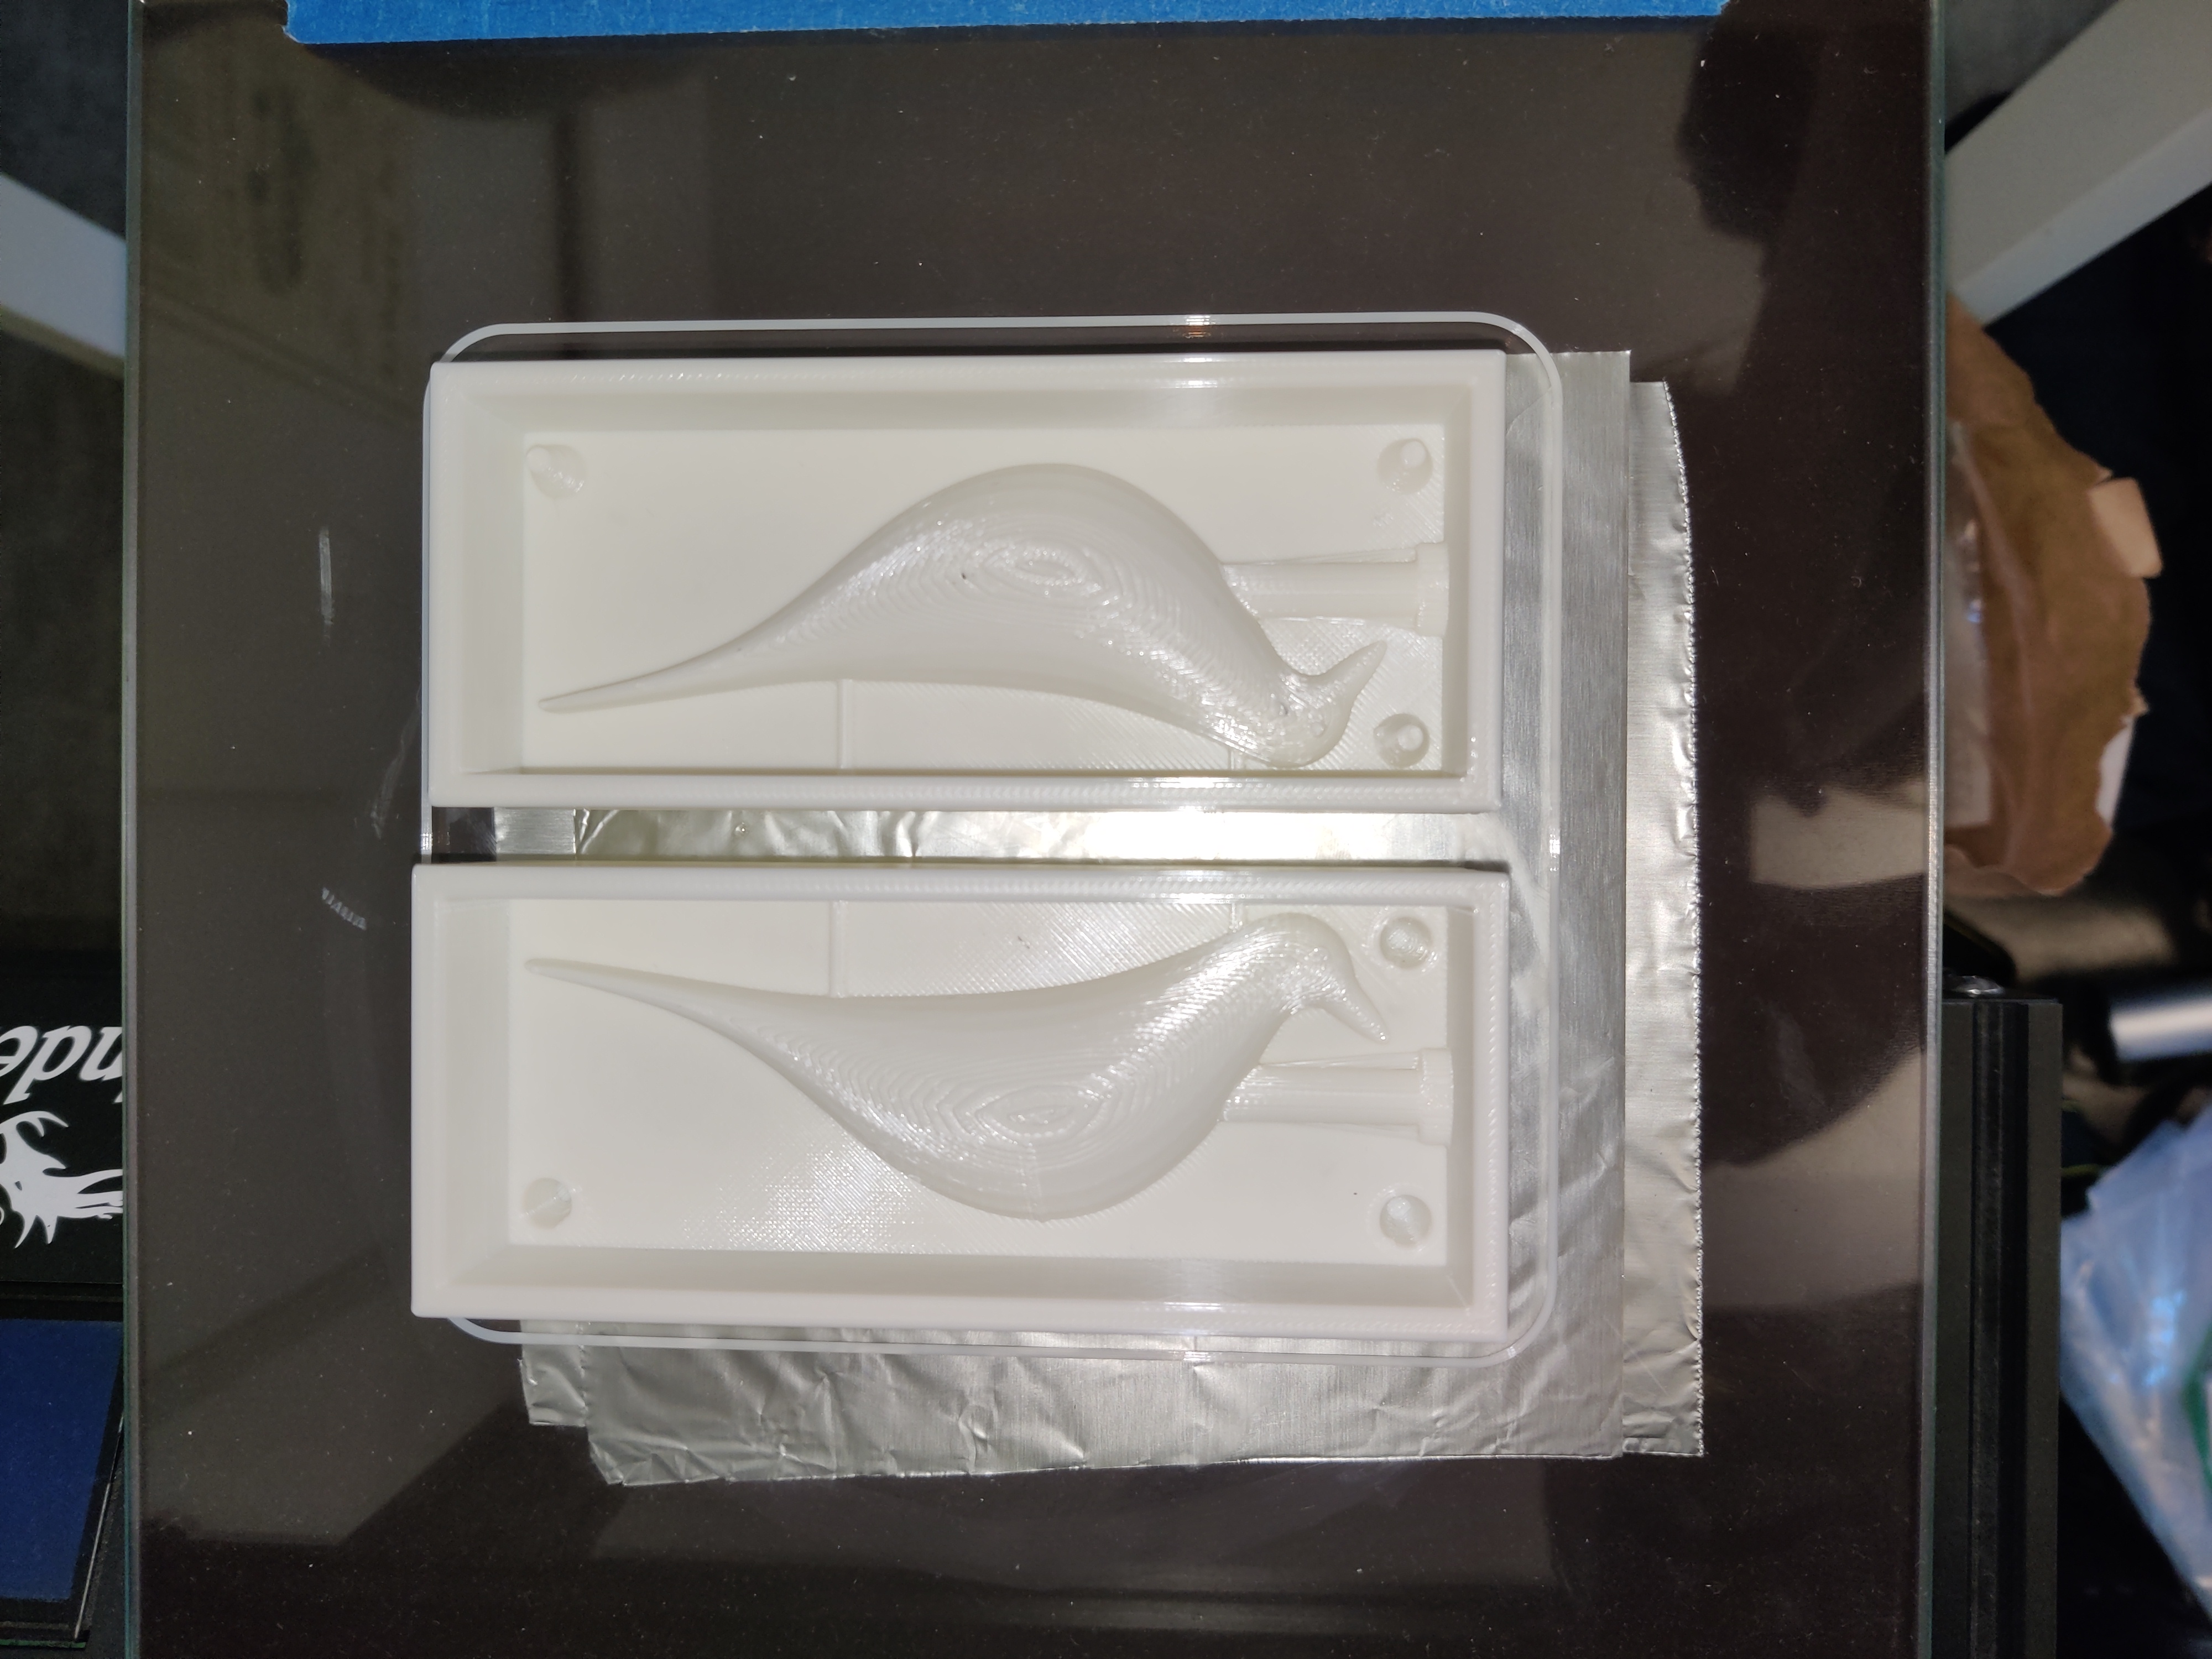
It was now time to mix my Oomoo up. I gathered the supplies that I could find in my apartment; some plastic cups and disposable cutlery and chopsticks for mixing.
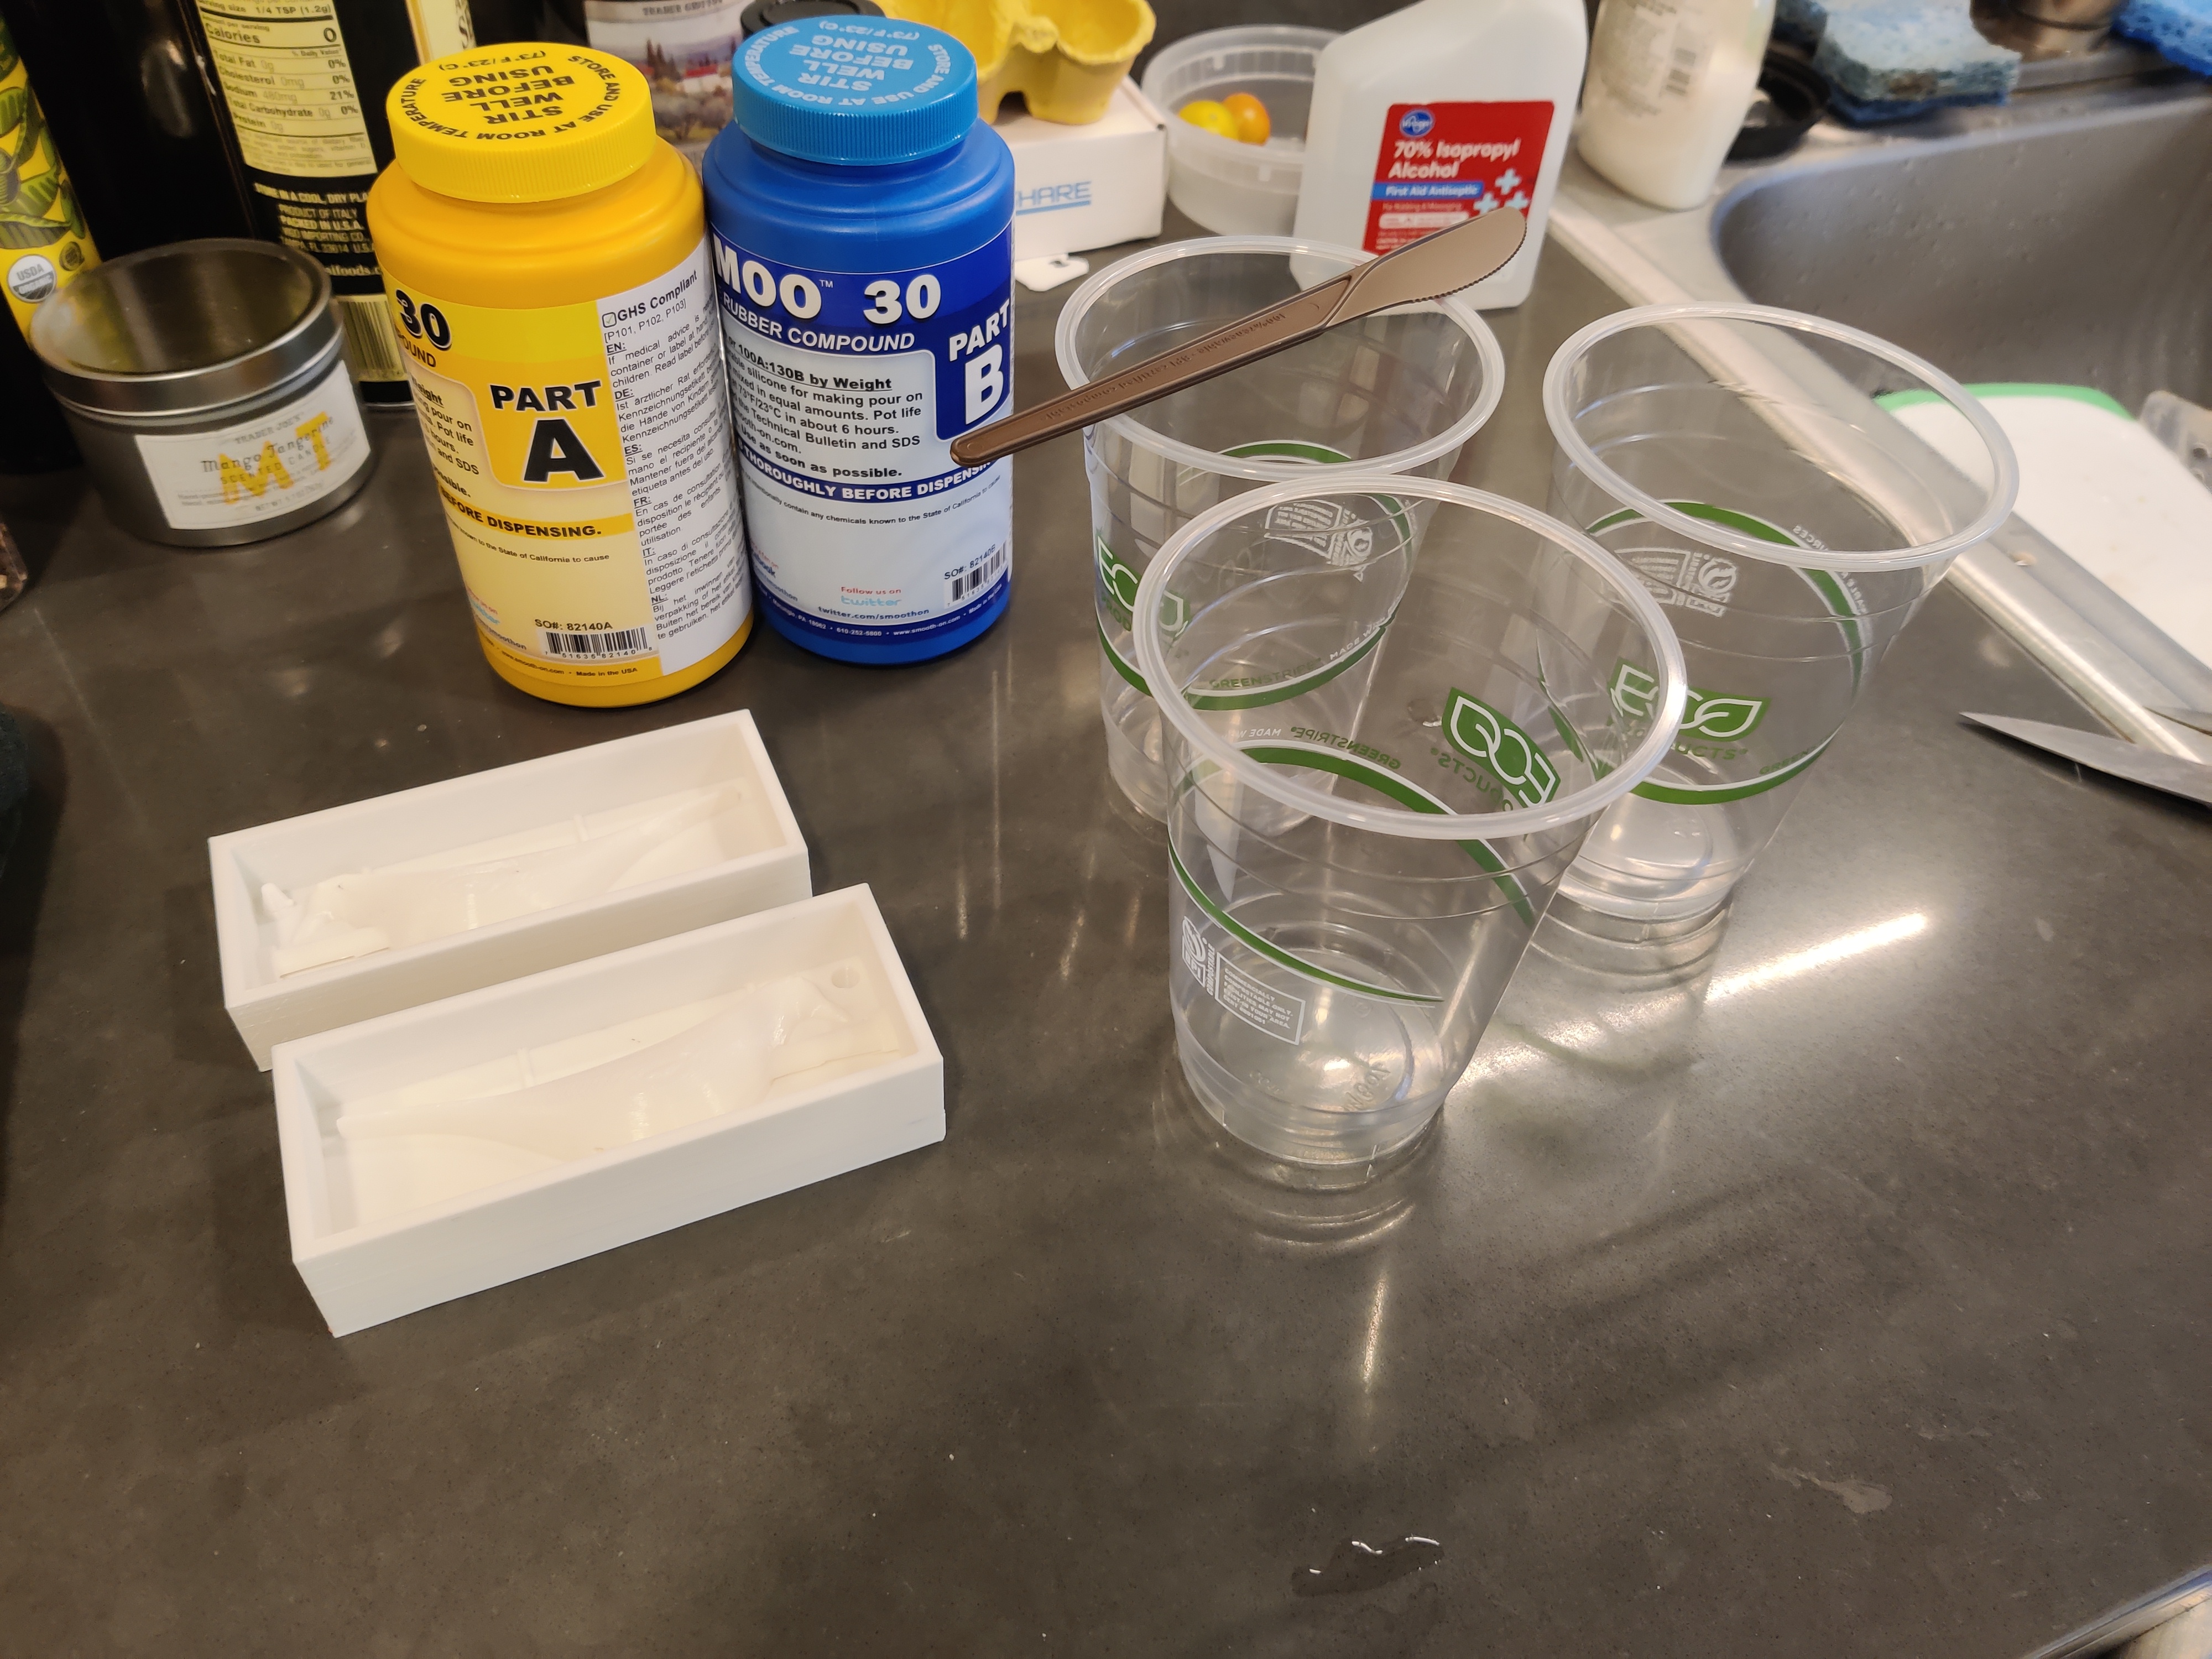
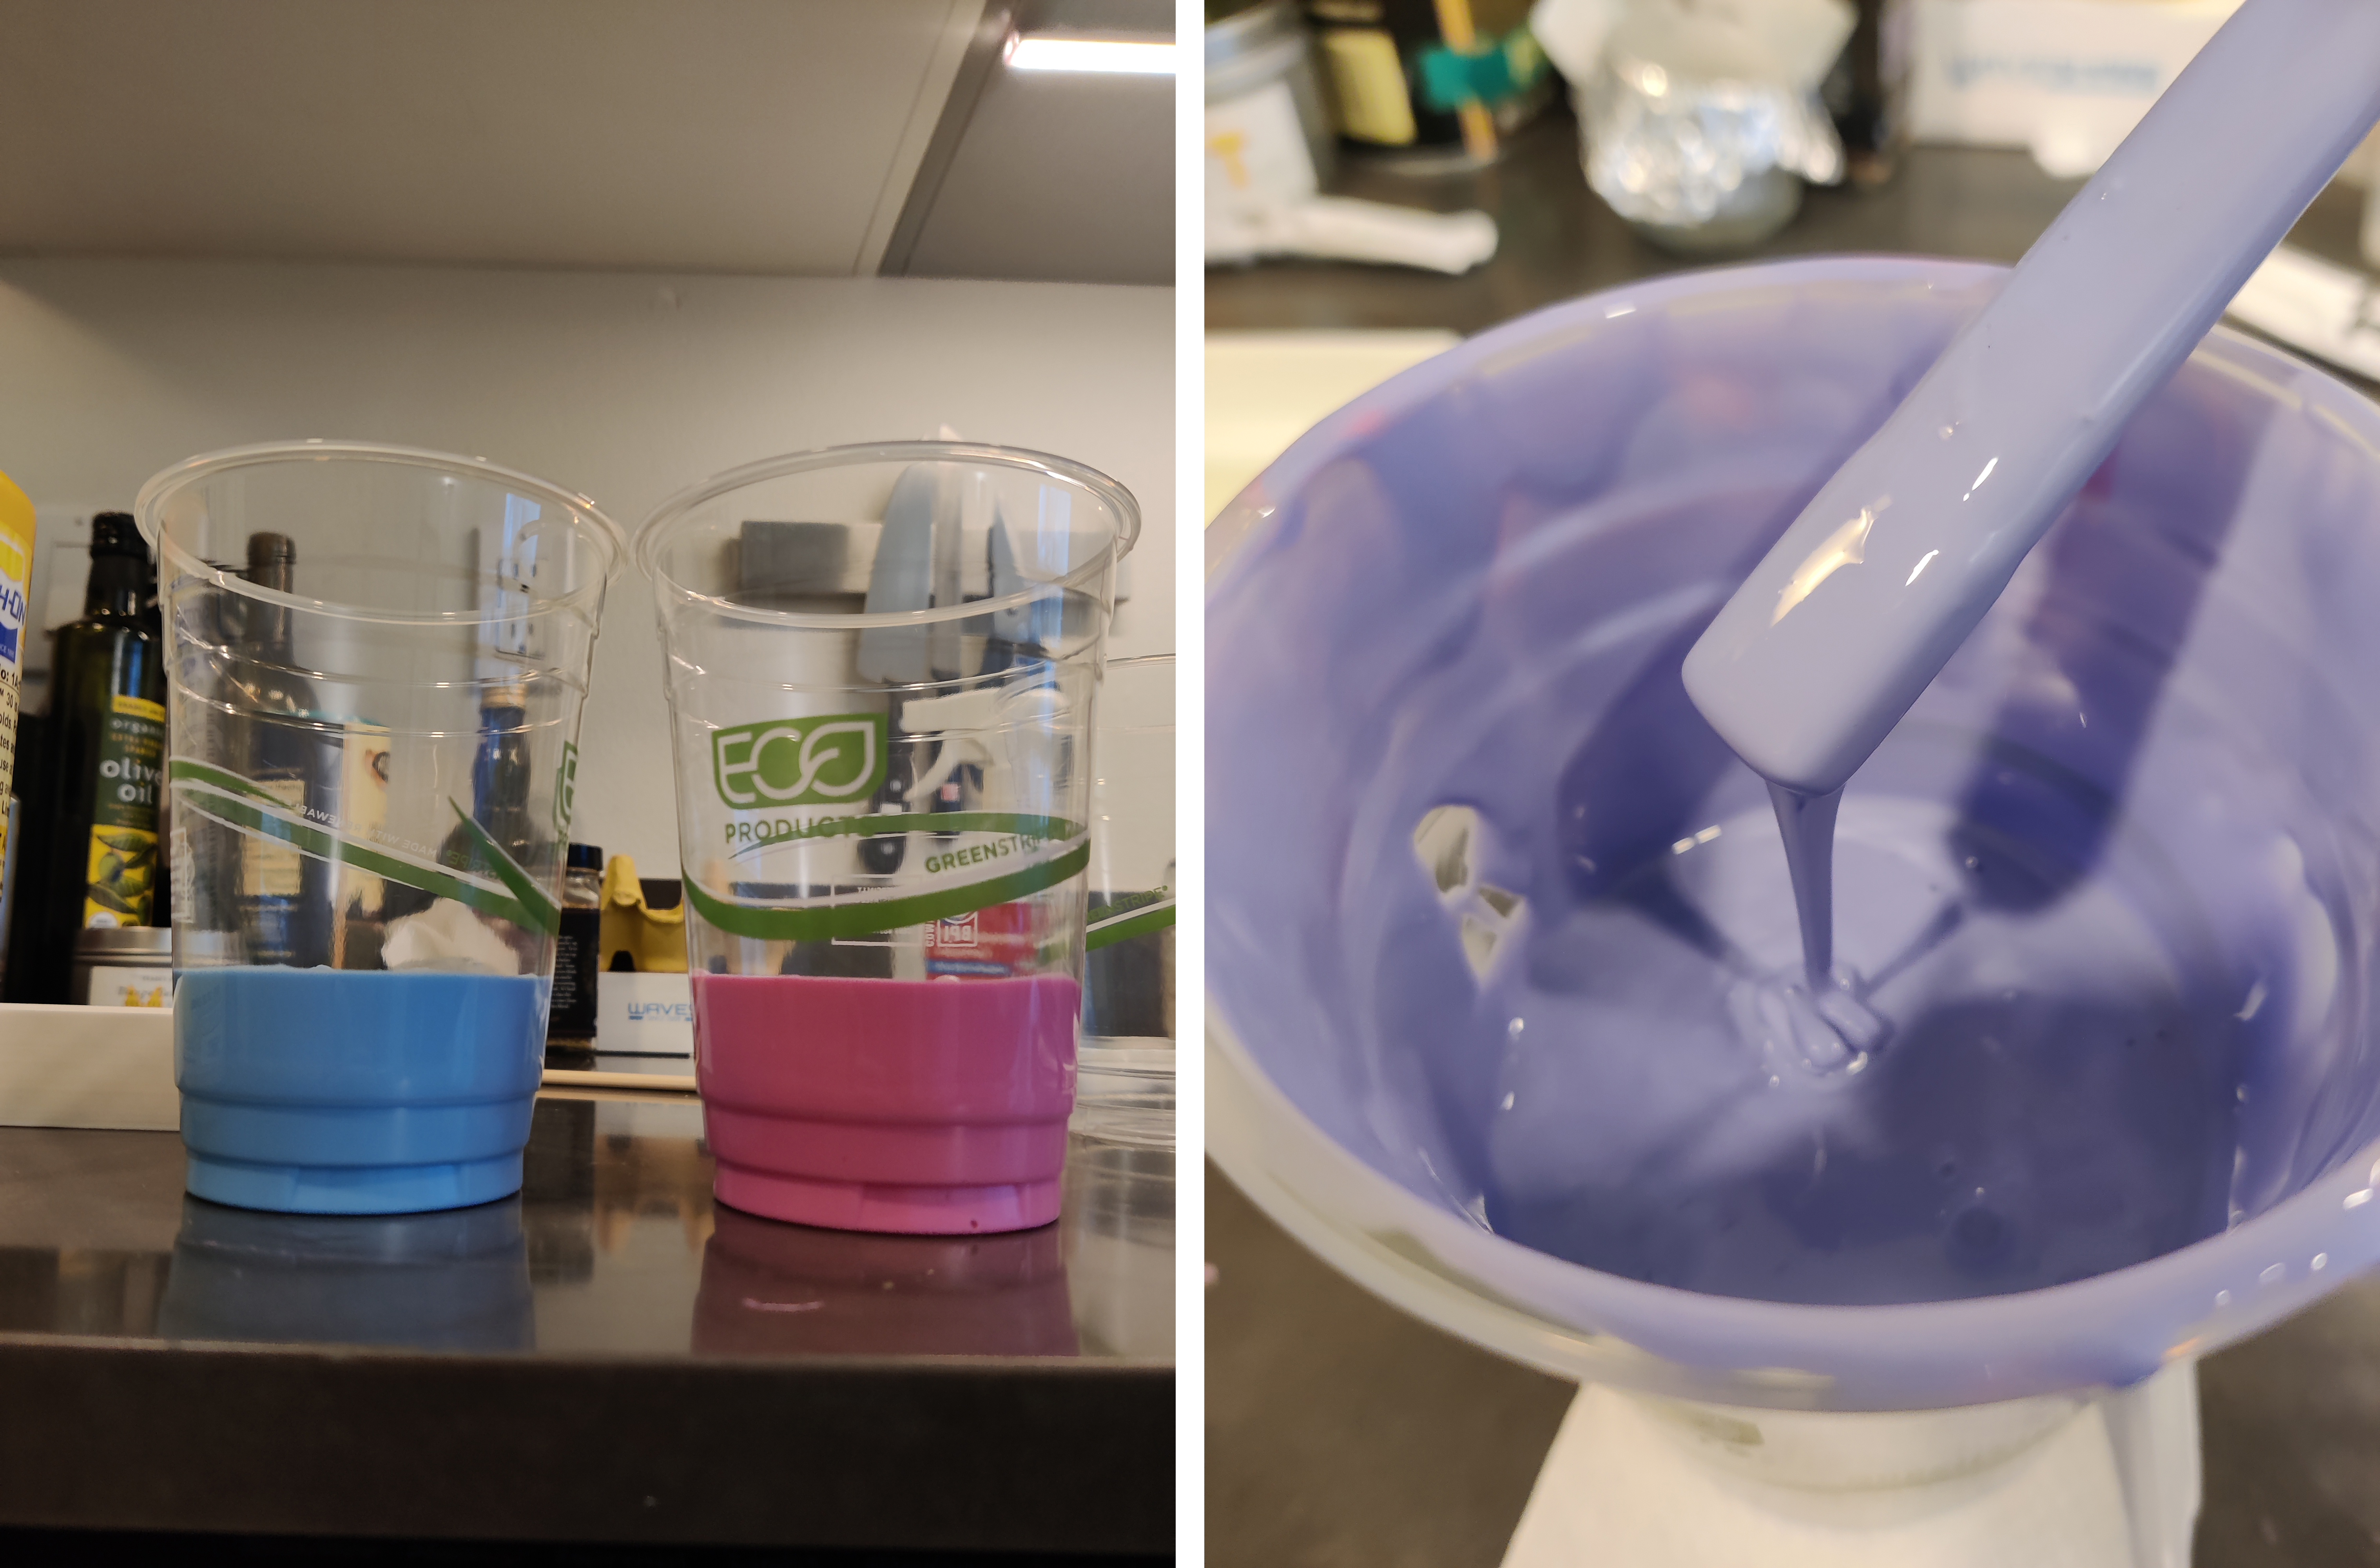
I measured out the equal parts of the two components and mixed them together until it was uniform (~3-4 min).
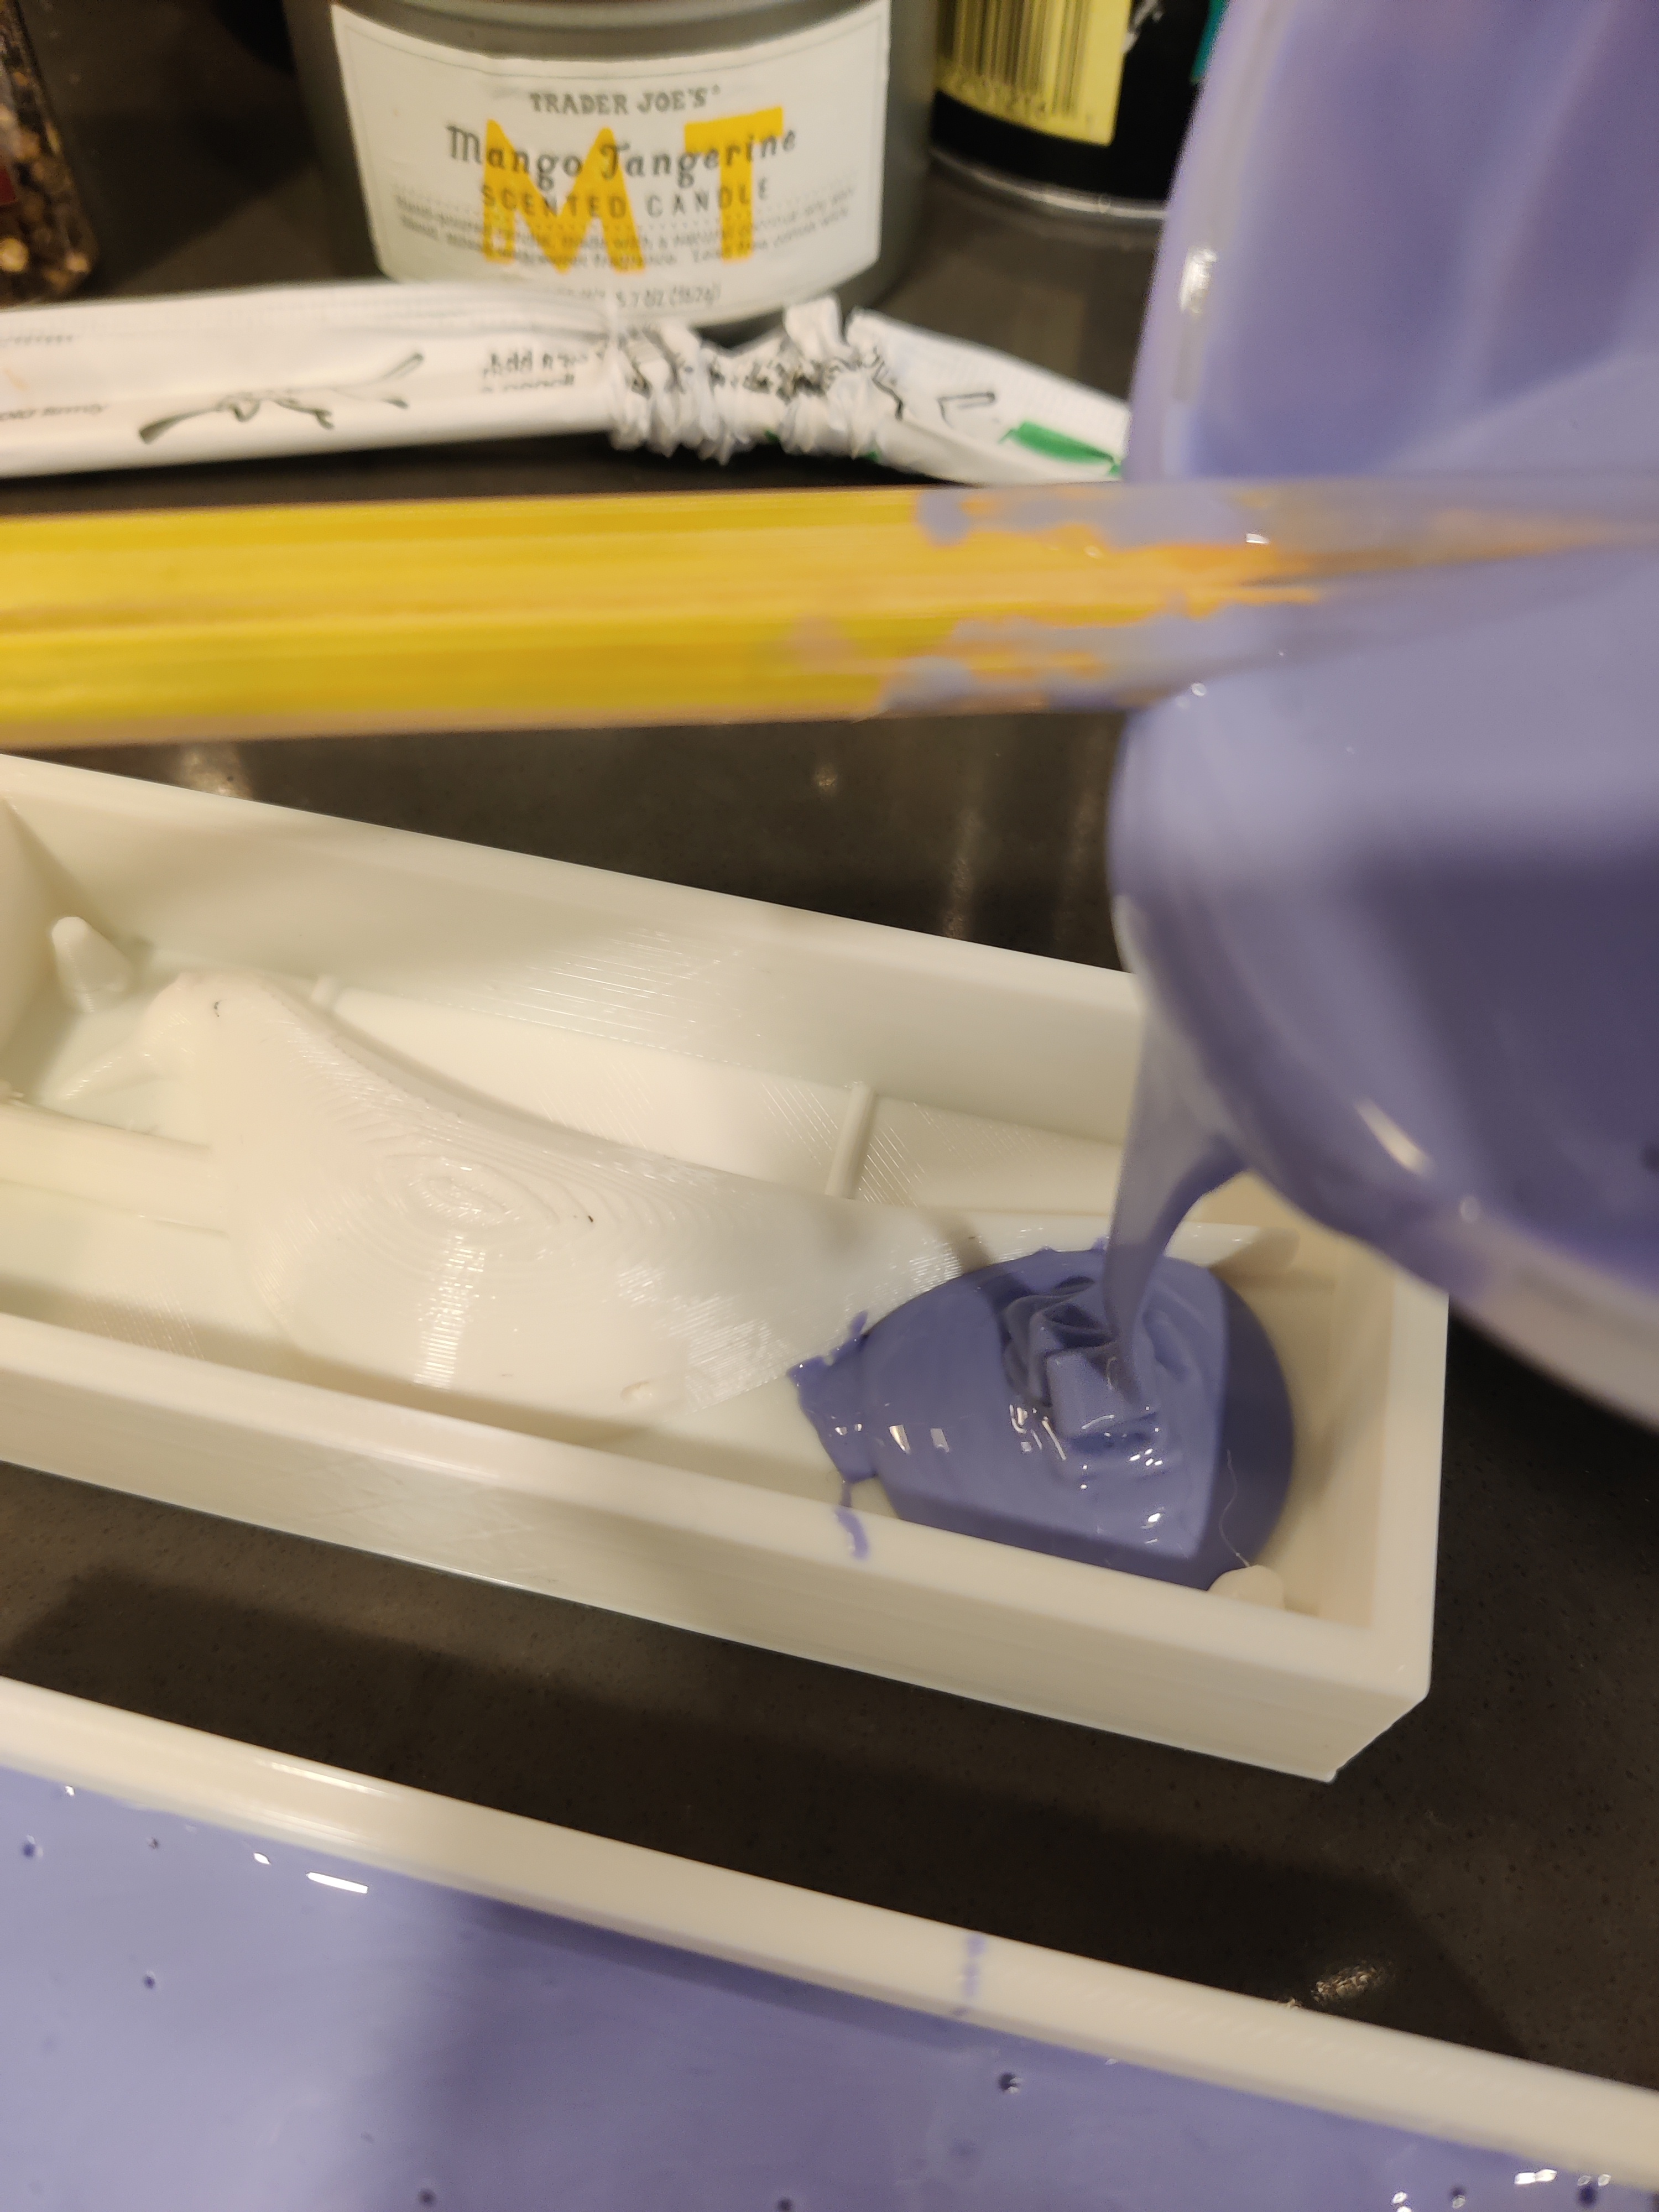
I slowly poured the Oomoo into the prints starting at a low point and letting it creep up on its own.
6 hours later… It was time to release the molds! It was kind of hard to release these, they were really tight in the box! First, I separated all corners and sides with my fingers and actually used the scraper from my 3d printer to help pry them out. I was kind of scared I would damage them, but they came out just fine!
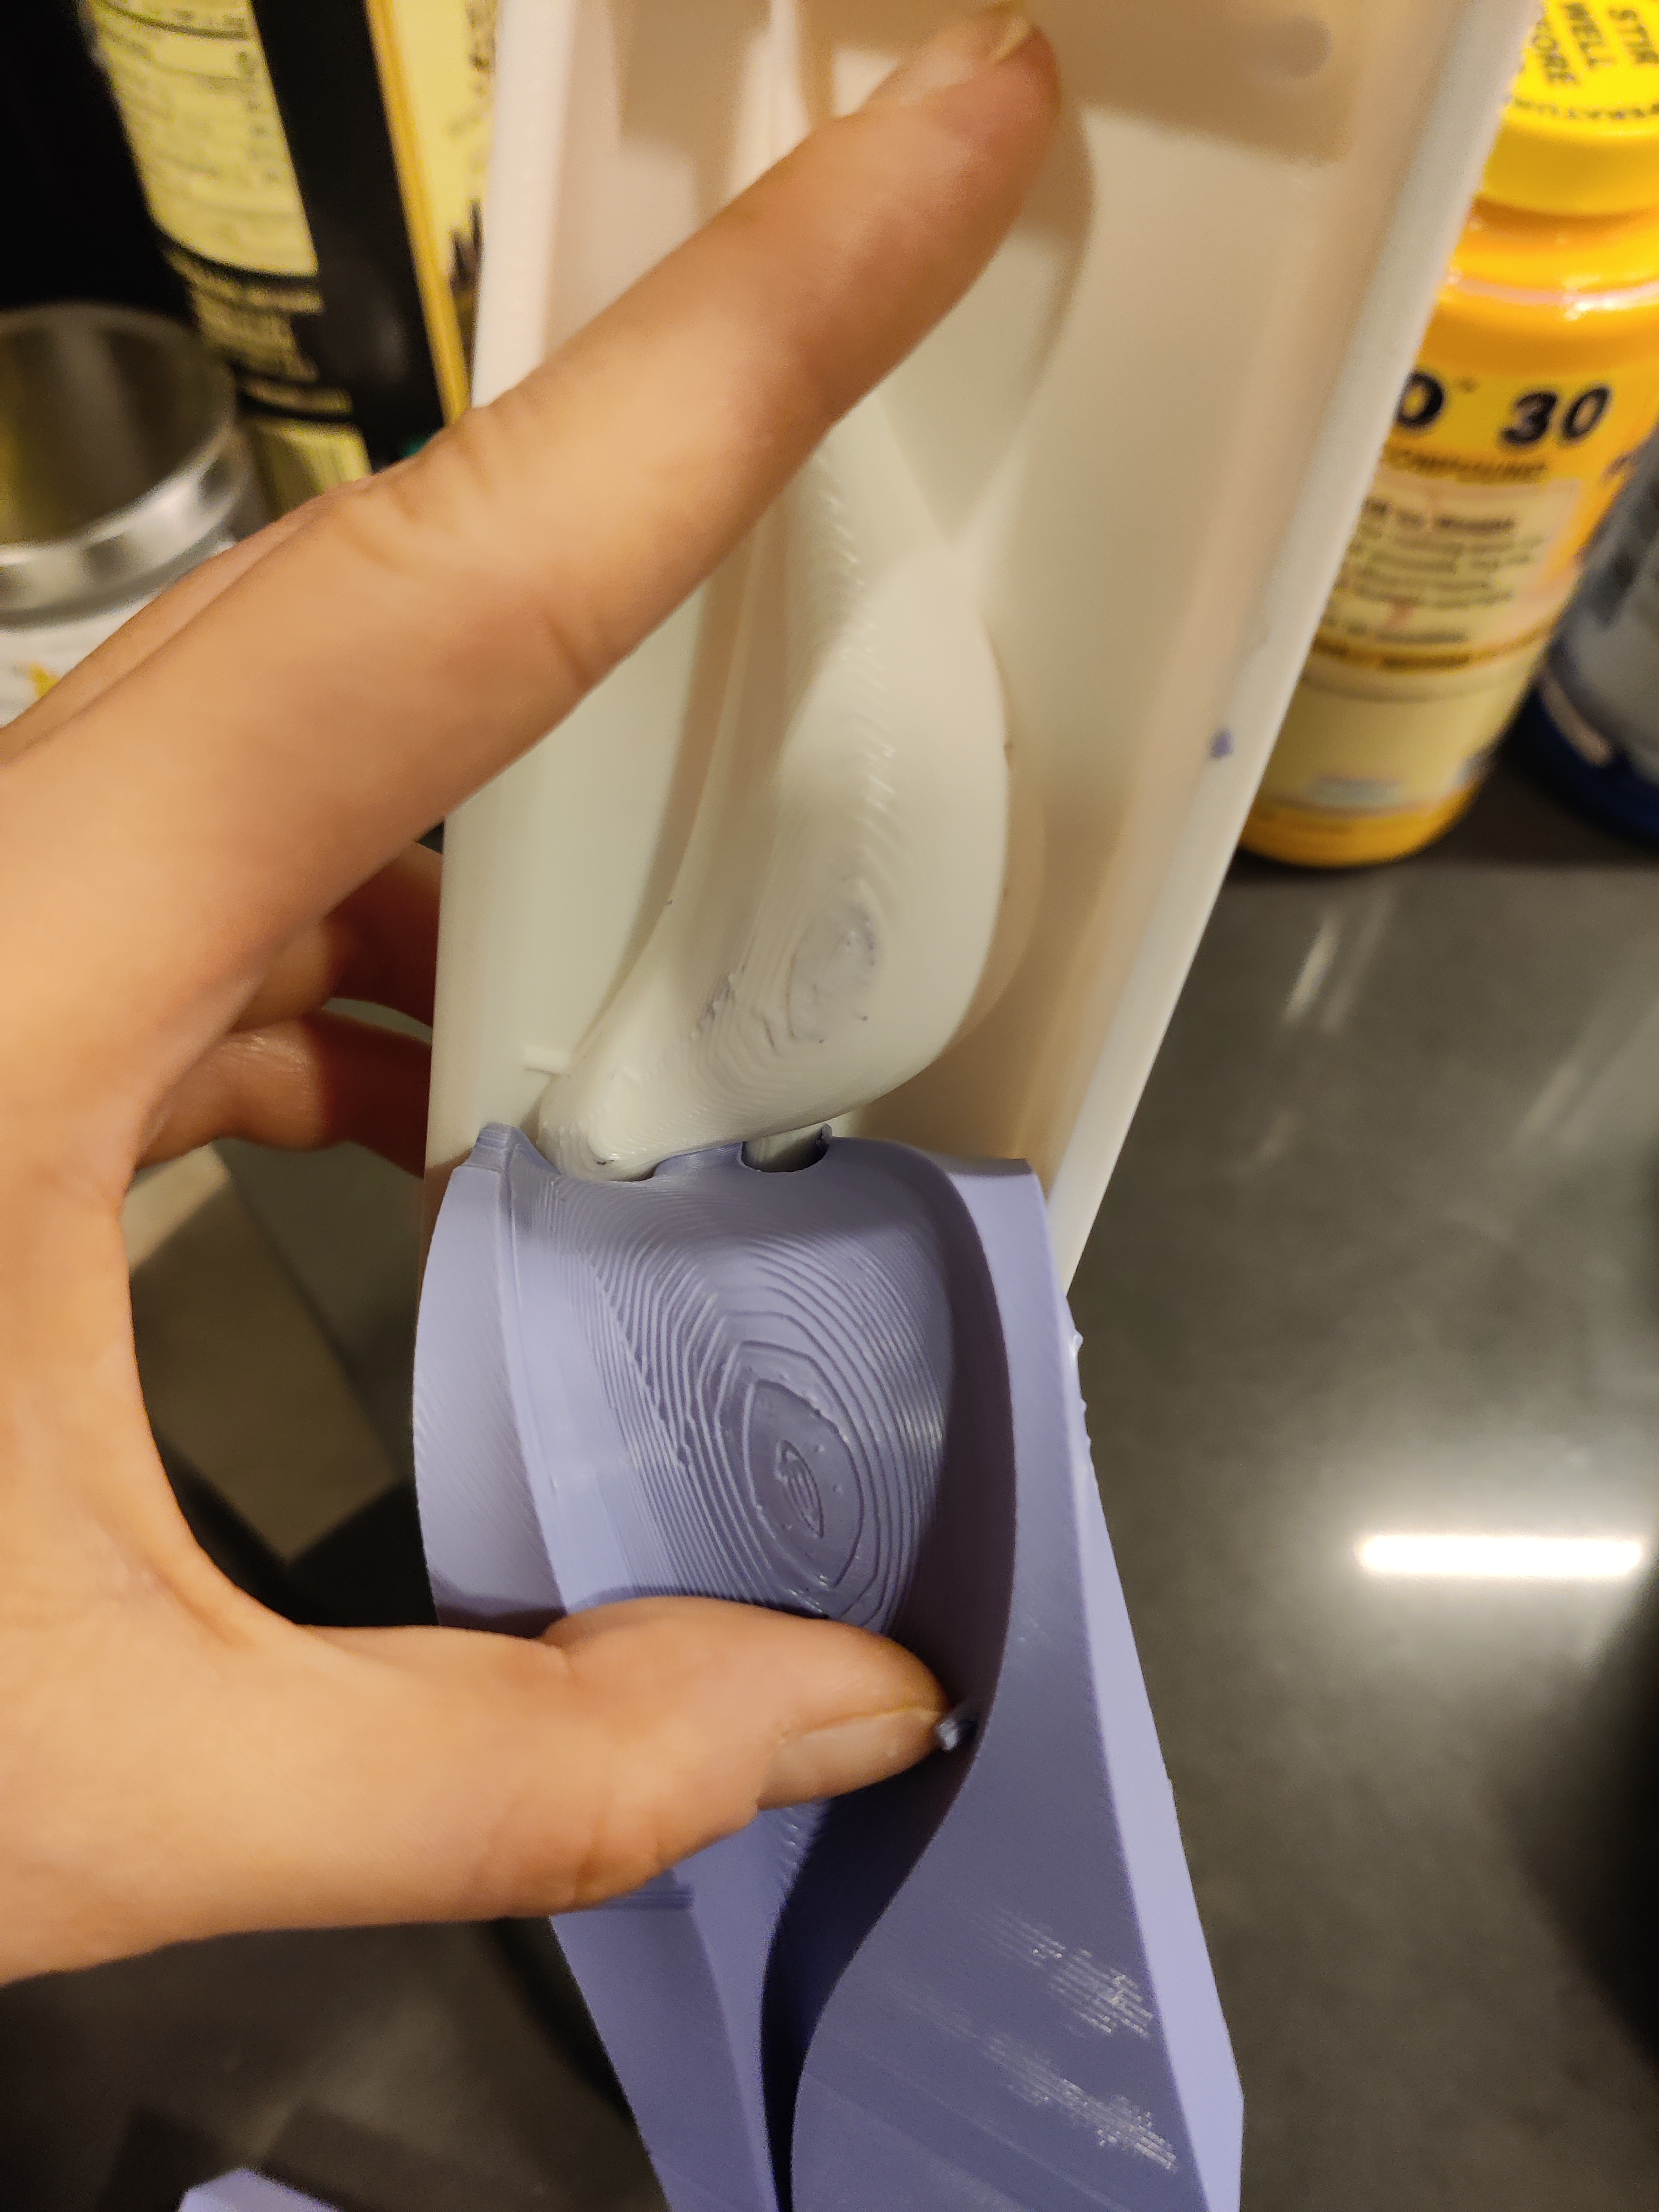
However, as you can see the pour tube is kind of weird. Oomoo seemed to have seeped underneath the tube, between the cylinder and the rest of the mold.
I realized later that these cylinders weren’t sitting even and flat with the main bird part of the mold which was probably causing this problem. See the space between the half cylinder and the rest of the mold in red below.
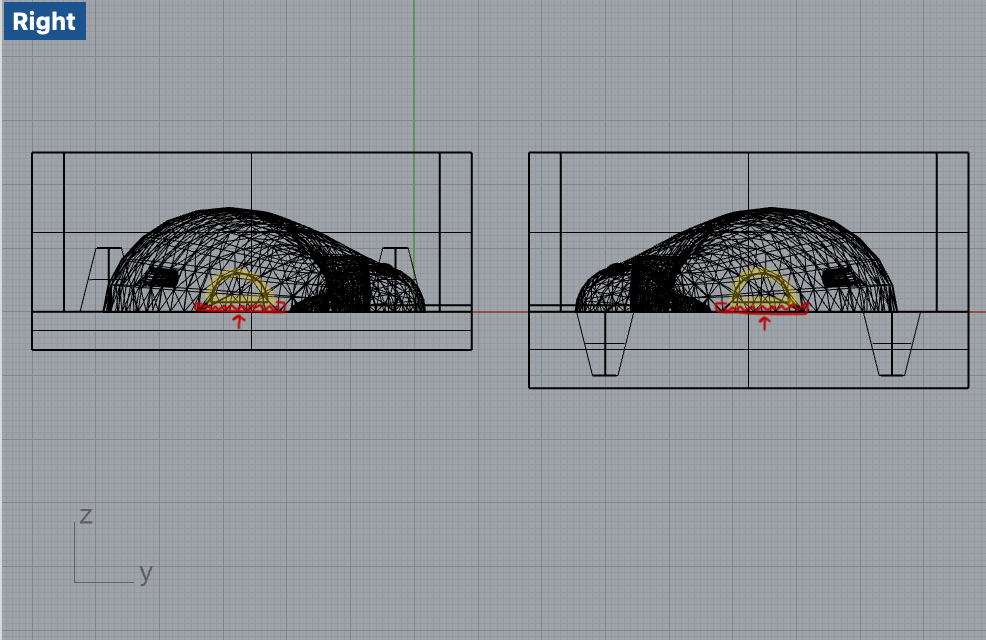
I ended up trimming off some of the extra flaps on the tube with scissors. It isn’t totally clean, but enough to pour stuff down, I think.
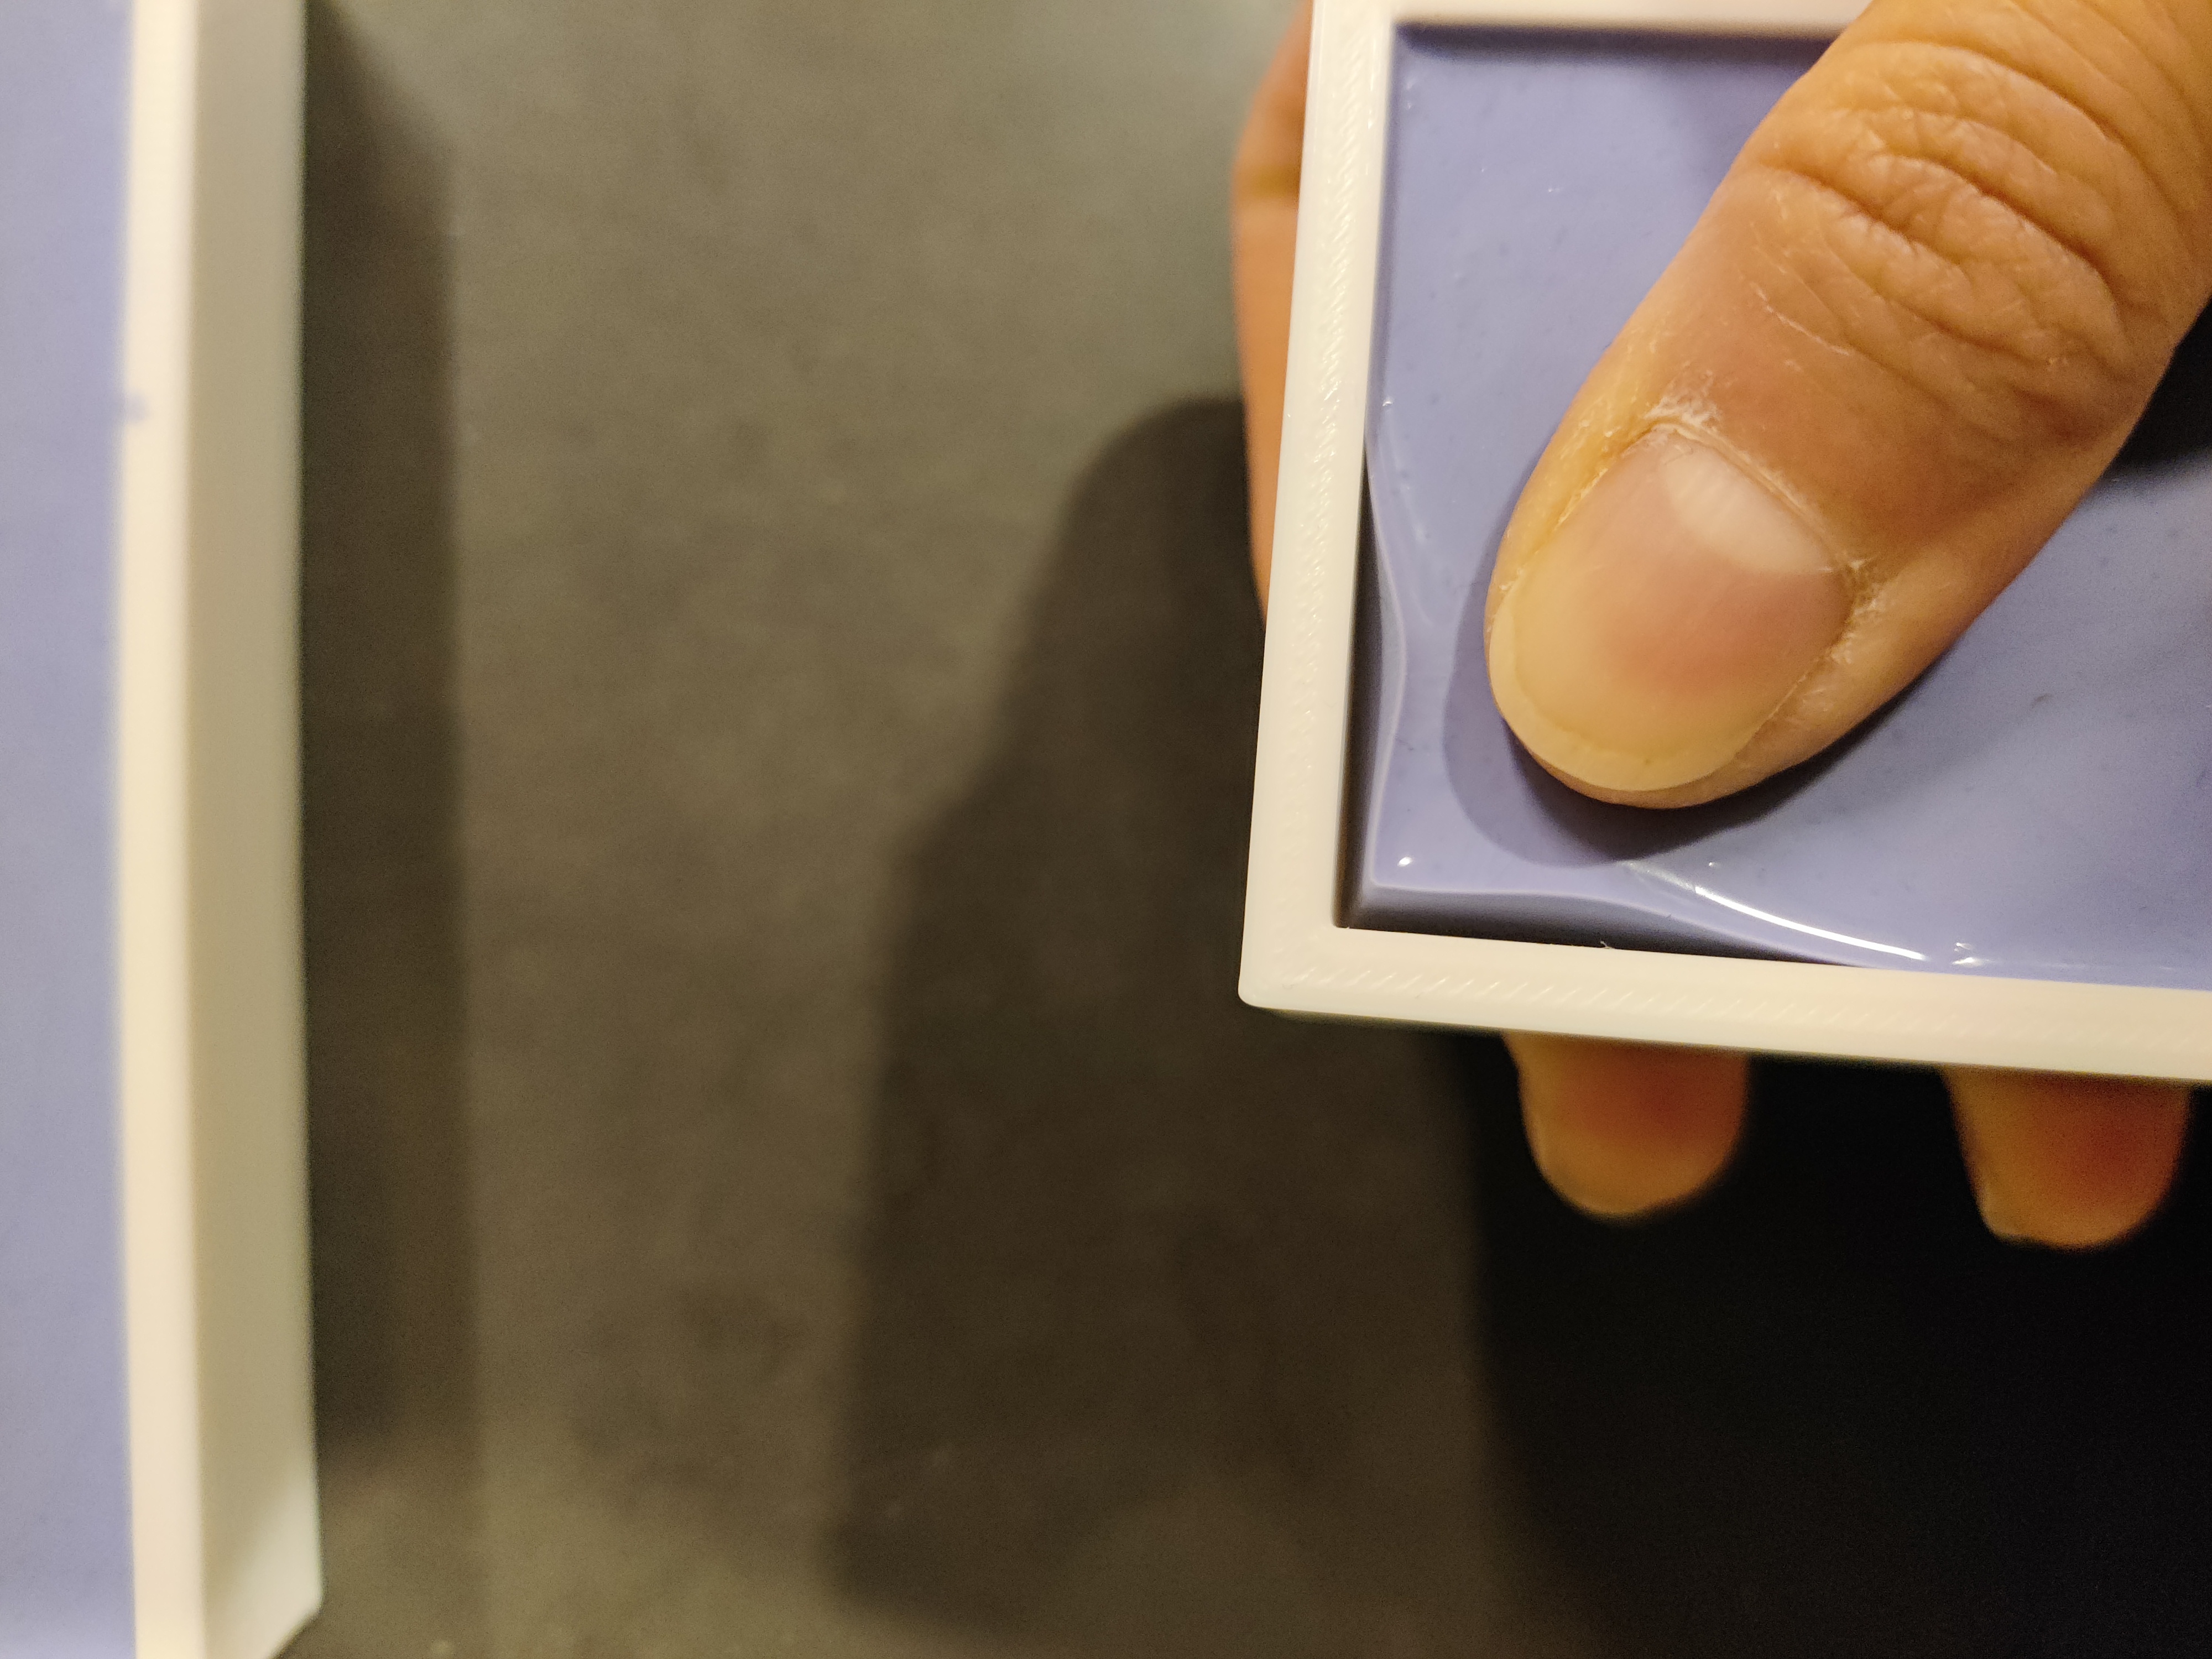
The keys fit together perfectly, and everything was aligned!
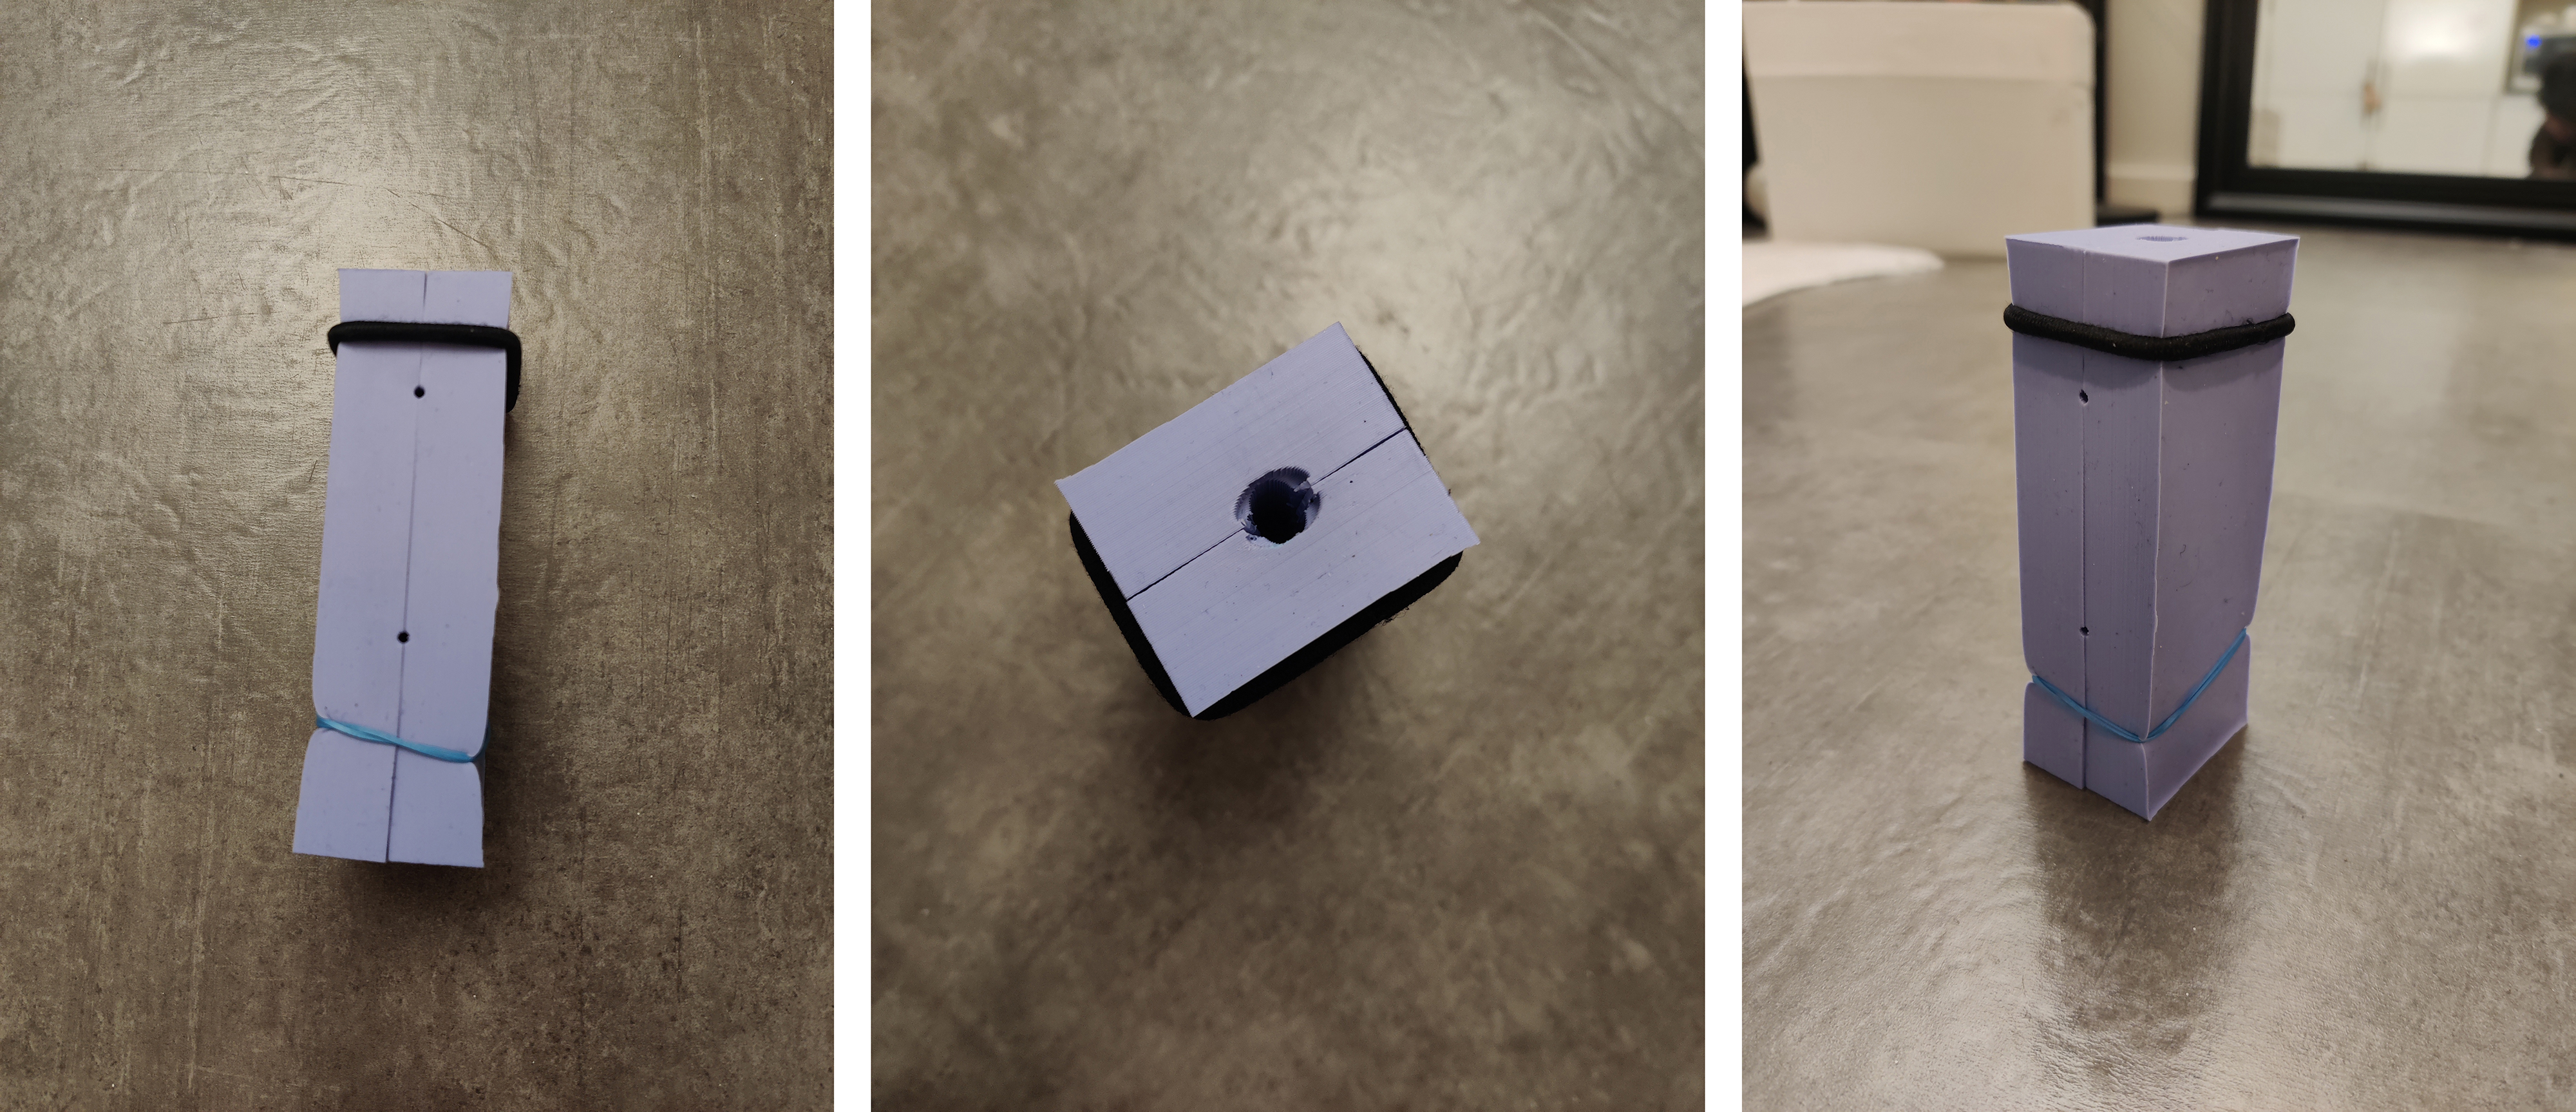
 testing structual integrity of deepest parts
Credits:
Thigiverse user ibudmen for Eames Bird model