Assignment 6
Written on November 20th, 2022 by Petrina Chan
Assignment 6 - Molding and Casting p.2
Files
Process
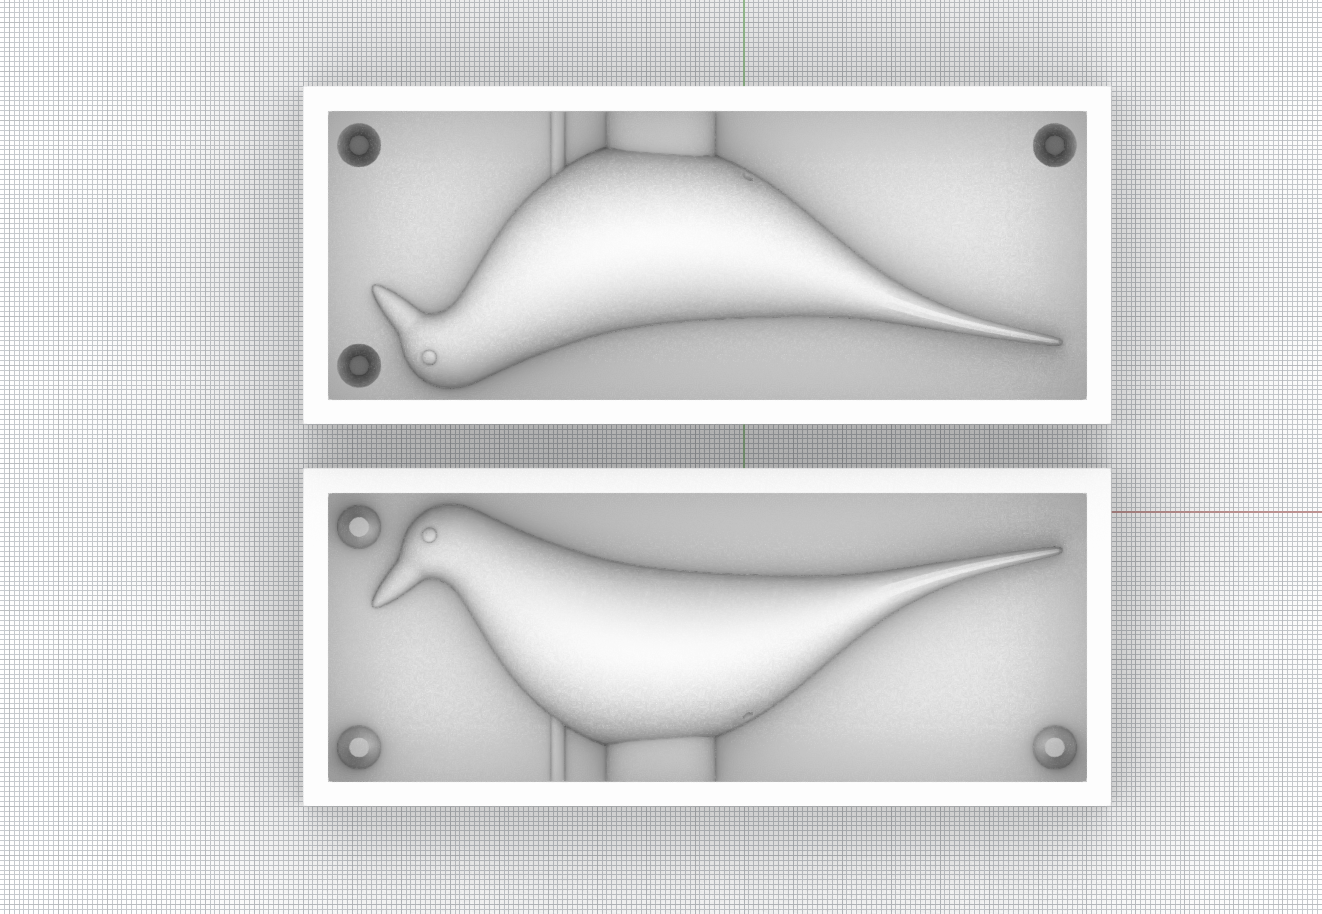
Since I made my 3d prints and Oomoo molds last week, I thought I was ready to just cast my hydrostone and plaster. However, I don’t know what was going on and why my head was empty when designing these molds, because as I was preparing to cast, I realized that the pour hole and vents were in the wrong places and would not really work, since there would be air trapped at the top of the mold.
I tried it out anyway, just to confirm that I would have to spend the time printing and making a new mold. Yup, air got trapped, the mixture was hard to pour into the hole, and the result was frail and incomplete.
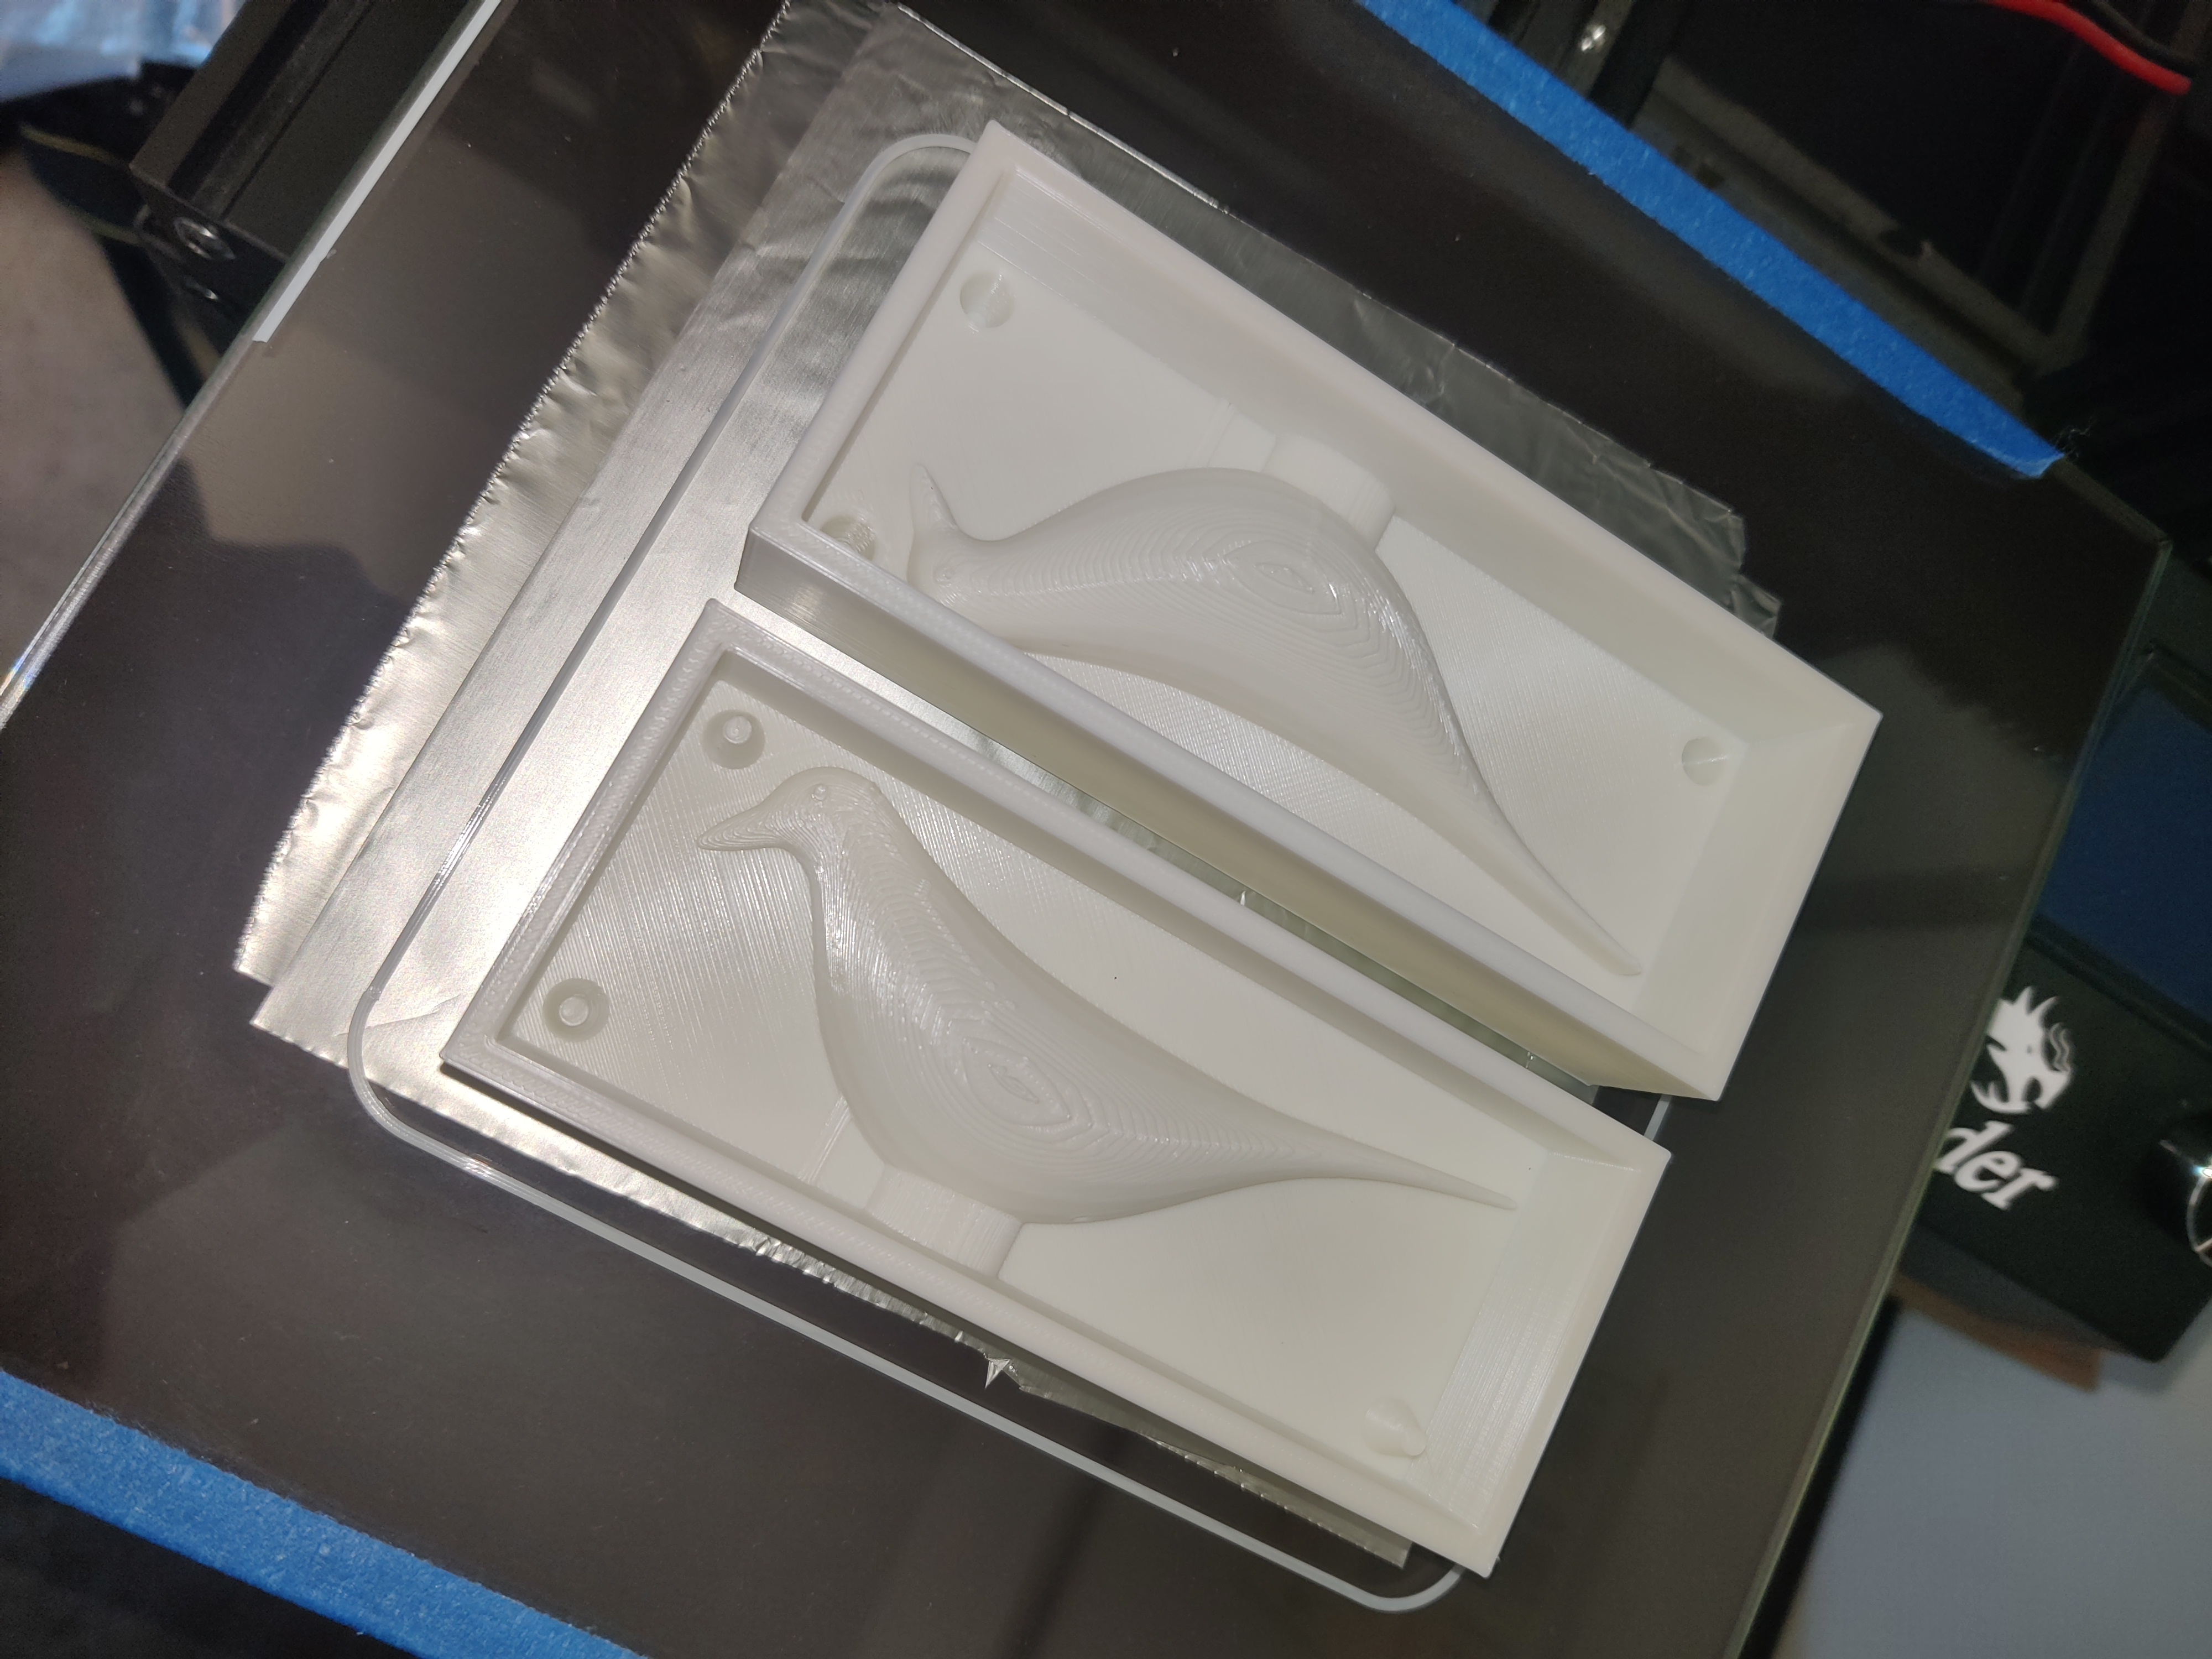
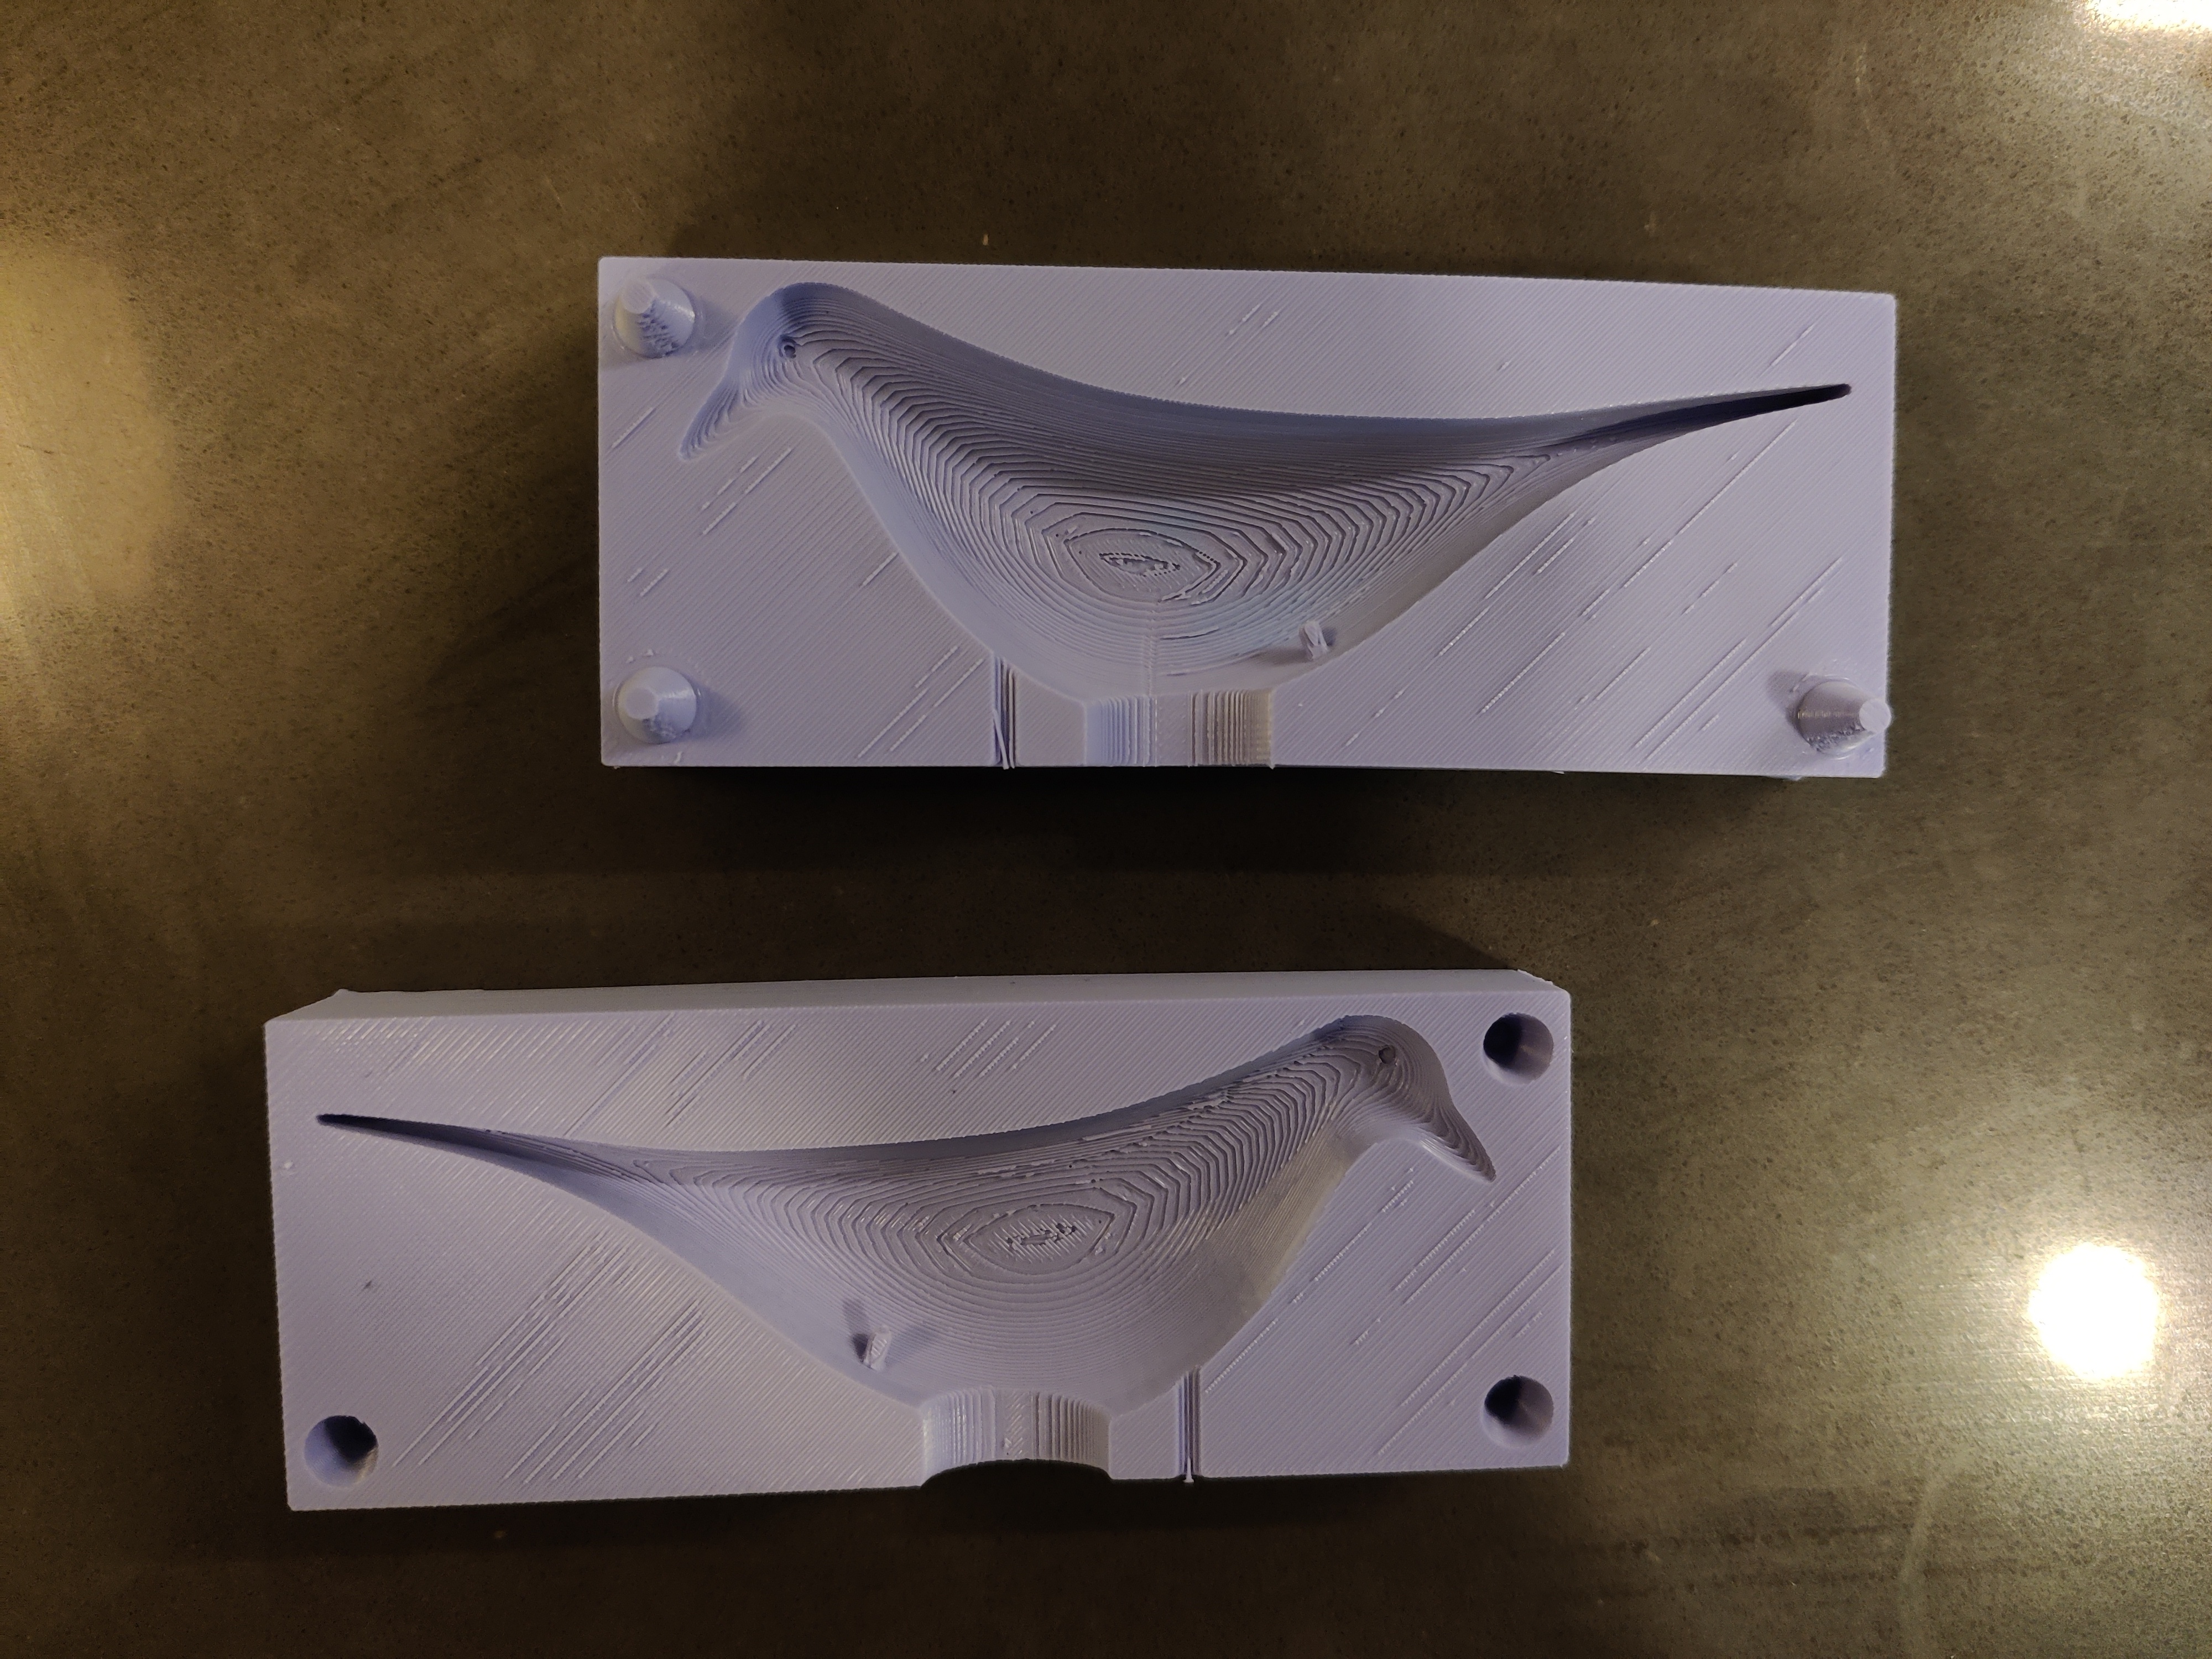
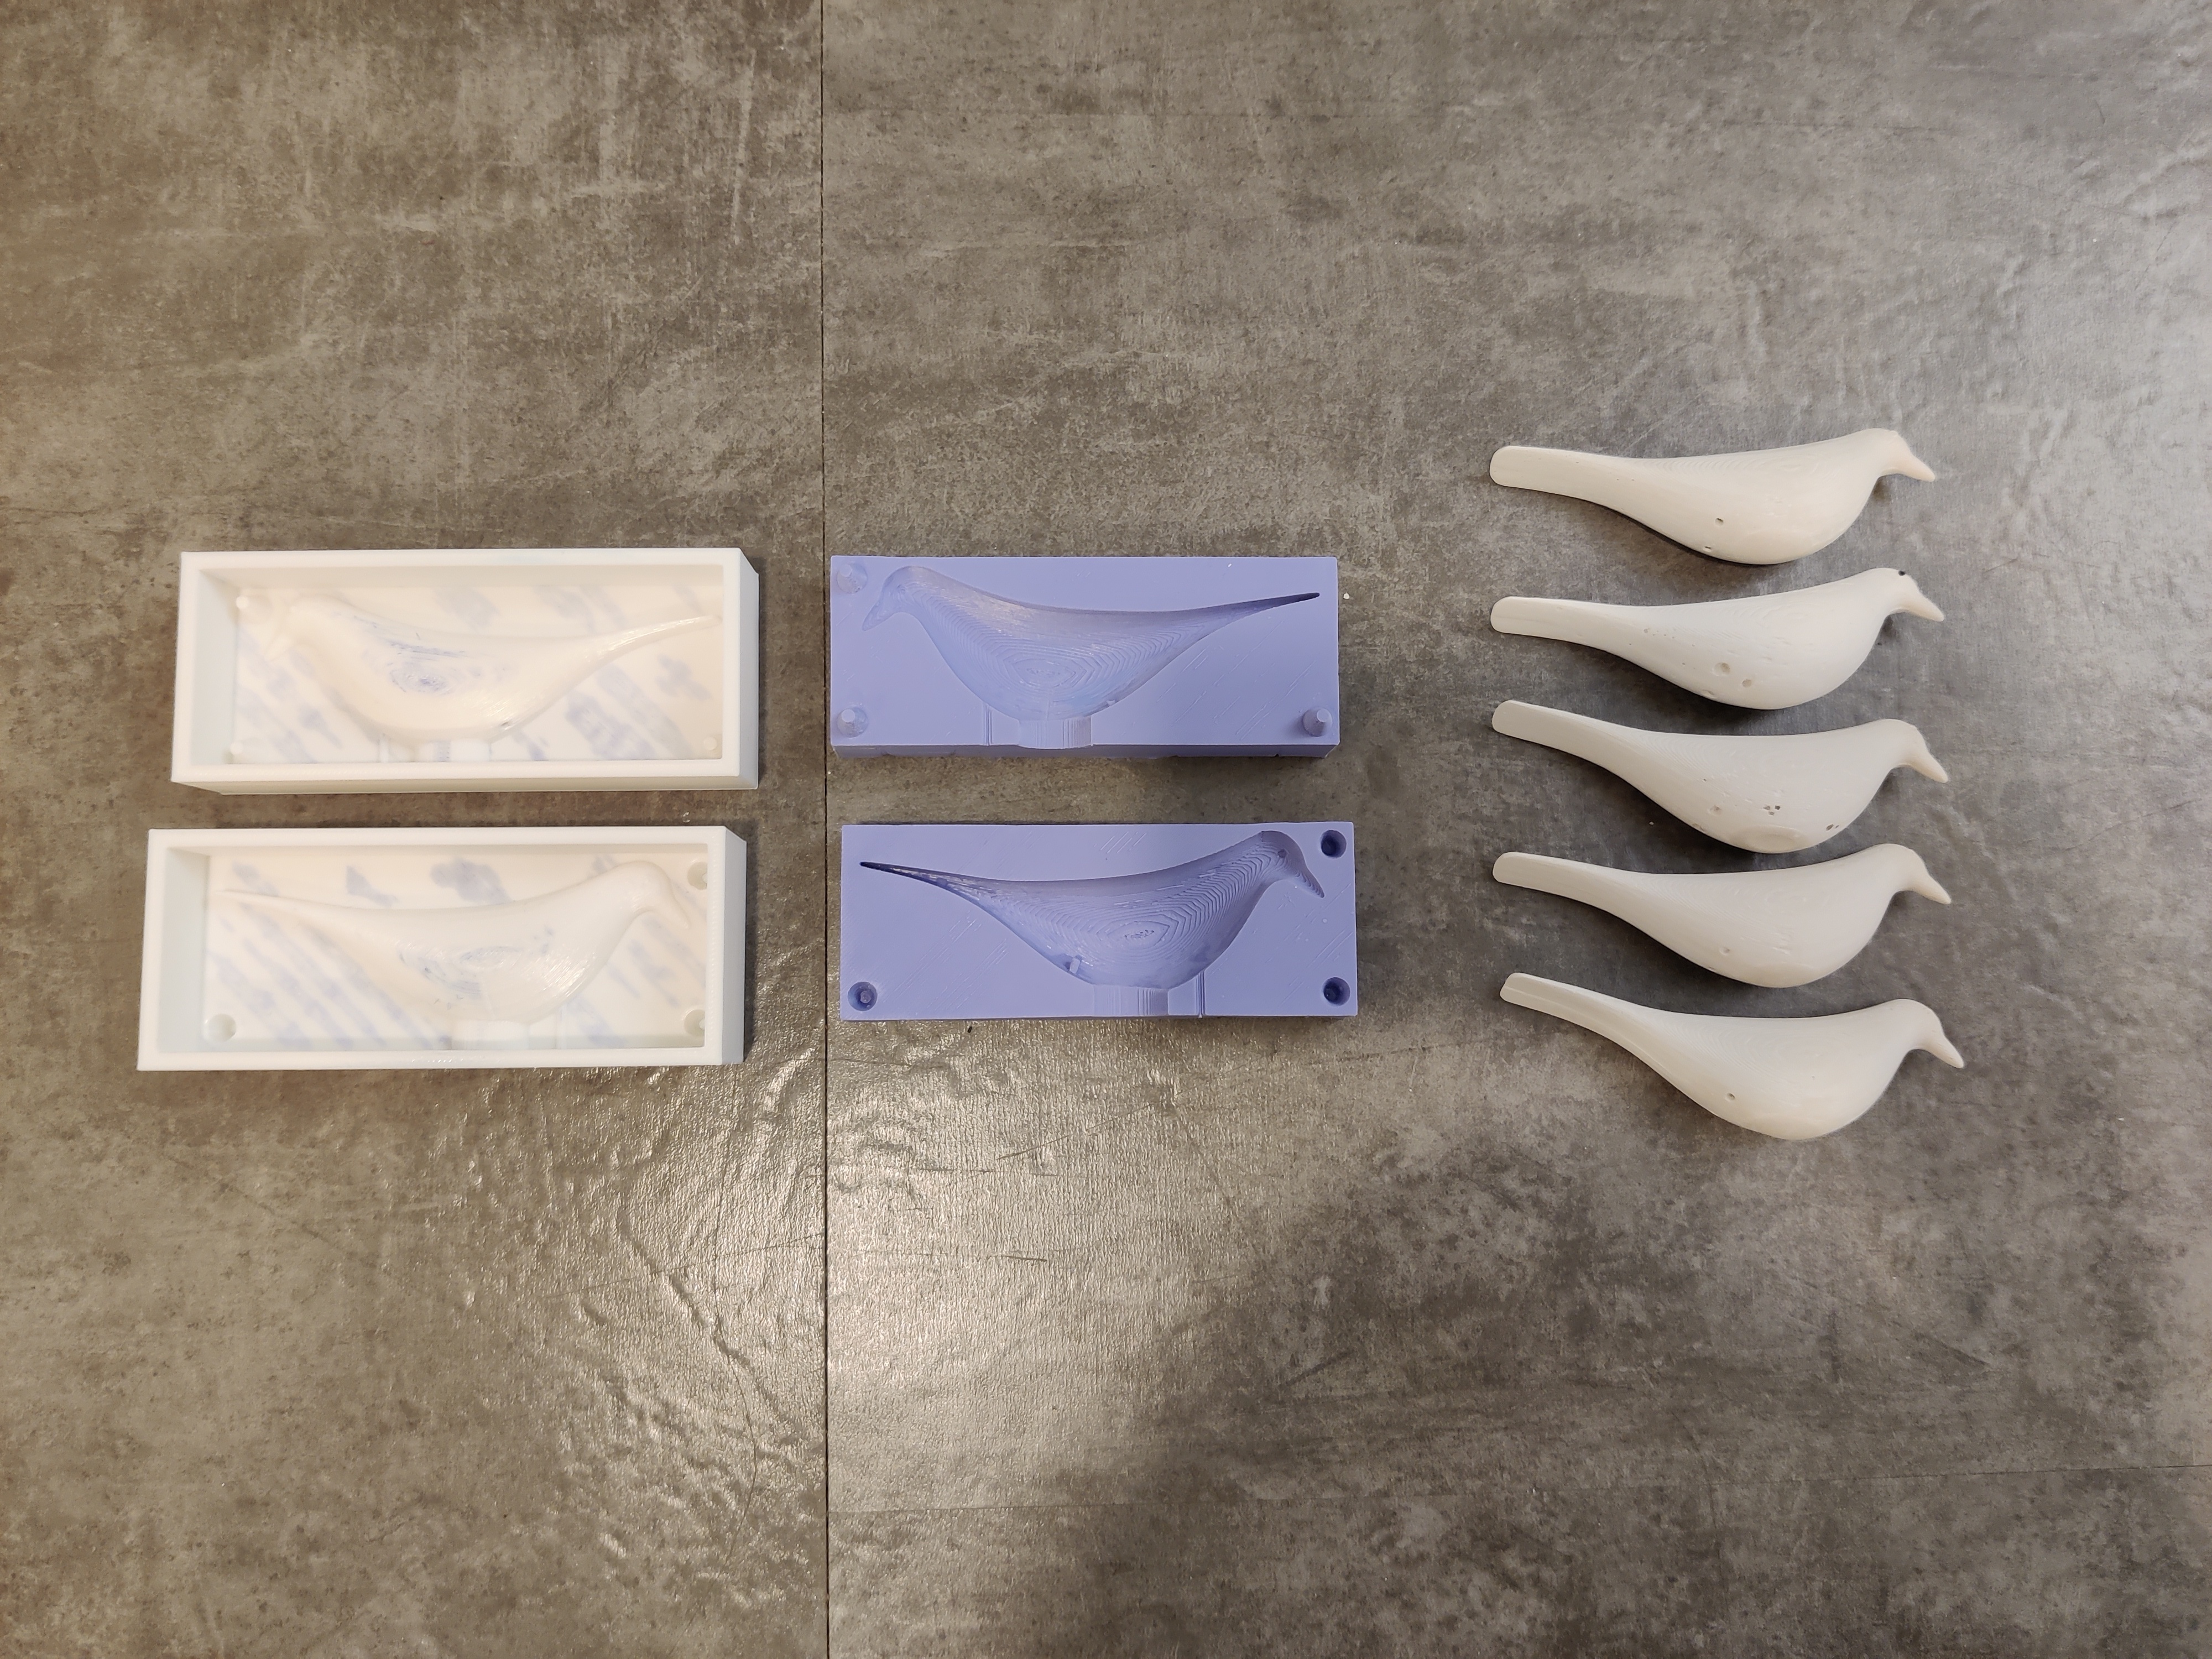
So, I redid the mold. Here is what I did differently:
- Moved the pour hole to the other side of the box so that it would sit horizontally instead of vertically
- Position the pour hole at the highest point on that part of the mold
- Make the pour hole slightly wider
- Move the vent to the same side of the mold
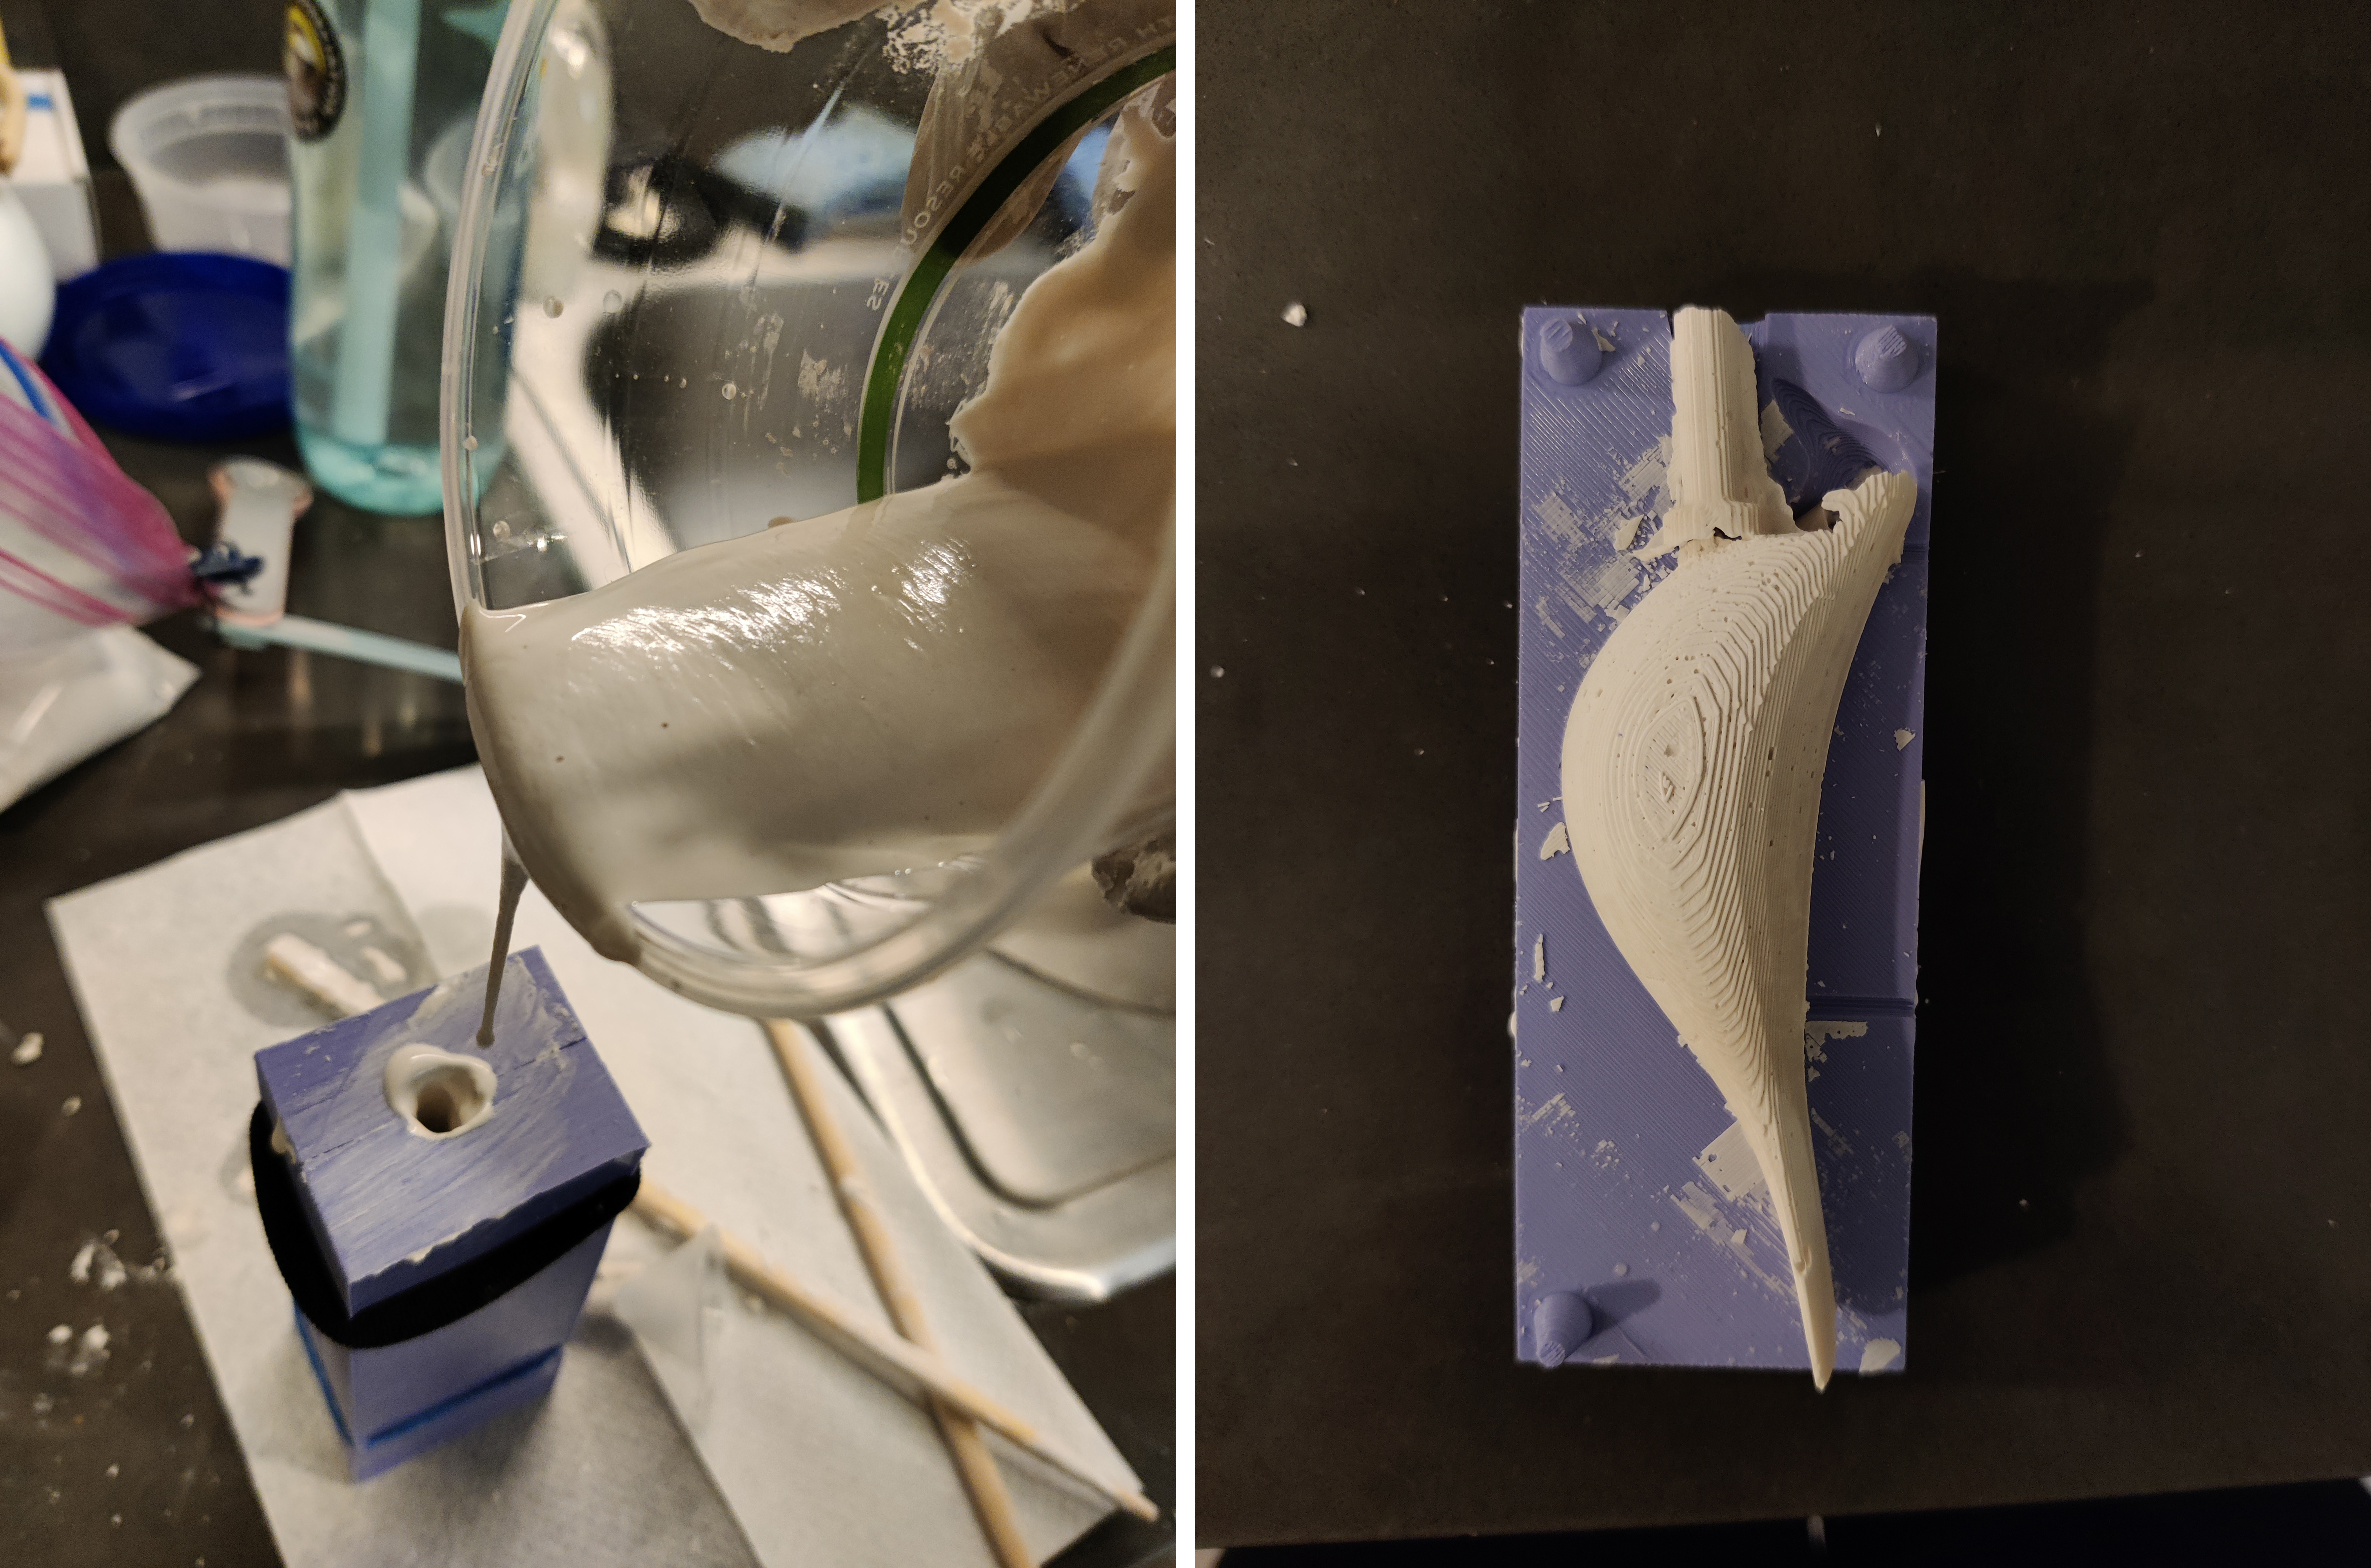
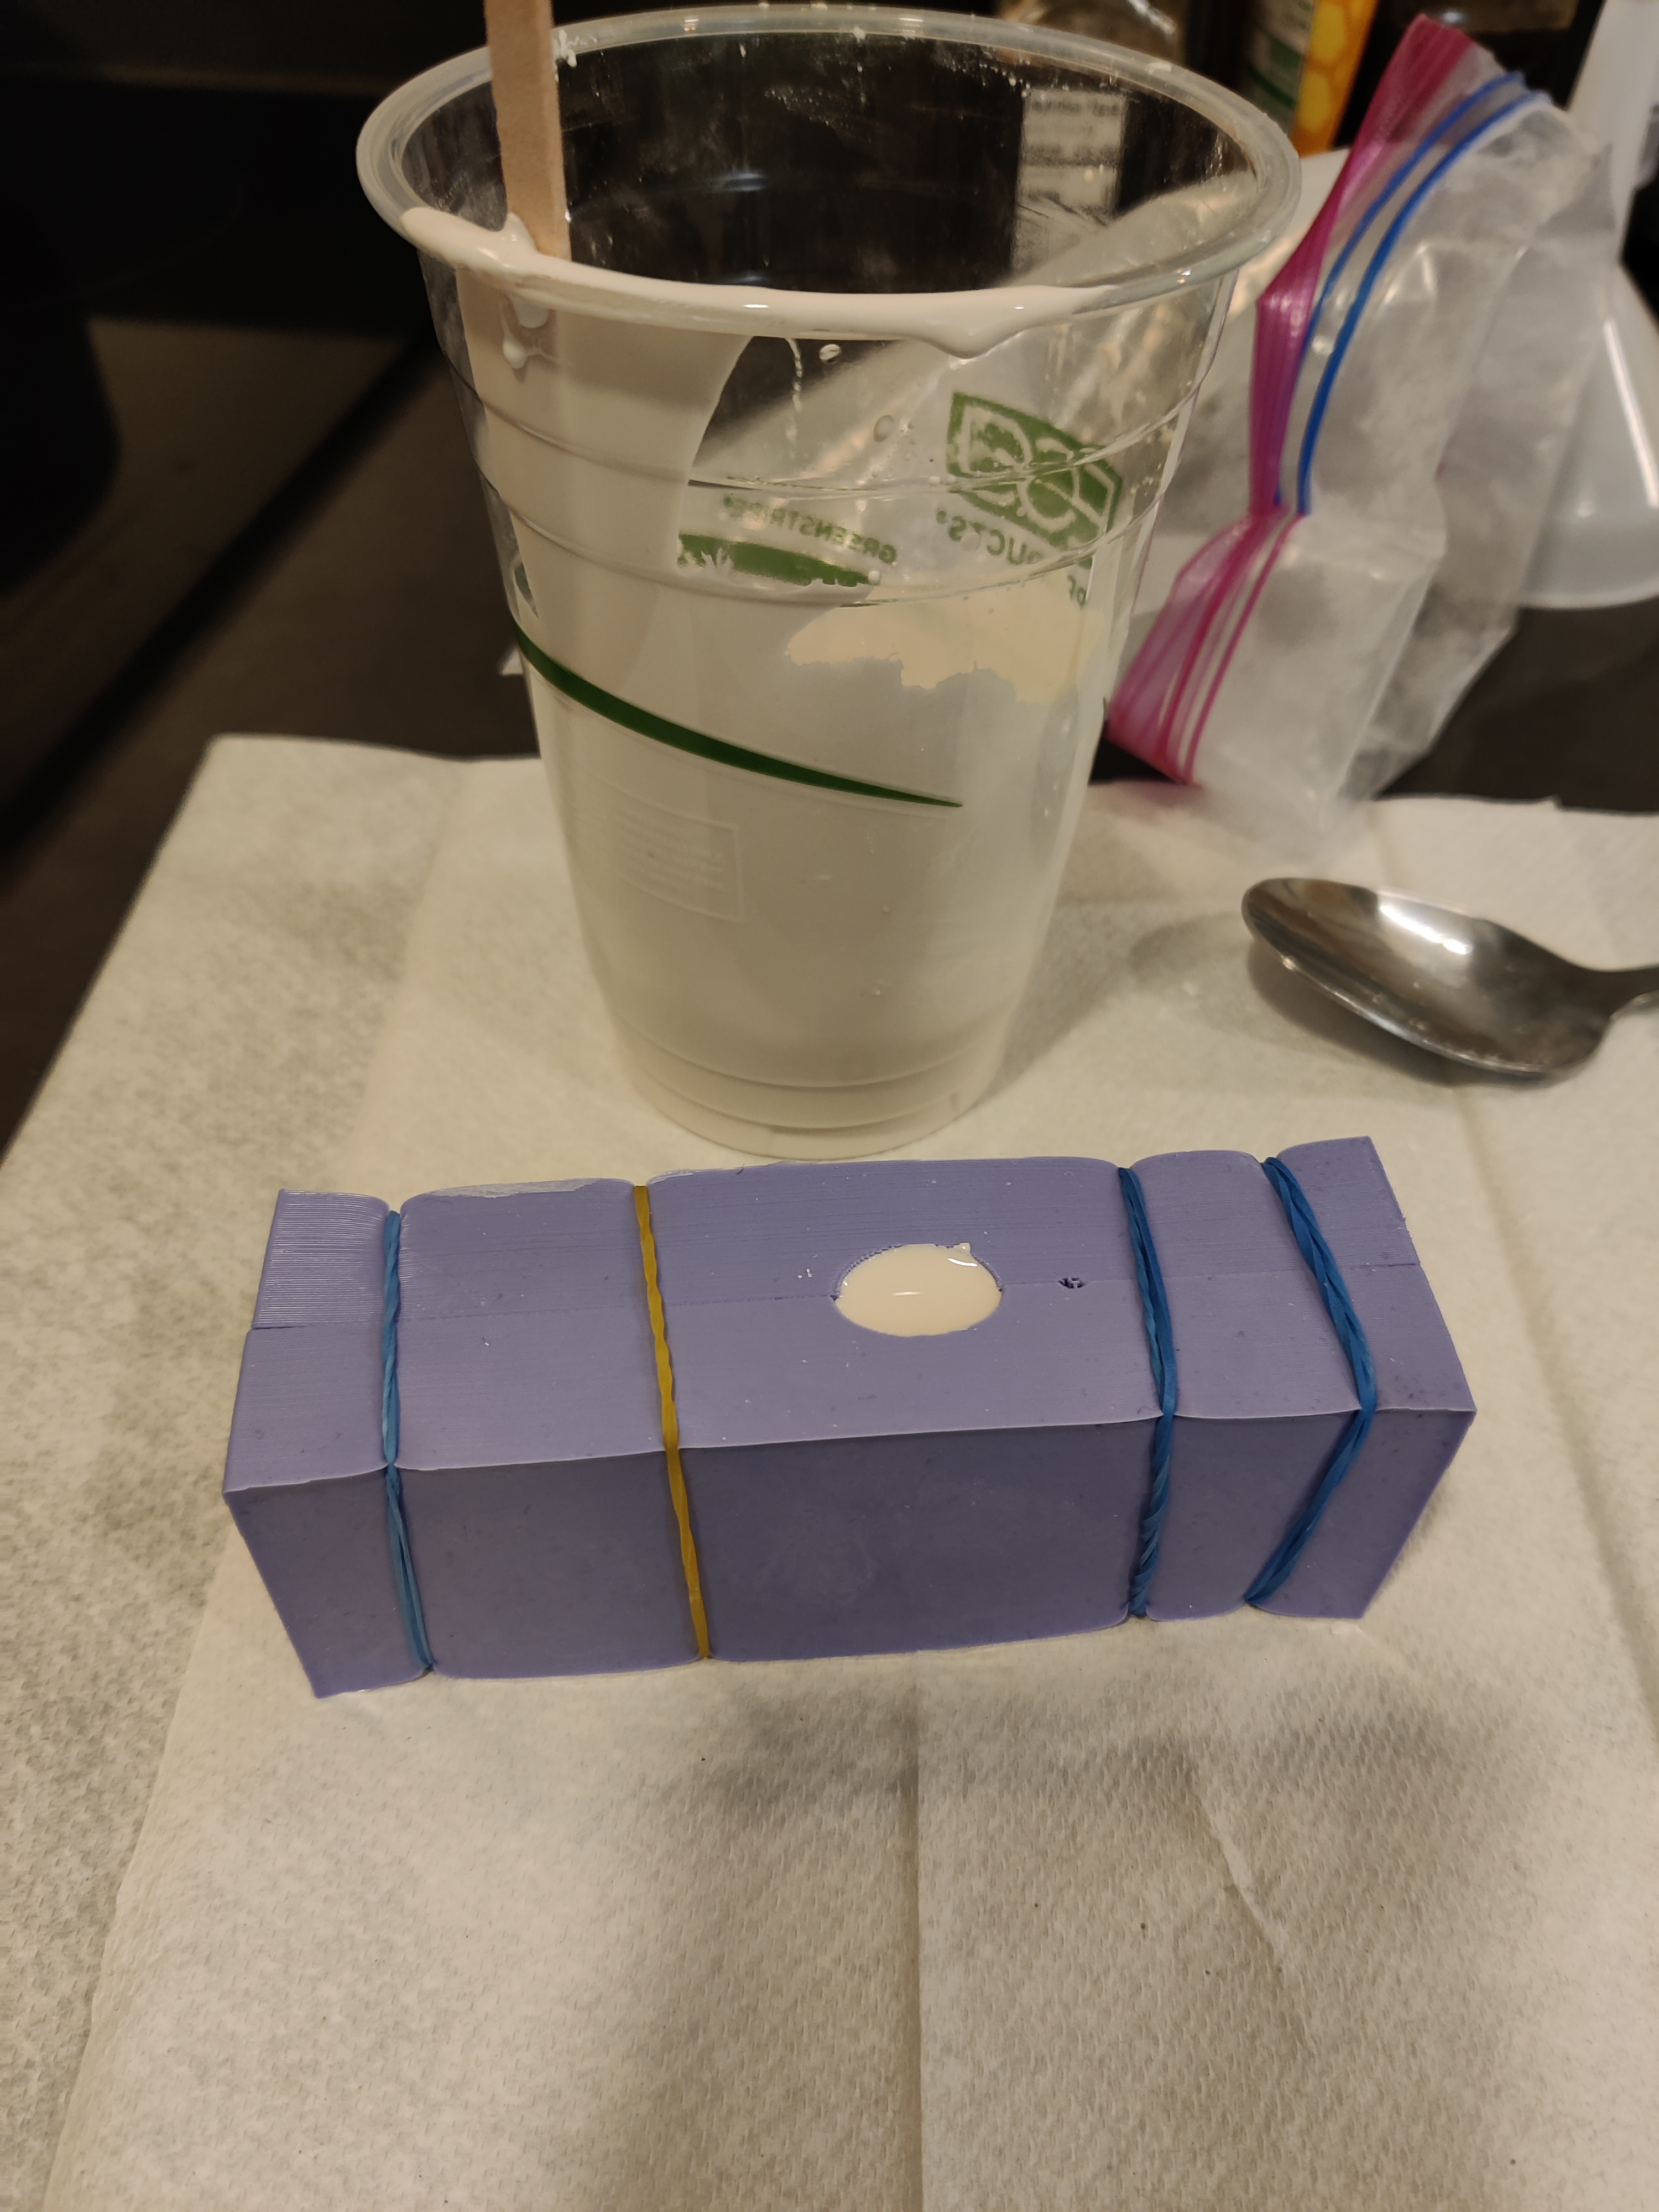
After re printing and making the Oomoo mold, it looked a lot more functional.
The mixture went into the hole easier and the entire mold filled up.
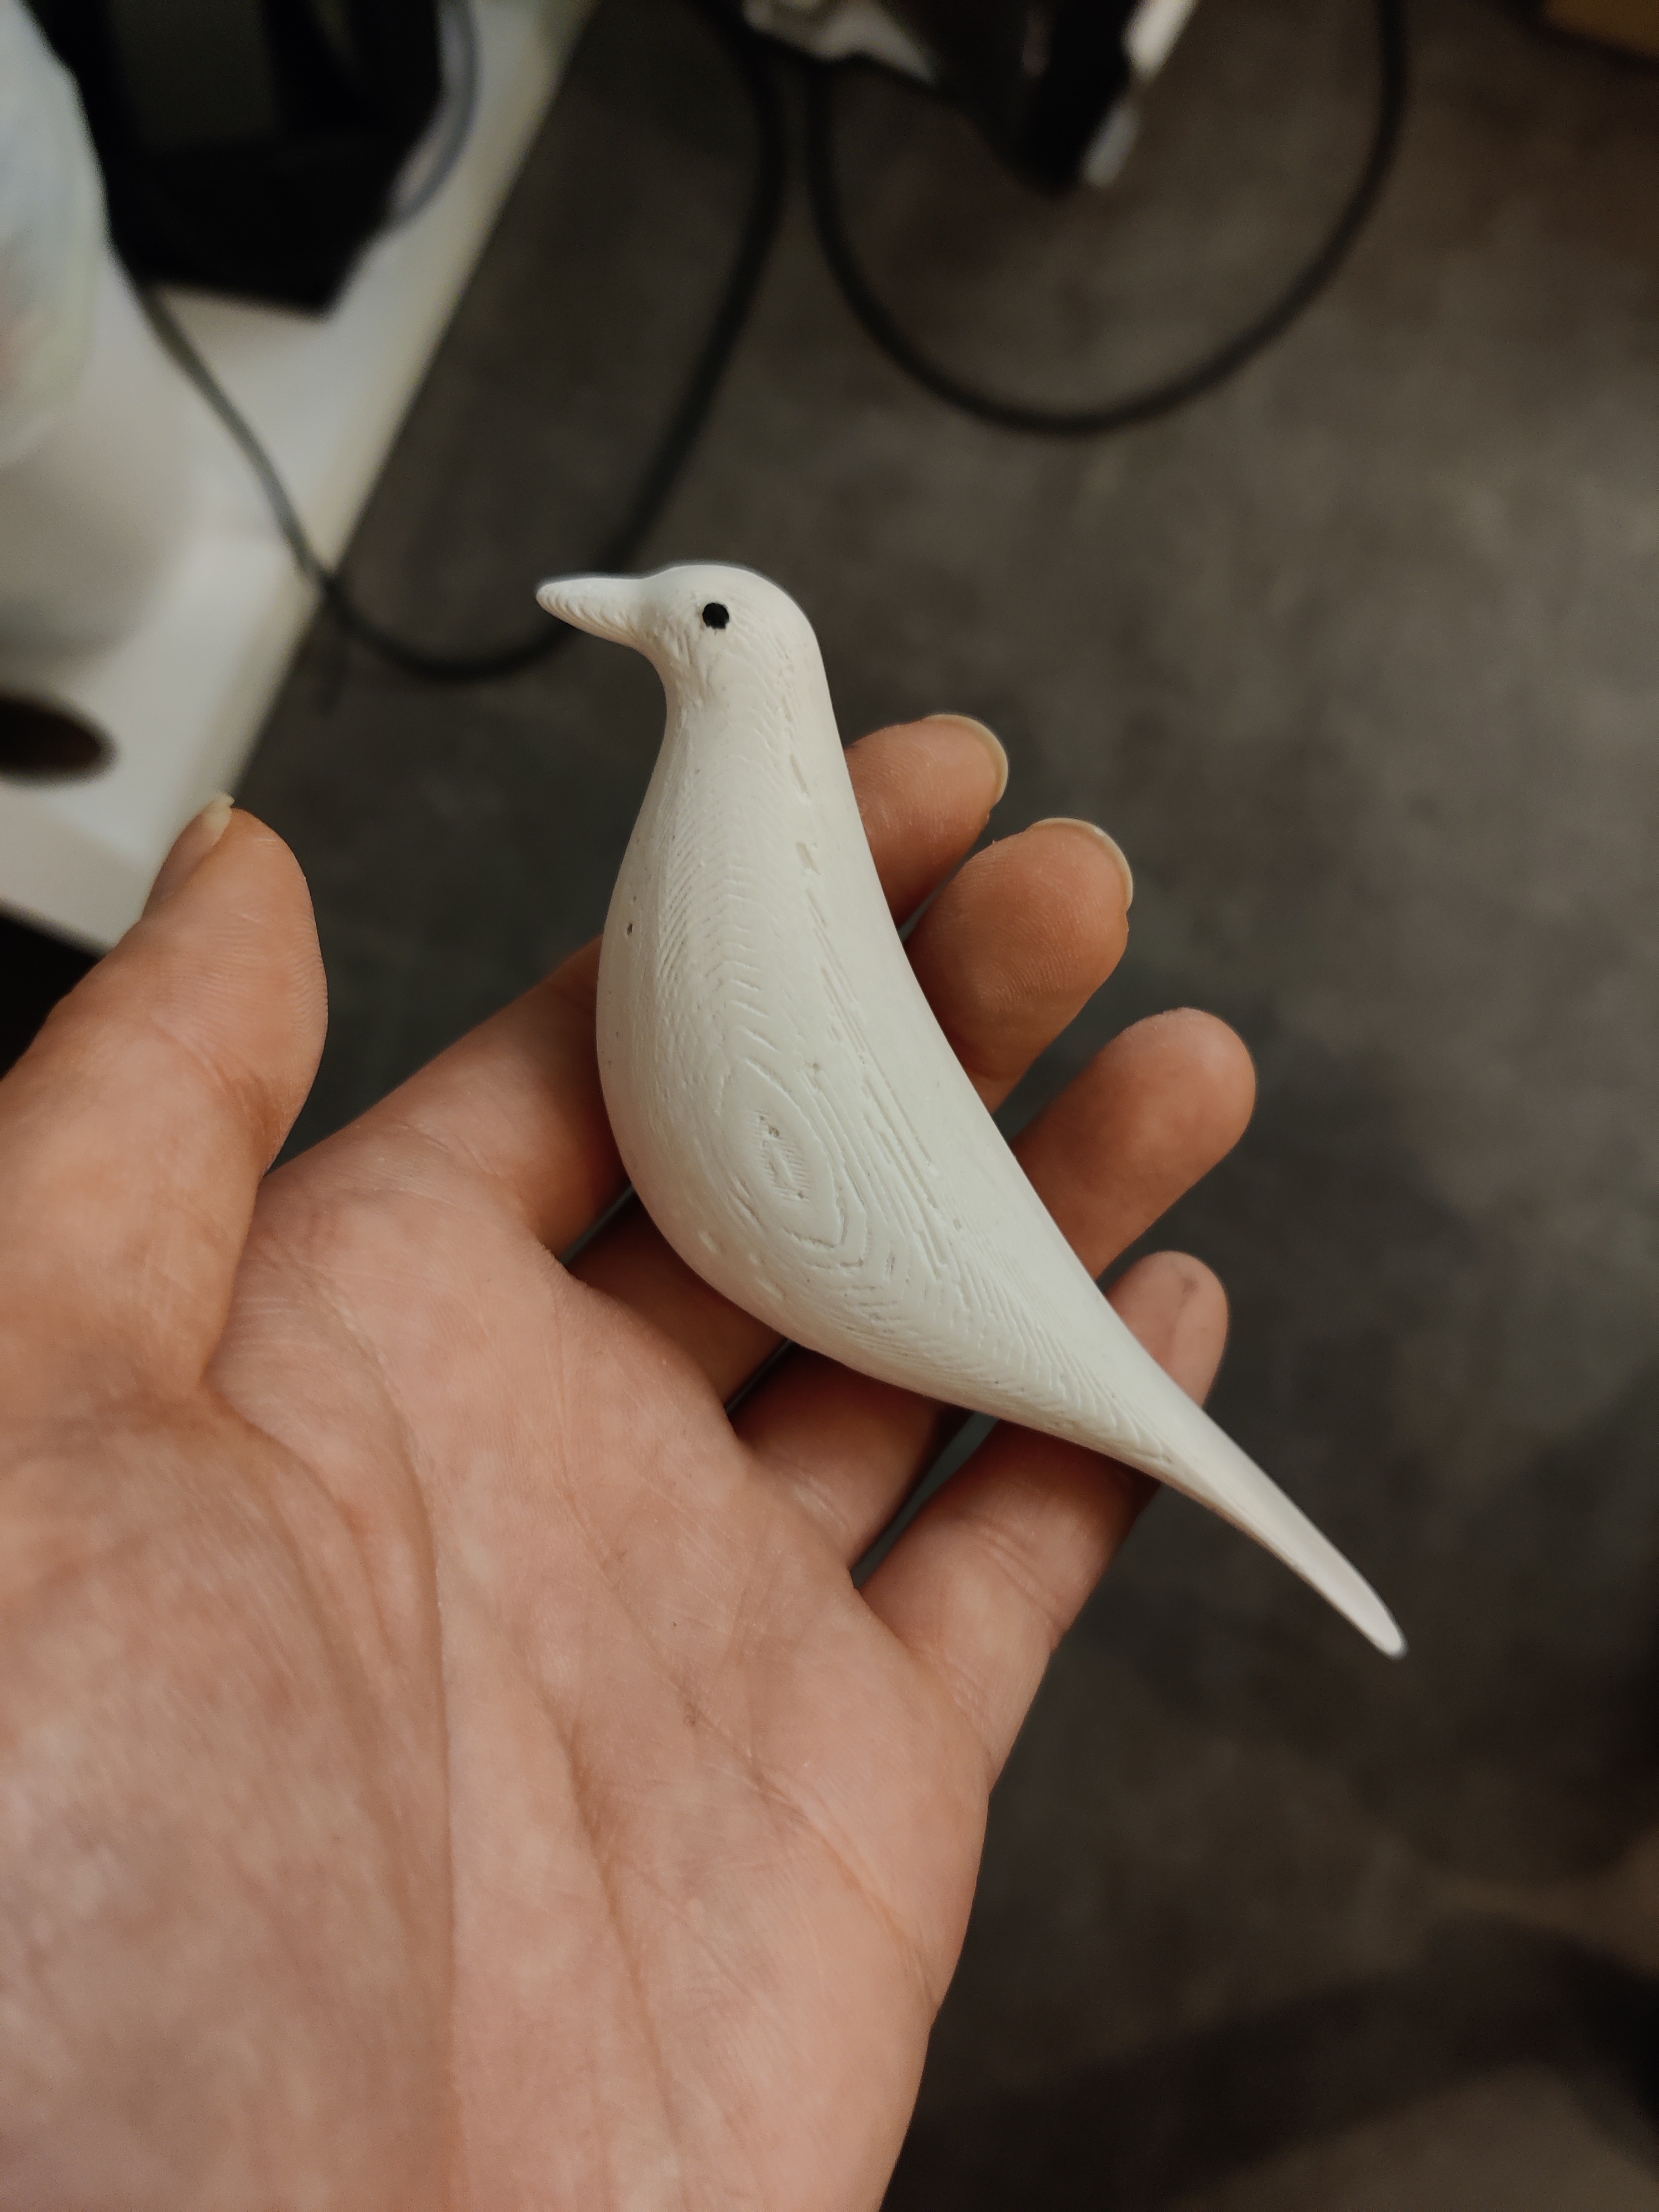
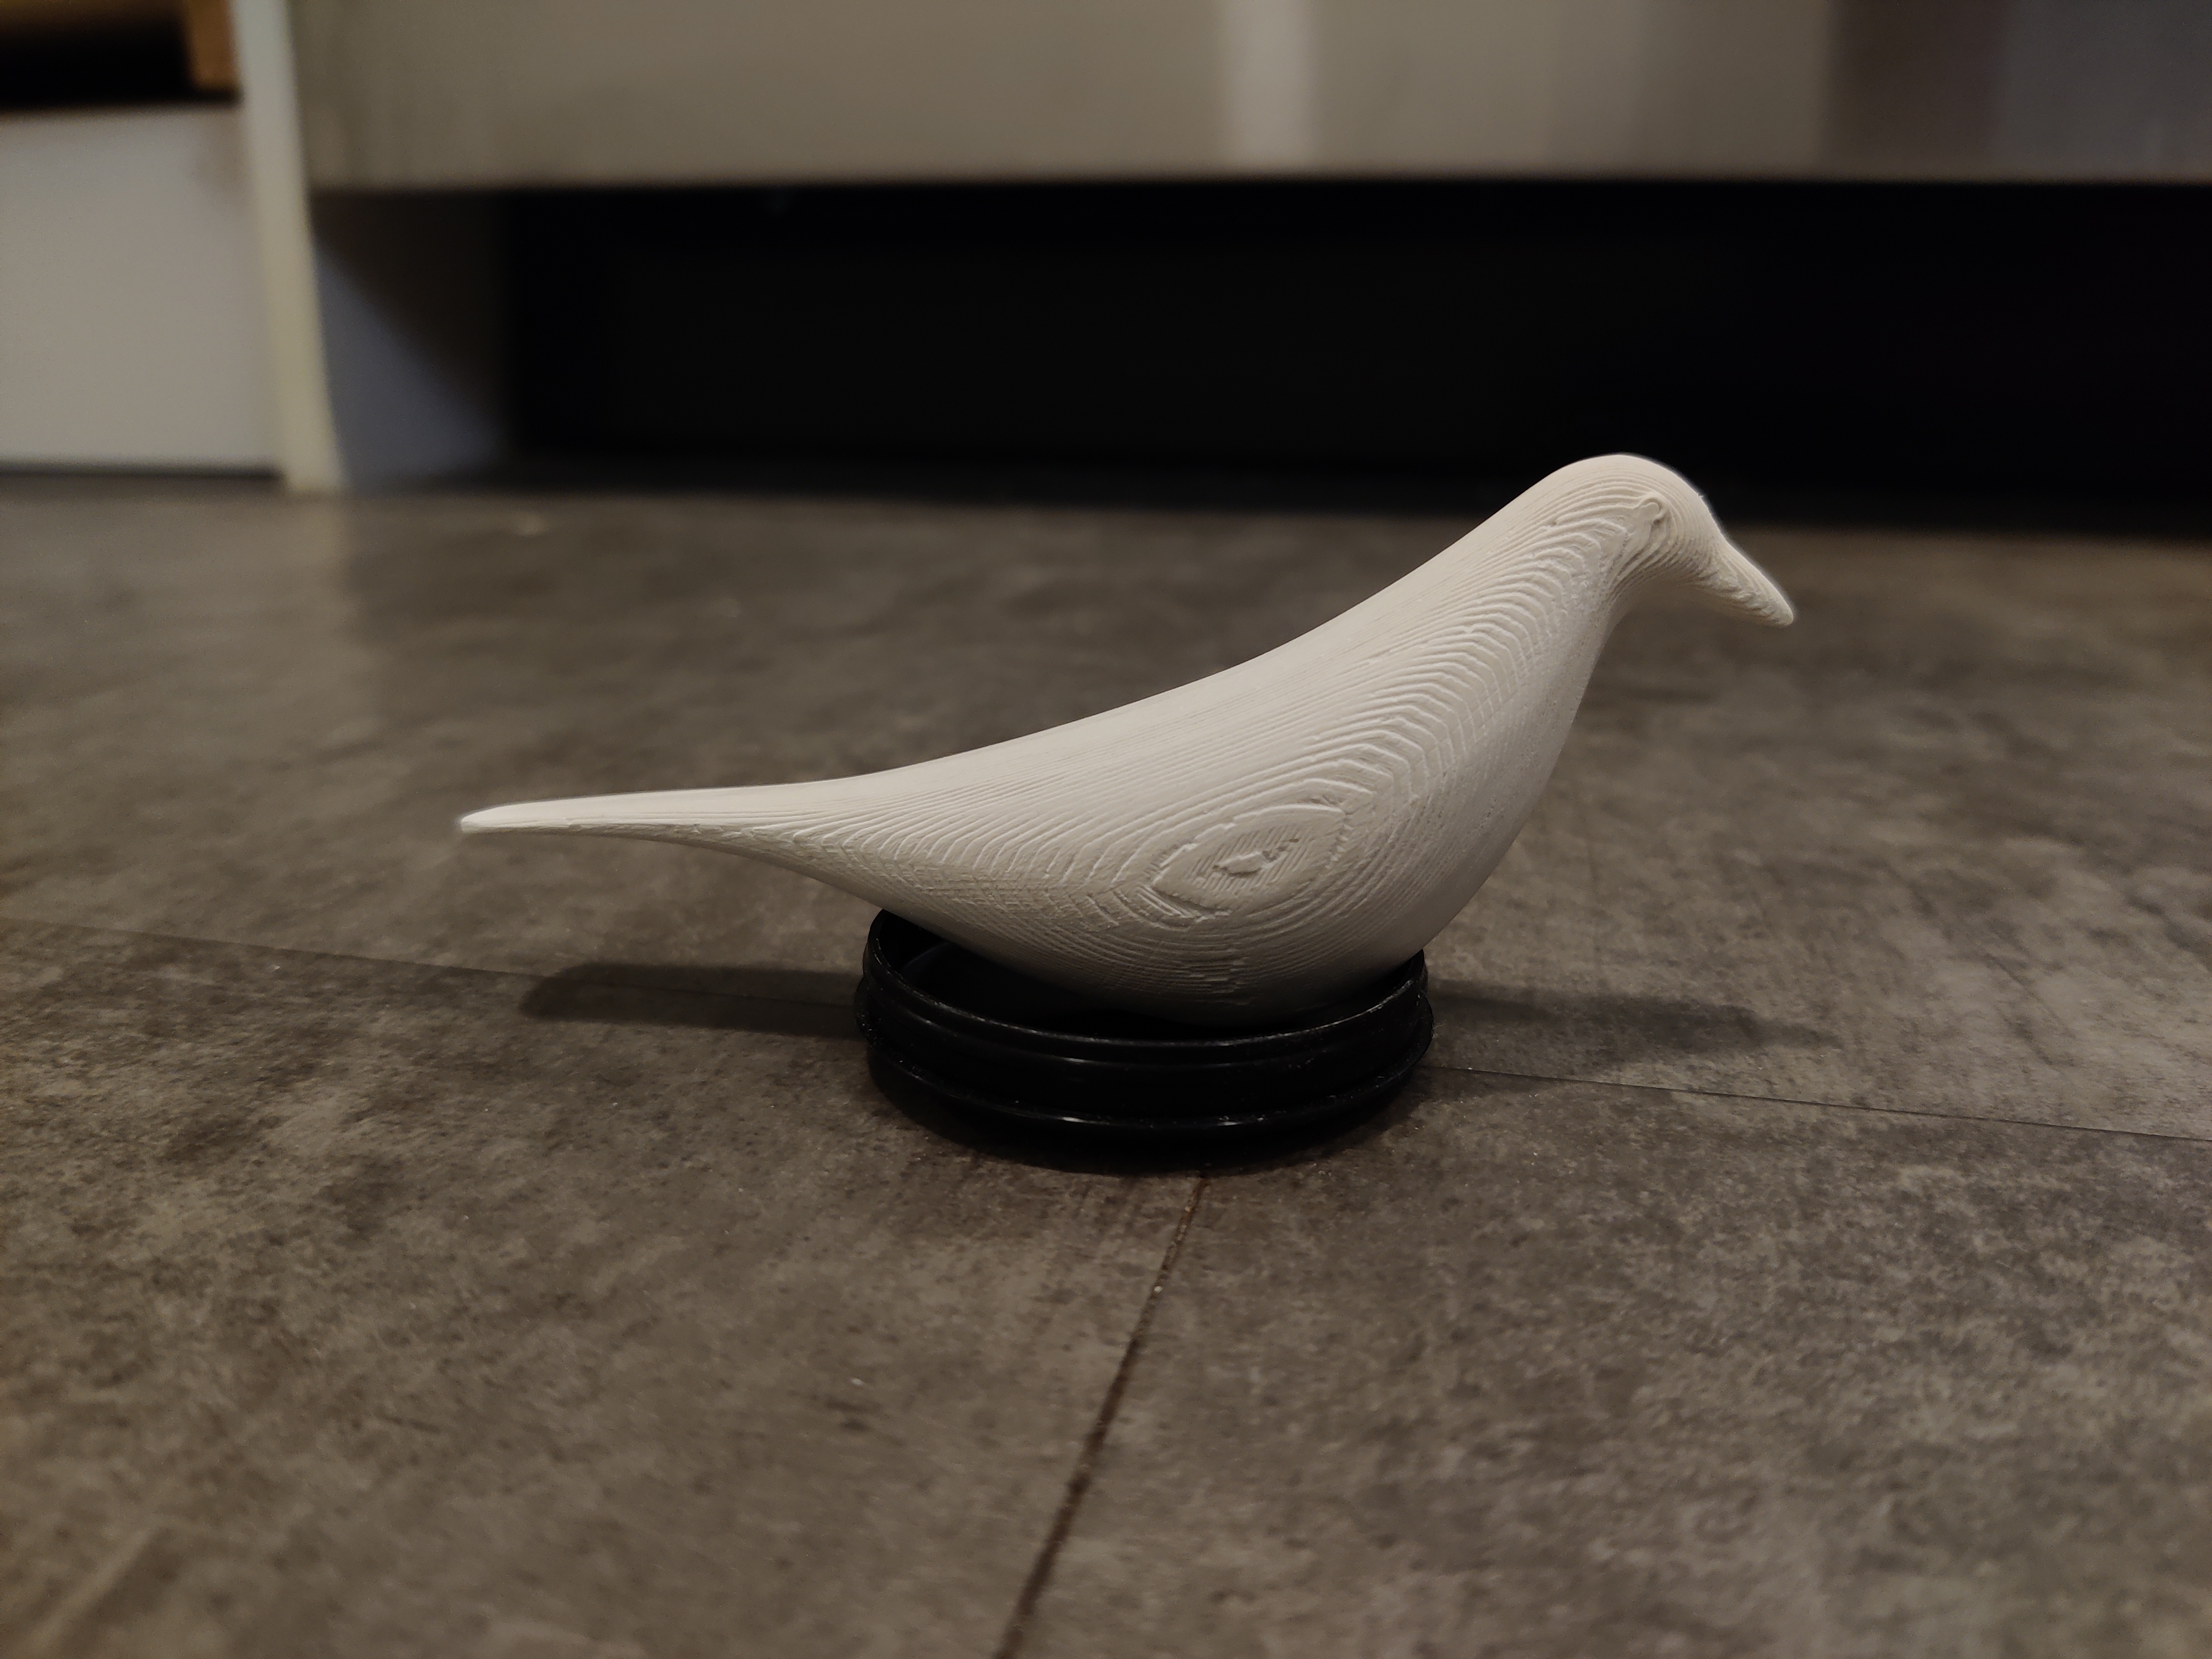
Sanded with 100, 200, 600 grit sandpaper. Painted an eye on with acrylic
It looked pretty good! I did notice a few bubbles that formed in the object (more on that later)
Since I used some of the hydrostone powder for the first attempt, I only had enough for one more bird. I bought some of the Perfect Cast from the class materials list. When I was reading the instructions on the bag, I noticed that it said that to reduce bubbles, you can tap the container before pouring it in and also tap the mold immediately after pouring in the mixture. This brings the bubbles to the top where they will pop. I tried this out and it seemed to definitely reduce the bubbles!
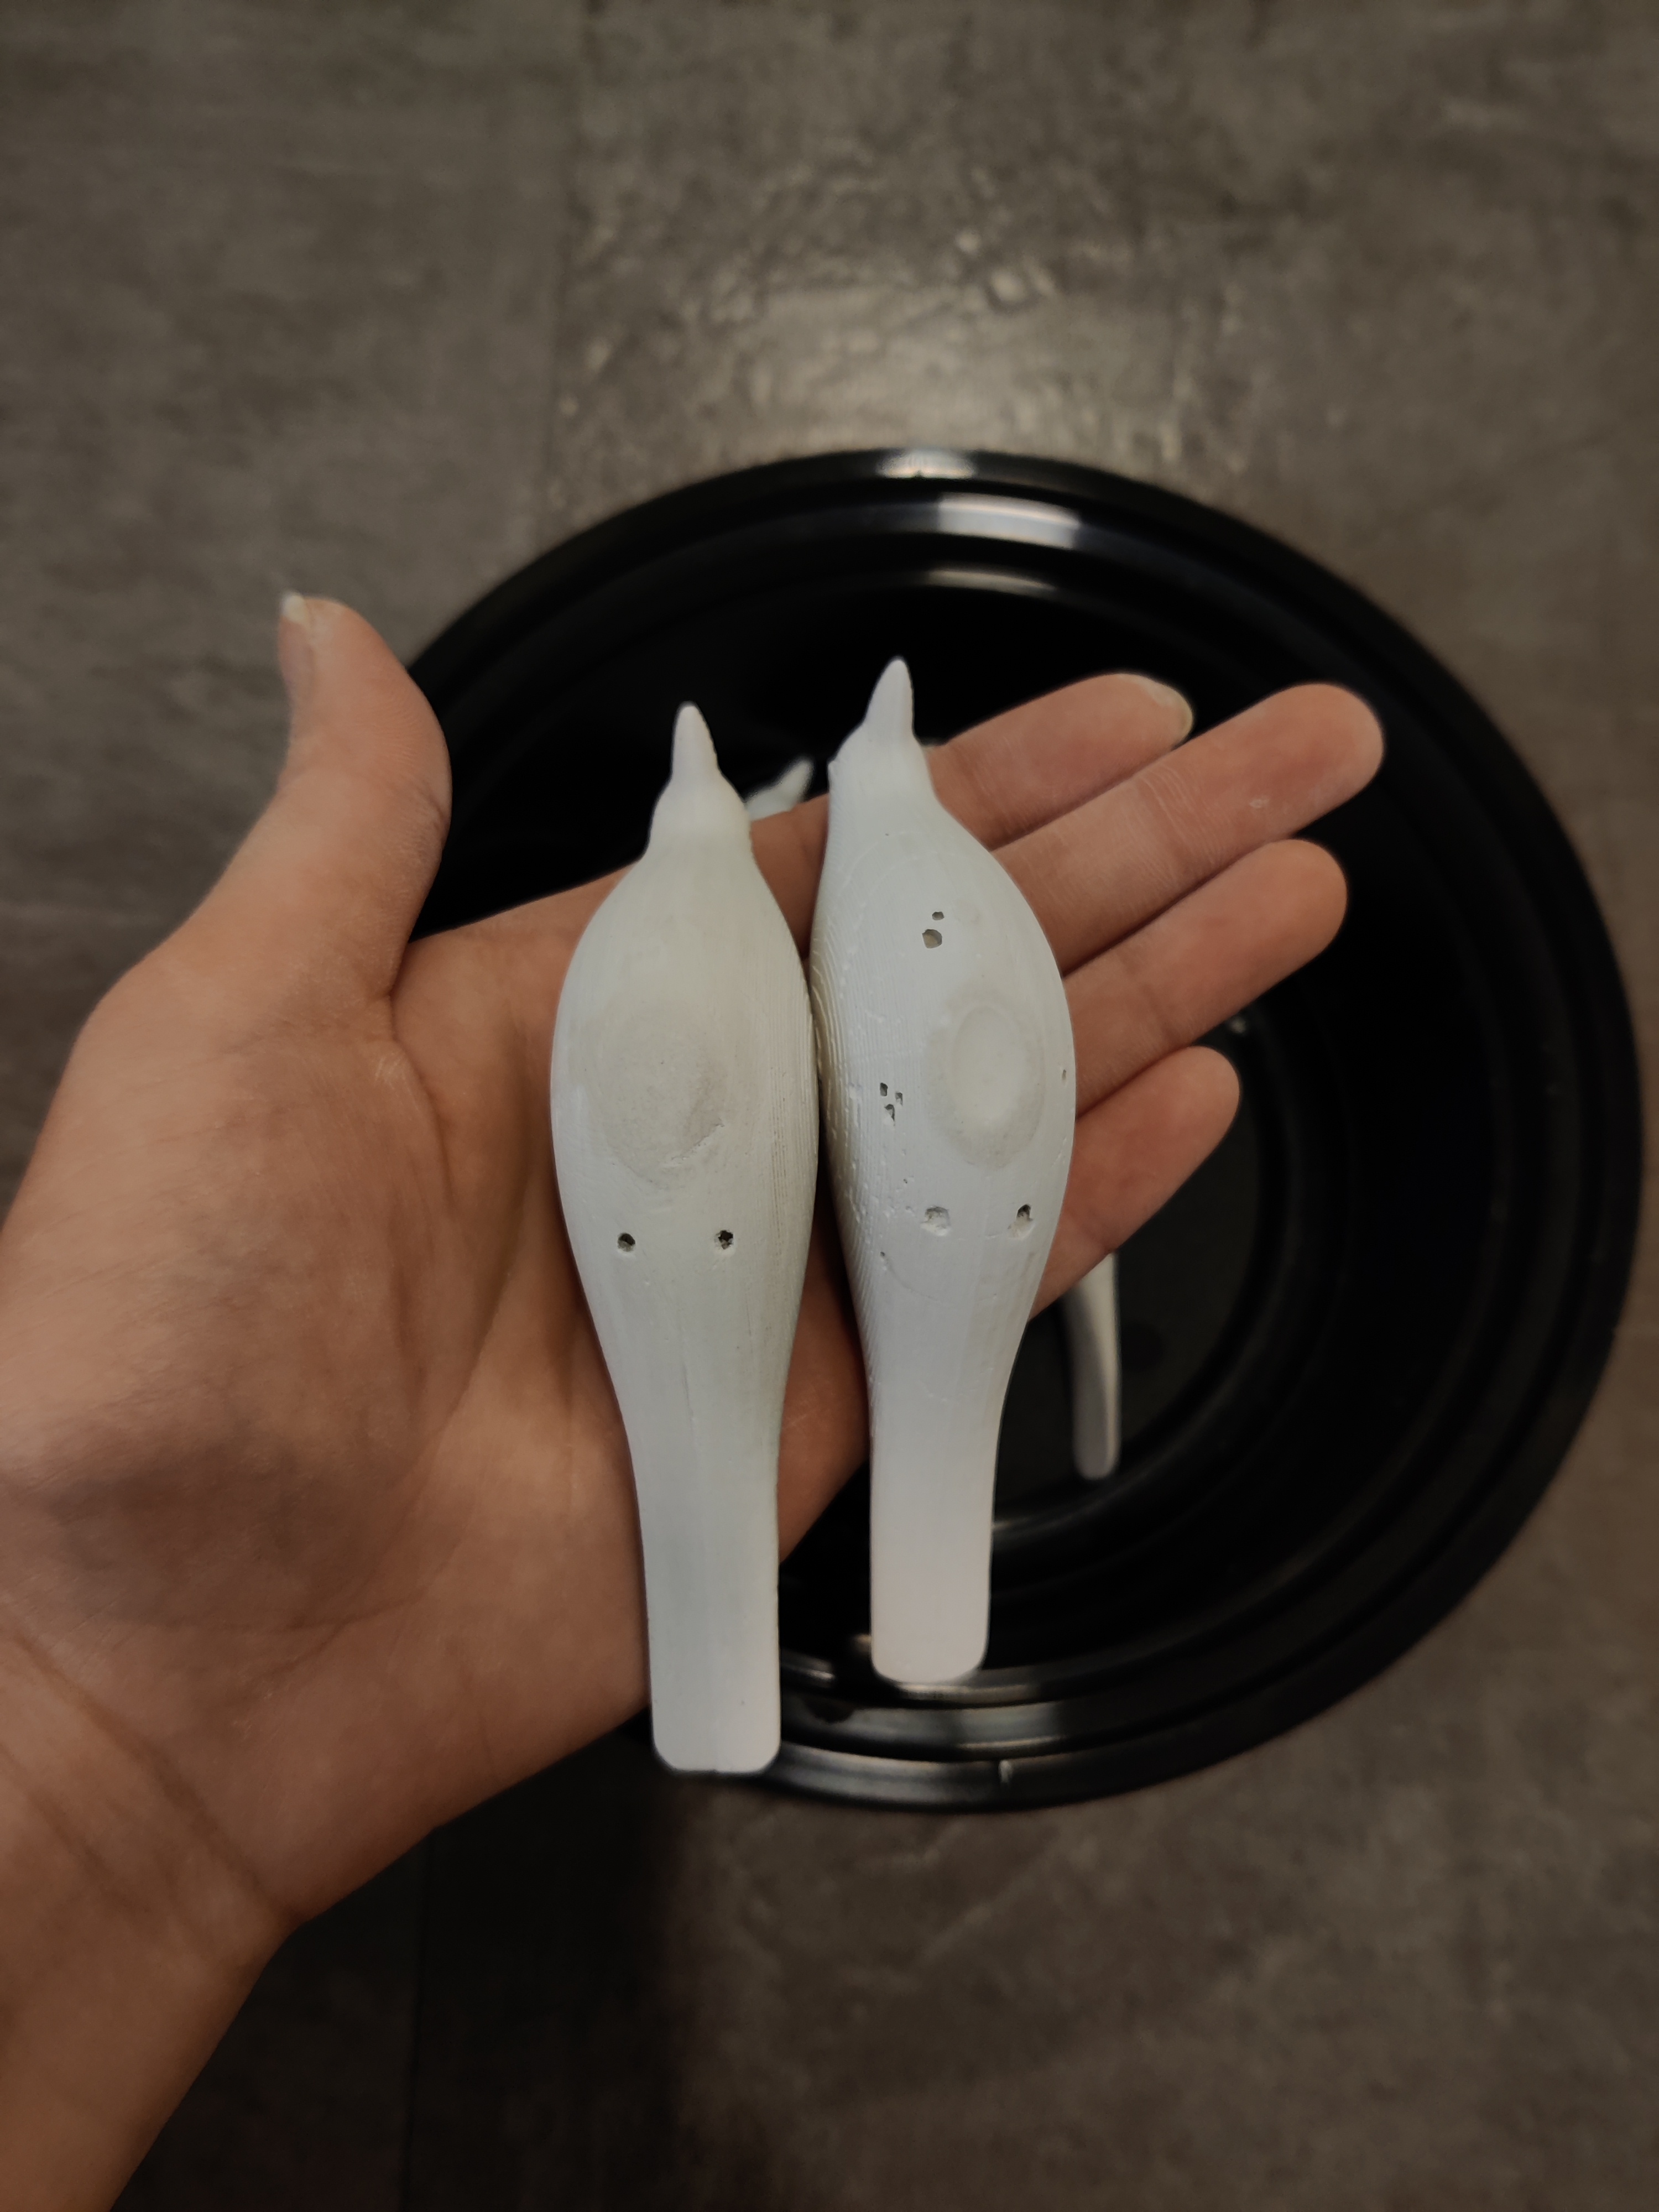 Bird with some bubbles vs bird with no bubbles
Something that I also learned while using this mixture is that I prefer to make it a little thinner for pouring than the recommended ratio. This made it easier for me to pour in an even stream into the small hole, reducing bubbles formed and uneven pouring.
The only mishap that occurred was that the third bird pulled out one of the leg hole mold pegs from the mold, so birds 4 and 5 only had one leg hole. I haven’t tried, but I think that I can glue toothpicks in the holes to make legs!
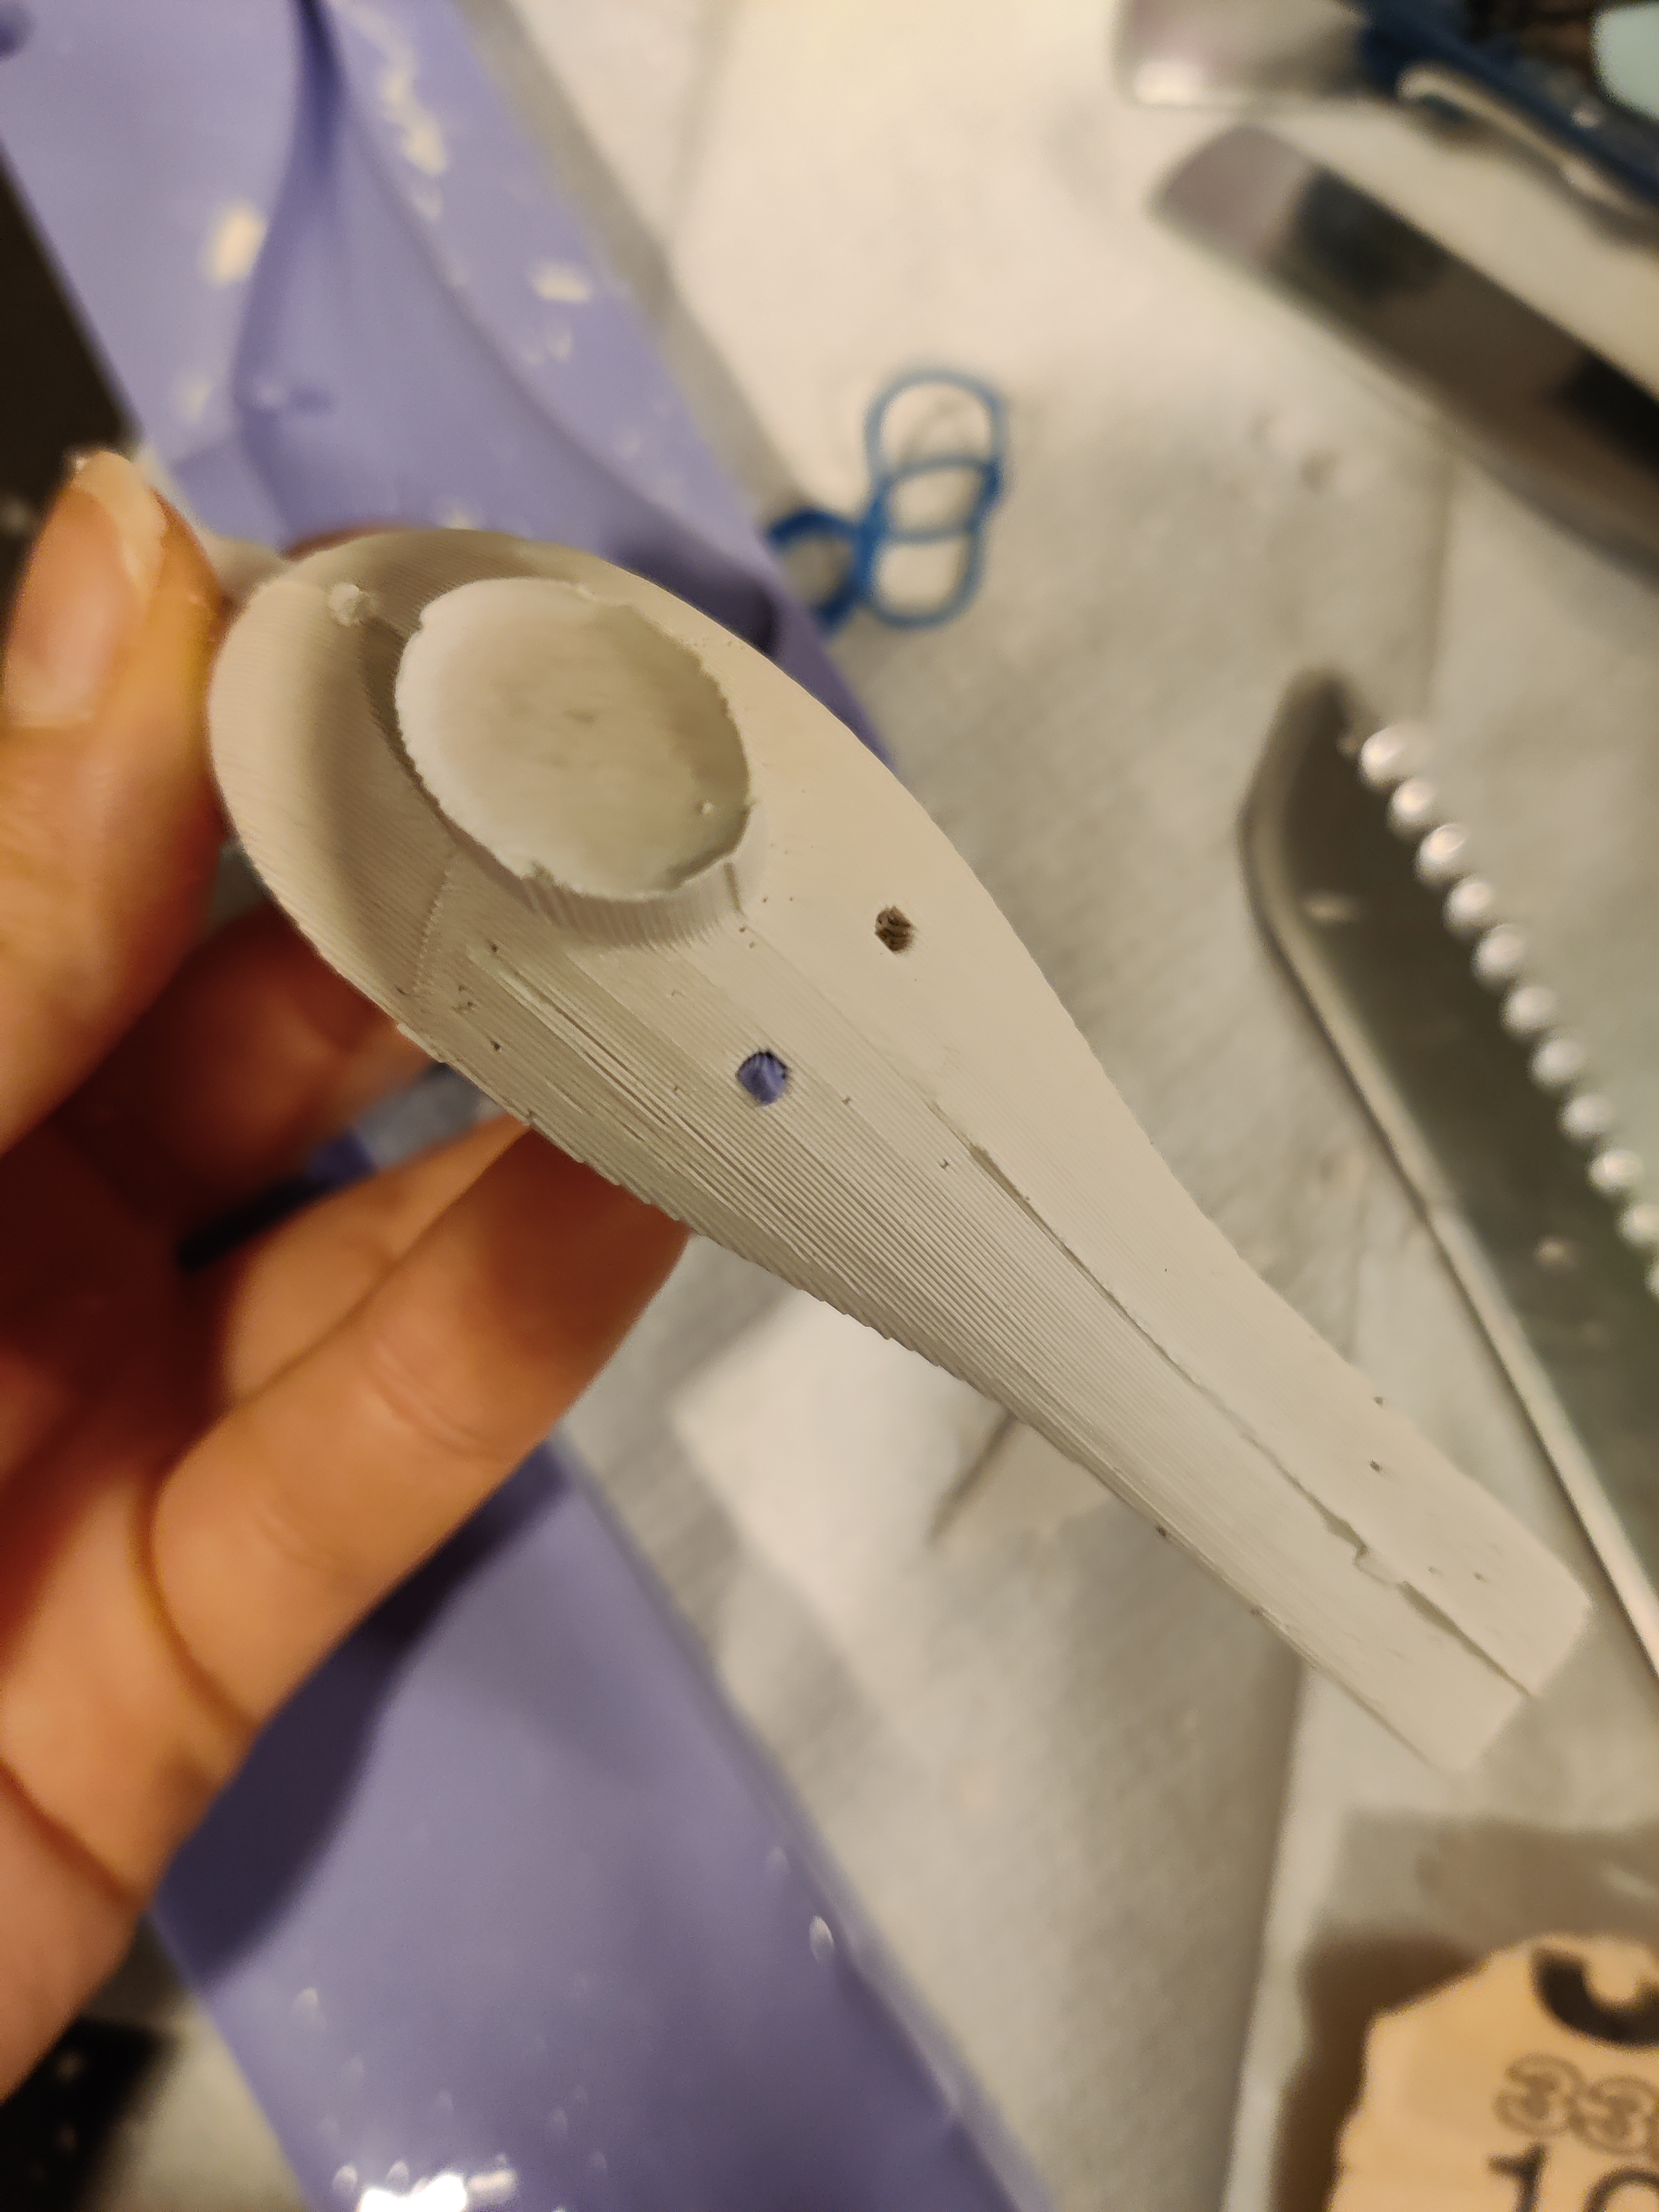 Mold stuck in leg hole
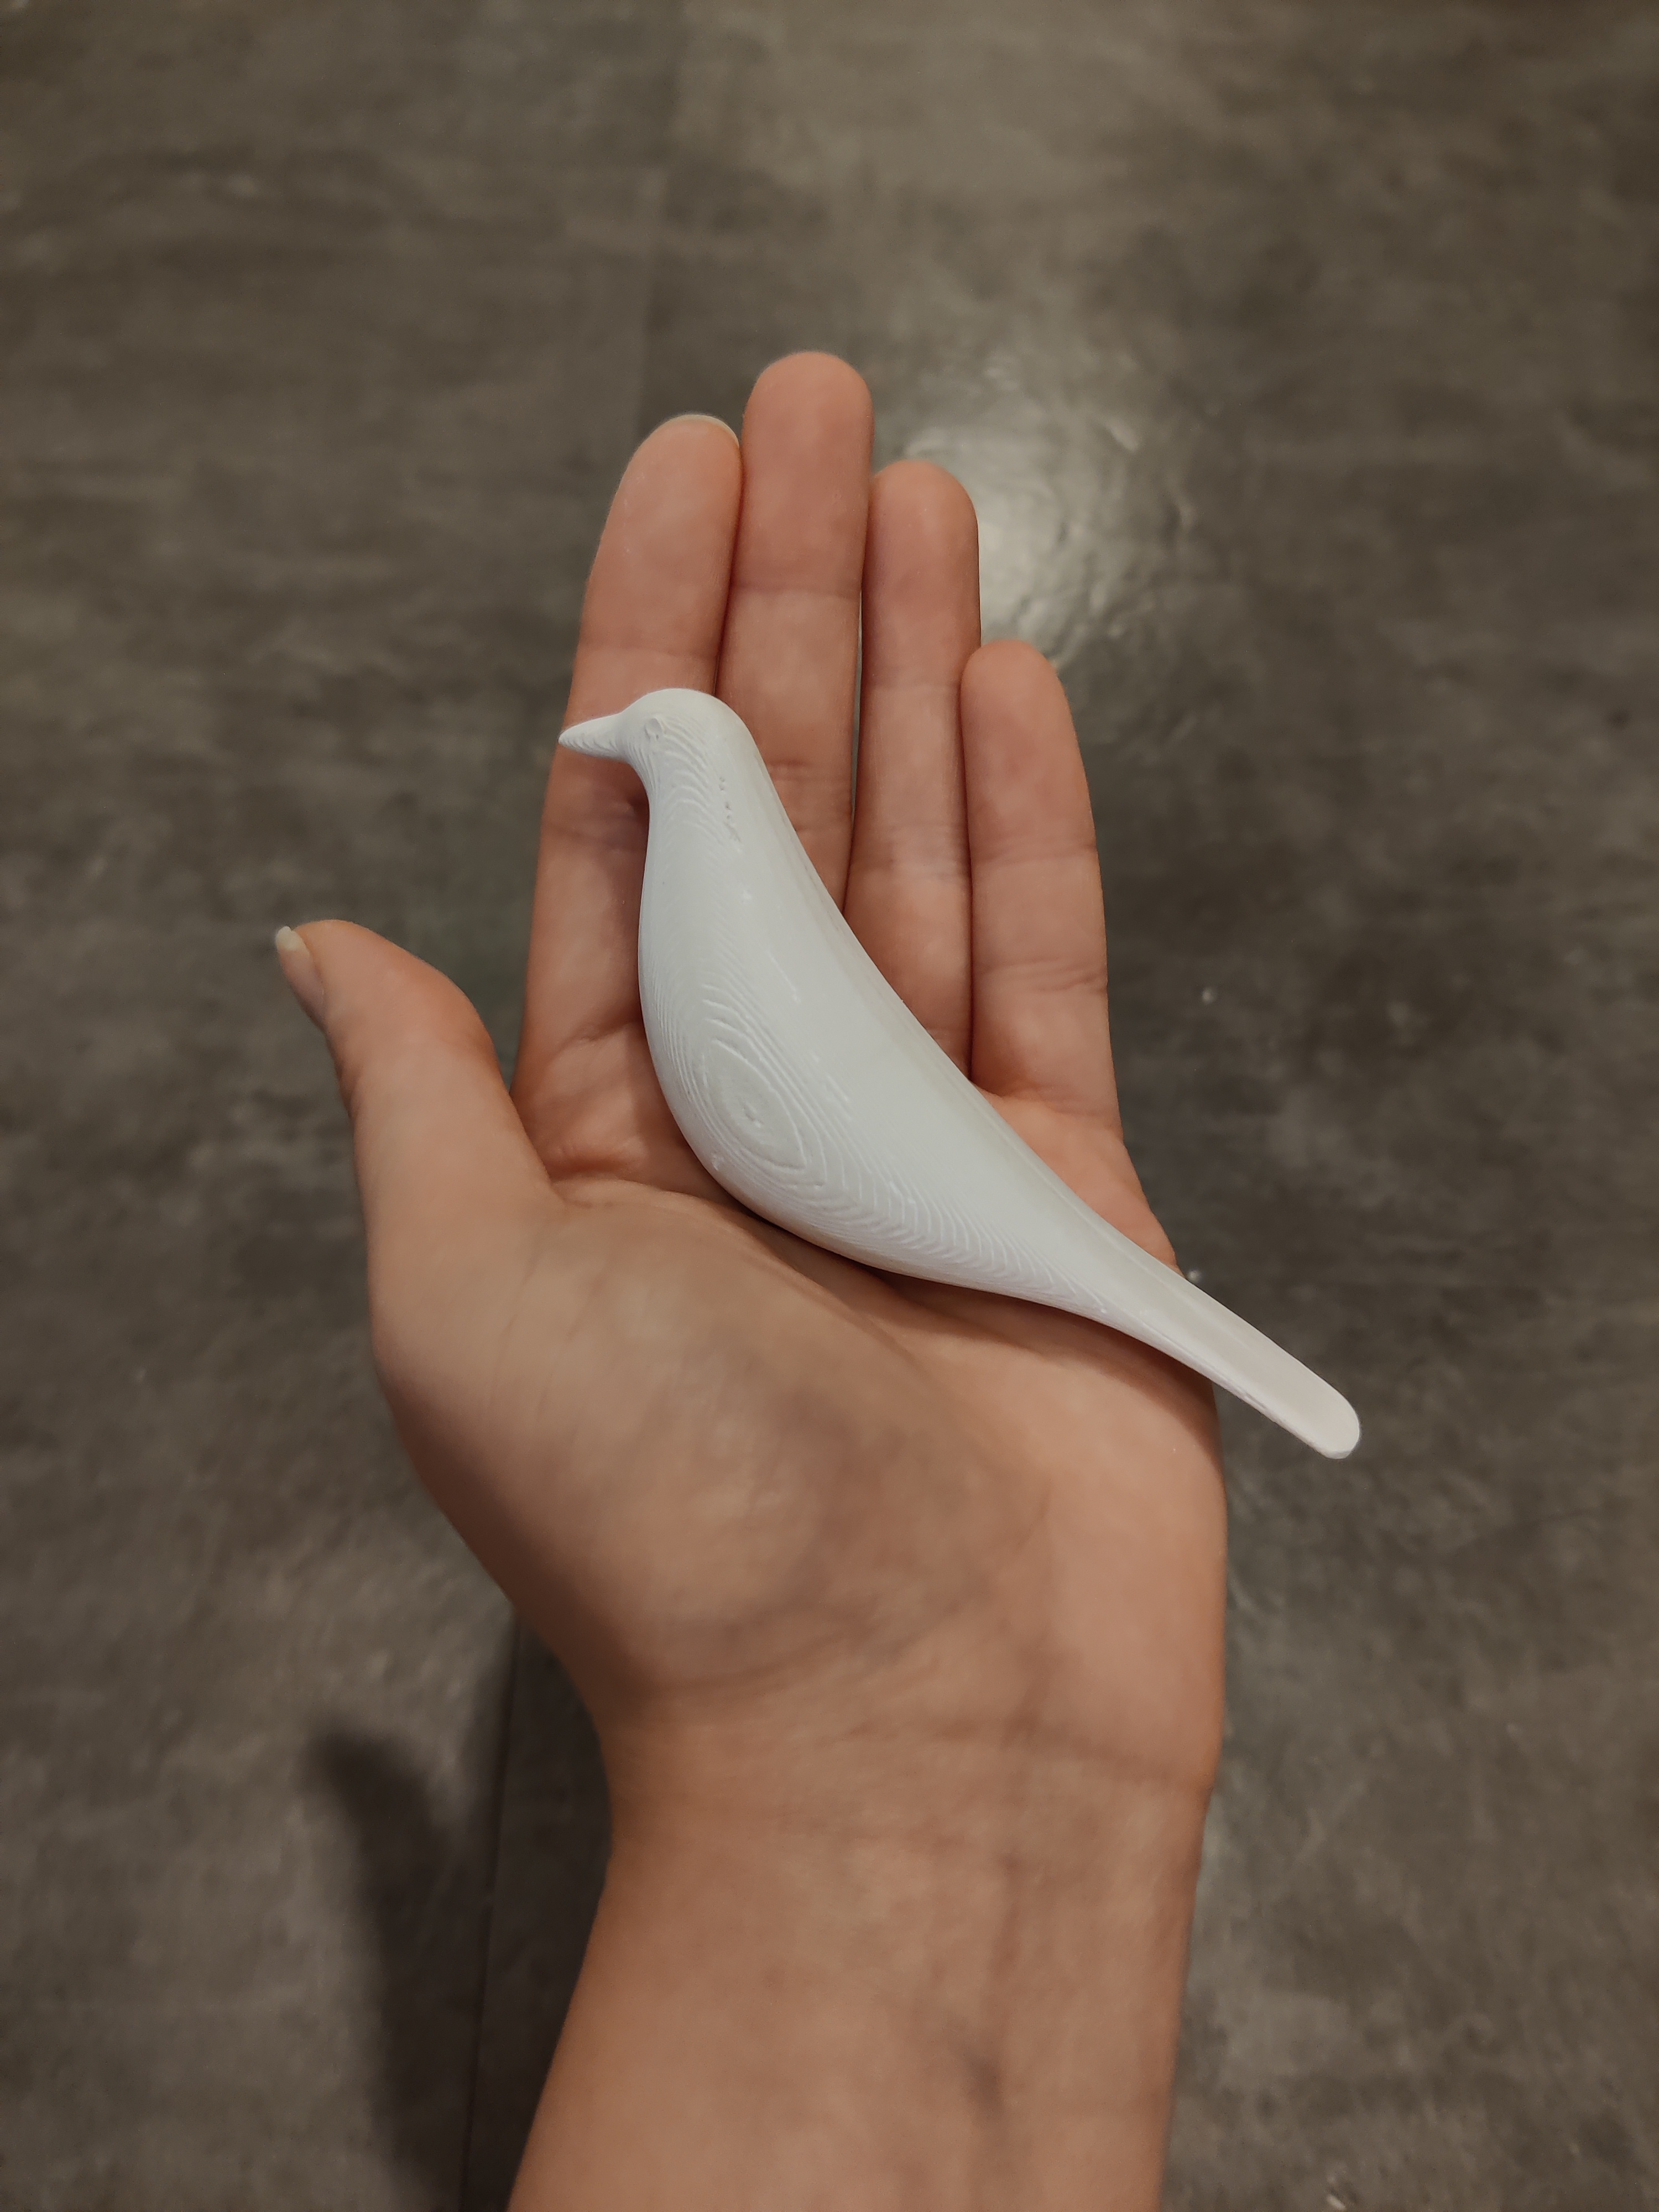
The rest of the birds all went smoothly. I let each of them cure for 45 minutes before de-molding and sanding them. I made one extra because they were fun! But now I don’t know what I will do with 5 legless birds. I also really like the grain type texture that is left from the mold! So I didn’t sand to much to preserve those ridges.
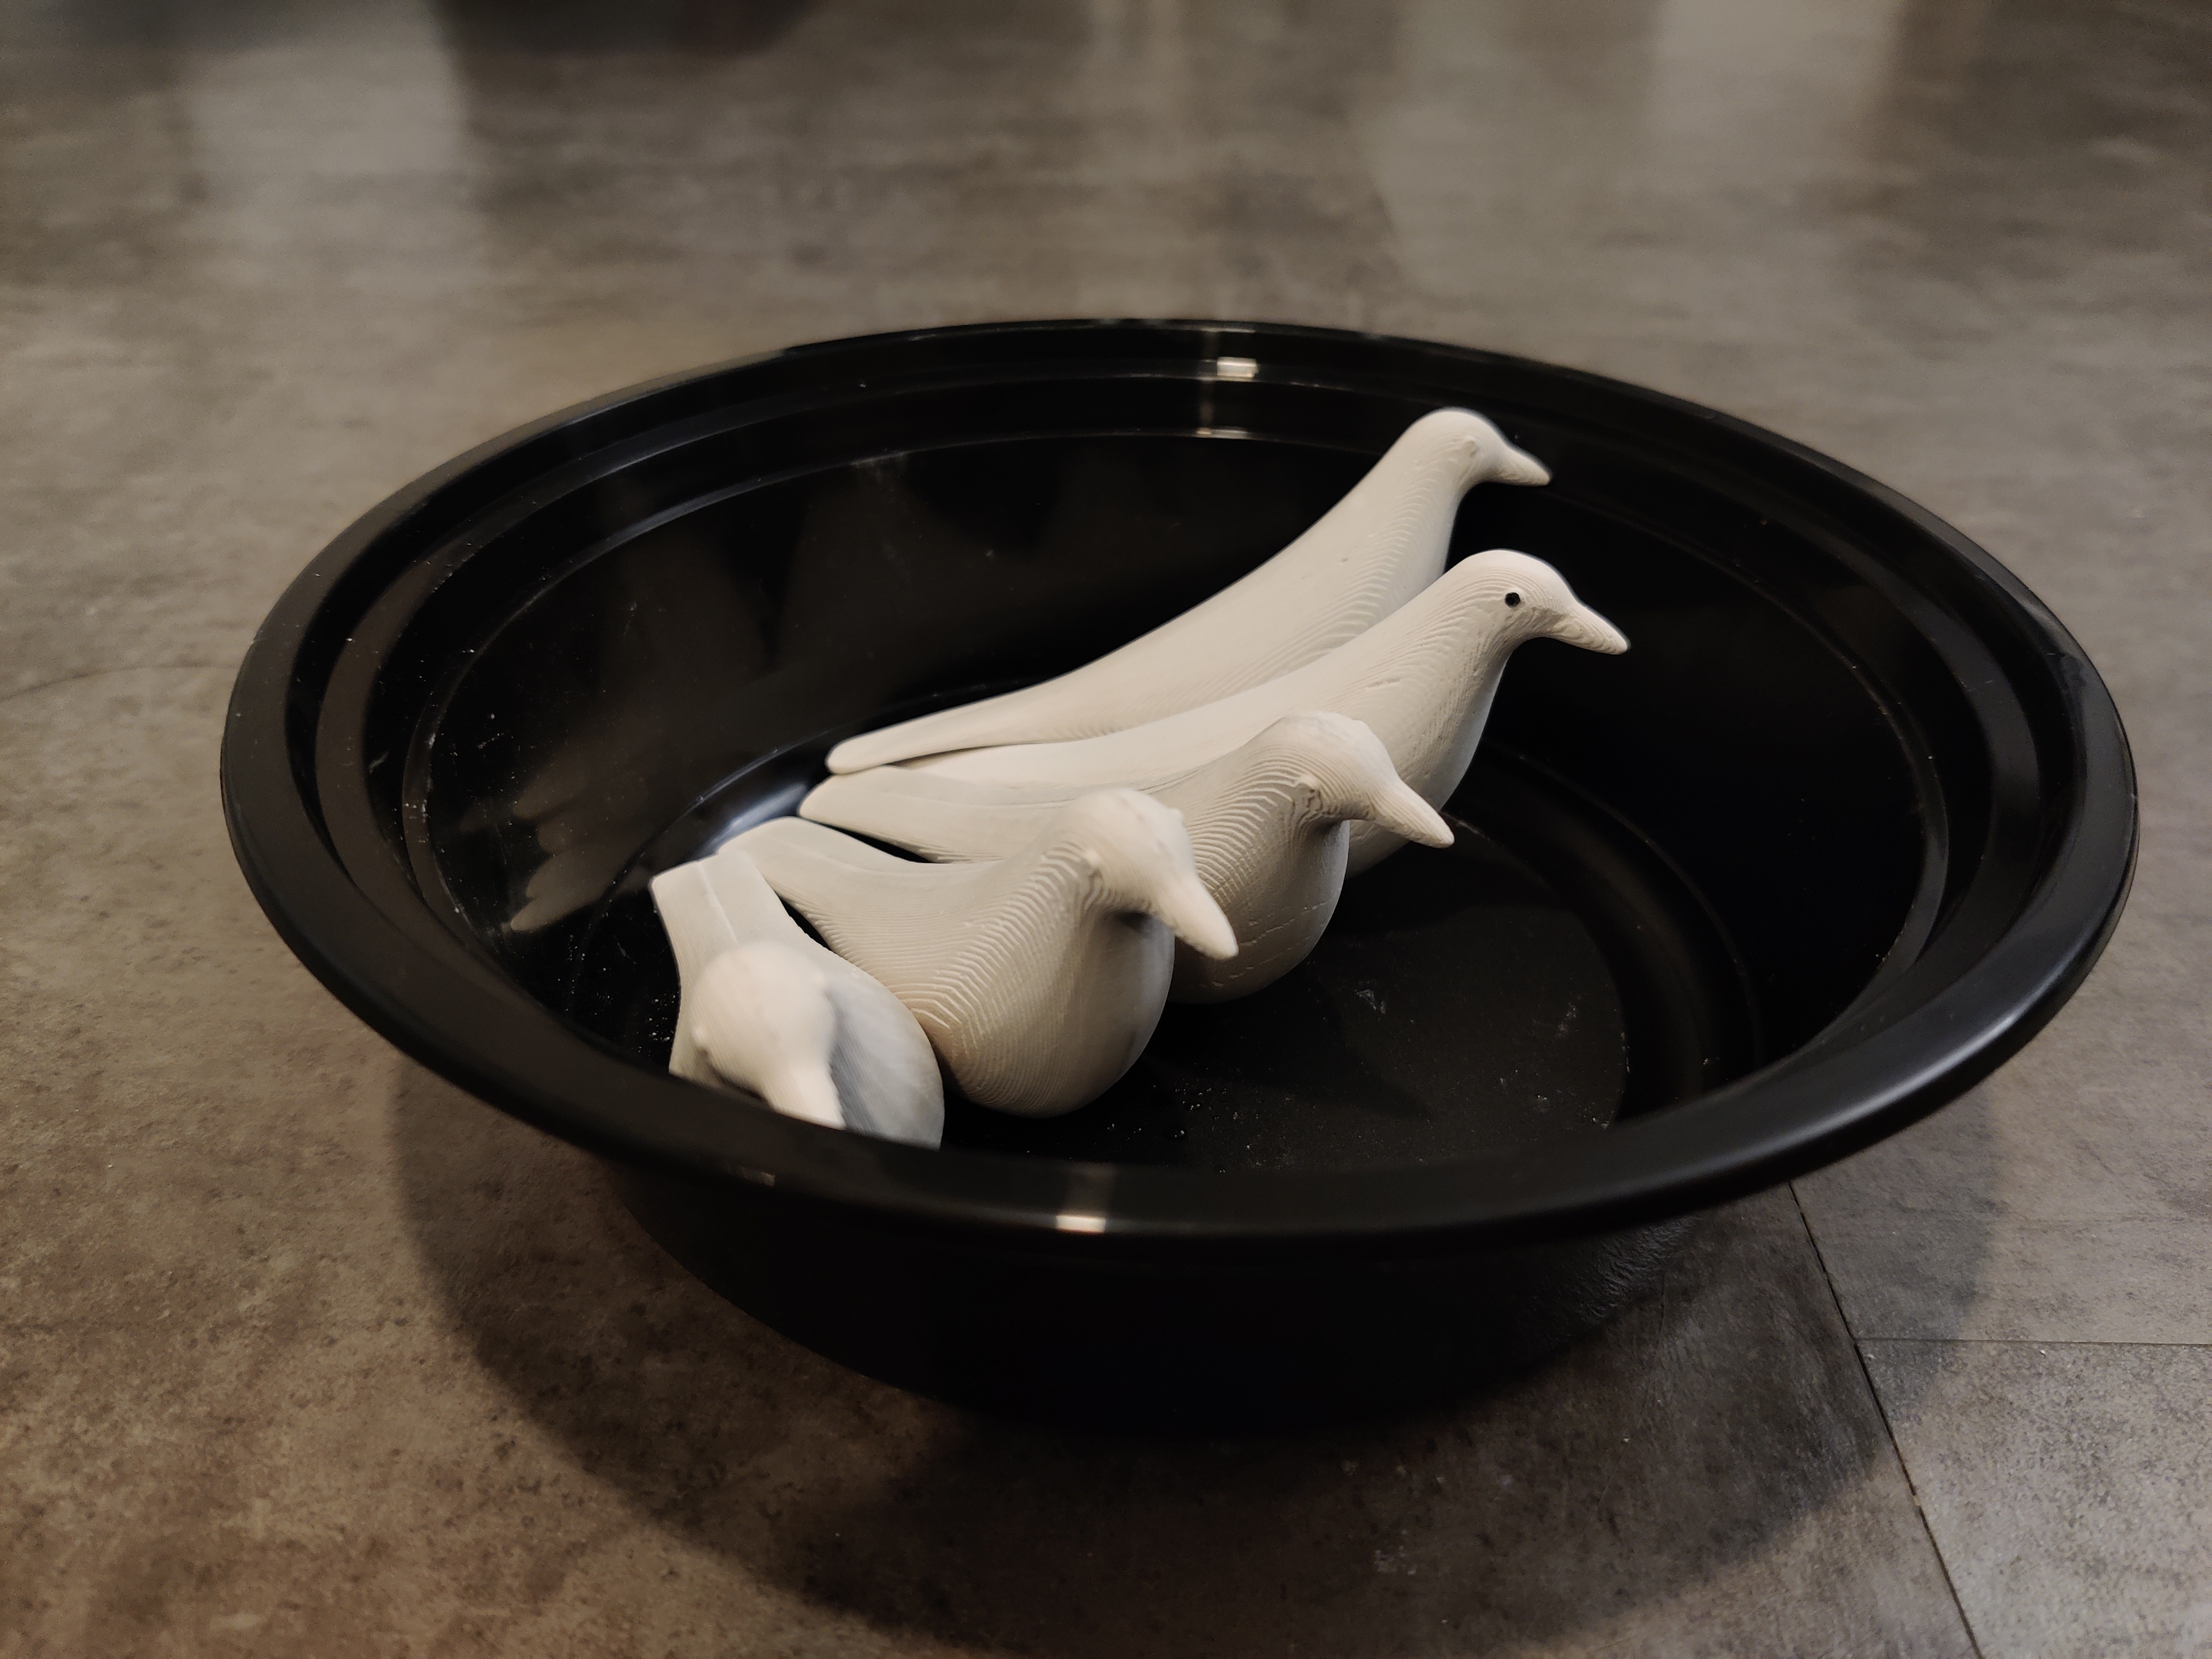 Plastic nest